manuals.online logo
Brands
  1. Home
  2. •
  3. Brands
  4. •
  5. Sharp
  6. •
  7. Air Conditioner
  8. •
  9. Sharp AH-AP9SMD User manual

Sharp AH-AP9SMD User manual

Other manuals for AH-AP9SMD

1

This manual suits for next models

15

Other Sharp Air Conditioner manuals

Sharp AF-05CML User manual

Sharp

Sharp AF-05CML User manual

Sharp Plasmacluster AH-AP18Y User manual

Sharp

Sharp Plasmacluster AH-AP18Y User manual

Sharp CV-13NH User manual

Sharp

Sharp CV-13NH User manual

Sharp AH-MP20 User manual

Sharp

Sharp AH-MP20 User manual

Sharp AH-N45DP2 User manual

Sharp

Sharp AH-N45DP2 User manual

Sharp AY-XP7FR User manual

Sharp

Sharp AY-XP7FR User manual

Sharp AY-XP7FR User manual

Sharp

Sharp AY-XP7FR User manual

Sharp CV -P09FR Assembly instructions

Sharp

Sharp CV -P09FR Assembly instructions

Sharp 66129902992 User manual

Sharp

Sharp 66129902992 User manual

Sharp AF-Q60PX User manual

Sharp

Sharp AF-Q60PX User manual

Sharp AF-R80EX User manual

Sharp

Sharp AF-R80EX User manual

Sharp AY-A079E User manual

Sharp

Sharp AY-A079E User manual

Sharp Plasmacluster GS-XP07ER User manual

Sharp

Sharp Plasmacluster GS-XP07ER User manual

Sharp AY-XP26FR-N User manual

Sharp

Sharp AY-XP26FR-N User manual

Sharp AF-T908X User manual

Sharp

Sharp AF-T908X User manual

Sharp AH-AP18CF User manual

Sharp

Sharp AH-AP18CF User manual

Sharp AY -A07BE User manual

Sharp

Sharp AY -A07BE User manual

Sharp AH-S327W2 User manual

Sharp

Sharp AH-S327W2 User manual

Sharp AF-R50CX User manual

Sharp

Sharp AF-R50CX User manual

Sharp Plasmacluster GS-XPM12FR User manual

Sharp

Sharp Plasmacluster GS-XPM12FR User manual

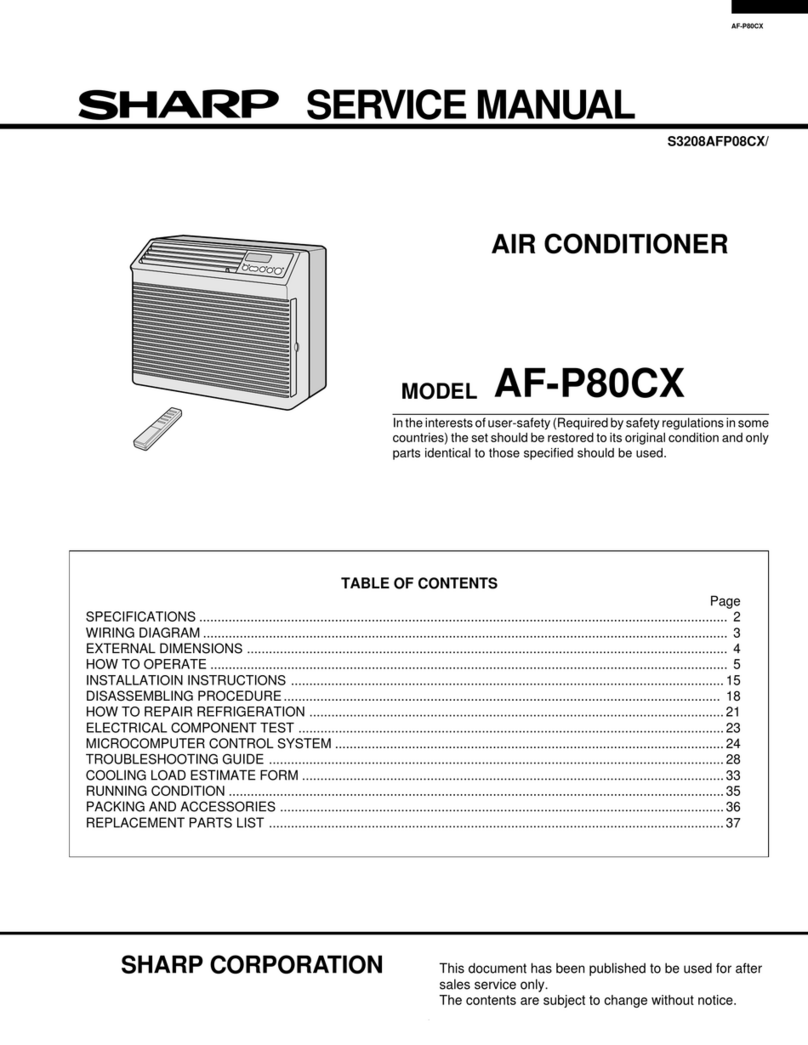
Sharp AF-P80CX User manual

Sharp

Sharp AF-P80CX User manual

Sharp AH-XP10YH Series User manual

Sharp

Sharp AH-XP10YH Series User manual

Sharp AF-Q100VX User manual

Sharp

Sharp AF-Q100VX User manual

Sharp AF-R80CX User manual

Sharp

Sharp AF-R80CX User manual

Popular Air Conditioner manuals by other brands

Fujitsu ASYG 09 LLCA installation manual

Fujitsu

Fujitsu ASYG 09 LLCA installation manual

York HVHC 07-12DS Installation & owner's manual

York

York HVHC 07-12DS Installation & owner's manual

Carrier Fan Coil 42B Installation, operation and maintenance manual

Carrier

Carrier Fan Coil 42B Installation, operation and maintenance manual

intensity IDUFCI60KC-3 installation manual

intensity

intensity IDUFCI60KC-3 installation manual

Frigidaire FAC064K7A2 Factory parts catalog

Frigidaire

Frigidaire FAC064K7A2 Factory parts catalog

Sanyo KS2432 instruction manual

Sanyo

Sanyo KS2432 instruction manual

LG MultiV Series installation manual

LG

LG MultiV Series installation manual

CLIMAVENETA a-CHD U-2T 606+2209 OPERATING AND INSTALLATION Manual

CLIMAVENETA

CLIMAVENETA a-CHD U-2T 606+2209 OPERATING AND INSTALLATION Manual

Midea EWK06CW5 user manual

Midea

Midea EWK06CW5 user manual

Pioneer FAB Series installation manual

Pioneer

Pioneer FAB Series installation manual

SPT WA-1511S user manual

SPT

SPT WA-1511S user manual

Mitsubishi Electric Mr.Slim MSZ-A24NA operating instructions

Mitsubishi Electric

Mitsubishi Electric Mr.Slim MSZ-A24NA operating instructions

Mitsubishi Electric PUHZ-RP50VHA4 Service manual

Mitsubishi Electric

Mitsubishi Electric PUHZ-RP50VHA4 Service manual

Panasonic CS-S18HKQ Service manual

Panasonic

Panasonic CS-S18HKQ Service manual

Panasonic CS-E15NKE3 operating instructions

Panasonic

Panasonic CS-E15NKE3 operating instructions

Gree GWH18TC-K3DNA1B/I Service manual

Gree

Gree GWH18TC-K3DNA1B/I Service manual

Friedrich ZoneAire Compact P08SA owner's manual

Friedrich

Friedrich ZoneAire Compact P08SA owner's manual

Daikin R32 Split Series installation manual

Daikin

Daikin R32 Split Series installation manual

manuals.online logo
manuals.online logoBrands
  • About & Mission
  • Contact us
  • Privacy Policy
  • Terms and Conditions

Copyright 2025 Manuals.Online. All Rights Reserved.

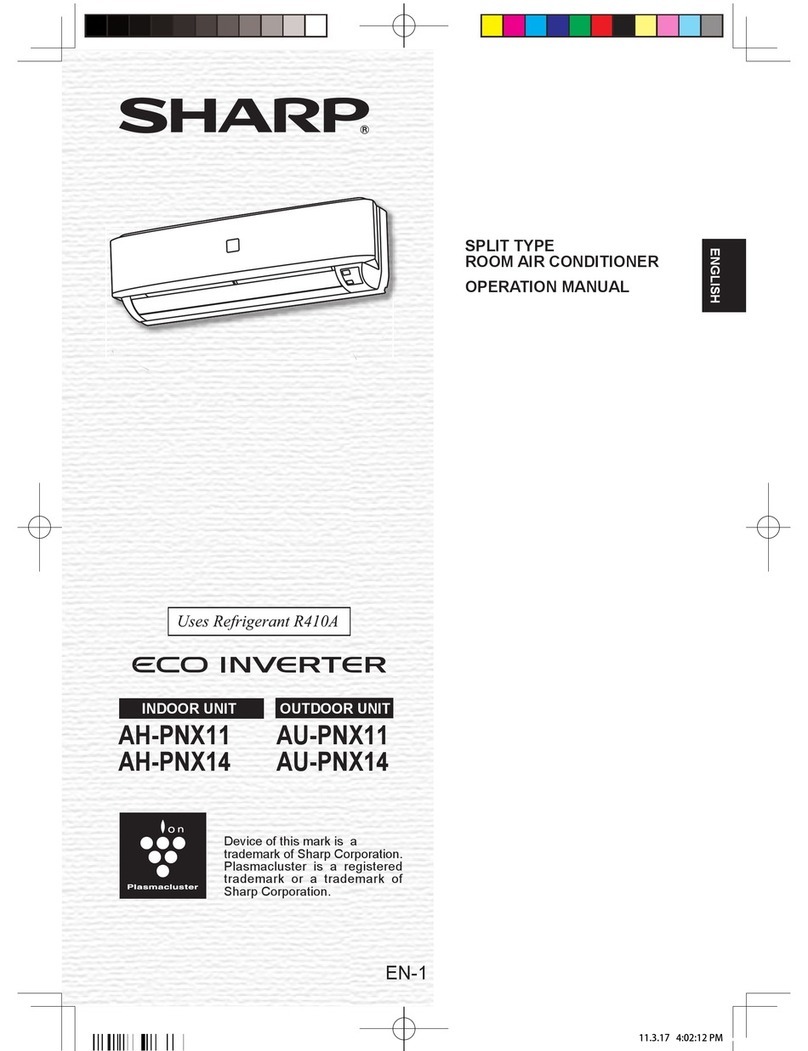
SPLIT TYPE
ROOM AIR CONDITIONER
OPERATION MANUAL
ENGLISH
INDOOR UNIT
(SMD models)
AH-AP9SMD
AH-AP12SMD
AH-AP18SMD
AH-AP24SMD
(SED models)
AH-A9SED
AH-A12SED
AH-A18SED
AH-A24SED
OUTDOOR UNIT
AU-A9SMD
AU-A12SMD
AU-A18SMD
AU-A24SMD
AU-A9SED
AU-A12SED
AU-A18SED
AU-A24SED
Plasmacluster" and "Device of a
cluster of grapes" are registered
trademarks or trademarks of
Sharp Corporation.
󱁥󵤳󱵮󱀖󲪂󲢾
󰷞󳎇󴤉󲑭󲕗
󰲌󲏦
AH-AP9SMD&ED_OM_A908_En.indd 12015/3/24 16:54:12Downloaded from www.Manualslib.com manuals search engine
AH-AP9SMD&ED_OM_A908_En.indd 22015/3/24 16:54:12Downloaded from www.Manualslib.com manuals search engine
EN-1
ENGLISH
WARNING
 Do not pull or deform the power supply cord.
Pulling and misuse of the power supply cord
can result in damage to the unit and cause
electrical shock.
 Be careful not to expose your body directly to
the outlet air for a long time. It may affect your
physical conditions.
 When using the air conditioner for infants,
children, elderly, bedridden, or disabled people
make sure the room temperature is suitable for
those in the room.
 Never insert objects into the unit. Inserting
objects can result in injury due to the high
speed rotation of internal fans.
 Ground the air conditioner without fail. Do not
connect the grounding wire to gas pipe, water
pipe, lightning rod or telephone grounding
wire. Incomplete grounding may cause electric
shock.
 If anything is abnormal with the air conditioner
(ex. a burning smell), stop the operation
immediately and turn the circuit breaker OFF.
 The appliance shall be installed in accordance
with national wiring regulations. Improper
cable connection can cause the power supply
cord, plug and the electrical outlet to overheat

 If the supply cord is damaged, it must be
replaced by the manufacturer or its service

to avoid a hazard. Use only the manufacture-

 Do not splash or pour water directly on the
unit. Water can cause electrical shock or
equipment damage.
 Do not attempt to install/remove/repair the unit
by yourself. Incorrect work will cause electric


installation/removal/repair of the unit.
CAUTION
 Open a window or door periodically to
ventilate the room, especially when using gas

oxygen shortage.
 Do not operate the buttons with wet hand. It
may cause electric shock.
 For safety, turn the circuit breaker off when not
using the unit for an extended period of time.
 Check the outdoor unit mounting rack
periodically for wear and to make sure it is

 Do not put anything on the outdoor unit nor
step on it. The object or the person may fall
down or drop, causing injury.
 This unit is designed for residential use. Do not
use for other applications such as in a kennel
or greenhouse to raise animals or grow plants.
 Do not place a vessel with water on the unit.
If water penetrates into the unit, electrical
insulations may deteriorate and cause electric
shock.
 Do not block the air inlets nor outlets of the

troubles.
 Be sure to stop the operation and turn the
circuit breaker off before performing any
maintenance or cleaning. A fan is rotating
inside the unit and you may get injured.
 This appliance is not intended for use by
persons (including children) with reduced
physical, sensory or mental capabilities, or
lack of experience and knowledge, unless they
have been given supervision or instruction
concerning use of the appliance by a persion
responsible for their safety. Childern should be
supervised to ensure that they do not play with
the appliance.
 Make sure to connect the air conditioner
to power supply of the rated voltage and
frequency. Use of a power supply with
improper voltage and frequency can result in

-

Install the unit in a place with minimal dust,
fumes and moisture in the air.
 Arrange the drain hose to ensure smooth
-
ting of the room, furniture etc.
 Make sure a leak breaker or a circuit breaker
is installed, depending on the installation
location, to avoid electrical shock.
 IMPORTANT SAFETY INSTRUCTIONS.............EN-1
 PART NAMES .....................................................EN-2
 USING THE REMOTE CONTROL......................EN-4
 AUXILIARY MODE ..............................................EN-4
 TIPS ON SAVING ENERGY................................EN-4
 BASIC OPERATION............................................EN-5
 OPERATION CONDITION ..................................EN-5
 ADJUSTING THE AIR FLOW DIRECTION.........EN-6
 POWERFUL JET / SUPER JET OPERATION ....EN-6
 GENTLE COOL AIR ............................................EN-7
 PLASMACLUSTER OPERATION .......................EN-7
 COMFORT OPERATION ....................................EN-8
 BABY MODE OPERATION .................................EN-8
 TIMER OPERATION ...........................................EN-9
 SELF CLEAN OPERATION...............................EN-10
 DISPLAY BUTTON............................................EN-10
 MAINTENANCE ................................................EN-11
 BEFORE CALLING FOR SERVICE..................EN-12
ENGLISH Please read this manual carefully before using the product.
This manual should be kept in a safe place for handy reference.
CONTENTS
IMPORTANT SAFETY
INSTRUCTIONS
AH-AP9SMD&ED_OM_A908_En.indd 12015/3/24 16:54:13Downloaded from www.Manualslib.com manuals search engine
EN-2
INDOOR UNIT
PART NAMES
1 Inlet (Air)
2 Open Panel
3 Air Filter
4 AUX Button
5 Receiver Window
6 
7 
8 Outlet (Air)
9 OPERATION Lamp (red )
10 TIMER Lamp (orange )
11 PLASMACLUSTER Lamp (blue )
(For SMD models only)
9
1
2
3
4
5
6
7
8
11
10
9
10
OUTDOOR UNIT
12
13
14
15
12
13
14
15
12 Inlet (Air)
13 Refrigerant Pipe and Cable
14 Drainage Hose
15 Outlet (Air)
AU-A9SMD, AU-A9SED AU-A12SMD, AU-A12SED, AU-A18SMD,AU-A18SED
SED models SMD models
12
13
14
15
AU-A24SMD, AU-A24SED
AH-AP9SMD&ED_OM_A908_En.indd 22015/3/24 16:54:15Downloaded from www.Manualslib.com manuals search engine
EN-3
ENGLISH
1 TRANSMITTER
2 DISPLAY
3 COMFORT Button
4
POWERFUL JET / SUPER
JET Button
5 ON / OFF Button
6 BABY MODE Button
(For SMD models only)
7 PLASMACLUSTER Button
(For SMD models only)
8 GENTLE COOL AIR Button
9 FAN Button
10 THERMOSTAT Button
11 MODE Button
12 SWING Button
( : Vertical direction)
13 TIMER OFF Button
14 TIMER ON Button
15 TIMER CANCEL Button
16 SELF CLEAN Button
(For SMD models only)
17 RESET Button
18 DISPLAY Button
(For SMD models only)
19 SWING Button*
(: horizontal direction)
REMOTE CONTROL
9
1
2
3
4
5
6
7
8
13
12
11
10
14
16
19
18
15
17
20 MODE Symbols
: AUTO : COOL : DRY
21 PLASMACLUSTER Symbol
(For SMD models only)
22 GENTLE COOL AIR Symbol
23 SELF CLEAN Symbol (For SMD models only)
24 COMFORT Symbols
25 FAN SPEED Symbols
: AUTO : Manual setting
26 POWERFUL JET / SUPER JET Symbol
27 TEMPERATURE Indicator
28 BABY MODE Symbol (For SMD models only)
29 TRANSMITTING Symbol
30 TIMER ON / TIMER OFF Indicator
28
27
26
20
30
29
23
25
24
21
22
9
1
2
3
4
5
8
13
12
11
10
14
15
17
SED models SMD models
DISPLAY
* SMD models dont have the horizontal swing function.
AH-AP9SMD&ED_OM_A908_En.indd 32015/3/24 16:54:16Downloaded from www.Manualslib.com manuals search engine
EN-4
LOADING BATTERIES
1Remove the battery cover.
2Insert two batteries. (AAA(R03))
Make sure the (+) and (-) polarities are
correctly aligned.
3Reinstall the battery cover.
4Press the RESET button using a
thin stick.
NOTE:

The battery life is approximately 1 year in
normal use.
 When replacing the batteries, always change
both and use the same type.
 If you will not be using the unit for a long time,
remove the batteries from the remote control.
USING THE REMOTE CONTROL
Battery cover
RESET button
HOW TO USE THE REMOTE CONTROL
Point the remote control towards the
receiver window and press the desired
button. The unit generates a beep when
it receives the signal.
 Make sure nothing, such as curtains, block the
signal receiver window.
 The signal effective distance is 7 m.
CAUTION:
 Do not expose the receiver window to direct
sunlight. This may adversely affect its operation.

room may interfere with transmission of the
signal.
 Do not leave the remote control in direct
sunlight or near a heater. Protect the remote
control from moisture and shock.
7 m
Receiver
window
Use this mode when the remote control
is not available.
TO TURN ON
Press the AUX button.
 The red OPERATION lamp ( ) will light up
and the unit will start operating in the AUTO
mode.
 The fan speed and temperature setting are
set to AUTO.
TO TURN OFF
Press the AUX button again.
 The red OPERATION lamp ( ) will turn off.
AUXILIARY MODE
TIPS ON SAVING ENERGY
Below are some simple ways to save
energy when you use your air conditioner.
Set the proper temperature
 Setting the temperature lower than necessary
during cooling operation will result in
increased power consumption.
Block direct sunlight and prevent drafts

Blocking direct sunlight during cooling operation
will reduce power consumption.
 Close the windows and doors during cooling
and heating operations.


Disconnect the power cord from
the wall outlet or turn off the circuit
breaker when the unit is not used for
an extended period time
 The indoor unit still consumes a small amount
of power when it is not operating.
AUX
AH-AP9SMD&ED_OM_A908_En.indd 42015/3/24 16:54:16Downloaded from www.Manualslib.com manuals search engine
EN-5
ENGLISH
1
Press the MODE button to select the
operation mode.
AUTO COOL DRY
2
Press the ON / OFF button to start opera-
tion.
 The red OPERATION lamp ( ) will light up.
TO TURN OFF
Press the ON / OFF button again.
 The red OPERATION lamp ( ) will turn off.
3
Press the THERMOSTAT button to set
the desired temperature.
(AUTO / DRY mode)
The temperature can
be changed up to ±2°C
from the automatic
setting.
(COOL mode)
The temperature setting
range: 16-30°C.
4
Press the FAN button to set the desired
fan speed.
BASIC OPERATION
AUTO SOFT LOW HIGH
NOTE:
AUTO MODE
In the AUTO mode, the temperature setting and
mode are automatically selected according to the
room temperature when the unit is turned on.
DRY MODE
The fan speed is preset to AUTO and cannot be
changed.
WHEN POWER FAILURE OCCURES
This air conditioner has a memory function to store
setting when a power failure occurs.
After power recovery, the unit will automatically re-
start in the same settings which were active before
the power failure, except for TIMER, POWERFUL
JET / SUPER JET, COMFORT, BABY MODE, SELF
CLEAN settings.
OPERATION CONDITION
Mode Indoor
Temp.
Outdoor
Temp.
Cooling Upper limit 32°C 43°C
Lower limit 21°C 21°C
 The build-in safety device may prevent
the unit from operating when used out of
this range.
 Condensation may form on the air outlet
if the unit operates continuously in the
COOL or DRY mode when humidity is
over 80%.
1
4
3
2
AH-AP9SMD&ED_OM_A908_En.indd 52015/3/24 16:54:17Downloaded from www.Manualslib.com manuals search engine
EN-6
ADJUSTING THE AIR FLOW
DIRECTION
1
2
The air conditioner works at the maximum
power and optimum louver direction to
make the room cool rapidly.
1
During operation, press the
POWERFUL JET / SUPER JET
button.
 The remote control will display  .
 The temperature display will go off.

obliquely downward.
TO CANCEL
Press the POWERFUL JET / SUPER JET
button again.

original direction.
NOTE:
 The air conditioner will operate at Extra
HIGH fan speed for 30 minutes, and the shift
to HIGH fan speed.
 You can not set the temperature or fan speed
during the POWERFUL JET / SUPER JET
operation.
1
VERTICAL AIR FLOW DIRECTION
1
Press the SWING button ( ).

2
Press the SWING button ( ) again
to stop at the desired position.
 The adjustment range is narrower than
the swiing range in order to prevent
condesation from dripping.
HORIZONTAL AIR FLOW DIRECTION
-

CAUTION:

louvres manually.

louvre can cause the unit to malfunction.

at the lowest position in the COOL or DRY
mode for an extended period of time,
condensation may result.
Louver lever
Louver lever
AH-AP9SMD
AH-AP12SMD
AH-A9SED
AH-A12SED
AH-AP18SMD
AH-AP24SMD
AH-A18SED
AH-A24SED
POWERFUL JET / SUPER JET
OPERATION
AH-AP9SMD&ED_OM_A908_En.indd 62015/3/24 16:54:18Downloaded from www.Manualslib.com manuals search engine
EN-7
ENGLISH

obliquely upward to deliver cool air
to the ceiling in order to avoid direct

1
During operation, press the GENTLE
COOL AIR button.
 The remote control will display  .
TO CANCEL
Press the GENTLE COOL AIR button
again.
NOTE:
 If you want GENTLE COOL AIR operation
in POWERFUL JET / SUPER JET mode,
press GENTLE COOL AIR button during
POWERFUL JET / SUPER JET operation.
GENTLE COOL AIR
1
NOTE:
 Use of the PLASMACLUSTER operation will
be memorized, and it will be activated the next
time you turn on the unit.
 To perform PLASMACLUSTER operation in
FAN only mode, press the PLASMACLUSTER
button when the unit is not operating.
The mode symbol of the remote control will
go off and the fan speed cannot be set to
AUTO.
(For SMD models only)
Plasmacluster ions released into the room
will reduce some airborne mold.
1
During operation, press the PLAS-
MACLUSTER button.
 The remote control will display  .
 The blue PLASMACLUSTER lamp ( )
will light up.
TO CANCEL
Press the PLASMACLUSTER button again.
 The blue PLASMACLUSTER lamp ( )
will turn off.
PLASMACLUSTER OPERATION
1
AH-AP9SMD&ED_OM_A908_En.indd 72015/3/24 16:54:18Downloaded from www.Manualslib.com manuals search engine
EN-8

of temperature and humidity by controlling
fan speed.
1 During operation, press the COMFORT
button.
 The remote control will display  .
 Fan speed will be automatically controlled.
 Louvre position will be automatically con-
trolled.
TO CANCEL
Press COMFORT button again.
COMFORT OPERATION
1
(For SMD models only)
Soft , quiet and clean operation cools a
room with well optimized for intants.
1During operation, press BABY
MODE button.
 The remote control will display  .
 Fan speed will be automatically set to
LOW or SOFT.
 Louvre will be set to GENTLE COOL AIR
operation.
 PLASMACLUSTER will be turned on.
TO CANCEL
Press BABY MODE button again.
NOTE:
 BABY MODE operation is not availablle in
DRY mode.
BABY MODE OPERATION
1
AH-AP9SMD&ED_OM_A908_En.indd 82015/3/24 16:54:19Downloaded from www.Manualslib.com manuals search engine