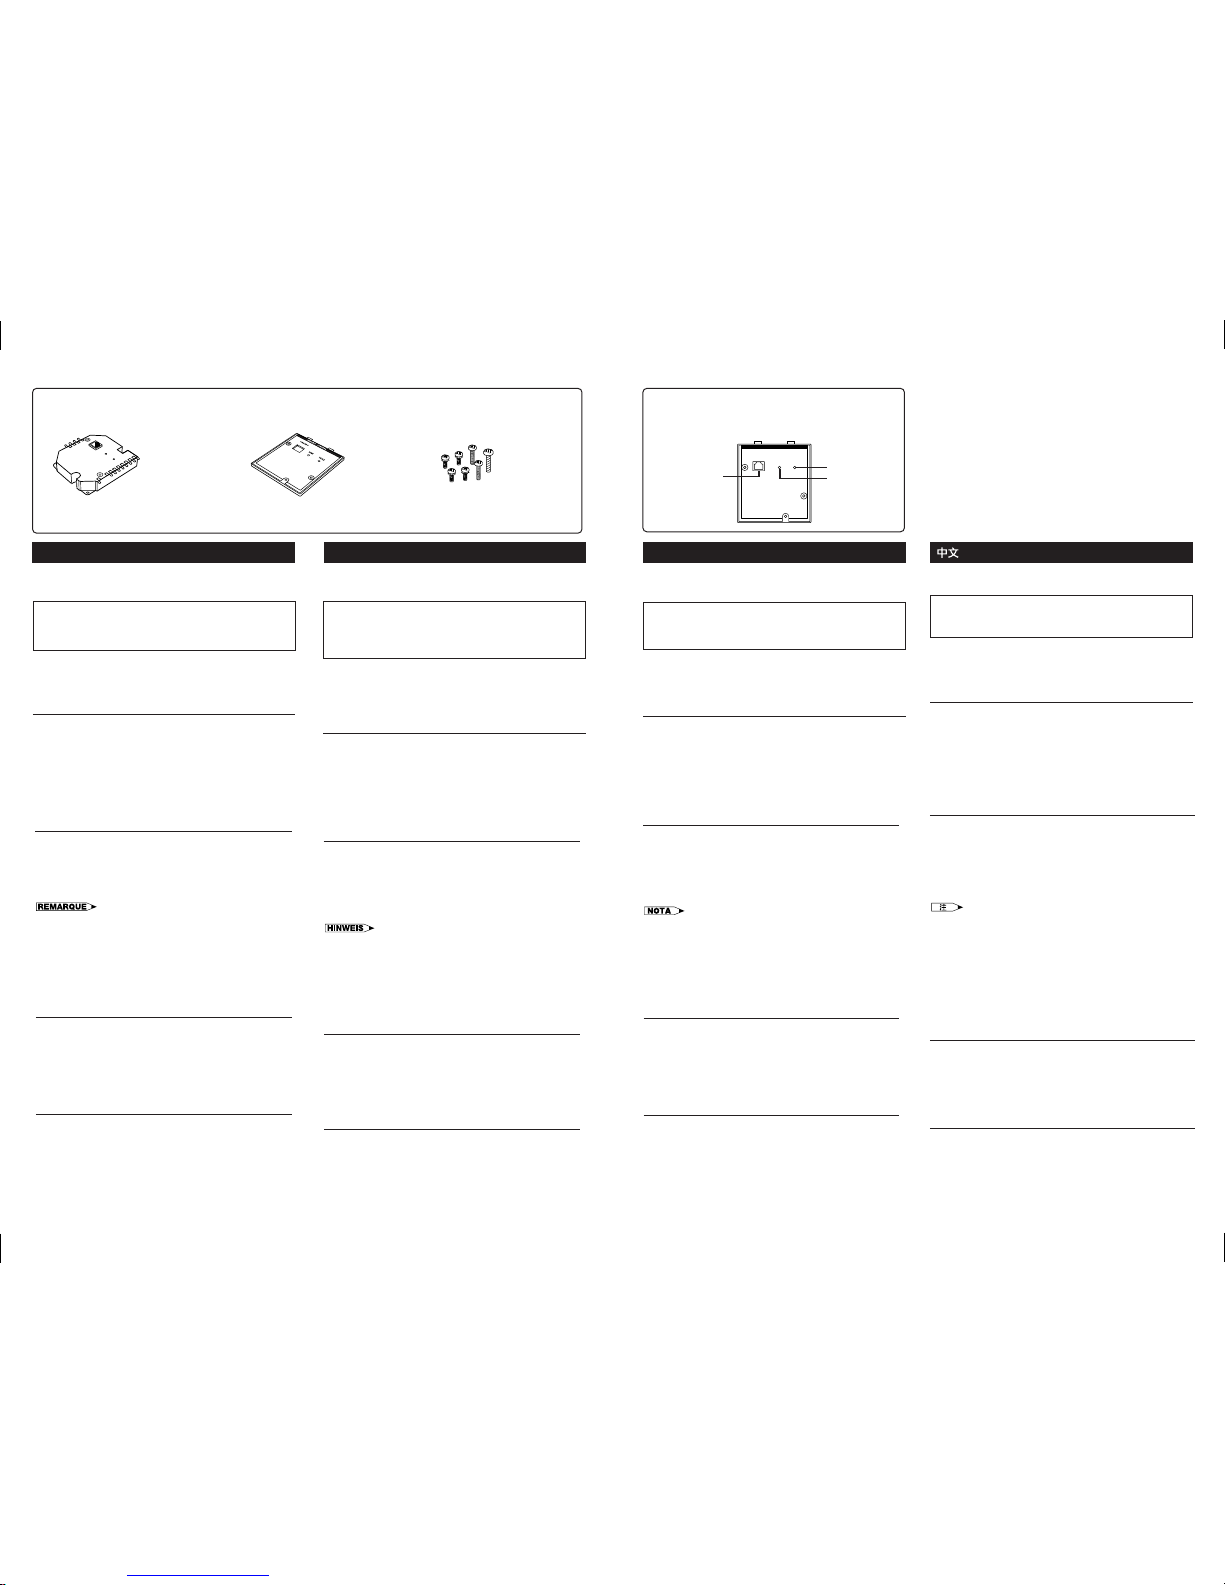
1 plaque
1 Plotter
1 trazador
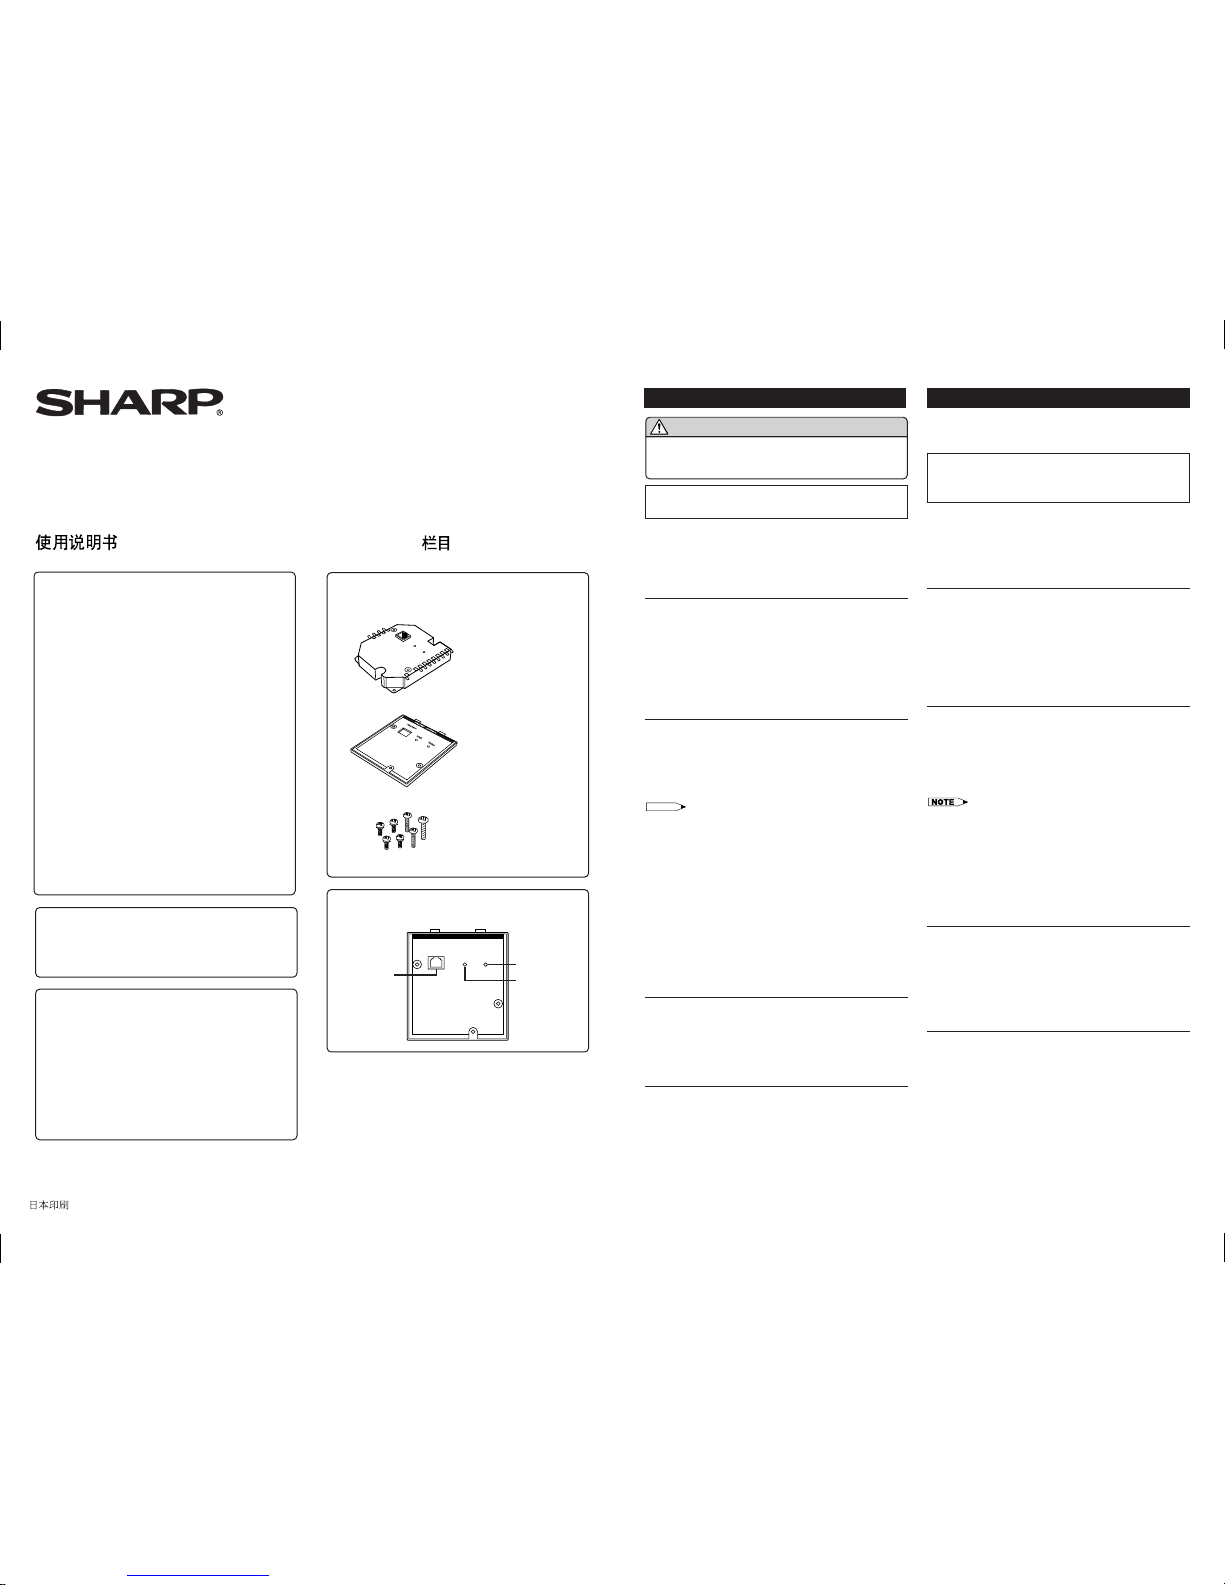
1块安装板
7 vis
7 Schrauben
7 tornillos
7个螺钉
1 CARTE 10BASE-T
1 10BASE-T-BOARD
1 TARJETA 10BASE-T
1块10BASE-T栏目
FRANÇAIS
3
2
Nomenclature des organes
Lage der Bedienelemente
Nomenclatura
部件名称部件名称
部件名称部件名称
部件名称
1
Avertissement:
L’installation/désinstallation de la carte 10BASE-T ne doit être réalisée
que par un personnel de service autorisé.
Avertissement
Cet appareil est un produit de classe A. Dans un environnement
domestique, il peut causer des interférences radio contre lesquelles
l’utilisateur est requis de prendre les mesures appropriées.
La carte AN-L10T 10BASE-T peut être installée dans une des fentes
d’extension d’un projecteur Sharp afin de commander le projecteur par
l’interface 10BASE-T. Avant d’installer et d’utiliser cette carte, lisez
attentivement les modes d’emploi fournis avec le projecteur et le Sharp
Advanced Presentation Software Professional Edition.
Nomenclature des organes
1Port 10Base-T
Utilisez des câbles UTP (paire de câbles torsadés non blindés)
pour 10BASE-T/100BASE-TX (catégorie 5).
Pour connecter cette carte àun ordinateur, utilisez un câble de
type croisé; et utilisez un câble simple pour la connecter àun
nœud de raccordement.
2Témoin de liaison (LINK)
S’allume quand cette carte est connectée.
3Témoin d’état (TX/RX)
S’allume quand des données sont transmises ou reçues.
Configuration
A. «Configuration»du projecteur
1. Choisissez «Options»àpartir de l’écran de menu du projecteur
sur lequel la carte 10BASE-T est installée.
2. Choisissez la «Carte réseau».
L’écran du menu auxiliaire apparaît.
3. Choisissez «Adresse IP»et entrez l’adresse affectée àcette carte.
4. Entrez l’adresse de passerelle et le masque de sous-réseau.
•Si vous ne connaissez pas l’adresse IP, l’adresse de passerelle ou le
masque de sous-réseau, consulter l’administrateur réseau.
B. Configuration du Sharp Advanced Presentation Software
Professional Edition
Entrez l’adresse IP de la façon décrite àl’étape A-3.
Si vous réglez «Operation Mode»sur «Single Projector Operation
Mode», entrez l’adresse àpartir du menu «Projector Setting»; ou à
partir du menu «Scan Setting»si vous le réglez sur «Multiple
Projector Operation Mode».
Guide de dépannage
Si quelque chose ne fonctionne pas correctement, vérifiez la
connexion du câble et chaque réglage relatif àl’adresse IP, l’adresse
de passerelle, le masque de sous-réseau, etc.
Utilisez le Sharp Advanced Presentation Software Professional
Edition, version 1.3 ou supérieur.
Téléchargez la dernière version àpartir de notre site Internet à
l’adresse suivante:
http://www.sharp-world.com/projector/
Spécifications principales (Interface)
Standard: Conforme àIEEE802.3
•Connecteur: RJ-45
•Vitesse de transmission max.: 10 Mbps*
•Plage de transmission max.: 330 pieds (environ 100 m)*
*Entre le nœud de raccordement et cette carte
•Notez que les spécifications et l’apparence de cette carte sont
sujettes àmodification sans notification préalable dans un but
d’amélioration de ses performances.
Warnung:
Die Installation bzw. Entfernung des 10BASE-T-Boards darf nur durch
autorisiertes Wartungspersonal vorgenommen werden.
Warnung
Dieses ist ein Computer-Produkt der Klasse A. In einem
Wohnbereich kann dieses Produkt zu Interferenzen beim Radio- und
Fernsehempfang führen, die durch den Benutzer dieses Produktes
durch entsprechende Maßnahmen behoben werden sollten.
Das AN-L10T 10BASE-T-Board kann in deinem Erweiterungssteckplatz
eines Projektors von Sharp zur Steuerung des Projektors mit dem
10BASE-T-Interface installiert werden. Lesen Sie vor der Installation
und Verwendung des Boards die Bedienungsanleitung des Projektors
und der Sharp Advanced Presentation Software Professional Edition
gründlich durch.
Lage der Bedienelemente
110BASE-T-Port
UTP-Kabel für 10BASE-T/100BASE-TX (Kategorie 5)verwenden.
Beim Anschlußeines PCs an dieses Board ein gekreuztes Kabel
verwenden und bei Anschlußeiner Hub-Buchse an dieses Board
ein normales Kabel verwenden.
2LED-Anzeige (LINK)
Leuchtet bei Verbindung mit diesem Board auf.
3Status-LED (TX/RX)
Leuchtet beim Senden und Empfangen von Daten auf.
Einstellung
A. „Einstellung“des Projektors
1. „Optionen“aus der Menü-Anzeige des Projektors wählen, in dem
das 10BASE-T-Board installiert ist.
2. Das „LAN-Board“wählen.
Das Untermenüfür die Einstellung wird angezeigt.
3. „IP Adresse Set“wählen und die diesem Board zugewiesene
Adresse eingeben.
4. Die Gateway-Adresse und die Subnet Mask eingeben.
•Wenn die IP-Adresse, Gateway-Adresse oder Subnet Mask nicht bekannt ist,
wenden Sie sich bitte an einen Netzwerk-Administrator.
B. Einstellung der Sharp Advanced Presentation Software
Professional Edition.
Die IP-Adresse wie in Schritt A-3 beschrieben eingeben.
Bei Einstellung des „Operation Mode“auf „Single Projector Operation
Mode“die Adresse im Menüfür „Projector Setting“eingeben und im
„Multiple Projector Operation Mode“die Adresse im Menüfür „Scan
Setting“eingeben.
Fehlersuche
Wenn diese Einstellung nicht richtig funktioniert, prüfen Sie die
Kabel-Anschlüsse und die einzelnen Einstellungen der IP-Adresse,
Gateway-Adresse, Subnet Mask usw.
Die Sharp Advanced Presentation Software Professional Edition
Version 1.3 oder höher verwenden. Die letzte Version kann von
unserer Web-Seite unter Verwendung des folgenden URL
heruntergeladen werden:
http://www.sharp-world.com/projector/
Technische Daten (Interface)
Standard: Übereinstimmung mit IEEE802.3
•Anschluß: RJ-45
•Max. Übertragungsgeschwindigkeit: 10 Mbps*
•Max. Übertragungsbereich: 330 feet (ca. 100 m)*
*Zwischen der Hub-Buchse und diesem Board
•Änderungen der technischen Daten und der Gestaltung dieses
Boards ohne vorherige Ankündigung für Verbesserungen
vorbehalten.
Advertencia:
La instalación/desinstalación de la tarjeta 10BASE-T deberáser
realizada por personal de servicio autorizado solamente.
Advertencia
Éste es un producto de la clase A. En un ambiente doméstico, este
producto puede causar interferencias de radio, en cuyo caso, el
usuario tal vez tenga que tomar las medidas adecuadas.
La tarjeta AN-L10T 10BASE-T puede instalarse en una ranura de
expansión de un proyector Sharp para controlar el proyector mediante
la interfaz 10BASE-T. Antes de instalar y utilizar esta tarjeta, asegúrese
de leer completamente los manuales suministrados con el proyector y
también el Sharp Advanced Presentation Software Professional Edition.
Nomenclatura
1Puerto 10BASE-T
Utilice cables UTP para 10BASE-T/100BASE-TX (categoría 5).
Cuando conecte un PC a esta tarjeta, utilice un cable tipo
cruzado; y cuando conecte un nodo central a esta tarjeta, utilice
un cable tipo recto.
2Indicador LED (LINK)
Se enciende cuando esta tarjeta estáconectada.
3LED de estado (TX/RX)
Se enciende cuando se transmiten o se reciben datos.
Preparación
A. “Preparación”del proyector
1. Seleccione “Opciónes”desde la pantalla de menús del proyector
que tiene instalada la tarjeta 10BASE-T.
2. Seleccione la “Tarjeta LAN”.
Aparece la pantalla de submenúpara hacer la preparación.
3. Seleccione “Ajus. de IP”e introduzca la dirección asignada para
esta tarjeta.
4. Introduzca la dirección Gateway y la máscara de subred.
•Si no se conoce la dirección de IP, la dirección de Gateway o la máscara de
subred, consulte al administrador de la red.
B. Ajuste del Sharp Advanced Presentation Software
Professional Edition
Introduzca la dirección de IP como en el paso A-3.
Cuando ajuste el “Operation Mode”en el “Single Projector Operation
Mode”, introduzca la dirección en el menú“Projector Setting”, y en el
“Multiple Projector Operation Mode, introdúzcalo en el menú“Scan
Setting”.
Solución de problemas
Si no funciona correctamente, compruebe la conexión del cable y
cada uno de los ajustes relacionados con la dirección de IP, la
dirección de Gateway, la máscara de subred, etc.
Utilice el Sharp Advanced Presentation Software Professional Edition
versión 1.3 o superior.
Descargue la versión más reciente de nuestro sitio Web utilizando la
URL siguiente:
http://www.sharp-world.com/projector/
Especificaciones principales (Interfaz)
Norma: Cumple con la norma IEEE802.3
•Conector: RJ-45
•Velocidad de transmisión máxima: 10 Mbps*
•Alcance de transmisión máximo: 330 pies (100 m aprox.)*
*Entre el nodo central y esta tarjeta.
•Tenga en cuenta que las especificaciones y la apariencia de esta
tarjeta están sujetas a cambios sin previo aviso por motivos de
mejora en el diseño.
警告:警告:
警告:警告:
警告:
10BASE-T栏目的安装与拆卸必须由经授权的专业人员来进行。
警告警告
警告警告
警告
本产品是A级产品。在与其他设备共同使用的环境中,本产品
可能会产生无线电干扰,此时,用户可能要采取适当的措施。
AN-L10T 10BASE-T栏目能够安装在SHARP投影机的扩展槽中
,用10BASE-T接口来控制投影机。在安装和使用该栏目之前,
请务必仔细阅读随投影机提供的使用说明书和Sharp Advanced
Presentation Software Professional Edition。
部件名称部件名称
部件名称部件名称
部件名称
11
11
110BASE-T 端口端口
端口端口
端口
对于10BASE-T/10BASE-TX(类别5),使用 UTP 电缆。
将电脑连接到本栏目时,要使用交叉型电缆。将集线器(Hub)
连接到本栏目时,要使用直接型电缆。
22
22
2LED 指示灯指示灯
指示灯指示灯
指示灯((
((
(LINK))
))
)
当本栏目已连接时,本指示灯点亮。
33
33
3状态状态
状态状态
状态LED((
((
(TX/RX))
))
)指示灯指示灯
指示灯指示灯
指示灯
在发送或接收数据时点亮。
设置设置
设置设置
设置
A..
..
.“设置”“设置”
“设置”“设置”
“设置”投影机投影机
投影机投影机
投影机
1.当安装了 10BASE-T 栏目时,从投影机的菜单画面上选择“选
项”。
2.选择“局域网 LAN 栏目”。
显示出用于设置的子菜单画面。
3.选择“IP 地址设置”,然后输入指定给本栏目的地址。
4.输入 Gateway 地址和Subnet 掩码。
•如果不知道IP地址、Gateway地址或Subnet掩码,请向网络管理人员咨
询。
B..
..
.设置设置
设置设置
设置Sharp Advanced Presentation Software Professional
Edition
如A-3 步骤所述输入IP 地址。
当“运行模式”(Operation Mode)设置为“单投影机运行模式”
(Single Projector Operation Mode)时,请在“投影机设置”
(Projector Setting)菜单上输入地址。对于“多投影机模式”
(Multiple Projector Operation Mode),请在“扫描设置”(Scan
Setting)菜单上输入地址。
故障排除故障排除
故障排除故障排除
故障排除
如果不能正确运行,请检查电缆连接、以及与IP地址、Gateway地
址和Subnet 掩码有关的每个项目的设置。
请使用Sharp Advanced Presentation Software Professional
Edition1.3 版或更高版本。
请用如下URL 从我们的网站上下载最新的版本:
http://www.sharp-world.com/projector/
主要规格(接口)主要规格(接口)
主要规格(接口)主要规格(接口)
主要规格(接口)
标准:符合IEEE802.3
•插头座:RJ-45
•最大传输速率:10 Mbps*
•最大传输距离:330 英尺(约100 米)*
*在集线器与本栏目之间。
•请注意,为改进设计,本栏目之规格与外观若有变更,恕不另行
通知。