GX-CD5100W
1 – 2
AudioXL-MP150Service ManualXLMP150MarketE
[1] PRECAUTIONS FOR USING LEAD-FREE SOLDER
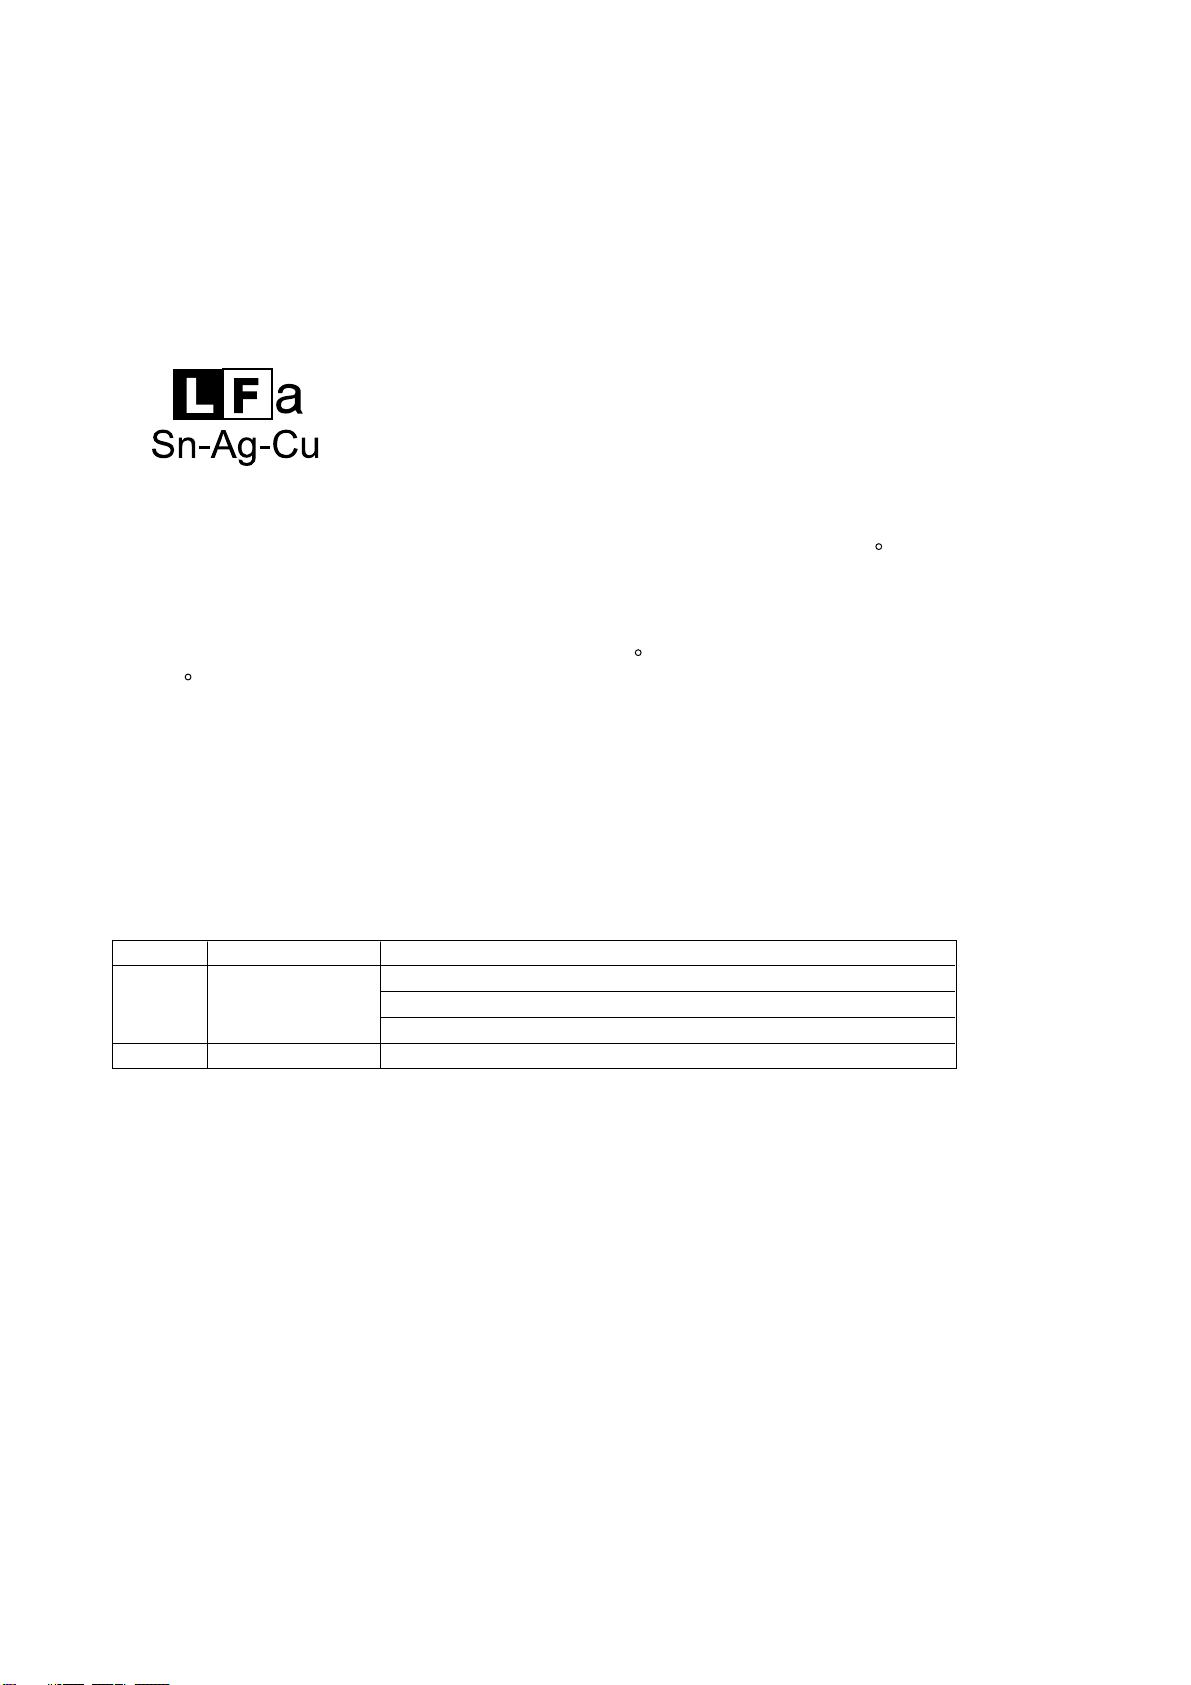
1. Employing lead-free solder
Example:
Indicates lead-free solder of tin,silver and copper.
2. Using lead-free wire solder
3. Soldering
When the tip of the soldering bit is blackened during use, file it with steel wool or fine sandpaper.
Be careful when replacing parts with polarity indication on the PWB silk.
Lead-free wire solder for servicing
Ref No. Description
Parts No.
PWB-A 92LPWB6532MANS
PWB-C 92LPWB6532CDUS CD SERVO
MAIN (A1), DISPLAY (A2), POWER KEY (A3)
POWER SUPPLY (A4), HEADPHONE (A5)
TAPE 1 KNOB (A6), TAPE 2 KNOB (A7), FLASH (A8)
The LF symbol indicates lead-free solder, and is attached on the PWB and service manuals.The alphabetical
character following LF shows the type of lead-free solder.
When fixing the PWB soldered with the lead-free solder, apply lead-free wire solder. Repairing with
conventional lead wire solder may cause damage or accident due to cracks.
As the melting point of lead-free solder (Sn-Ag-Cu) is higher than the lead wire solder by 40 C, were
commend you to use a dedicated soldring bit,if you are not familiar with how to obtain lead-free wire solder or
soldering bit,contact our service station or service branch in your area.
As the melting point of lead-free solder (Sn-Ag-Cu) is about 220 C which is higher than the conventional lead
solder by 40 C, and as it has poor solder wettability, you may be apt to keep the soldering bit in contact with the
PWB for extended period of time. However, since the land may be peeled off or the maximum heat-resistance
temperature of parts may be exceeded, remove the bit from the PWB as soon as you confirm the steady
soldering condition.
Lead-free solder contains more tin, and the end of the soldering bit may be easily corrected. Make sure to turn
on and off the power of the bit as required.
If a different type of solder stays on the tip of the soldering bit, it is alloyed with lead-free solder.Clean the bit
after every use of it.
"MAIN,DISPLAY,POWER KEY,POWER SUPPLY,HEADPHONE,TAPE 1 KNOB,TAPE 2 KNOB,FLASH,
CD SERVO of this model employs lead-free solder.
CHAPTER 1.
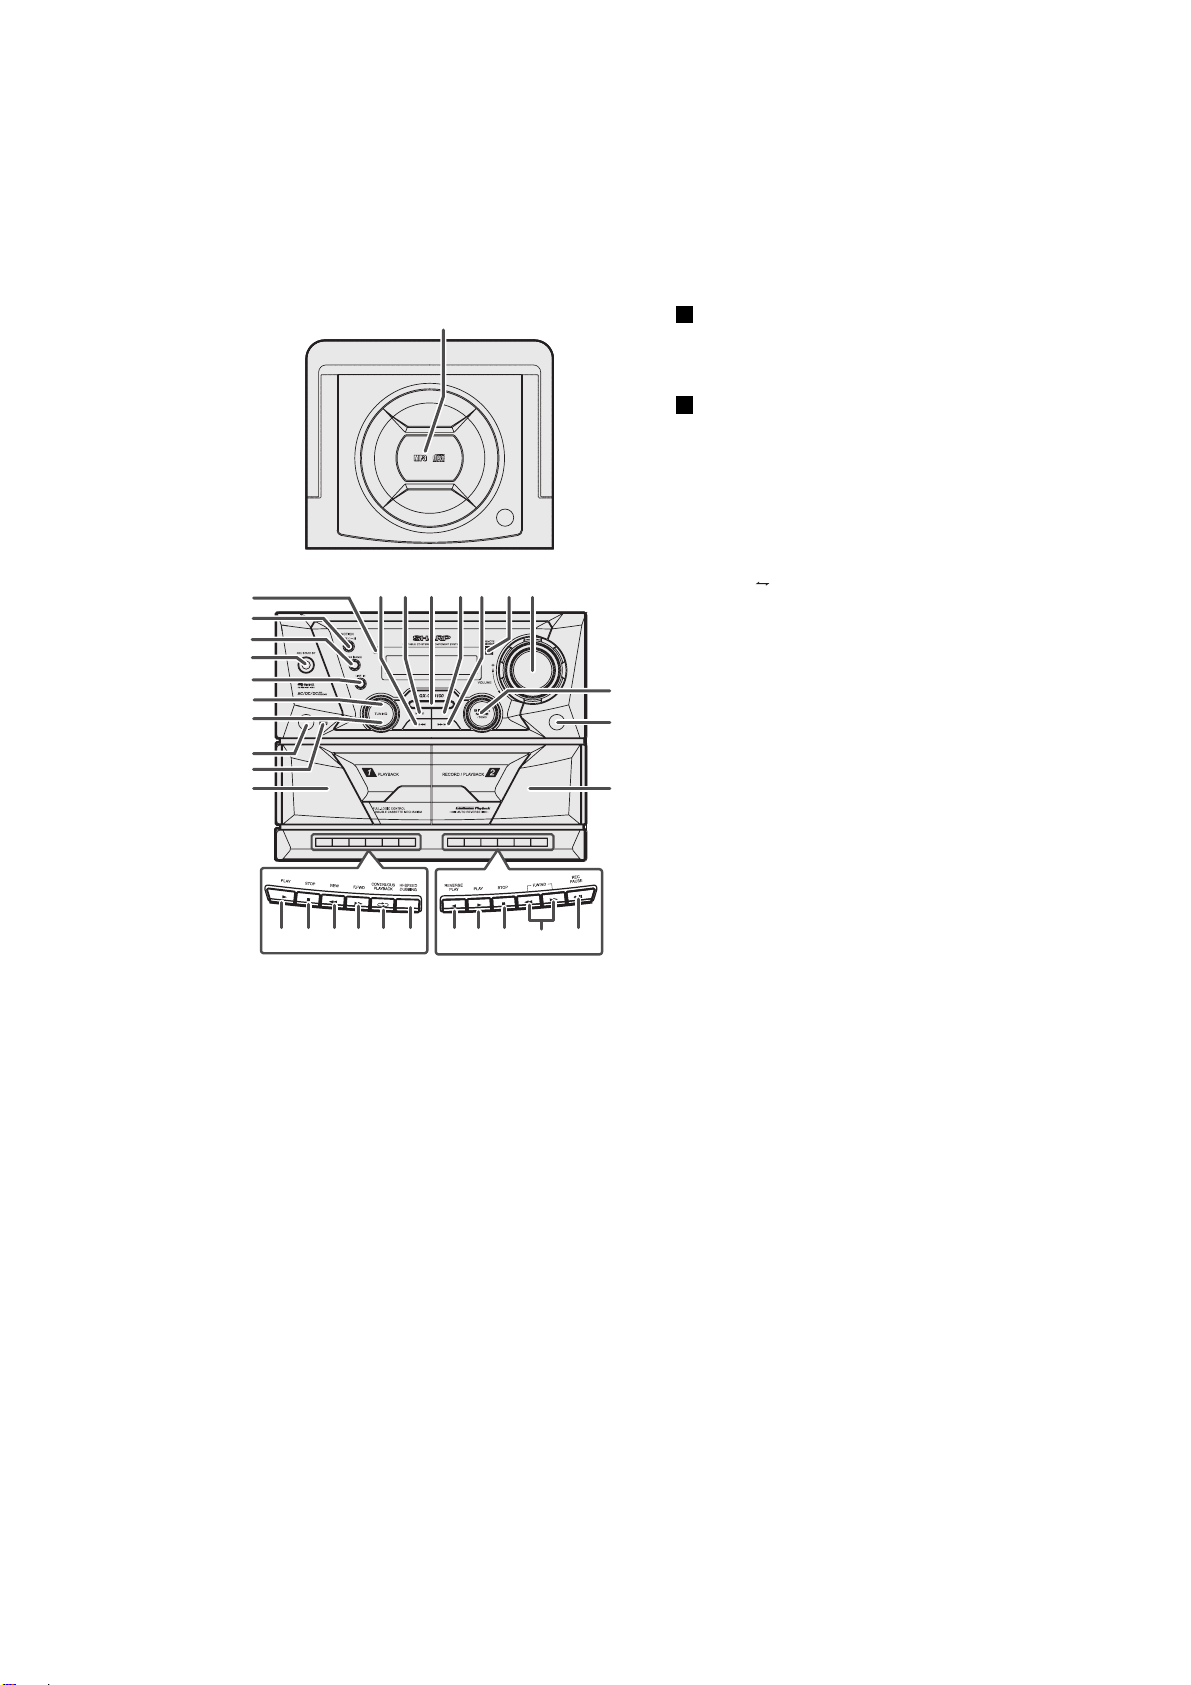
GENERAL DESCRIPTION
1


 User manual")


 User manual")