Sharp QT-MP3W User manual

Thank you for purchasing this SHARP product.
To obtain the best performance from this product, please read this
manual carefully. It will guide you in operating your SHARP product.
PORTABLE CD STEREO SYSTEM
MODEL
QT-MP3W
OPERATION MANUAL
/

Wiring diagram of this model is subject to change for improvement without prior notice.
QT-MP3W_ SCH 11/14/06, 1:27 PM1

QT-MP3
Wiring diagram of this model is subject to change for improvement without prior notice.
QT-MP3W_ SCH 11/14/06, 1:27 PM2

Wiring diagram of this model is subject to change for improvement without prior notice.
QT-MP3W_ SCH 11/14/06, 1:27 PM3

Wiring diagram of this model is subject to change for improvement without prior notice.
QT-MP3W_ SCH 11/14/06, 1:27 PM4

Wiring diagram of this model is subject to change for improvement without prior notice.
QT-MP3W_ SCH 11/14/06, 1:27 PM5

Wiring diagram of this model is subject to change for improvement without prior notice.
QT-MP3W_ SCH 11/14/06, 1:27 PM6

Wiring diagram of this model is subject to change for improvement without prior notice.
QT-MP3W_ SCH 11/14/06, 1:27 PM7

Wiring diagram of this model is subject to change for improvement without prior notice.
QT-MP3W_ SCH 11/14/06, 1:27 PM8

1
QT-MP3W
General Information
Special notes
WARNINGS
Note:
Audio-visual material may consist of copyrighted works which must
not be recorded without the authority of the owner of the copyright.
Please refer to the relevant laws in your country.
CAUTION:
This product is classified as a CLASS 1 LASER product.
Use of controls, adjustments or performance of procedures other
than those specified herein may result in hazardous radiation
exposure.
As the laser beam used in this compact disc player is harmful to
the eyes, do not attempt to disassemble the cabinet. Refer
servicing to qualified personnel only.
Laser Diode Properties
Material: AIGaAs
Wavelength: 790 nm
Emission Duration: continuous
Laser Output: max. 0.6 mW
When the FUNCTION switch is set at TAPE/STAND-BY position,
mains voltage is still present inside the unit.
This unit contains no user serviceable parts. Never remove covers
unless qualified to do so. This unit contains dangerous voltages,
always remove mains plug from the socket before any service
operation and when not in use for a long period.
To prevent fire or shock hazard, do not expose this appliance to
dripping or splashing. No objects filled with liquids, such as vases,
shall be placed on the apparatus.
/
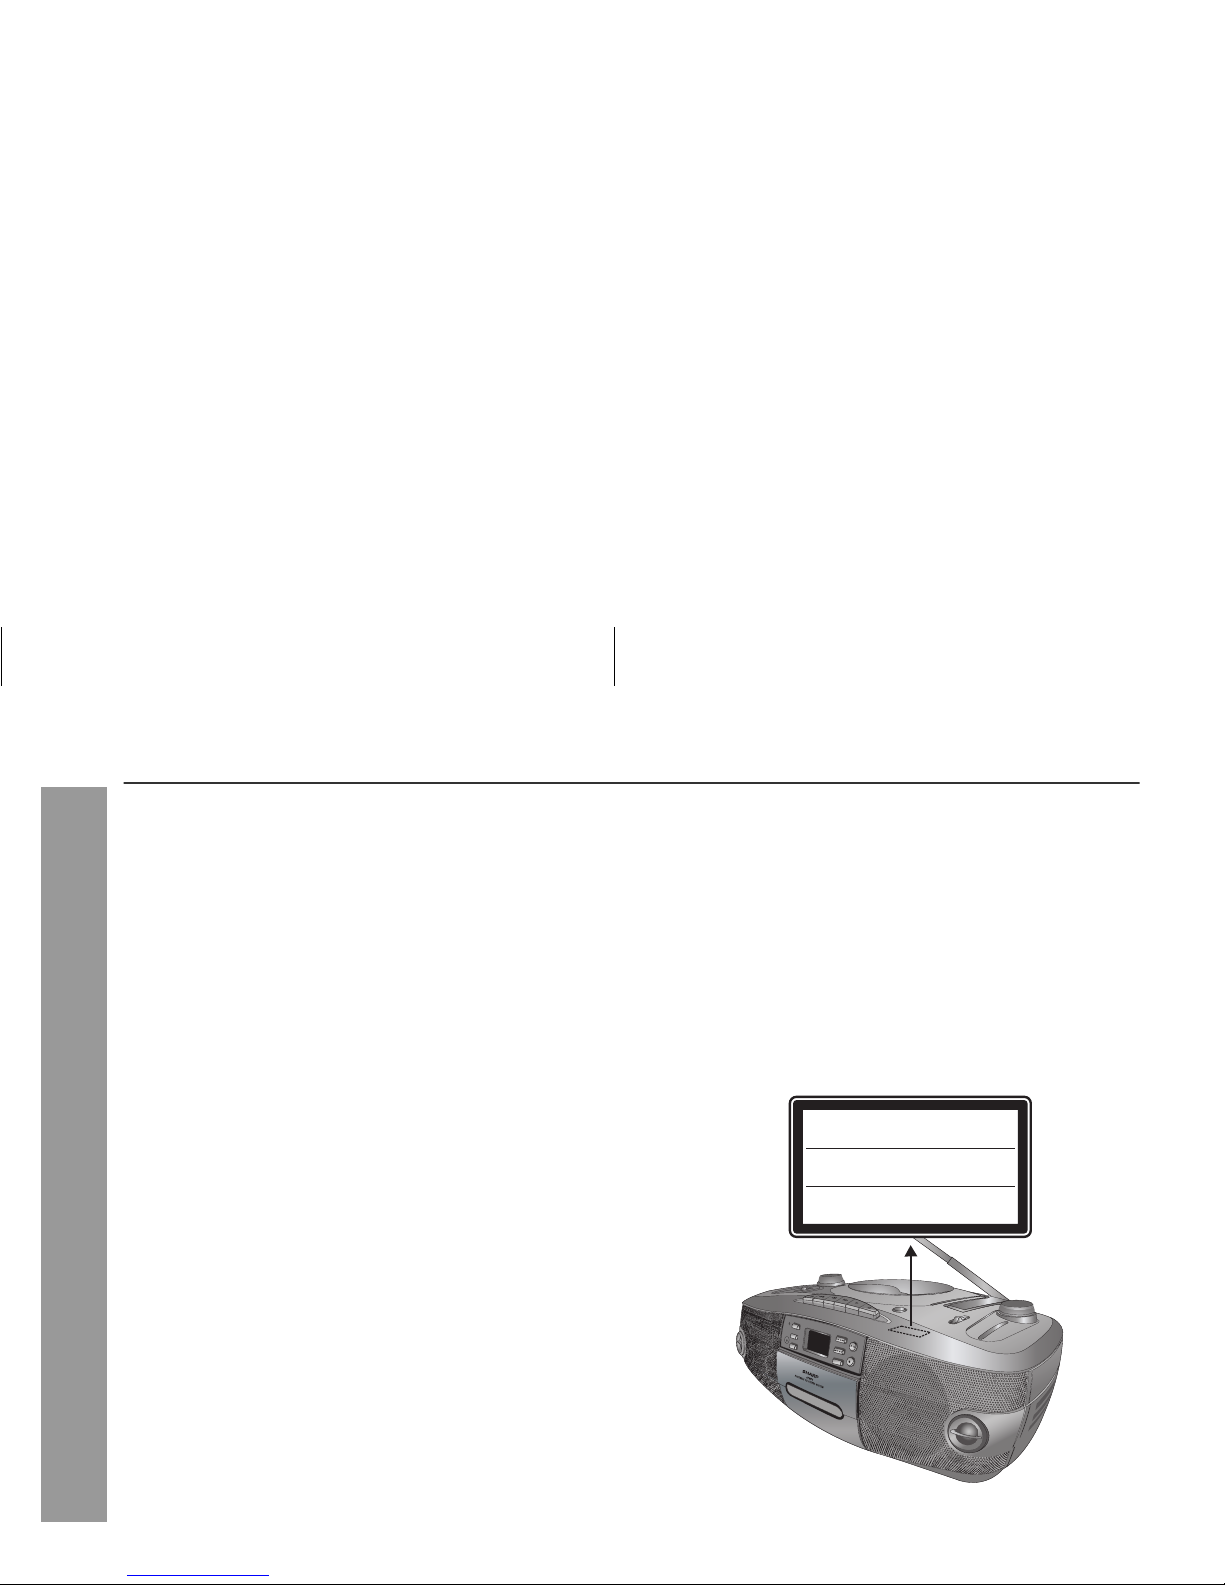
CAUTION-INVISIBLE LASER RADIATION WHEN OPEN.
DO NOT STARE INTO BEAM OR VIEW DIRECTLY WITH
OPTICAL INSTRUMENTS.
WARNUNG-UNSICHTBARE LASERSTRAHLUNG WENN GERÄT
GEÖFFNET. NICHT IN DIE STRAHLUNG SCHAUEN ODER
DIREKT MIT OPTISCHEN HILFSMITTELN BETRACHTEN.
ATTENTION-RAYON LASER INVISIBLE EN CAS D'OUVERTURE.
NE PAS REGARDER LE FAISCEAU DIRECTEMENT OU AVEC DES
INSTRUMENTS OPTIQUES.

2
QT-MP3W
General Information
Special Note
Supply of this product does not convey a license nor imply any right
to distribute content created with this product in revenue-generating
broadcast systems (terrestrial, satellite, cable and/or other distribu-
tion channels), revenue-generating streaming applications (via Inter-
net, intranets and/or other networks), other revenue-generating
content distribution systems (pay-audio or audio-on-demand appli-
cations and the like) or on revenue-generating physical media (com-
pact discs, digital versatile discs, semiconductor chips, hard drives,
memory cards and the like). An independent license for such use is
required. For details, please visit http://mp3licensing.com.
MPEG Layer-3 audio coding technology licensed from Fraunhofer
IIS and Thomson.
Accessory
Please confirm that the following accessory is included.
Note:
Only the above accessory is included.
Contents
Page
General Information
Precautions . . . . . . . . . . . . . . . . . . . . . . . . . . . . . . . . . . . . . . . . . 3
Controls and indicators . . . . . . . . . . . . . . . . . . . . . . . . . . . . .4 - 5
Preparation for Use
Operation with AC power . . . . . . . . . . . . . . . . . . . . . . . . . . . . . . 6
Operation with batteries . . . . . . . . . . . . . . . . . . . . . . . . . . . . . . . 6
Basic Operation
Sound control . . . . . . . . . . . . . . . . . . . . . . . . . . . . . . . . . . . . . . . 7
CD or MP3/WMA disc Playback
Listening to a CD or MP3/WMA disc . . . . . . . . . . . . . . . . . . .7 - 8
Advanced CD or MP3/WMA disc playback . . . . . . . . . . . . .9 - 10
MP3/WMA folder mode (only for MP3/WMA files) . . . . . . . . . . 11
Radio
Listening to the radio . . . . . . . . . . . . . . . . . . . . . . . . . . . . . . . . 12
Tape Playback
Listening to a cassette tape. . . . . . . . . . . . . . . . . . . . . . . . . . . . 13
Tape Recording
Recording to a cassette tape. . . . . . . . . . . . . . . . . . . . . . . .14 - 15
Advanced Feature
Enhancing your system . . . . . . . . . . . . . . . . . . . . . . . . . . . . . . . 15
References
Troubleshooting chart . . . . . . . . . . . . . . . . . . . . . . . . . . . . .16 - 17
Maintenance . . . . . . . . . . . . . . . . . . . . . . . . . . . . . . . . . . . . . . . . 17
Specifications . . . . . . . . . . . . . . . . . . . . . . . . . . . . . . . . . . . . . . 18
AC power lead 1

3
QT-MP3W
General Information
Precautions
General
Do not place anything on top of the unit.
Do not expose the unit to moisture, to temperatures higher than
60
˚
C (140
˚
F) or to extremely low temperatures.
If your system does not work properly, disconnect the AC power
lead from the wall socket. Plug the AC power lead back in, and
then turn on your system.
No naked flame sources, such as lighted candles, should be
placed on the apparatus.
Attention should be drawn to the environmental aspects of battery
disposal.
This unit should only be used within the range of 5˚C - 35˚C
(41˚F - 95˚F).
Warning:
The voltage used must be the same as that specified on this unit. Us-
ing this product with a higher voltage other than that which is speci-
fied is dangerous and may result in a fire or other type of accident
causing damage. SHARP will not be held responsible for any dam-
age resulting from use of this unit with a voltage other than that which
is specified.
Volume control
The sound level at a given volume setting depends on speaker effi-
ciency, location, and various other factors. It is advisable to avoid ex-
posure to high volume levels. Do not turn the volume on to full at
switch on and listen to music at moderate levels.
Use the unit on a firm, level surface free from
vibration.
Keep the unit away from direct sunlight,
strong magnetic fields, excessive dust,
humidity and electronic/electrical equip-
ment (home computers, facsimiles, etc.)
which generate electrical noise.
In case of an electrical storm, unplug the
unit for safety.
Hold the AC power lead by the head when
removing it from the wall socket, as pulling
the lead can damage internal wires.
The AC power lead is used as disconnect
device and shall always remain readily
operable.
Do not remove the outer cover, as
this may result in electric shock. Re-
fer internal service to your local
SHARP service facility.
The ventilation should not be impeded by
covering the ventilation openings with
items, such as newspapers, tablecloths,
curtains, etc.

4
QT-MP3W
General Information
Controls and indicators
Front panel
Reference page
1. Cassette Compartment . . . . . . . . . . . . . . . . . . . . . . . . . 13, 14
2. FM Stereo Indicator . . . . . . . . . . . . . . . . . . . . . . . . . . . . . . . 12
3. Folder Down Button . . . . . . . . . . . . . . . . . . . . . . . . . . . . 10, 11
4. Power on Indicator . . . . . . . . . . . . . . . . . . . . . . . . . . . . . . . . . 7
5. Folder Up Button . . . . . . . . . . . . . . . . . . . . . . . . . . . . . . 10, 11
6. Memory Button . . . . . . . . . . . . . . . . . . . . . . . . . . . . . . . . . . . 10
7. Repeat/Random Button . . . . . . . . . . . . . . . . . . . . . . . . . . . . . 9
8. Fast Reverse/Track Down Button . . . . . . . . . . . . . 8, 9, 10, 11
9. Fast Forward/ Track Up Button . . . . . . . . . . . . . . 8, 9, 10, 11
10. Play/Pause Button . . . . . . . . . . . . . . . . . . . . . . . . . . . . . 10, 11
11. Stop Button . . . . . . . . . . . . . . . . . . . . . . . . . . . . . . 8, 9, 10, 11
Top panel
Reference page
1. Headphone Socket . . . . . . . . . . . . . . . . . . . . . . . . . . . . . . . 15
2. X-Bass On/Off Button . . . . . . . . . . . . . . . . . . . . . . . . . . . . . . 7
3. Volume Control . . . . . . . . . . . . . . . . . . . . . . . . . . . . . . . . . . . 7
4. Function switch . . . . . . . . . . . . . . . . . . . . . . . . . . 8, 12, 13, 14
5. CD Compartment . . . . . . . . . . . . . . . . . . . . . . . . . . . . . . . . . . 8
6. CD Door Open Button . . . . . . . . . . . . . . . . . . . . . . . . . . . . . . 8
7. Tuner Band Selector . . . . . . . . . . . . . . . . . . . . . . . . . . . 12, 14
8. Tuning Control . . . . . . . . . . . . . . . . . . . . . . . . . . . . . . . . . . . 12
9. Build-in Mic . . . . . . . . . . . . . . . . . . . . . . . . . . . . . . . . . . . . . . 14
10. Tape Pause Button . . . . . . . . . . . . . . . . . . . . . . . . . . 13, 14, 15
11. Tape Stop/Eject Button . . . . . . . . . . . . . . . . . . . . . . 13, 14, 15
12. Tape Fast Forward Button . . . . . . . . . . . . . . . . . . . . . . . . . 13
13. Tape Rewind Button . . . . . . . . . . . . . . . . . . . . . . . . . . . . . . 13
14. Tape Play Button . . . . . . . . . . . . . . . . . . . . . . . . . . . . . . . . . 13
15. Tape Record Button . . . . . . . . . . . . . . . . . . . . . . . . . 13, 14, 15
PAUSE
FUNCTION
OFFON
•MIN
MAX •
MIC
RADIO
TAPE (STAND-BY)
CD
STOP/EJECT F.FWD REWIND PLAY RECORD
OPEN
BAND
• AM
• FM
KHz
1600
1400
1200
1000
800
700
600
530
AM
MHz
108
106
104
102
100
96
92
90
88
FM
P
U
S
H
/
C
L
O
S
E
V
O
L
U
M
E
T
U
N
I
N
G
X-BASS
/
ON
21 3 4 5 6 7 8 9 10 11
12
3
45
10 11 12 13 14 15
678
9

5
QT-MP3W
General Information
Controls and indicators (continued)
Back panel
Reference page
1. FM Stereo/Mono mode/Beat Cancel Selector . . . . . . . 12, 14
2. Battery Compartment . . . . . . . . . . . . . . . . . . . . . . . . . . . . . . . 6
3. Voltage Selector . . . . . . . . . . . . . . . . . . . . . . . . . . . . . . . . . . . 6
4. AC Input Socket . . . . . . . . . . . . . . . . . . . . . . . . . . . . . . . . . . . 6
Display
Reference page
1. MP3 Indicator . . . . . . . . . . . . . . . . . . . . . . . . . . . . . . . . . . . . . 9
2. WMA Indicator . . . . . . . . . . . . . . . . . . . . . . . . . . . . . . . . . . . . 9
3. Disc Play Indicator . . . . . . . . . . . . . . . . . . . . . . . . . . . . . . . . 8
4. Folder Indicator . . . . . . . . . . . . . . . . . . . . . . . . . . . . . 9, 10, 11
5. Repeat mode Indicators . . . . . . . . . . . . . . . . . . . . . . . . . . . . . 9
6. Memory Indicator . . . . . . . . . . . . . . . . . . . . . . . . . . . . . . . 9, 10
7. Random Indicator . . . . . . . . . . . . . . . . . . . . . . . . . . . . . . . . . 9

6
QT-MP3W
Preparation for Use
Operation with AC power
Check the setting of the AC voltage selector located on the rear
panel before plugging the unit into a wall socket. If necessary,
adjust the selector to correspond the AC power voltage used in
your area.
AC plug adaptor:
In areas (or countries) where a wall socket as shown in illustration
2
is used, connect the unit using the AC plug adaptor supplied with the
unit, as illustrated. The AC plug adaptor is not included in areas
where the wall socket and AC power plug can be directly connected
(see illustration
1
).
Notes:
If the unit will not be used for a long period of time, remove the AC
power lead from the wall socket.
Connection of the AC power lead to the unit disconnects the
batteries.
Use only the supplied AC power lead. Using other power leads
may cause an electric shock or fire.
Operation with batteries
Battery replacement:
Replace the batteries when they become weak and/or recording or
playback is impaired. This may occur even though radio broadcasts
are audible.
Notes:
Replace all old batteries with new ones at the same time.
Do not mix old and new batteries.
Remove the batteries if they are weak or if the unit will not be
used for long periods of time. This will prevent potential damage
due to battery leakage.
Batteries are not included.
Caution:
Do not use rechargeable batteries (nickel-cadmium battery, etc.).
To a wall socket
To AC INPUT
AC 110-127/220-240 V,
50/60 Hz
1
2
1 Disconnect the AC power lead, and remove the battery com-
partment cover.
2 Insert 8 "D", size batteries (UM/SUM-1, R20, HP-2 or similar)
into the battery compartment.
Insert the batteries according to the direction indicated on the
rear panel.
When inserting or removing the batteries, push them towards
the battery terminals.
Installing the batteries incorrectly may cause the unit to
malfunction.
3 Replace the battery compartment cover.
1
4
3
2
5
6
8
7

7
QT-MP3W
Basic Operation
Sound Control
Volume:
Turn the VOLUME control to increase or decrease the volume.
Extra bass (X-BASS)
Press the X-BASS button to emphasise bass sound.
Listening to a CD or MP3/WMA
disc
This system can play back a standard CD, CD-R/RW in the CD format
and CD-R/RW with MP3 or WMA files, but cannot record on them.
Some audio CD-R and CD-RW discs may not be playable due to the
state of the disc or the device that was used for recording.
MP3:
MP3 is a form of compression. It is an acronym which stands
for MPEG Audio Layer 3.
MP3 is a type of audio code which is processed by significant
compression from the original audio source with very little loss
in sound quality.
This system supports MPEG 1 Layer 3, MPEG 2 Layer 3, and
VBR files.
Bitrate which is supported by MP3 is 32 ~ 320 kbps.
WMA:
WMA files are Advanced System Format files that include audio
files which are compressed with Windows Media Audio codec.
WMA is developed by Microsoft as an audio format file for Win-
dows Media Player.
"MP3" and "WMA" indicator will light up after the unit reads
information on an MP3 or WMA disc.
Bitrate which is supported by WMA is 64 ~ 160 kbps.
PAUSE
FUNCTION
OFFON
• MIN
MAX•
MIC
RADIO
TAPE (STAND-BY)
CD
STOP/EJECT F.FWD REWIND PLAY RECORD
OPEN
BAND
• AM
• FM
KHz
1600
1400
1200
1000
800
700
600
530
AM
MHz
108
106
104
102
100
96
92
90
88
FM
P
U
S
H
/
C
L
O
S
E
V
O
L
U
M
E
T
U
N
I
N
G
X-BASS
• MIN
MAX•
V
O
L
U
M
E
OFFON
X-BASS

8
QT-MP3W
CD or MP3/WMA disc Playback
Playback
To stop playback:
Press the button.
To remove the disc:
In the stop mode, press the OPEN button to open the CD door.
Caution:
Do not place two discs in the spindle.
Do not play disc with special shapes (heart- or octagon-
shaped). It may cause malfunctions.
If TV or radio interference occurs during CD operation, move the
unit away from the TV or radio.
If a disc is damaged, dirty, or loaded upside down, the disc will not
play back.
Various disc functions
Note:
Rewritable multi session disc which writing is not finished, can still
be played.
1Set the FUNCTION switch to CD, Power "ON" indicator will
lights up.
2Press the OPEN button to open CD door.
3Place the disc on the spindle, label side up.
Be sure to place 8 cm (3") disc in the middle of the disc spindle.
4Close the CD door by firmly pushing the right corner of it.
5Press the / button to start playback.
12 cm (5") 8 cm (3")
Function Main unit Operation
Play Press in the stop mode.
Stop Press in the playback mode.
Pause Press in the playback mode. Press
the / button to resume play-
back from the paused point.
Track up/
Track down
Press in the playback or stop
mode.
If you press the button in the stop
mode, press the / button to
start the desired track.
Fast for-
ward/Fast
reverse
Press and hold down in the play-
back mode.
Release the button to resume
playback.
PAUSE
FUNCTION
OFFON
• MIN
MAX •
MIC
RADIO
TAPE (STAND-BY)
CD
STOP/EJECT F.FWD REWIND PLAY RECORD
OPEN
BAND
• AM
• FM
KHz
1600
1400
1200
1000
800
700
600
530
AM
MHz
108
106
104
102
100
96
92
90
88
FM
P
U
S
H
/
C
L
O
S
E
V
O
L
U
M
E
T
U
N
I
N
G
X-BASS
OPEN
P
U
S
H
/
C
L
O
S
E
FUNCTION
RADIO
TAPE (STAND-BY)
CD
/II
/II

9
QT-MP3W
CD or MP3/WMA disc Playback
Advanced CD or MP3/WMA disc playback
Repeat play and Random play
All tracks or a programmed sequence can be continuously repeated.
The track on the disc can be played in random order automatically.
Notes:
If you press the button during random play, you can move
to the track selected next by the random operation. On the other
hand, the button does not allow you to move to the previ-
ous track. The beginning of the track being played will be located.
In random play, the unit will select and play tracks automatically.
(You cannot select the order of the tracks.)
Caution:
After performing repeat or random play, be sure to press the but-
ton. Otherwise, the disc will play continuously.
Programmed play for CD or MP3/WMA disc
without folder
You can choose up to 20 selections for playback in the order you like.
1Whilst a disc is stop or playing,
press the REPEAT/RANDOM
button to Repeat 1.
2Each time the button is pressed, the repeat play mode
changes in the following order.
The repeat play mode changes as follows on CD.
The repeat play mode changes as follows on MP3/WMA disc.
REPEAT
RANDOM
REPEAT
WMA
REPEAT ALL
WMA
RANDOM
REPEAT 1 REPEAT ALL
RANDOMNORMAL
REPEAT
FOLDER
WMA
REPEAT
FOLDER
WMA
REPEAT ALL
FOLDER
WMA
FOLDER
RANDOM
WMA
FOLDER
WMA
REPEAT 1 REPEAT FOLDER REPEAT ALL
RANDOMNORMAL
1Whilst in the stop mode, press the
MEMORY button to enter the
programming save mode.
2Select a track by pressing the or
button.
Selected track number
3
Press the MEMORY button to save the track number
.
4Repeat steps 2 - 3 for other tracks and programmed number
will automatic increase. Up to 20 tracks can be programmed.
"_ _ _" indicator will display on LCD after programmed up to 20
tracks.
If you make a mistake, the programmed tracks can be cleared by
pressing the button twice.
5Press the / button to start playback.
MEMORY
MEMORY
MEMORY
MEMORY

10
QT-MP3W
CD or MP3/WMA disc Playback
Programmed play for CD or MP3/WMA disc with
folder
To cancel the programmed play mode:
Whilst in the stop mode and the "MEMORY" indicator is lit, press the
button. The "MEMORY" indicator will disappear and all the pro-
grammed contents will be cleared.
Notes:
When open the CD compartment, the programme is automatically
cancelled.
After you change the function from CD to another, the pro-
grammed selections will be cleared.
During programme operation, random play is not possible.
Notes:
This unit only supports "MPEG-1 Audio Layer-3" format.
(Sampling Frequency is 32, 44.1, 48kHz)
"MPEG-2 Audio Layer-3", "MPEG-2.5 Audio Layer-3" and MP1,
MP2 format are not supported.
Playback order for MP3 files may differ sometimes depending on
the writing software used during file download.
Bitrate which is supported by MP3 is 32~320 kbps, WMA is
64~160 kbps.
For MP3/WMA files, please put ".MP3" ".WMA" extension. Files
cannot be played back if there is no MP3/WMA extension.
Playlists are not supported on this unit.
Copyright protected WMA files cannot be played back.
1For MP3/WMA CD with folder, to-
tal folder number will be display.
Folder number
2Whilst in the stop mode, press
the MEMORY button to enter the
programmed save mode.
3Select a track by pressing the
FOLDER ( or ) button to de-
sire folder.
Folder number
Press the or button
to select the desire track.
Track number
4Press the MEMORY button to
save the track number.
5Repeat steps 2 - 3 for other tracks and programmed num-
ber will automatic increase. Up to 20 tracks can be pro-
grammed.
"_ _ _" indicator will display on LCD after programmed up to 20
tracks.
If you make a mistake, the programmed tracks can be cleared
by pressing the button twice.
6Press the / button to start playback.
FOLDER
MEMORY
MEMORY
FOLDER MEMORY
MEMORY
MEMORY

11
QT-MP3W
CD or MP3/WMA disc Playback
MP3/WMA folder mode (only for MP3/WMA files)
To playback MP3/WMA (Windows Media Audio) file
There are many music sites on the internet that you can download
MP3/WMA (Windows Media Audio) music files. Follow the
instructions from the website on how to download the music files.
You can then playback these downloaded music files by burning
them to a CD-R/RW disc.
Your downloaded song/files are for personal use only. Any other
usage of the song without owner’s permission, is against the law.
About folder playback order
If MP3/WMA files are recorded in several folders, only total folder will
be display.
The folder and file order information which is recorded on the disc de-
pends on the writing software. There maybe possibilities that this unit
will playback the files not according to our expected playback order.
Procedure to playback MP3/WMA disc
To playback CD-R/RW.
1Press the OPEN button, and load a MP3/WMA disc.
After disc is loaded, the disc info will be displayed.
2Whilst in stop or play mode, press the FOLDER ( or )
button to select desired playback folder.
3Select desired track to be played back by pressing the
or button.
4
Whilst in stop mode, press the
/
button.
Playback will start.
5To stop playback, press the button.
FOLDER
Total folder
FOLDER
FOLDER Number
FOLDER Indicator
Other manuals for QT-MP3W
1
Table of contents
Other Sharp Stereo System manuals

Sharp
Sharp CD-MPX200W User manual

Sharp
Sharp XL-70 User manual

Sharp
Sharp GF-A2Z(S) User manual

Sharp
Sharp CD-BP1450V User manual

Sharp
Sharp CD-C290X User manual

Sharp
Sharp XL-DAB227NH User manual

Sharp
Sharp XL-3500H User manual

Sharp
Sharp XL-UH240H User manual

Sharp
Sharp XL-DH259N User manual

Sharp
Sharp CD-XP500 User manual

Sharp
Sharp XL-UR230H User manual

Sharp
Sharp CD-SW250DVD User manual

Sharp
Sharp CD-C440W User manual

Sharp
Sharp CD-BA120 User manual

Sharp
Sharp CD-MPX850 User manual

Sharp
Sharp CD-XP305V User manual

Sharp
Sharp XL-MP130 User manual

Sharp
Sharp SD-CX1W User manual

Sharp
Sharp CD-C492 User manual

Sharp
Sharp XL-DH259P User manual