EN-22
−
−
−
−
−
EN-9
EN-15, 16
EN-13, 14
EN-16
EN-16
EN-17
EN-17
EN-14
EN-16
EN-16
EN-15, 16
Reference
Pages
EN-1
CautionDanger Warning
Warning
SAFETY PRECAUTIONS
Matters that must be observed in order to prevent danger to humans and damages to property
are explained.
Details that related to "matters
with high probability of death
or sustaining serious injury".
Details that related to
"matters with probability of
death or serious injury".
Details that relate to "matters with
probability of sustaining minor
injury or damage to property".
Matters for preventing electrocution, fire disaster, electricity leaks and
major injuries
Charger
Stop using the product immediately when there is any abnormality or malfunction.
Location of using product and when
product is in use
Do not damage the power plug or power cord.
Do not use any power outlet that is loose.
Do not insert or remove the power plug with
wet hands.
(Risk of electrocution, short circuiting, ignition of
fire or cause injury.)
Do not use any damaged power plug or
power cord.
Always use the charger that is a genuine
accessory.
Do not use an extension cord.
Remove dust on the power plug periodically.
Remove the plug and wipe with a dry cloth.
Securely insert the power plug to the base.
Burning smell is emitted.
Abnormally hot with the vacuum cleaner body or the
charger deforming from heat.
Abnormal sound is emitted while the product is in operation.
Moving the power plug or the power cord of the
charger results in the Charging lamp on the charger
turning on and off.
The product does not always operate even when the
switch is turned on.
(Risk of fire disaster, electrocution and product
malfunction.)
(Dust accumulating on the power plug may lead to
insulation defects due to humidity and the like, which
can cause fire disaster.)
(Incomplete insertion of a plug may cause fire
disaster, electrocution or short circuiting.)
Do not force the cord or plug to bend Do not
pull the cord or plug Do not twist the cord or plug
Do not bundle the cord Do not pinch the cord
or plug Do not modify the cord or plug Do not
allow the cord or the plug to be tangled up in the
Rotary brush of the Suction head
Do not scratch or damage the cord or the plug
Do not place any heavy object on top of the cord or
the plug
(The cord may be damaged and cause fire disaster or
electrocution.)
Do not overload power outlets.
(Risk of fire disaster or electrocution.)
Refer to in
"TROUBLESHOOTING" and contact your nearest
service center approved by SHARP.
Disconnect the power cord of the charger from
the electrical outlet.
Press the and remove the battery from
the vacuum cleaner body immediately.
Do not throw the product
into a fire or heat it.
Do not apply water or detergent on the
vacuum cleaner body or the charger and do
not wash them with water (excluding
components that can be washed with water).
Do not use the product near any substance
that is flammable or allow such
substance to be suctioned
into the product.
Never use the product in a location that is wet
or where it can become wet such as a
bathroom, or where there is high temperature
and high humidity and never allow water to be
suctioned into the product.
(Risk of electrocution, short circuiting and
ignition of fire.)
(Risk of electrocution, short circuiting and
ignition of fire.)
(Risk of explosion or fire disaster.)
Combustible substances
such as toner
Cigarette stubs
Benzene thinners
Kerosene, gasoline and incense
(Risk of short circuiting,
ignition of fire, liquid leakage
and explosion.)
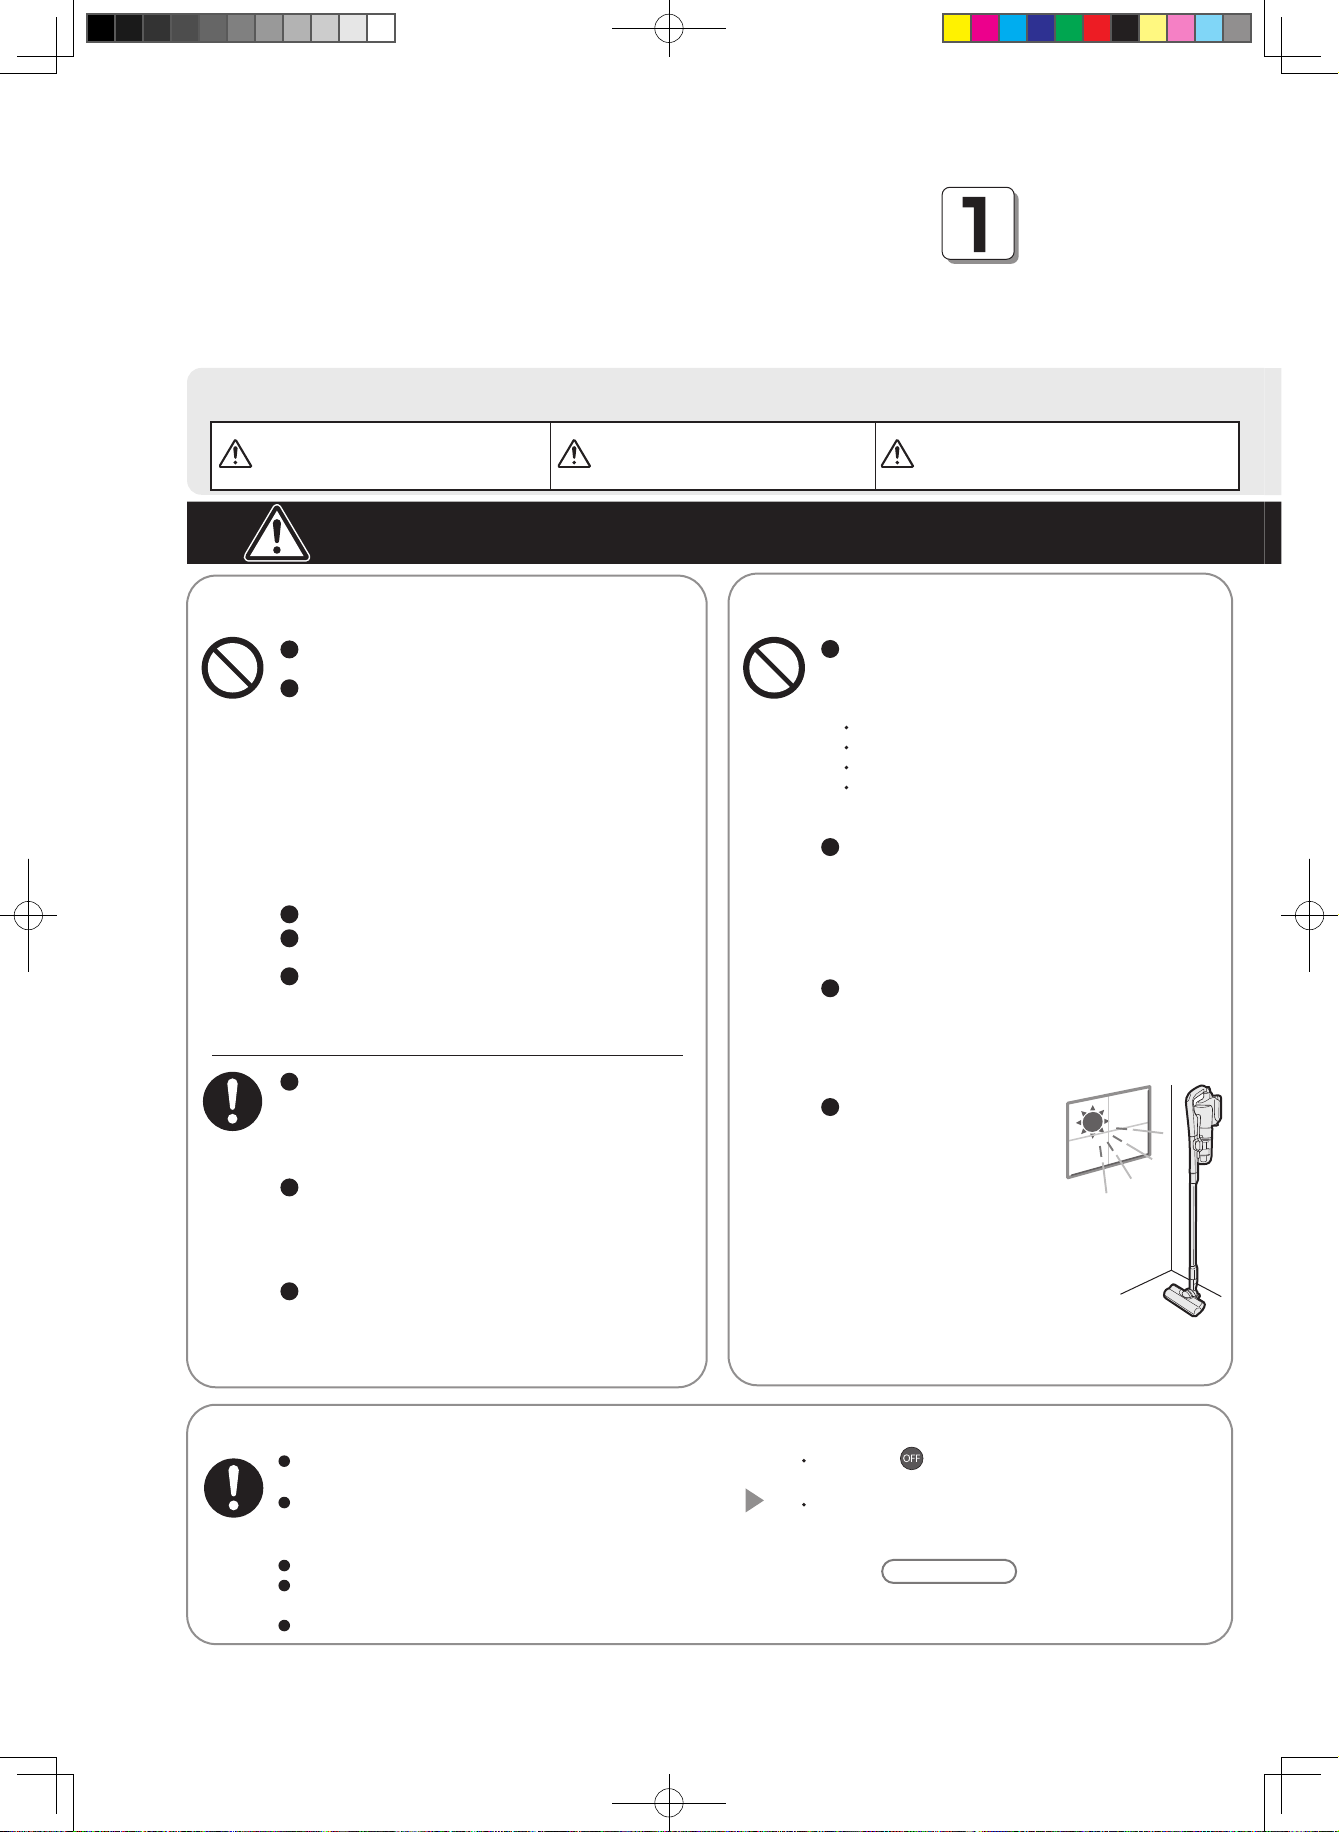
Furthermore, do not
place the product
near fire or space
heater, a location exposed
to direct sun light or at a
location with high
temperature such as inside
a car parked under the
flaming sun and the like.
If the Filter care lamp (red) and the Battery level indicator lamp (green) on the vacuum cleaner body are blinking
simultaneously the product may be malfunctioning. Contact your nearest service center approved by SHARP.
A part of the Pleat
filter appears to be
white and floating.
A rattling sound is
coming out of the
Suction head.
The Rotary brush
does not rotate.
The Dust cup
assembly cannot be
assembled.
The Dust cup assembly
cannot be installed on
the vacuum cleaner body
The vacuum cleaner
body is hot
Is there any clogging on the Mesh filters or Pleat filter?
Heat is generated due to the electrical current that is supplied to the
control circuit, but this is not abnormal.
Are respective components of the Dust cup assembly assembled
properly?
Are respective components of the Dust cup assembly assembled properly?
Is the Suction head assembled properly?
Is any hair or lint tangled on the brush?
Is the pipe dislodged from the vacuum cleaner body?
The Rotary brush stops automatically for safety purpose when the
Suction head is off the floor. (Safety Stop)
The Rotary brush may stop in some instances as the automatic stop
function is triggered when the Suction head becomes stuck on a surface
when the product is used to clean carpets and mats on which the Suction
head can become closely attached and blocked. In such instances, turn
off the product.
The automatic stop function will be released and the product can then be
used again.
Is there any dirt entangled on the Mesh filters?
Is there any dirt accumulating at the bottom of the Dust Cup?
Is the Pleat filter properly installed to the Filter Cover?
This is a sound emitted by the Roller Switch, due to the structure
(safety stop mechanism).
This is not abnormal.
The white filter material can become visible at times, but there is no quality
issue with such a situation.
Has the Mesh filters or the Pleat filter been washed with water and then
sufficiently dried? [Using the product while moisture remains on or in the
product may lead to the emission of an odor]
Is there much dirt accumulating in the Dust Cup?
(Depending on the type of accumulated dirt some odor may be emitted.)
The temperature of the vacuum cleaner body can rise to about 40°C during operation, but this is
not abnormal.
The charger or the
battery becomes hot
while charging.
The air discharged
from the vacuum
cleaner body smells.
Symptoms Check here
■Descriptions of conditions that occur due to erroneous uses are classified in the following manner
for the purpose of providing explanations.
EN-21 and 22
Check details described
below (prior to requesting
for repairs or contacting
for inquiries).
Hot
Dust cup
assembly
OdorOthers Suction head &
Rotary brush
EN-21
−
−
−
−
−
EN-13, 14
EN-15, 16
EN-15, 16
EN-17, 18
EN-6
EN-4
EN-13, 14
EN-13, 14
EN-15, 16
EN-6
EN-6
EN-7
EN-7
EN-1
EN-7
EN-8
EN-14
EN-16
EN-4
Reference
Pages
EN-6
EN-6
EN-2
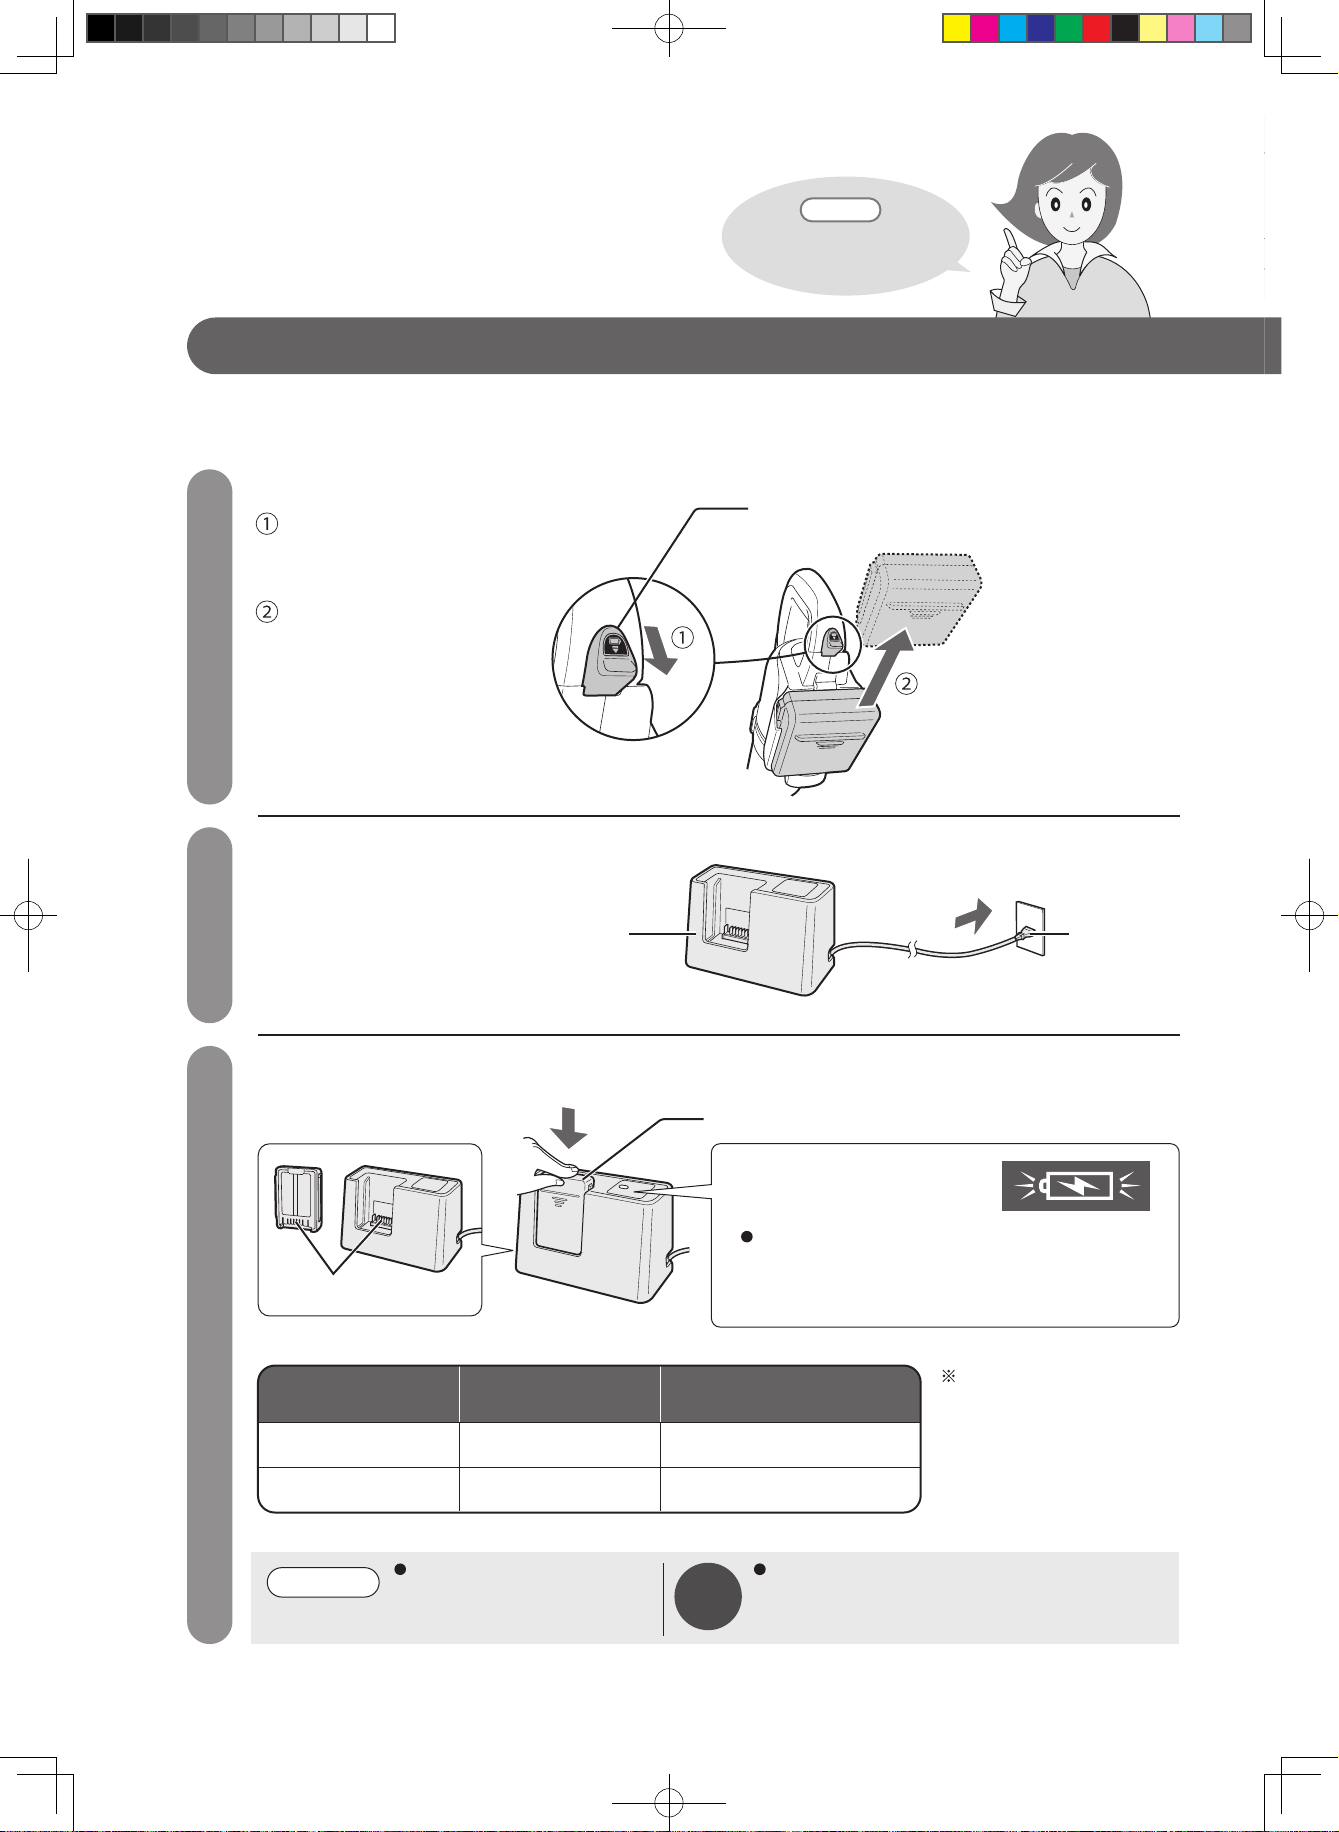
Terminal Terminal
Remove
the plug
Caution
EN-7
Terminal
TROUBLESHOOTING
Symptoms Check here
The product does not
operate
(Movements are
strange)
Operation time is
shorter.
was pressed but
the operation does not
stop immediately.
Abnormal sound is
emitted.
The suction power
becomes weak during
operation in the "High
mode".
The suction power is
weak.
The product stops
during operations.
Filter care lamp (red)
blinks rapidly.
The operating sound
changed or became
louder.
The battery cannot be
charged.
(The Charging lamp
(red) of the charger is
not turned on)
The battery cannot be
charged.
(The Charging lamp
(red) of the charger
blinks rapidly)
The Charging lamp
(red) of the charger
blinks slowly)
Contact your nearest service center approved by SHARP
if the product still stops during cleaning even
if the measures described above have been implemented.
Filter care lamp (red)
turns on.
Remove the battery from the vacuum cleaner body, wait for about one
minutes to pass and then reinstall the battery on the vacuum cleaner
body and restart the operation.(The vacuum cleaner body circuit
becomes reset and the product is restored to normal operation.)
Is there any dirt or foreign matter trapped between the Pleat filter and the
Mesh filters?
Is the filter of the Dust cup assembly is dirty?
Remove the Dust cup assembly, dispose of dirt and remove the dirt
and dust on the filter.
Is the Suction head blocked? (When cleaning a mat or a enclosed nozzle is
used)
Press the and then restarting operation turns the lamp off.
Is there any clogging on the Mesh filters or Pleat filter?
Clean the filter by rinsing with water.
Is there any dirt clogging the pipe or the Suction head?
Remove the clogging dirt.
There is no malfunction if the product blinks slowly in an environment
with a low temperature (about 5°C or lower) or a high temperature
(about 35°C or higher). Charge the battery in an environment that is
between 5°C to 35°C.
Is there any dirt or foreign matter attached to a terminal of the charger
or the battery?
Remove the dirt or foreign matter with dry cloth.
If the slow blinking occurs when the room temperature is between 5°C and
35°C, then it is time to replace the battery. Replace the battery.
The symptom may be caused by malfunction of the charger,deterioration
or malfunction of the battery.
Contact your nearest service center approved by SHARP.
(Leaving a battery without charging and depleted for a prolonged period of
time can deteriorate the battery, which may need to be replaced.)
Continuously performing power operation at a location exposed to
direct sun light or in an environment with high temperature such as
inside a car parked under the flaming sun and the like can
automatically reduce the suction power as the overheating
protection circuit is triggered to prevent deterioration of the battery.
The motor keeps on turning for a while even after the is pressed,
but this is not a malfunction.
The operating time gradually becomes shorter as the battery is used
repeatedly.Replace the battery when the operating time is extremely
short even when the battery has been charged.
Is the battery correctly set to the vacuum cleaner body?
Is the Dust cup assembly correctly installed on the vacuum cleaner body?
Is there any large dirt such as a piece of tissue paper entangled inside the
Dust Cup?
Is there much dirt accumulating in the Dust Cup?
Is the charge remaining in the battery low? Charge the battery.
Is the battery correctly set to the charger?
Is the power plug of the charger securely inserted in the power outlet?
Is the vacuum cleaner body overheating? Leave the product in a cool
place for a while.
Is there any clogging on the Mesh filters or Pleat filter?
Clean the filter by rinsing with water.
Is the charge remaining in the battery low? Charge the battery. ■ Details on the types of matters that must be observed are
explained using following symbols.
Do not do this Must do this
When product is used When product is used
Charger
Matters for preventing electrocution,
fire disaster and malfunction of
vacuum cleaner body
(Risk of deformation of vacuum
cleaner body, ignition of fire
and fire disaster due to
overheating.)
(Risk of electrocution and
malfunction of product.)
(Risk of injury or malfunction of product
when the vacuum cleaner body becomes
dislodged or falls.)
(Risk of electrocution, electric current leakage and
fire disaster due to deterioration of insulation.)
(Risk of electrocution or injury.)
(Risk of injury of a hand or the like.)
Be particularly careful with children!
(Risk of heating, ignition of fire, electrocution or
product malfunction.)
(
Risk of
fire disaster, electrocution or injury.)
Contact your nearest service center approved by
SHARP.
(Risk of burns.)
Disconnect the power cord of the charger
from the electrical outlet.
Press the and remove the battery
from the vacuum cleaner body.
(Risk of electrocution, short circuiting and ignition
of fire.)
Do not operate the product over a
long period of time with the Suction
head blocked.
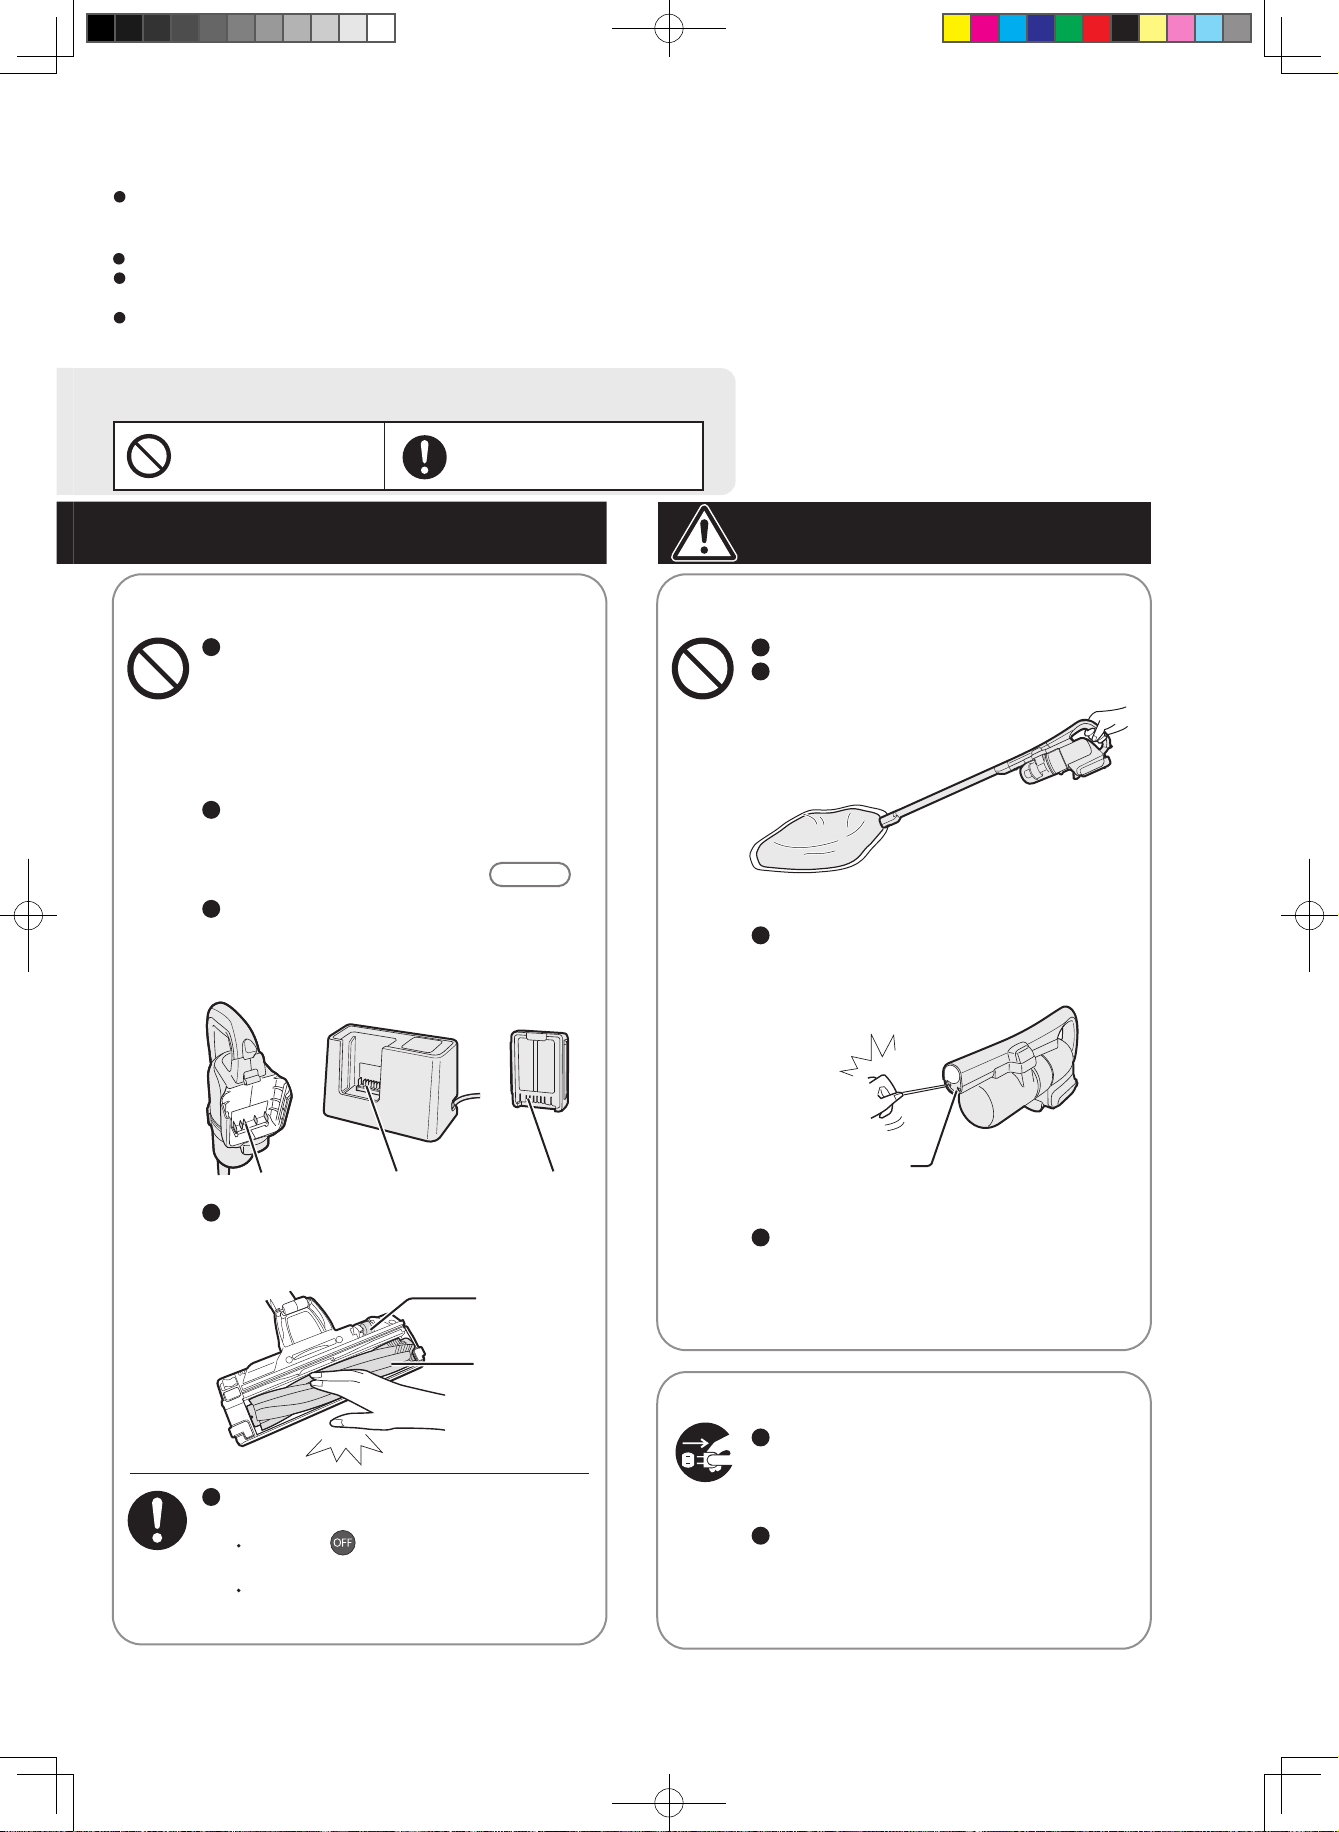
Do not allow any metal objects or pins to
enter in the pipe insertion slots, pipe
contacts or air exhaust port.
Do not transport the product by
holding on a pipe or the Dust Cup.
Disconnect the power cord of the product
from the electrical outlet when not using
the product over a long period of time.
Must do the followings when servicing
or inspecting the product
Do not touch the Rotary Brush or Roller
Switch (with safety stop mechanism).
Do not touch the terminals of the vacuum
cleaner body, the charger or the battery with
a metal object such as a needle or a pin.
Do not touch the terminals of the charger
or the battery while charging or
immediately after completing charging.
Never modify the structure of the vacuum
cleaner body or the charger and do not
disassemble and no one must repair the
product unless the individual is a repair
technician.
Be sure to remove the power plug from
the power outlet by holding onto the
power plug with a hand.
Do not block the air exhaust port
Pipe contact
Roller
Switch
Rotary
brush
Problems with vacuum cleaner body during operation
Charging
This appliance is not intended for use by persons (including children) with reduced physical, sensory or mental capabilities, or
lack of experience and knowledge, unless they have been given supervision or instruction concerning use of the appliance by
a person responsible for their safety.
Children should be supervised to ensure that they do not play with the appliance.
If the Cord of the Charger is damaged, it must be replaced by the manufacturer, its service agent or similarly qualified
persons in order to avoid a hazard.
The Suction head and Pipe (accessories) are only to be used with the appliance. Do not connect these accessories with
the power outlet or plug, socket-outlet, connector or appliance inlet that is connected with the power outlet.
EC-A1RA_Eng_A4(ai sorted).indd 1 2017/07/07 11:43:17