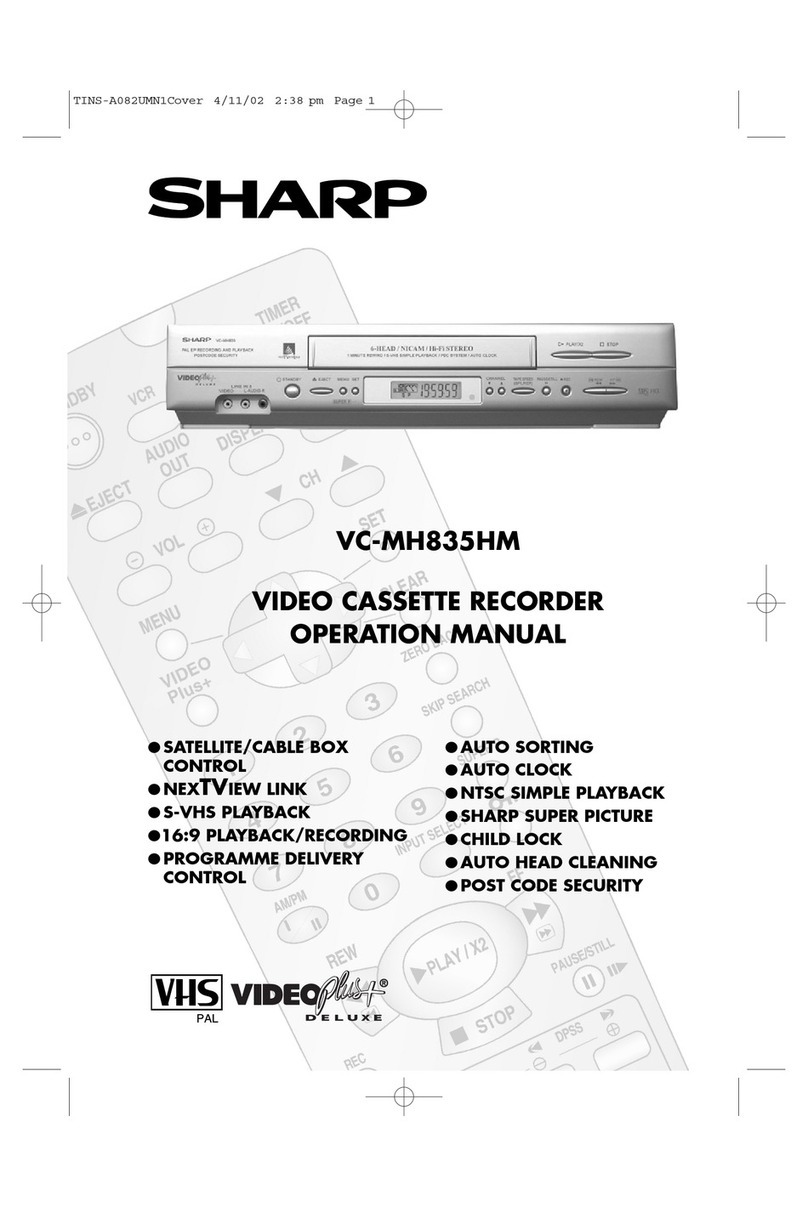
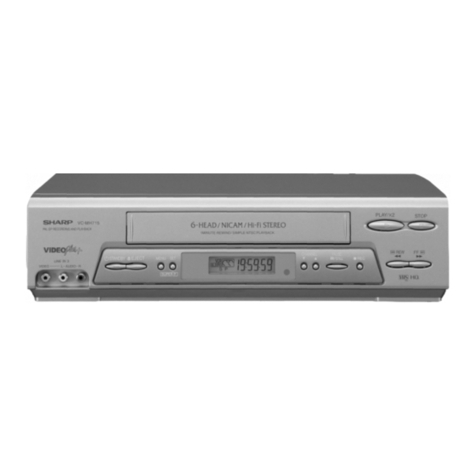
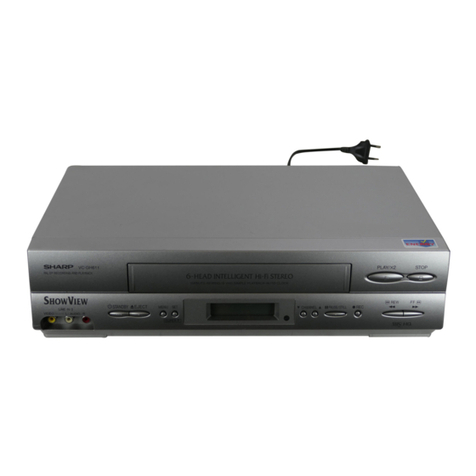
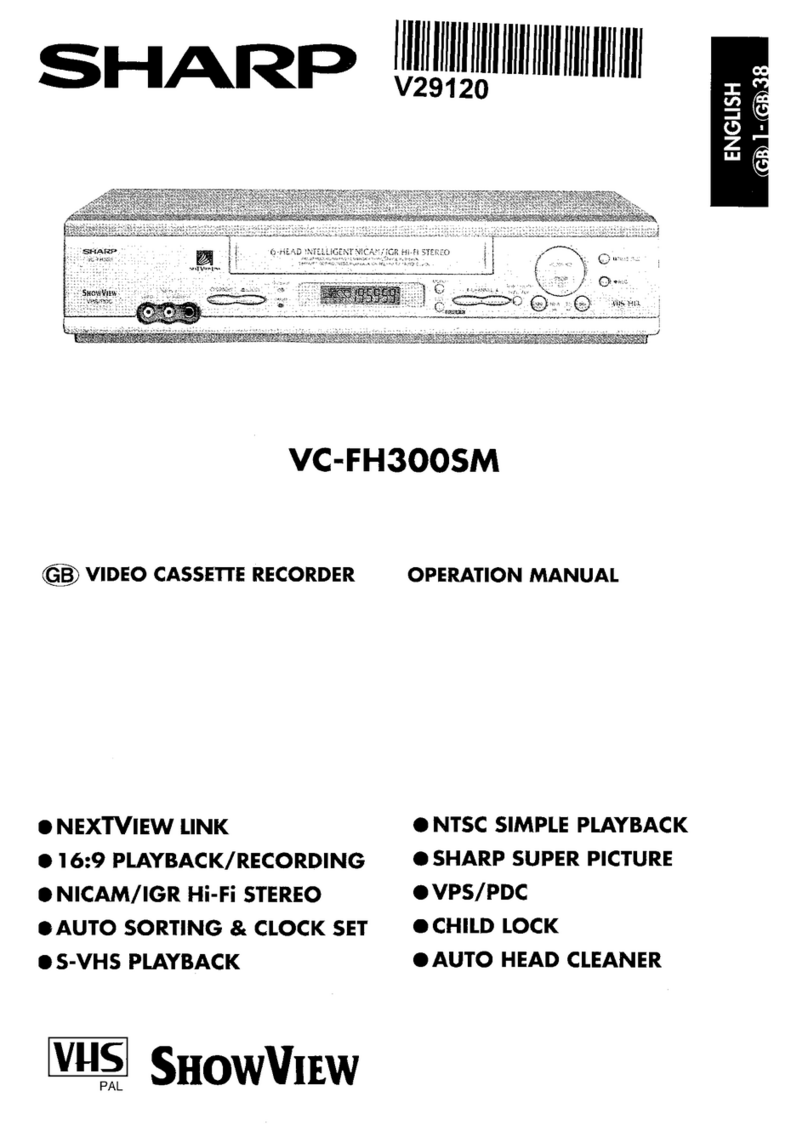
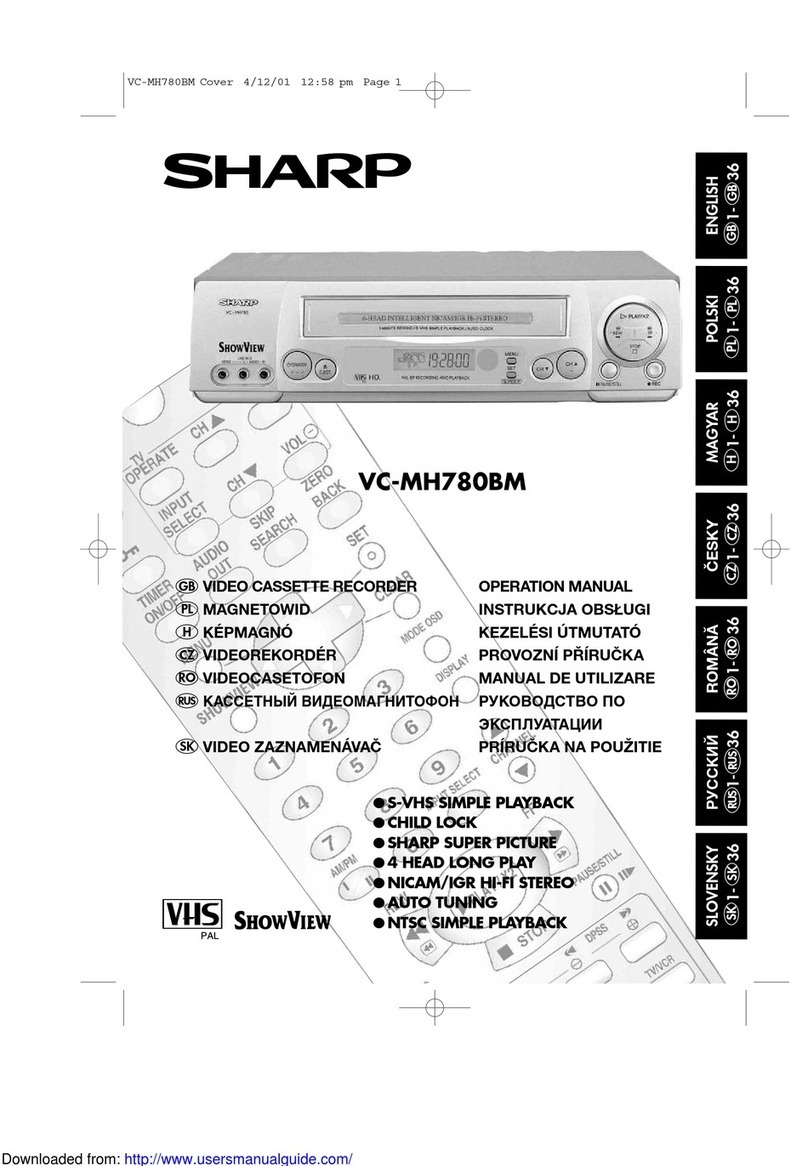
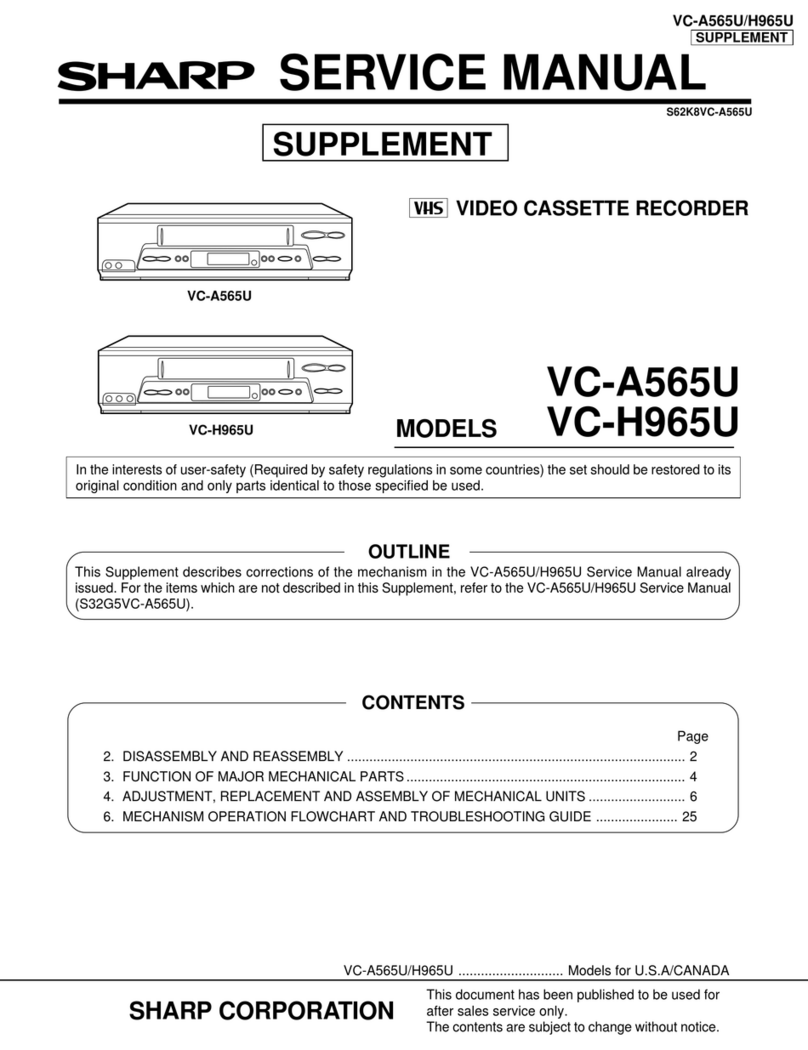
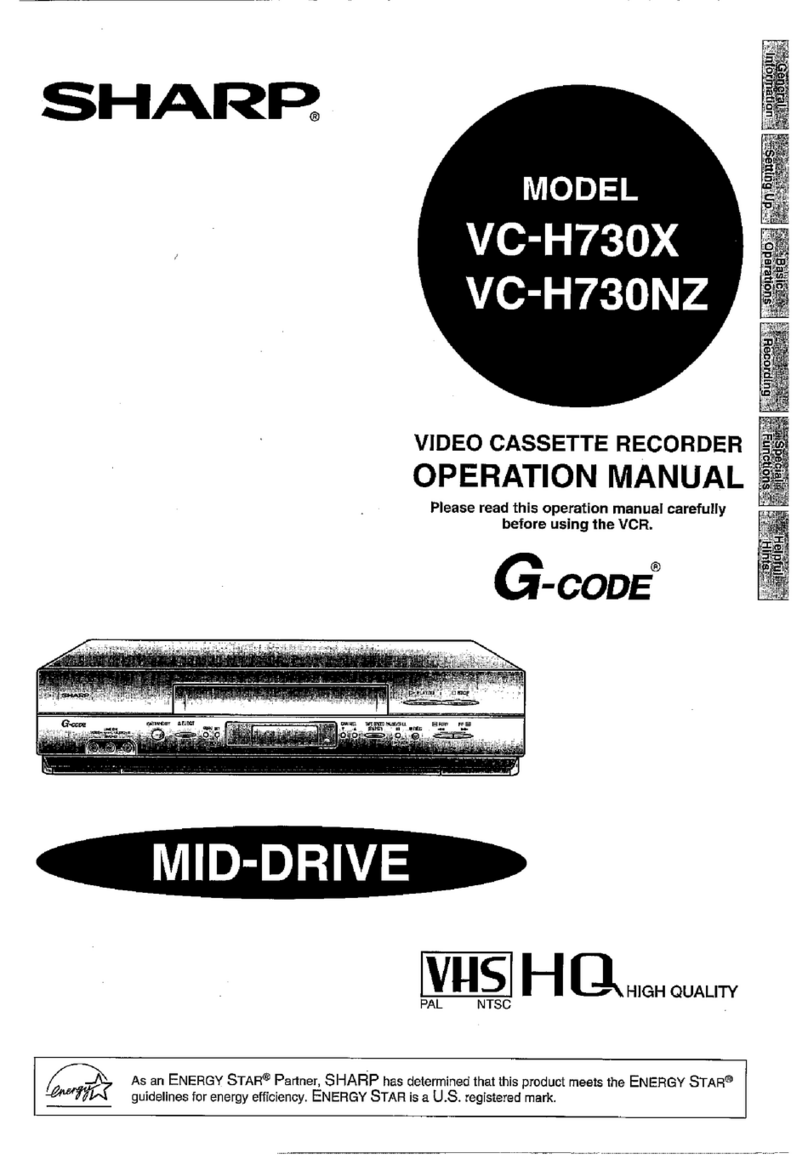
Sharp VC-MH711GM User manual

●LOW POWER FEATURE
●CHILD LOCK
●SHARP SUPER PICTURE
●AUTO TUNING
●AUTO CLOCK
●4 HEAD LONG PLAY
●IGR Hi-Fi STEREO
VC-MH711GM
VIDEO CASSETTE RECORDER OPERATION MANUAL
®

(i)
Dear SHARP customer
Thank you for buying this SHARP VCR. Given proper care, it will provide years of entertainment for the whole
family. Please read this operation manual carefully before attempting to operate the VCR.
Copyright
●Audio-visual material may consist of copyrighted works which must not be recorded without the authority of the
owner of the copyright. Please refer to the relevant laws in your Country.
●No part of this publication may be reproduced, stored or transmitted in any form without prior permission from
SHARP ELECTRONICS (EUROPE) GmbH.
SHOWVIEW is a registered trademark of Gemstar Development Corporation.
The SHOWVIEW system is manufactured under license from Gemstar Development Corporation.
THIS MANUAL COVERS A RANGE OF MODELS.
ALL OF THE FEATURES MENTIONED MAY NOT NECESSARILY APPLY TO YOUR VCR.

(ii)
REMOTE CONTROL
VCR FRONT PANEL/REMOTE CONTROL EQUIVALENT FUNCTIONS
If you prefer, or if the remote control batteries fail, you will need to use the VCR front panel controls. The only
differences in function are shown below:
FUNCTION
OSD
Moving UP/DOWN menu
Moving LEFT/RIGHT menu
OPERATION WITH
REMOTE CONTROL
[K/ L]buttons
[HH/ JJ]buttons
OPERATION WITH
VCR FRONT PANEL
CHANNEL K/Lbuttons.
Press
FAST FORWARD/REWIND.
MENU SELECT
/ / /
TIMER ON/OFF
STANDBY
SV / V+ / TIMER
NUMBER KEYS
TAPE SPEED
CLEAR
MODE ON SCREEN
DISPLAY
DISPLAY
TV/VCR
MENU
CHANNEL /
AM/PM or
/
REW FF
STOP
CH LVOL
—
TAPE
SPEED
INPUT
SELECT
MENU SET
ZERO
BACK
TIMER
ON/OFF
AUDIO
OUT SKIP
SEARCH
SV/V+/
TIMER
STANDBY
CH KVOL
±
CLEAR
MODE OSD
DISPLAY
CHANNELAM/PM INPUT SELECT
PAUSE/STILL
REC
SLOW
DPSS
TV/VCR
VIDEO CASSETTE RECORDER
/
PLAY/X2
K
L
TV
OPERATE
SET
SKIP SEARCH
ZERO BACK
AUDIO OUT
BASIC SHARP
TV CONTROLS
INPUT SELECT
K
CHANNEL L
CHANNEL
DPSS / SLOW SPEED
/ /
PAUSE/STILL
/
CHILD LOCK
RECORD
STOP
SLOW
REWIND FAST FORWARD
PLAY/X2

NL
P
DK
E
This equipment complies with the requirements of Directives 89/336/EEC
and 73/23/EEC as amended by 93/68/EEC.
Dieses Gerät entspricht den Anforderungen der EG-Richtlinien 89/336/EWG
und 73/23/EWG mit Änderung 93/68/EWG.
Ce matériel répond aux exigences contenues dans les directives
89/336/CEE et 73/23/CEE modifiées par la directive 93/68/CEE.
Dit apparaat voldoet aan de eisen van de richtlijnen 89/336/EEG en
73/23/EEG, gewijzigd door 93/68/EEG.
Dette udstyr overholder kravene i direktiv nr. 89/336/EEC og 73/23/EEC med
tillæg nr.93/68/EEC.
Quest’ apparecchio è conforme ai requisiti delle direttive 89/336/EEC e
73/23/EEC, come emendata dalla direttiva 93/68/EEC.
Este equipamento obedece às exigências das directivas 89/336/CEE e
73/23/CEE, na sua versão corrigida pela directiva 93/68/CEE.
Este aparato satisface las exigencias de las Directivas 89/336/CEE y
73/23/CEE modificadas por medio de la 93/68/CEE.
Denna utrustning uppfyller kraven enligt riktlinjerna 89/336/EEC och
73/23/EEC med ändringar i 93/68/EEC.
Detta produktet oppfyller betingelsene i direktivene 89/336/EEC og
73/23/EEC i endringen 93/68/EEC.
Tämä laite täyttää direktiivien 89/336/EEC ja 73/23/EEC vaatimukset, joita on
muutettu direktiivillä 93/68/EEC.
GB
D
F
I
GR
S
N
FIN

1
CONTENTS
BEFORE USING YOUR VCR
Important notes on your VCR .......................................................................................................2
Unpacking the accessories...........................................................................................................3
INSTALLING YOUR VCR
Connecting the cables .................................................................................................................4
Tuning the TV into the VCR............................................................................................................5
Auto installation .............................................................................................................................. 6
BASIC OPERATION
Important notes on your VCR and video tapes .........................................................................7
How to playback a video tape....................................................................................................7
Pausing and slow motion........................................................................................8
Fast forwarding/rewinding a video tape..............................................................9
Immediate recording...................................................................................................................10
How to use the S
HOW
V
IEW®
system to make a recording ........................................................11
How to set a delayed recording ................................................................................................ 13
Checking, changing and cancelling a recording ............................................ 15
ADVANCED OPERATION
Audio and your VCR (Hi-Fi VCR’s only) ...................................................................................... 16
Connecting to audio equipment............................................................................................... 17
Playback of a video tape ...........................................................................................................18
Checking the amount of tape remaining .......................................................... 18
Playing back a video tape repeatedly ..............................................................18
LCD Display ...................................................................................................................................19
Tape counter and zero back ............................................................................... 19
Colour ............................................................................................................................................20
Blue mute ...................................................................................................................................... 20
Searching the video tape ...........................................................................................................21
Skip searching the video tape ............................................................................. 21
Digital programme search system (DPSS)...........................................................21
Recording from other equipment .............................................................................................. 22
SPECIAL FEATURES ON YOUR VCR
Low Power Feature....................................................................................................................... 23
Child lock....................................................................................................................................... 23
CUSTOMISED INSTALLATION
Manually tuning a channel.........................................................................................................24
Broadcast and CATV channels .................................................................................................. 25
Manually sorting channels...........................................................................................................26
Sorting the channels into your preferred order.................................................. 26
Deleting channels.................................................................................................. 27
Re-naming channels .............................................................................................28
Changing the on-screen display language.............................................................................. 29
Manually setting the clock .......................................................................................................... 29
MORE INFORMATION ABOUT YOUR VCR
VCR digital display ......................................................................................................................30
Selecting the output from the VCR............................................................................................30
On-screen display......................................................................................................................... 31
Specifications................................................................................................................................32
Troubleshooting ............................................................................................................................33

2
BEFORE USING YOUR VCR
IMPORTANT NOTES ON YOUR VCR
IDEAL VCR LOCATION
PLACE THE VCR..
• ... on a flat level surface away from radiators
or other heat sources and out of direct
sunlight.
• ... and video tapes away from magnetic
sources such as speakers or microwave ovens.
• ... at least 8” (20cm) away from the TV.
• ... away from curtains, carpets or other
materials and allow ventilation space around
the VCR.
DO NOT...
• ... block the air-vent openings.
• ... expose the VCR to excessive dust,
mechanical vibration or shock.
• ... place any heavy object or liquid on top of
the VCR. If liquid drops inside the VCR unplug
immediately and contact your SHARP dealer.
Do not use the VCR.
• ... insert or drop anything into the tape
compartment or through the
air-vents, as this could result in serious
damage, fire or an electric shock.
POWER SOCKETS
• To avoid overheating or even fire, insert the
plug correctly into the socket.
DO NOT...
• ... overload power sockets, this may cause a
fire or electric shock.
• ... pull the power cord to disconnect the plug
from the mains.
• ... bind the power cords together.
• This VCR is not equipped with a mains power
switch. Accordingly, nominal current to drive
the clock is drawn at all times when the AC
power cord is plugged into a wall socket. If
the VCR is not to be used for an extended
period be sure to unplug the cord.

3
BEFORE USING YOUR VCR
UNPACKING THE ACCESSORIES
To fit the batteries into the remote control
Remove the battery cover on the back of the remote control.
Fit the batteries:
—
to
—
and
±
to
±
terminals. Place the
battery cover back into position.
CHECK ALL THESE ACCESSORIES ARE SUPPLIED WITH YOUR VCR. CONTACT YOUR DEALER IF
ANY ARE MISSING.
(TYPE AA/R6/UM3)
BATTERIES (X2)
for the remote control unit.
RF CONNECTION
CABLE
connects the VCR to the TV.
Remote Control
• Remote Control must be pointed towards the VCR to operate.
• Do not expose to liquid or shock.
• May not function if the VCR is in direct sunlight or any other strong light.
• Replace both alkaline batteries (type AA/R6/UM3) if the remote control
fails.
• Remove the batteries and keep in a safe place if you do not plan to use
the VCR for several months.
• Remove and dispose of flat batteries safely and promptly.
• Incorrect use of batteries may cause them to leak or burst.
VIDEO CASSETTE RECORDER
REMOTE
CONTROL
For a more
detailed
picture of
your remote
control refer
to page (ii)..
Battery cover

GB-4
INSTALLING YOUR VCR
CONNECTING THE CABLES
✔
The VCR is correctly connected.
RF OUT
SORTIE ANTENNE
ANTENNA IN
ENTREE ANTENNE
1
2
3
Connect your existing aerial
cable to the
AERIAL IN
socket on your VCR.
Optional:
Connect your
Satellite receiver or decoder to
the VCR using a scart lead to
LINE 2 IN/DECODER
socket on the VCR.
Connect the VCR to the
mains
Optional
SCART (not supplied). If you
have a scart lead connect it to your TV and
LINE 1 IN/OUT
socket on the VCR.
Connect your TV
to the VCR using
the supplied rf
connection cable,
i.e. connect the
VCR
AERIAL
OUT
socket to
the TV
AERIAL
IN
socket.
AERIAL OR
CATV CABLE
DECODER UNIT
OR SATELLITE SYSTEM
BACK OF
TELEVISION

5
INSTALLING YOUR VCR
TUNING THE TV INTO THE VCR
IMPORTANT NOTE: By pressing the STANDBY button, the VCR will toggle between STANDBY and
LOW POWER modes. The VCR display will not be illuminated in low power mode.
1.
Ensure your VCR is still in the STANDBY mode
(not low power).
2.
Switch on the TV. Select an unused
channel on your TV for your VCR (there
may be a dedicated video channel,
refer to your TV operation manual).
3.
Press and hold the
MENU
button for 3
seconds. The VCR will search and display
the ideal RF channel.
4.
Tune the selected channel on your TV
(refer to your TV manual) until the menu
screen appears.
5.
Press
SET
to store the RF channel setting
and to place the VCR back into
STANDBY.
NOTE:
✔
The TV is tuned to the VCR.
• If you have a preferred channel, the RF channel can be set manually (21-69) after
Step 3 using [
K
/
L
] keys.
Example:
TIMER
MODE
SET UP
: CHANGE
SET : ENTER MENU : EX I T
MENU SCREEN

6
INSTALLING YOUR VCR
AUTO INSTALLATION
Press
STOP
to switch on the VCR.
This model will automatically tune in the TV
channels in your area, sort them into a
standard order and set the clock.
The screen opposite should be showing on
your TV.
Follow the instructions from the screens. (Auto
installation may take a few minutes.)
On completion the MOVE menu will appear
showing the preset channel order. Press
MENU
to exit.
If the clock is not automatically set, the clock screen will appear. Refer to
MANUALLY
SETTING THE CLOCK
. To check the clock has been set correctly, press
DISPLAY
until
the time appears on the display.
If you wish to customise the channel order, refer to
MANUALLY SORTING CHANNELS
.
VCR RESET
1.
Press
STOP
to switch on the VCR.
2.
Press and hold
MENU
and
CHANNEL
L
buttons together on the front of the VCR for
10 seconds.
3.
The AUTO INSTALLATION screen should now be showing on your TV.
4.
Follow the on-screen display to proceed with installation.
All the programmes should now be correctly tuned in and the clock
set.
Refer to the
CUSTOMISED INSTALLATION
chapter if
• Your VCR could not tune automatically - due to for example poor reception.
• You wish to re-arrange the channel order.
• You wish to change the time on the clock or if the VCR could not set the time.
AUTO I NSTALLAT I ON
PRESS SET KEY TO START
AUTOMAT I SCHE E INSTELLUNG
ZUM BEGINN,DIE SET-TASTE
DRÜCKEN
SET : ENTER MENU : EX I T
If the screen above does not appear,
follow the procedure VCR RESET below.

7
BASIC OPERATION
IMPORTANT NOTES ON YOUR VCR AND VIDEO TAPES
VIDEO TAPES
• If you use only good quality video tapes, generally it will not be necessary to clean the
video heads.
• If poor quality tapes are used, or if a tape is loaded after changing VCR location, oxide
from the tape may "clog" the video heads. This will cause the playback picture to be
"snowy", or even disappear.
• To remove minor contamination run a video tape in visual search mode. If this fails, you
will need to have the heads cleaned by a SHARP Service Facility. Please note, if cleaning
is necessary it is not covered by the guarantee.
• Use video tapes which carry the mark.
HOW TO PLAYBACK A VIDEO TAPE
PLAYBACK
1.
Switch on your TV and select the video channel.
2.
Carefully push a pre-recorded video
tape into the tape compartment. This
will switch the VCR on.
3.
To start playback, press
PLAY/X2
(
w
) once.
BEFORE YOU PLAYBACK A VIDEO TAPE
Condensation forms in the VCR when it is moved out of or into a warm place.
If you try to playback or record, the video tape and VCR may be damaged.
Turn the VCR on and wait for about two hours until the VCR reaches room
temperature before operating.
• If the record-protection tab has
been removed, the VCR will start
playback as soon as the video tape
has been loaded.
SECAMPAL
Record protection tab

8
BASIC OPERATION
HOW TO PLAYBACK A VIDEO TAPE
• For double speed playback (without sound), press PLAY/X2 (w) again.
• To revert to normal playback, press PLAY/X2 (w) again.
• To stop the video tape, press STOP (r).
• To eject the tape press EJECT on the VCR.
PICTURE DISTURBANCE DURING PLAYBACK
This VCR has an automatic tracking system which reduces picture disturbance when you start
to playback a video tape. When auto-tracking is in operation flashes on the on-screen
display. If the picture still has disturbance you may need to manually track the video tape:
During PLAYBACK of a video tape.
• Press CHANNEL Kor Lto position picture interference off the TV screen. (Manual
Tracking)
• Press CHANNEL Kand Lbuttons together to start Auto Tracking.
PAUSING AND SLOW MOTION
1. Press PLAY/X2 (w) to start the video tape playing.
2. To pause the video tape, press PAUSE/STILL (II).
• To minimise jitter whilst in pause mode press CHANNEL Kor L.
• Press PLAY/X2 (w) to resume playback.
3. To playback in slow motion (without sound) press IwSLOW on the remote control. Slow
motion speed can be adjusted using the —or ±buttons next to the IwSLOW button.
Picture disturbance can be improved by using the CHANNEL Kor Lduring slow
motion playback.
• Press PLAY/X2 (w)to resume playback.
NOTES:
• When using SLOW MOTION function some mechanical noise may be heard.
• There will be picture interference and possibly a change to black and white picture
using Pause and Slow functions.
• PAUSE mode will disengage after about 5 minutes.

9
BASIC OPERATION
HOW TO PLAYBACK A VIDEO TAPE
FAST FORWARDING/REWINDING A VIDEO TAPE
1. Press STOP (r) to stop the video tape.
2. Press FAST FORWARD (q)/REWIND (e) on the remote control or turn the
shuttle ring on the VCR to the right/left and release.
3. To stop fast forward/rewind, press STOP (r).
FORWARD/REVERSE VISUAL SEARCH
1. During playback, press FAST FORWARD (q)/REWIND (e) on the remote
control, or turn the suttle ring fully to the right/left.
2. To lock search mode turn the shuttle far right/left and release.
3. To decrease the speed, press FAST FORWARD (q) /REWIND (e) again, or turn
the shuttle to the halfway position.
4. Press PLAY/X2 (w) to resume playback.
NOTE:
• There will be picture interference and possibly a change to black and white picture
using Visual Fast Forward/Rewind functions.

10
BASIC OPERATION
IMMEDIATE RECORDING
SELECTION OF A CHANNEL
Select the channel by using the number buttons on the remote control, or select the next/
previous channel by pressing CHANNEL [Kor L].
To change between single digit and 2-digit channel numbers, press .
For example, for channel 24, press then press 24.
You can record the channel you are watching or a different channel.
1. Insert a video tape into your VCR.
2. Select the channel you wish to record on the VCR.
3. To start recording, press REC (Æ).
4. To pause during recording, press PAUSE/STILL (II).
5. To continue recording, press REC (Æ).
6. To stop recording, press STOP (r) once.
SIMPLE TIMED RECORDING:
1. To specify a stop time, press RECORD (Æ).
2. Each additional press of RECORD (Æ) will
delay the stop time by 10 minutes.
3. To stop recording at any time, press STOP (r)
once.
NOTES:
• If the tape ends before the recording is complete the VCR will stop recording and
rewind.
• If the VCR ejects the video tape when you press REC (Æ) the tape is record protected.
i.e. record protection tab has been removed.
STOP 15:30

11
BASIC OPERATION
HOW TO USE THE SHOWVIEW®SYSTEM TO MAKE A
RECORDING
• If appears on the VCR display, press TIMER ON/OFF before starting.
• Check that the clock is displaying the correct time.
The SHOWVIEW® system allows you to program the
VCR to record up to eight programmes using the
SHOWVIEW numbers published in TV listings.
1. Press [SV/V+/TIMER] on the remote control
2. Enter the SHOWVIEW number from the TV
listing using the NUMBER BUTTONS.
NOTE:
3. Press [K/L] to select ONCE, WEEKLY, DAILY
4. If you want to make additional recordings at the same time each day or week, then use
[H/J] to select the WEEKLY, or DAILY option as appropriate.
5. Press SET to confirm.
NOTE:
The first time that you use the SHOWVIEW system to
make a recording on each channel Preset, (PR)
may be highlighted on the menu.
6. Enter the channel you wish to record using
the NUMBER BUTTONS, for example if
you wish to record channel 2 press 0 2. The
VCR will remember this for the future.
NOTES:
• An ERROR message will appear if you have entered a number that is not a current
SHOWVIEW number. If this happens press CLEAR to delete the numbers as required and
enter the correct SHOWVIEW number
• Check that the menu list agrees with the times shown in the TV listing. If it does not press
CLEAR to return to the SHOWVIEW system menu, and re-enter the correct SHOWVIEW
number
You may also access the SHOWVIEW system menu by the following procedure:
i. Press MENU.
ii. The SHOWVIEW system option will be highlighted. Press SET to confirm.
Continue from step 2 above.
→SHOWVIEW NO. -
ONCE WE E K L Y DA I L Y
1/2
DATE PR START STOP
21/06 02 12:00 13:00 SP*
--/-- -- -:-- -:-- ---
--/-- -- -:-- -:-- ---
--/-- -- -:-- -:-- ---
PR : BBC2
:SELECT : CHANGE
SET : ENTER MENU : EX I T

12
BASIC OPERATION
HOW TO USE THE SHOWVIEW®SYSTEM TO MAKE A
RECORDING
7. If your VCR has long play facility and you wish
to change the RECORDING SPEED, use
the [H/J] to highlight SP. Press [K/L] to
select standard play (SP) or long play (LP) as
required.
8. [See NOTE below]. For VPS/PDC setting use
[H/J] to highlight the final column. Using
the [K/L] will select VPS/PDC ON or OFF
(✱= ON -= OFF).
9. Press SET to confirm the programme. The
SHOWVIEW system menu will reappear. If you
wish to enter further SHOWVIEW system
recordings repeat this procedure.
10. When you have completed entering timer
settings, press MENU to remove the menu
from the TV screen.
11. Press TIMER ON/OFF once to place the VCR
in TIMER STAND-BY mode. will be shown on
the display.
NOTES:
• VPS/PDC is a signal broadcast by some TV stations which adjusts the start and stop time
of your VCR recording. This ensures that if there is a change in broadcast time for your
programme the VCR will still record the whole programme. It is essential that the start
time as it appears in the TV listing is used to program the VCR, as this information is used
to identify the VPS/PDC signal corresponding to your programme.
• If flashes a video tape has not been inserted into the VCR.
• If the video tape is ejected when the VCR tries to record the record protection tab has
been removed.
• During recording, press STOP (r) to cancel the recording. If there are further
recordings to be made, the VCR will return to TIMER STAND-BY.
1/2
DATE PR START STOP
21/060212:0013:00SP*
--/-- -- -:-- -:-- ---
--/-- -- -:-- -:-- ---
--/-- -- -:-- -:-- ---
TAPE SPEED :SP / LP
:SELECT : CHANGE
SET : ENTER MENU : EX I T
1/2
DATE PR START STOP
21/060212:0013:00SP-
--/-- -- -:-- -:-- ---
--/-- -- -:-- -:-- ---
--/-- -- -:-- -:-- ---
VPS/PDC ✱:ON - :OFF
:SELECT : CHANGE
SET : ENTER MENU : EX I T

13
BASIC OPERATION
HOW TO SET A DELAYED RECORDING
You can make a maximum of eight delayed recordings up to a year in advance.
The example shown is for 24-hour clock operation. 12-hour clock operation can be selected
from the manual clock setting menu.
12-hour clock am/pm can be selected using the AM/PM button on the remote control.
• If appears on the VCR display, press TIMER ON/OFF before starting.
• Check that the clock is displaying the correct time.
SETTING A RECORDING
For example: Recording a programme on channel 3 from 21:05 to 22:30 on July 9th.
1. Press STOP (r) to switch on the VCR.
2. Press MENU.
3. Press [K/L] to select TIMER. Press SET to
confirm.
4. The position which is initially highlighted is the
next available timer record entry. Press SET to
confirm this.
• The display will automatically show today's
date.
Either: If this is the date you wish to make the
recording on, press SET to confirm this.
Or: enter the recording date using the [K/L]
or the NUMBER BUTTONS. Enter two digits
for the day, then two for the month. For
example for July 9th, press 0 9 (9th), then 0 7
(July).
5. Then press SET to confirm.
6. If you want to make additional recordings at
the same time each day or week, use [K/L]
or select D (daily) or W (weekly). Then press SET
to confirm.
7. Enter the channel using the [K/L] or the
NUMBER BUTTONS. For example to
record a programme on channel 3, press 0 3.
Then press SET to confirm.
MENU SCREEN
TIMER
MODE
SET UP
:SELECT
SET : ENTER MENU : EX I T
1/2
DATE PR START STOP
21/060212:0013:00SP*
9/07 -- -:-- -:-- ---
--/-- -- -:-- -:-- ---
--/-- -- -:-- -:-- ---
1/2
DATE PR START STOP
21/060212:0013:00SP*
9/07D-- -:-- -:-- ---
--/-- -- -:-- -:-- ---
--/-- -- -:-- -:-- ---

14
BASIC OPERATION
HOW TO SET A DELAYED RECORDING
8. Enter the start time using the [K/L] or the
NUMBER BUTTONS hours first then minutes
(when entering less than 10 minutes add a '0'
before the number), for example for 21:05 start,
press 2 1 0 5. Then press SET to confirm.
9. Enter the stop time, for example for 22:30 stop,
press 2 2 3 0.
10. If your VCR has long play facility and you wish to
change the RECORDING SPEED,usethe
[H/J] to highlight SP. Press [K/L] to select
standard play (SP) or long play (LP) as required.
11. [See note below]. For VPS/PDC setting use the
[H/J] to highlight the final column. Using the
[K/L] will select VPS/PDC ON or OFF
( * = ON - = OFF).
12. Press SET to confirm.
• The MENU now shows all the timer settings you
have entered. If you wish to make additional
timer recordings, repeat this procedure.
13. When you have completed entering timer
settings, press MENU to remove the menu
from the TV screen.
14. Press TIMER ON/OFF once to place the VCR
in TIMER STAND-BY mode. will be shown on
the display.
NOTES:
• VPS/PDC is a signal broadcast by some TV stations which adjusts the start and stop time
of your VCR recording. This ensures that if there is a change in broadcast time for your
programme the VCR will still record the whole programme. It is essential that the start
time as it appears in the TV listing is used to program the VCR, as this information is used
to identify the VPS/PDC signal corresponding to your programme.
• If flashes a video tape has not been inserted into the VCR.
• If the video tape is ejected when the VCR tries to record the record protection tab has
been removed.
• During recording, press STOP (r) to cancel the recording. If there are further
recordings to be made, the VCR will return to TIMER STAND-BY.
1/2
DATE PR START STOP
21/060212:0013:00SP*
9/07D03 21:05 -:-- SP*
--/-- -- -:-- -:-- ---
--/-- -- -:-- -:-- ---
1/2
DATE PR START STOP
21/060212:0013:00SP*
9/07D03 21:05 -:-- LP*
--/-- -- -:-- -:-- ---
--/-- -- -:-- -:-- ---
1/2
DATE PR START STOP
21/060212:0013:00SP*
9/07D03 21:05 22:30 LP-
--/-- -- -:-- -:-- ---
--/-- -- -:-- -:-- ---

15
BASIC OPERATION
HOW TO SET A DELAYED RECORDING
CHECKING, CHANGING AND CANCELLING A RECORDING
CHECKING A RECORDING
1. If in TIMER STANDBY mode, press
TIMER ON/OFF to exit.
2. Press STOP to switch on the VCR.
3. Press MENU.
4. Press [K/L] to select TIMER. Press SET to
confirm.
• All the delayed recordings in the VCR’s memory
will be shown.
• You can check the settings and change or cancel them.
CHANGING A RECORDING
1. Follow steps 1 to 4 of CHECKING A
RECORDING.
2. If you wish to change a delayed recording,
press [K/L] to highlight the recording, then
press SET.
3. Press [H/J] to highlight the setting to be
changed and correct it by using the [K/L] or
the NUMBER BUTTONS.
4. When all corrections are complete press SET, then press MENU.
CANCELLING A RECORDING
1. Follow steps 1 to 4 of CHECKING A
RECORDING.
2. If you wish to cancel a delayed recording, press
[K/L] to highlight the recording to be
cancelled, then press CLEAR.
3. Press MENU.
NOTE:
• If there are some programmes to be recorded, do not forget to press TIMER ON/OFF
button to return the VCR to TIMER STAND-BY mode.
MENU SCREEN
TIMER
MODE
SET UP
:SELECT
SET : ENTER MENU : EX I T
1/2
DATE PR START STOP
21/060212:0013:00SP*
--/-- -- -:-- -:-- ---
--/-- -- -:-- -:-- ---
--/-- -- -:-- -:-- ---
1/2
DATE PR START STOP
21/060212:0013:00SP*
--/-- -- -:-- -:-- ---
--/-- -- -:-- -:-- ---
--/-- -- -:-- -:-- ---

16
ADVANCED OPERATION
AUDIO AND YOUR VCR (HI-FI VCR’S ONLY)
HI-FI STEREO SOUND
Stereo sound is possible from this VCR if you have a stereo TV connected to the VCR with a
scart lead, or audio equipment connected with audio phono leads. The VCR is normally set
so that stereo sound is possible. The sound output from the VCR is controlled by the
AUDIO OUT button on the remote control. If you wish to change the sound output you can
use the AUDIO OUT button as follows:
• Press AUDIO OUT once. The LEFT audio channel will be sent to BOTH speakers. L will
appear on the VCR display.
• Press AUDIO OUT twice. The RIGHT audio channel will be sent to BOTH speakers. R will
appear on the VCR display.
• Press AUDIO OUT three times. The MONO track will be sent to BOTH speakers. Land R
will disappear from the VCR display.
• Pressing AUDIO OUT a fourth time, normal Hi-Fi stereo sound will be heard. L and Rwill
appear on the VCR display.
IGR HI-FI STEREO SOUND
Your VCR can receive and record IGR sound. The VCR is normally set so that IGR sound is
possible if it is present on the receiving signal, otherwise the VCR will automatically switch to
receive the mono signal.
NOTES:
• If the tape being played back does not carry sound recorded on Hi-Fi tracks, Land R
will not appear on the display.
• lf the sound contains ‘crackling’ or ‘popping’ noises the sound quality may be
improved by adjusting the tracking using CHANNEL K/L.
• If the poor quality is for a long period the VCR will automatically select the mono track
and the sound will be in mono.
Other manuals for VC-MH711GM
1
Table of contents
Other Sharp VCR System manuals

Sharp
Sharp VC-A310X/NZ User manual

Sharp
Sharp VC-TA350 User manual

Sharp
Sharp VC-MH711GM User manual

Sharp
Sharp VC-MH770SM User manual

Sharp
Sharp VC-A400U User manual

Sharp
Sharp VC-A50X User manual

Sharp
Sharp VC-GH611GM User manual

Sharp
Sharp VC-A565U User manual

Sharp
Sharp VC-A310X User manual

Sharp
Sharp VC-H726X User manual

Sharp
Sharp VC-A410U User manual

Sharp
Sharp VC-MH713HM User manual

Sharp
Sharp VC-SA350 User manual

Sharp
Sharp VC-H900X User manual

Sharp
Sharp VC-H670X User manual

Sharp
Sharp VC-MH703HM User manual

Sharp
Sharp VC-H705X User manual

Sharp
Sharp VC-H818U User manual

Sharp
Sharp VC-A560U User manual

Sharp
Sharp VC-V50S User manual