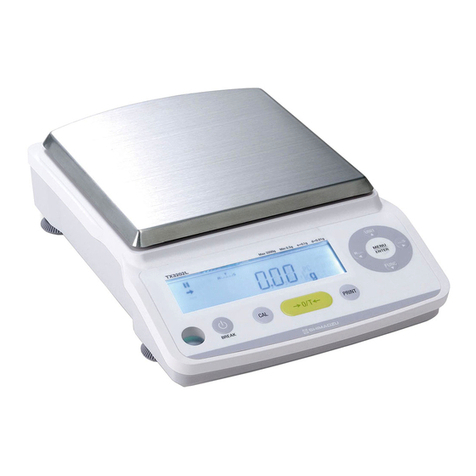
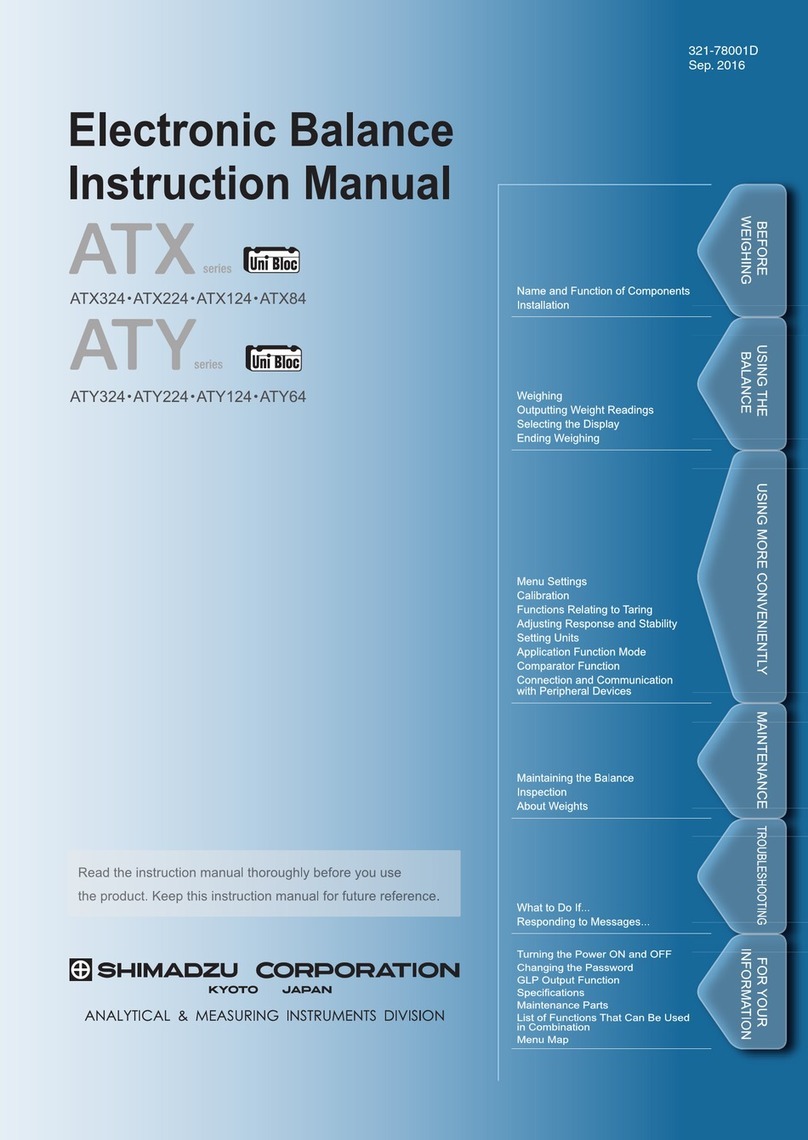
Shimadzu ATX-R Series User manual

Shimadzu Corporation
SHIMADZU CORPORATION. lnternational Business Department
3. Kanda-Nishikicho 1-chome, Chiyoda-ku, Tokyo 101-8448, Japan
Phone: 81(3)3219-5641 Fax: 81(3)3219-5710
SHIMADZU SCIENTIFIC INSTRUMENTS (TAIWAN) CO., LTD.
11F, No. 37, Dongxing Rd., Xinyi Dist., Taipei City 11070, Taiwan
Phone: 886-2-8768-1880 Fax: 886-2-8768-1883
SHIMADZU SCIENTIFIC INSTRUMENTS, INC.
7102 Riverwood Drive, Columbia, Maryland 21046, U.S.A.
Phone: 1(410)381-1227 Fax:1(410)381-1222 Toll Free: 1(800)477-1227
SHIMADZU DO BRASIL COMÉRCIO LTDA.
AV. Tambore, 576 - Tambore - Barueri, Brasil CEP 06.460-000
Phone: 55(11)2134-1677 Fax: 55(11)3611-2209
SHIMADZU EUROPA GmbH
Albert-Hahn-Strasse 6-10, 47269 Duisburg, F.R. Germany
Phone: 49(203)7687-0 Fax: 49(203)7666-25
SHIMADZU (HONG KONG) LIMITED
Suite 1028 Ocean Center, Harbour City, Tsim Sha Tsui, Kowloon HONG KONG
Phone: (852)2375-4979 Fax: (852)2199-7438
SHIMADZU (ASIA PACIFIC) PTE LTD.
79 Science Park Drive #02-01/08, Cintech IV Singapore Science Park I, Singapore 118264, Singapore
Phone: 65-6778-6280 Fax: 65-6779-2935
SHIMADZU (CHINA) CO., LTD.
Block E, No.570 West Huaihai Road, Shanghai, 200052 P.R. of China
Phone: 86(21)2201-3888 Fax: 86(21)2201-3666
SHIMADZU SCIENTIFIC INSTRUMENTS (OCEANIA) PTY. LTD.
Units F, 10-16 South Street Rydalmere N.S.W. 2116, Australia
Phone: 61(2)9684-4200 Fax: 61(2)9684-4055
SHIMADZU MIDDLE EAST & AFRICA FZE
Warehouse No. RA08UC02, Jebel Ali, Dubai, P.O. Box 262081 United Arab Emirates
Phone: 971(4)883-6668 Fax: 971(4)883-6808
URL https://www.shimadzu.com/
Shimadzu
Analytical Balance
Instruction Manual
ATX-R series
ATX324R
ATX224R
ATX124R
ATX84R
ATY-R series
ATY324R
ATY224R
ATY124R
ATY64R
321-78327
Aug.2019
BEFORE
WEIGHING
USING THE
BALANCE
USING MORE CONVENIENTLY MAINTENANCE
TROUBLESHOOTING
FOR YOUR
INFORMATION
Name and Function of Components
Installation
Maintaining the Balance
Inspection
About Weights
What to Do If...
Responding to Messages...
Turning the Power ON and OFF
Changing the Password
GLP Output Function
Specifications
Maintenance Parts
List of Functions That Can Be
used in Combination
Menu Map
Weighing
Outputing Weight Readings
Selecting the Display
Ending Weighing
Menu Setting
Calibration
Functions Relating to Taring
Adjusting Response and Stability
Setting Units
Application Function Mode
Comparator Function
Connection and Communication
with Peripheral Devices
Read the instruction manual throughly before you use the product.
Keep this instruction manual for future reference.


3
Read the instruction manual thoroughly before using the product.
Thank you for purchasing the Shimadzu Analytical Balance AT-R Series.
This instruction manual provides details on how to use the balance and on the accessories and options,
etc., that are related to it. Read the manual thoroughly and make sure it is used in accordance with the
details listed herein. The following instruction manual is also supplied with this product.
Simple Sheet: Operation Guide 321-78340 Operation descriptions in a simple diagram format.
Store the instruction manuals together with the product in an easily-accessible location.
The instruction manuals (PDF format) can also be downloaded from the Shimadzu website (https://www.
shimadzu.com/an/balance/index.html). Balances SEARCH
Click
Notices
• If the balance is to be operated by a different user or transferred to a different location, make sure the instruction
manuals are also provided to the subsequent users.
•ContacttheShimadzusalesofceoragencyintheeventoftheinstructionmanualswerelostormislaid.
• Safety precautions are listed in the instruction manual to ensure safe usage. Read the section on [Safety
Precautions] thoroughly prior to using the balance.
• You are requested to complete the user registration procedure to ensure that your balance can be used without
anxiety. This is required when making claims against the product warranty, and you are requested to complete
either of the following two user registration procedures.
(1) Fill in the details on the rear of the [Product Warranty] card provided, and send it to us by facsimile.
(2) Access our website and will in the details accordingly. (https://www.shimadzu.com/an/contact/index.html)
Once you have completed the user registration procedures, you will be given precedence with regard to
receiving information on product warranty and Shimadzu products and services. (You are also requested
to ll in the questionnaire.)
Notices
• Thecontentofthismanualissubject,withoutnotice,tomodicationsforthesakeofimprovement.
• Every effort has been made to ensure that the content of this manual was correct at the time of
creation. However, in the event that any mistakes or omissions are discovered, it may not be
possible to correct them immediately.
• The copyright of this manual is owned by Shimadzu Corporation. Reproduction and duplication of
whole or part of the content without permission of the company are strictly prohibited.
• Windows is the registered trademark of Microsoft Corporation of the U.S.A. in the United States
and other countries. All other company names and product names that appear in this manual are
trademarks or registered trademarks of the companies concerned. Note that ™ and ® indications
are not used.
• UniBloc and Smart+ are the registered trademarks of Shimadzu Corporation in Japan.
• Shimadzu does not guarantee that the serial communication functions will operate without problem
on all PCs. Shimadzu will not accept responsibility for any trouble that arises as a result of using
this function. It is recommended that all important data and programs are backed up in advance.
• Shimadzu does not guarantee the operations all USB memories, USB hubs or USB keyboards
that can be connected to the USB port.
© 2019 Shimadzu Corporation. All rights reserved.
Foreword

4
Conventions used for the display panel
This instruction manual depicts the display panel in relation to particular operating procedures.
The actions of the display panel (ashing, lighting up, conrmation) are shown in the following
way.
•Flashing
•Lit
•Conrmation
/
/
/
/
/
/
/
/
/
/
/
/
/
/
How to Find the Information You Need
This manual allows you to search for a function or operating procedure in a number of ways.
"Cover index" Search for the information by thumbing through the manual.
"What You Can Do", page 6 Search for what you want to do.
"Menu Map", page 150 Search quickly for the menu option you want to use.
"Table of Contents", page 15 Search for information based on its order of appearance in the
manual.
"Index", page 155 Search for information based on a key word.
Conventions used in menu operations
The instruction manual describes menu operations in a simplied form.
Example:
Press or a number of times
to search for the next menu option.
Press to
conrm.
Press to proceed
to the next menu option.
User
operations
Flow of menu
operations
Information
indicated in the
display panel
Press a number of times to
return to a higher level of the menu.
Press and hold
(about 3 seconds).

5
Example page
Linked to the cover index (right-hand pages only)
The symbol shown in the gure below
appears at the head of the next page.
Index
Notes
Information to help use the
balance correctly
Explanation of terms
The title of the previous page appears here.
Menu operation
Continued on next page
Reference
Depiction of the display

6
What You Can Do
This section lets you search for a method you would like to try or a function you want to know about.
nIwanttoweighuptoaxedquantitybyadding
increments of the same sample (item to be weighed:
powder, liquid, etc.) a little at a time.
Pouring Mode page 71
nIwanttomakeneadjustmentsduringweighing,
like increasing the reaction speed of the display or
stabilizing the display.
Easy Setting page 72
nI want to use the balance to count items.
nI want to set unit weights (the weight of a single piece of the
item being weighed) for multiple samples in advance.
Piece Counting page 82
nI want to weigh in percentages.
Percentage Weighing page 87
nIwanttoweighaxedamountofeachofanumberof
different samples (items to be weighed: powder, liquid, etc.)
and to mix these samples according to a formula.
Formulation page 102
nIwanttocheckexcessordeciencywithrespecttoatarget
value and make "pass or fail" judgments accordingly.
Comparator Function page 107
n
I want to adjust the conditions under which the stability mark
lights up.
Adjusting the Stability Mark page 74
nI want to stabilize the display at zero when an empty
sample container is placed on the pan.
Zero Tracking Function page 65
nI want to automatically return the display to zero after
weighing.
Auto Zero Function page 66
nI want to automatically tare the balance (set the display to
zero) after outputting a weight reading.
Auto Tare Function page 68
nI want to tare the balance without waiting for the stability
mark to light up.
Zero / Tare Timing Change Function page 69
Zero point,
and taring
Various
weighing
methods

7
nI want to adjust the balance so that it is very accurate
after stabilization.
Span Calibration and Adjustment page 52
nI want to carry out calibration and output a record.
Leaving a Record of Calibration page 61
Calibration
nI want to send data to a PC (e.g. to Excel).
Balance keys page 118
nAfter weighing, I want to output automatically upon
stabilization.
Auto Print Function page 111
nI want to output data continuously.
Continuous Output Function page 113
nI want to output data either immediately or after stabilization.
Output Timing Change Function page 131
nI want to change the format of the decimal point
(comma or period) in the output data.
Selecting the Decimal Point Display Symbol page 39
nI want to add the balance model name,
ID and other information to weight readings.
GLP Output Function page 143
Printing /
output
nI want to display weights in units other than g (grams).
Switching Units page 37
Setting the Units page 77
nI want the power to turn off automatically when I am
not using the balance.
Auto Power-Off Function page 140
nI want to go directly into weighing mode when the power is
switched ON.
Setting the Startup Display page 141
Miscellaneous

8
Notation Conventions Used within the Instruction Manual
The instruction manual uses the following notation conventions in accordance with the degree of risk and damage to
equipment.
Notation Description
!CAUTION Indicates a potentially hazardous situation which, if not avoided,
may result in minor to moderate injury or equipment damage.
Precautions Provides additional information needed to properly use the
balance.
Descriptions of the other pictograms used within the instruction manual are listed below.
Pictogram Description
Prohibitions
Indicates an action that must NOT be performed
Instructions
Indicates an action that must be performed.
*Hints Provides information on useful techniques for using the balance.
^References Indicates the location of information that can be used as
reference material.

9
Safety Precautions
Precautions on Use
To be strictly observed
To ensure that you use the balance safely and correctly, read the following precautions carefully. The details listed
below provide important information on safety, and must be observed at all times.
n Precautions Related to Usage
!CAUTION
Prohibitions
Cannot be used as proof of transactions.
The balance is not permitted by law to be used as proof of transaction for drug formulation, etc.
n Precautions Related to Place of Installation
!CAUTION
Prohibitions
Do not use the balance outdoors or anywhere where it will be exposed to water.
You could sustain an electric shock or the product could operate abnormally.
Prohibitions
Avoid locations where the balance will be exposed to volatile gas, ammable
gas or corrosive gas.
Failuretoobservethismayresultintheoutbreakofreandaccidents.
Prohibitions
Avoid locations where the balance will
be exposed to any of the following.
You may not be able to obtain correct weight readings.
• Airowfromanairconditioner,ventilator,doororwindow
• Extreme temperature changes
• Vibration
• Direct sunlight
• Dust,neparticles,electromagneticwavesoramagneticeld
• Condensation
Instructions
Install the balance on a strong and stable at table or oor.
Placing the balance in an unstable site could lead to injury or trouble with the balance.
When selecting the installation site, take into account the combined weight of the balance and the item to be weighed.

10
n Precautions Related to Installation Work
!CAUTION
Prohibitions
Do not connect anything other than peripheral devices specied by
Shimadzu to the balance’s connector.
If you do, the balance may stop working normally.
In order to avoid trouble, always connect peripheral devices in accordance with the directions in this manual.
Instructions
Use the correct power supply and voltage with the AC adapter supplied.
Usingthebalancewithanincorrectpowersupplyorvoltagemayresultintheoutbreakofreormalfunctions.Notealsothatif
thepowersupplyorvoltageisunstableorifthepowersupplycapacityisinsufcient,itwillnotbepossibletoobtainsatisfactory
performance from the balance.
Instructions
Install measures to prevent the balance from toppling over in the event of
earthquakes, etc.
If the balance topples over as a direct result of vibrations, it may result in injury.
Instructions
Plug the AC adapter into an easily accessible power outlet.
During emergencies, it is necessary to unplug the AC adaptor from the power outlet.
Instructions
Beware of the gaps between equipment during installation.
Failuretoobservethismayresultinngersgettingcaught,leadingtoinjury.
Placengersontheindentationsonthesidesoftheunitandgripitrmlywithbothhandsduringinstallation.
n Precautions Related to Work/Operations
!CAUTION
Prohibitions
Do not operate the ionizer when measuring items that are explosive or inammable.
Failuretoobservethismayresultinignitionandtheoutbreakofre.
Instructions
Use the correct weighing units.
Using incorrect weighing units can lead to accidents as a result of weighing errors. Check that the weighing units are correct before starting weighing.
Instructions
Treat the balance with care and respect.
The balance is a precision instrument. Subjecting it to impact may result in malfunctions. When moving the balance, remove
thepan,thepansupporterandthepanring,inplace,andgraspitrmlywithbothhandswhencarryingit.Ifthebalanceistobe
stored for long periods of time, place it in the packaging box which was used for delivery and store it in a safe location with few
temperatureuctuations.
n Risks Involved in Repairs/Dismantling/Modications
!CAUTION
Prohibitions
Never disassemble, modify or attempt to repair this product or any accessory.
You could sustain an electric shock or the product could operate abnormally. If you believe that the balance has failed, contact
your Shimadzu representative.

11
n Precautions Related to Inspections/Maintenance
!CAUTION
Prohibitions
The design standard period of usage for this product is ten years. Using
the product for more than the design standard period may result in it being
impossible to maintain performance or malfunctions, etc.
• Afeeischargedforsafetyinspections.Directallrequeststooursalesofces,dealersortheserviceagenciesspeciedbythe
company.
• The design standard period is the standard period during which the product can be used safely without malfunctions, and it
does not represent the valid period of product warranty.
• See [Chapter 11. Maintenance] for details on daily maintenance inspections and replacement parts.
Instructions
Unplug the power cord from the AC adapter during inspections, maintenance and
when replacing parts.
Failure to observe this may result in accidents caused by electric shocks or short-circuits.
Instructions
Always use the parts specied in the instruction manual when replacing parts.
Theuseofnon-speciedpartsmayresultinthembecomingdamagedandunusable.
n Measures to be Observed during Emergencies
!CAUTION
Instructions
If you detect anything abnormal (e.g. a burning smell), immediately disconnect the
AC adapter from the power outlet.
Continuingtousethebalancewithanabnormalitycouldleadtoreoranelectricshock.
n Measures to be Observed during Power Outages
!CAUTION
Instructions
After a power outage, turn the power back ON.
When a power outage occurs, the power is shut off automatically. Therefore, begin operation from “Turning on the Power”
(^P.29) again.
n Caution Labels
Cautions labels are placed in necessary locations on the balance to ensure that it is used correctly. In the event of
theselabelsbeingmislaidordamaged,contactaShimadzusalesofceorserviceagencytorequestnewlabels,
and then make sure they are situated in the correct locations.
[ATX324R example]
RS232C USB DEVISE
Use the AC adapter supplied
withthespeciedpowersupply

12
n Residual Risk Information
Residual risk refers to the risks that could not be removed or reduced during the design and manufacturing stages.
Check the [Residual Risk Maps] for each area with inherent risks and implement protective measures while
referring to the [List of Residual Risks].
nResidual Risk Maps
The [Equipment Location] and [No.] shown below match up with the [List of Residual Risks].
Refer to the [List of Residual Risks] for further details.
Location A: Balance Frame
! Caution No.1
Location B: Pan, Pan supporter, and Pan ring
! Caution No.2
nList of Residual Risks
The [No.] and [Equipment Location] shown below match up with the [Residual Risk Maps].
Check the [Residual List Maps] for further retains on the relevant [Equipment Location].
Read and fully comprehend the details listed in [Refer To] and implement protective measures without fail.
Measurement Preparations
No. Equipment
Location Risk Protective Measures Implemented by
Users ― ―
1 A ! Caution
The frame and front glass may
become detached when the top
frame is picked up and moved.
When moving the balance, do not hold
it by the top frame, but grip the bottom
ofthemainunitrmlywithbothhands
to pick it up.
Refer To P. 2 7
Task Moving the
Balance
Qualications
& Training
Recipients of
Work Training
Maintenance
No. Equipment
Location Risk Protective Measures Implemented by
Users ― ―
2 B ! Caution
Transporting the unit with the
pan, pan supporter and pan ring
installed may result in damage
to the draft shield glass.
Remove the pan, pan supporter and
pan ring without fail when transporting
the balance during repairs.
Refer To P.132
Task Transporting
during repairs
Qualications
& Training
Recipients of
Work Training

13
Product Warranty
Shimadzu provides warranty with regard to the following as a basic principle. See the [Product Warranty] supplied for
further details.
1. Period of Warranty
Valid for one year from the date of purchase (Restricted to Japan).
2. Items Covered by the Warranty
Malfunctions attributable to Shimadzu occurring within the period of warranty will be repaired or parts replaced free of
charge (The warranty is only valid within Japan).
3. Limitation of Liability
1) Shimadzucannotbe heldresponsiblefortheusers’lossofprot,indirect damagesorsecondarydamages
under any circumstances. The company can also not be held responsible for damages relating to damage
compensation caused to users by third parties.
2) The liability for compensatory damages attributable to Shimadzu is limited to a sum equivalent to the cost of
the product in all cases.
4. Warranty Exemption
The warranty is not valid for malfunctions attributable to the following, even during the period of warranty.
1) Malfunctions occurring as a result of misuse.
2) Whentheproductisrepairedormodied,etc.,byanycompanyorpersonotherthanShimadzuCorporation.
3) Malfunctions attributable to causes other than the product itself.
4) When used in harsh environments, such as high-temperature and high-humidity environments, environments
subject to corrosive gases, and environments subject to vibrations, etc.
5) Malfunctionscausedbyre,earthquakesorothernaturaldisasters,bycontaminationcausedbyradioactivity
or toxic substances, or by unavoidable situations, such as war, civil unrest and crime.
6) When moved or transported elsewhere after having been installed.
7) Consumable parts and parts conforming to this designation.

14
Aftercare Services and Part Supply Period
1. Aftercare Service
In the event of the product not operating normally, carry out inspections and resolve the problem in accordance with
the instructions providing in [10.TROUBLESHOOTING] (^P.138). If the problem persists or other problems that
are thought to be malfunctions not covered by the instructions provided arise, contact the numbers provided on the
back cover.
2. Part Supply Period
The period during which replacement parts will be supply for the product is up until seven years after the termination
of manufacture.
Note that there are cases in which it will not be possible to supply replacement parts once this supply period has
elapsed.
However, the supply periods stipulated separately by the manufacturers will be applied for parts not manufactured by
Shimadzu.
Inspections and Maintenance
Daily inspections, Periodic inspections and regular calibrations are required to ensure that the performance of the
balance is maintained for long periods of time so that correct measurement data can be acquired.
• See [Chapter 11: Maintenance/Inspections] for details on daily inspections and part replacement.
•ContactaShimadzu salesofceorservice agency,or oneofShimadzu’sservicecompanies torequestPeriodic
inspections and regular calibrations.
Product Disposal
When disposing of the product, dismantle and dispose of the parts separately in accordance with their composition in
order in consideration of environmental conservation.
Direct all inquiries to the contact numbers provided on the back cover.

BEFORE
WEIGHING
USING THE
BALANCE USING MORE CONVENIENTLY MAINTENANCE
TROUBLESHOOTING
FOR YOUR
INFORMATION
15
1 BEFORE WEIGHING 20
Table of Contents
Name and Function of Components ......................... 20
■Main body...........................................................20
■Operation Keys. . . . . . . . . . . . . . . . . . . . . . . . . . . . . . . . . . . . . . . . . . . . . . . . . . . . . . .22
■Display Panel ........................................................23
■Unpacking and Delivery Inspection .......................................25
Installation ............................................. 26
■Choosing the Installation Site ...........................................26
■Installing the Components ..............................................27
■Adjusting the Level of the Balance........................................27
■Turning the Power ON .................................................29
■Warming Up .........................................................29
■Performing Span Calibration ............................................30
2 USING THE BALANCE 34
Weighing ..............................................34
Outputting Weight Readings ...............................36
Selecting the Display ..................................... 37
■Switching Units.......................................................37
■Selecting the Minimum Number of Displayed Digit (1d/10d display) ..............37
■Selecting the Decimal Point Display Symbol................................39
Ending Weighing ........................................ 41
■Turning the Power OFF ................................................41
3 MENU SETTINGS 42
What Is the Menu? ...................................... 42
■The Structure of the Menu ..............................................42
■Menu Map ..........................................................43
■Instruction Manual ....................................................43
■Menu Operation Key Symbol ............................................43
Basic Menu Operations ................................... 44
Table of Contents

16
Entering Numerical Values ................................ 45
■Changing the Numerical Value ..........................................45
■Changing the Position of the Decimal Point ................................46
Convenient Functions for Menu Setting....................... 47
■Returning to the Default Settings (Menu Reset) .............................47
■Prohibiting Changes to the Menu Settings (Menu Lock) .......................48
■Outputting the Menu Setting Information...................................49
4 CALIBRATION 50
Before Starting Calibration…............................... 50
Span Calibration and Adjustment ........................... 52
Perfect Self Calibration (PSC) (ATX-R only) ................... 56
Calibration of the Internal Weight (ATX-R Only) ................ 58
Leaving a Record of Calibration ............................ 61
■Example Printout of a Calibration Record ..................................61
■Setting Output of a Calibration Record ....................................62
■Setting a Balance ID ..................................................63
5 FUNCTIONS RELATING TO TARING 64
Zero Tracking Function ................................... 65
Auto Zero Function ......................................66
Auto Tare Function ......................................68
Zero / Tare Timing Change Function ......................... 69
6
ADJUSTING RESPONSE AND STABILITY
70
Selecting the Weighing Mode .............................. 71
■Selecting the General Weighing Mode ....................................71
■Selecting the Pouring Mode.............................................71
Easy Setting of Response and Stability....................... 72

BEFORE
WEIGHING
USING THE
BALANCE USING MORE CONVENIENTLY MAINTENANCE
TROUBLESHOOTING
FOR YOUR
INFORMATION
17
7 SETTING UNITS 77
■Units That Can Be Displayed and Conversion Factors ........................77
Selecting Units to Display ................................. 78
Setting User-Specied Units ............................... 79
■Conversion Factors ...................................................79
■Minimum Indication ...................................................80
8 APPLICATION FUNCTION MODE 81
Counting Pieces by Weight (Piece Counting) .................. 82
■Preparation for Piece Counting (Including Setting the Unit Weight) ..............82
■Counting Numbers of Pieces ............................................85
■Changing a Unit Weight, or Adding a New Unit Weight........................86
Percentage Weighing .................................... 87
■Preparation for Percentage Weighing .....................................87
■Weighing Percentages.................................................90
Measuring Specic Gravity of Solids
(Solid Specic Gravity Measurement) ...................... 91
■Preparation for Solid Specic Gravity Measurement..........................91
■Data Hold Function ...................................................93
■Density/Specic Gravity Calculation Formula Selection .......................94
■Solid Specic Gravity Measurement ......................................96
■Solid Specic Gravity Measurement for Lighter than Water Solids (1 g/cm
3
or less)
...97
Measuring Specic Gravity of Liquids
(Liquid Specic Gravity Measurement) ..................... 98
■Glass Sinker Volume Measurement.......................................98
■Preparation for Liquid Density Measurement ...............................99
■Liquid Density Measurement ...........................................101
Adjusting the Stability Mark ................................ 74
■Setting the Stability Detection Range .....................................74
■Setting the Stability Mark Lighting Timing ..................................75

18
11 MAINTENANCE 132
Maintaining the Balance ................................. 132
■Removing the Glass Door .............................................133
Inspection ............................................ 134
■Daily Inspections ....................................................134
■Periodic Inspections..................................................135
Convenient Functions Relating to Output .....................111
■Printing / Outputting Automatically (Auto Print Function). . . . . . . . . . . . . . . . . . . . . . 111
■Printing / Outputting Continuously (Continuous Output Function)...............113
Connecting External Equipment ............................116
■Connecting Printers ..................................................116
■Connecting Personal Computers........................................117
■Connecting PLCs and Other Serial Communications Equipment ...............119
■Cable Connections (RS232C) ..........................................120
■Data Format ........................................................121
■Command Codes ....................................................123
Communication Settings ................................. 127
■Standard Settings (MODE) ............................................128
■User-Specied Settings ...............................................128
Output Timing Change Function ........................... 131
10 CONNECTION AND COMMUNICATION
WITH PERIPHERAL DEVICES 111
9 COMPARATOR FUNCTION 107
Target Mode .......................................... 107
Checkweighing Mode ................................... 109
Formulation ........................................... 102
■Performing Formulation ...............................................102
■Outputting Component Numbers ........................................105
■Outputting the Gross Weight ...........................................106

BEFORE
WEIGHING
USING THE
BALANCE USING MORE CONVENIENTLY MAINTENANCE
TROUBLESHOOTING
FOR YOUR
INFORMATION
19
Turning the Power ON and OFF ........................... 140
■Auto Power-Off Function ..............................................140
■Setting the Startup Display ............................................141
Changing the Password ................................. 142
GLP Output Function.................................... 143
■Setting the GLP Output Function........................................143
■Setting a Balance ID .................................................145
Specications ......................................... 146
■ATX-R/AT Y-R Series .................................................146
Maintenance Parts ..................................... 147
■ATX-R/AT Y-R Series .................................................147
List of Functions That Can Be Used in Combination ............ 149
Menu Map ............................................ 150
■Reading the Menu Map ...............................................150
■Main Menu .........................................................151
■Data Output Menu ...................................................153
■Unit Setting Menu....................................................154
■Calibration Menu ....................................................154
■Zero / Tare Menu ....................................................154
13 FOR YOUR INFORMATION 140
12 TROUBLESHOOTING 138
What to Do If…. ........................................ 138
Responding to Messages ................................ 139
About Weights ......................................... 136
■Types of Weight and Their Selection .....................................136
This manual suits for next models
9
Table of contents
Other Shimadzu Scale manuals
Shimadzu
Shimadzu BX32KS User manual
Shimadzu
Shimadzu UW220H User manual
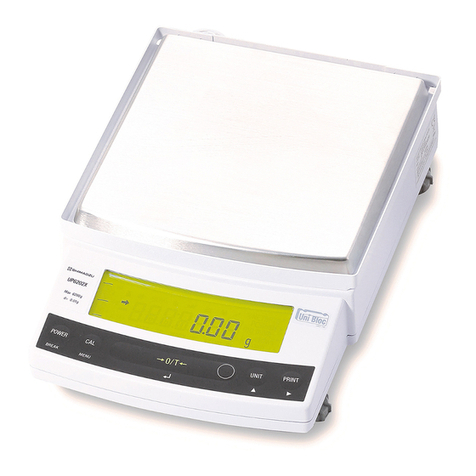
Shimadzu
Shimadzu UPX Series User manual
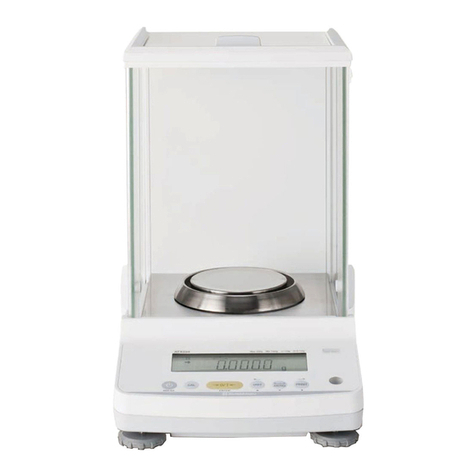
Shimadzu
Shimadzu ATX224 User manual
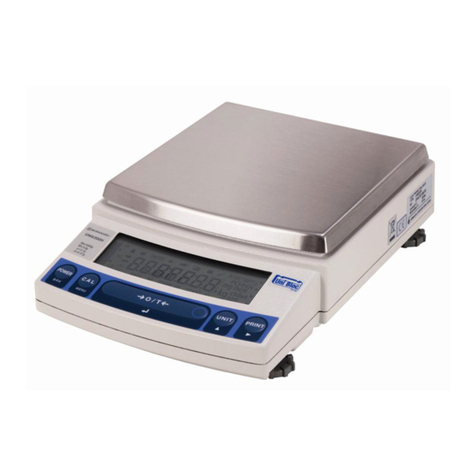
Shimadzu
Shimadzu UW620HV User manual

Shimadzu
Shimadzu AW Series User manual

Shimadzu
Shimadzu ELB Series User manual
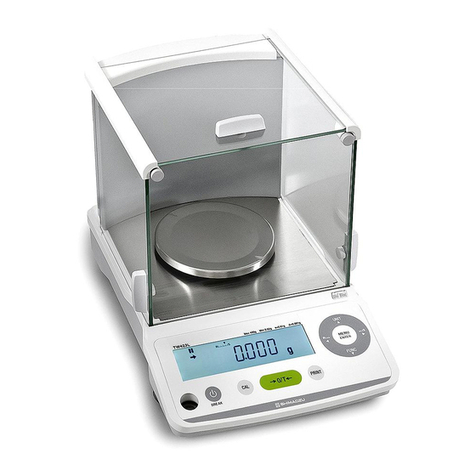
Shimadzu
Shimadzu TW223L User manual
Shimadzu
Shimadzu BL3200H User manual
Shimadzu
Shimadzu AUW220D User manual
Popular Scale manuals by other brands

Vitafit
Vitafit VT708 user manual

Tractel
Tractel dynafor MWX Operation and maintenance manual

ETEKCITY
ETEKCITY Choice Smart Nutrition Scale user manual
Binatone
Binatone BS-8028 instruction manual

Northern Industrial Tools
Northern Industrial Tools 426263 owner's manual
RADWAG
RADWAG Y/KTP series user manual


