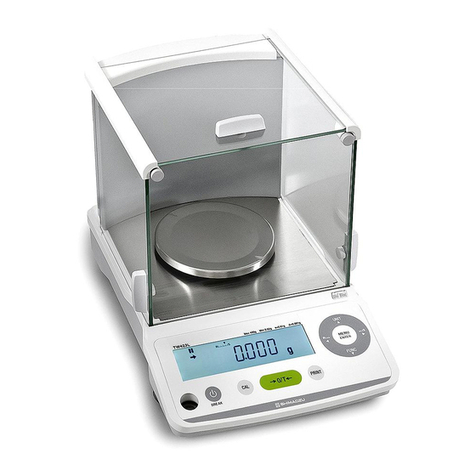
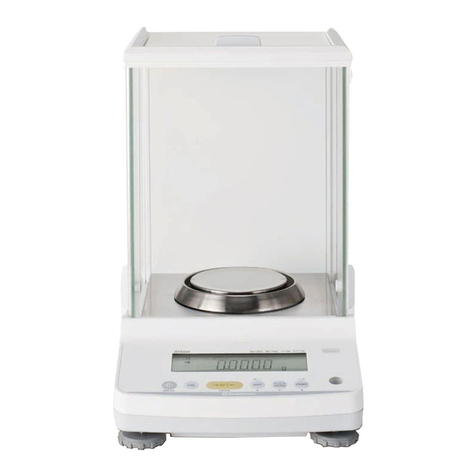
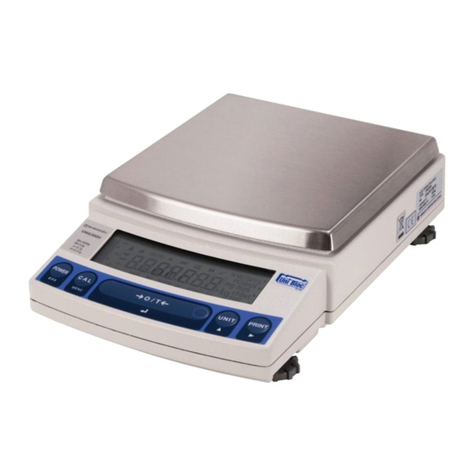
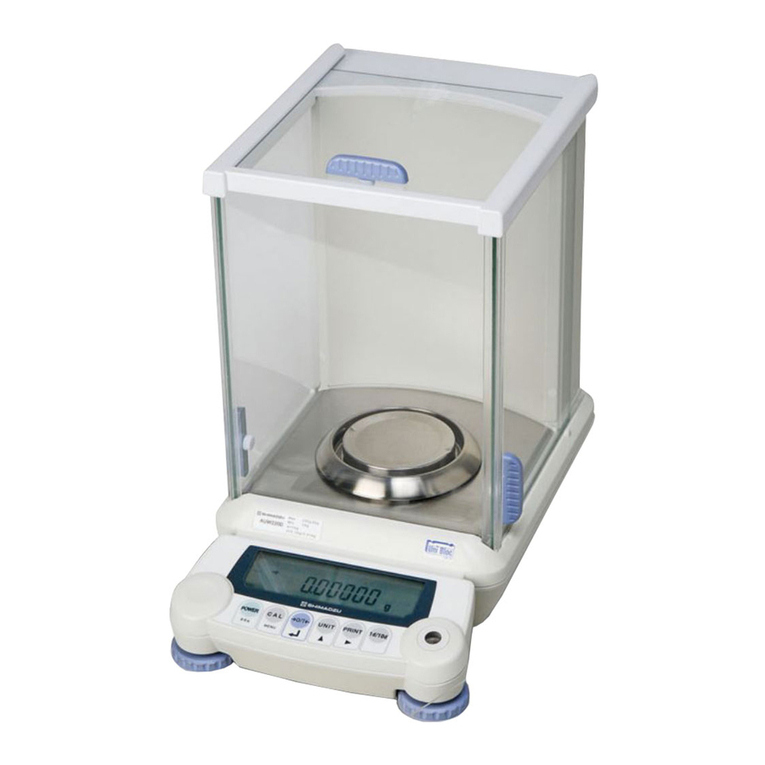
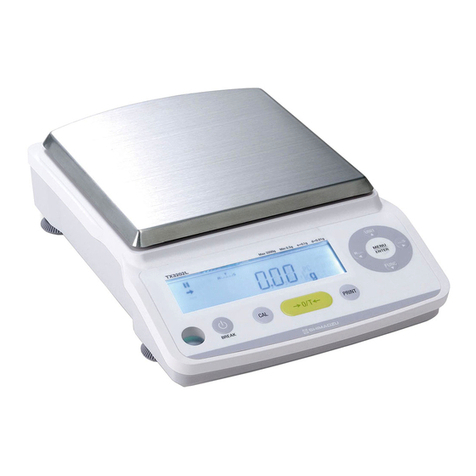
Shimadzu ELB120 User manual

UNIT
ON/OFF
BREAK
MODE
TARE
SHIMADZU ELECTRONIC BALANCE
ELB SERIES
ELB120, ELB200, ELB300, ELB600,
ELB1200, ELB2000, ELB3000, ELB12K,
ELB600S, ELB6000S
INSTRUCTION MANUAL
4500-10800-15ATD(374)
321-56849-21E
Oct. 2008


Read this manual thoroughly to ensure correct use of
the equipment. Save this for reference in use.
SHIMADZU ELECTRONIC BALANCE
ELB SERIES
ELB120, ELB200, ELB300, ELB600,
ELB1200, ELB2000, ELB3000, ELB12K,
ELB600S, ELB6000S
INSTRUCTION MANUAL

Safety Precautions
NOTICE
Precautions in this instruction manual are defined as follows.
CAUTION! Failing to observe this may result in light to medium levels of injury or physical
damage.
NOTICE Information for the correct use of the equipment.
Follow the cautions below for safe and proper use of the ELB balance.
CAUTION! Do not use the ELB balance in dangerous areas*.
Use only the AC adapter provided by the distributor authorized by Shimadzu if
using an AC adapter.
Use options and peripherals provided by Shimadzu. Use of inadequate attachments
and peripherals may cause malfunction of the balance.
The ELB balance is a precision instrument. Take enough care and precautions when
handling it to ensure proper operation over a long period of time.
* Places exposed to flammable gases, liquids or dust.

Introduction
Thank you for purchasing the Shimadzu ELB Series Electronic Balance. Before using the balance, read
this Instruction Manual carefully and store it for reference in use.

Declaration Of Conformity
Shimadzu Corporation declares that the following products:
ELB Series
Electronic Balance
conform to the following directives.
Directives
EMC directive 89/336/EEC amended by 92/31/EEC, 93/68/EEC
EN55022: 1994 /A1: 1995 /A2: 1997 (Class B)
EN55024: 1998
EN61000-3-2: 1995 /A1: 1998 /A2: 1998
EN61000-3-3: 1995
Low Voltage directive 73/23/EEC amended by 93/68/EEC
EN60950: 1992 /A1: 1993 /A2: 1993
Weighing Instruments Department
Analytical & Measuring Instruments Division
SHIMADZU CORPORATION
1, Nishinokyo-Kuwabaracho
Nakagyo-ku, Kyoto-shi
604-8511 JAPAN

Contents
1. LIST OF COMPONENTS AND NAMES OF UNITS .......................................................................................1
2. FITTING & REPLACING THE DRY BATTERIES...........................................................................................4
3. INSTALLATION...............................................................................................................................................5
4. CAUTIONS AND NOTICES............................................................................................................................6
5. MEASUREMENT PROCEDURE....................................................................................................................6
6. AUTO POWER OFF FUNCTION ...................................................................................................................8
6.1 SETTING THE AUTO POWER OFF FUNCTION .............................................................................................8
6.2 DISABLING THE AUTO POWER OFF FUNCTION ..........................................................................................9
7. MENU SELECTION......................................................................................................................................10
8. REGISTRATION OF UNITS .........................................................................................................................12
8.1 CONDITIONS FOR REGISTRATION ............................................................................................................12
8.2 REGISTRATION PROCEDURES ..................................................................................................................12
8.3 DELETING THE REGISTRATION................................................................................................................12
9. CALIBRATION ..............................................................................................................................................13
10. PIECE COUNTING.....................................................................................................................................14
11. PERCENTAGE CONVERSION ..................................................................................................................16
12. SPECIFIC GRAVITY MEASUREMENT .....................................................................................................17
13. SWITCHING UNITS ...................................................................................................................................19
14. PERFORMANCE INSPECTION.................................................................................................................20
15. MAINTENANCE..........................................................................................................................................21
16. MALFUNCTION?........................................................................................................................................22
17. SPECIFICATIONS ......................................................................................................................................23
18. PARTS LIST ...............................................................................................................................................25
19. SPECIAL ACCESSORIES (OPTIONS) ......................................................................................................26
19.1 BELOW-BALANCE-WEIGHING HOOK .....................................................................................................26
19.2 PERIPHERALS ........................................................................................................................................27
19.2.1 PRINTER EP-80 ..................................................................................................................................27
19.2.2 RS-232C INTERFACE IFB-102A ........................................................................................................27
19.2.3 INPUT/OUTPUT FORMAT ....................................................................................................................28
19.2.4 COMMAND CODES ..............................................................................................................................30


1
1. List of Components and Names of Units
List of components The following components (one for each) are contained in the package.
Balance main unit (Dry battery holder and dry battery cover are fitted
before shipment.)
In-use keypad protective cover Pan supporter Pan
Instruction manual Operating guide
(Drybatteriesarenotpacked.)
Names of units
①Balance main unit ②Dry
battery cover ③Pan
④Pan supporter ⑤Pan supporter shaft
⑥Level indicator ⑦Power jack
⑧Level screws (3 places) ⑨In-use keypad protective cover
⑩Dry
battery holder ⑪DATA I/O connector
Large-pan model
Small-pan model

2
Key names and functons
UNITkey ON/OFF(BREAK)key
MODEkey TAREkey
Name of Key Function
ON/OFF(BREAK) 1) Turns the power on/ off.
2) Discontinues menu selection.
3) Cancels the Auto Print function.
4) Stops continuous data output to external instruments.
TARE 1) Subtracts the weight of the container.
2) Confirms menu selections.
3) Sets the reference values for piece counting and percentage conversion.
UNIT 1) Switches the units.
2) Cancels the Auto Print function.
3) Stops continuous data output to external instruments.
MODE 1) Selects different menu items.
2) Measures the weight in air during specific gravity measurement.
3) Cancels the Auto Print function.
4) Stops continuous data output to external instruments.

3
Display
Not applicable depending on the local regulations for measuring instruments.
Specific gravity
measurement mark
Center Zero mark:
Illuminates when the display stabilizes within
0 ±0.25 of the minimal increment.
Turn off the power immediately i
f
this mark illuminates.
A
uto Print mark:
Illuminates when the Auto Print
function is turned on.
Low Battery mark:
Replace the dry batteries when this
illuminates. Percentage mark
Piece counting mark
Gram mark
Stability mark:
Illuminates when the display stabilizes.
Negative sign mark

4
2. Fitting & Replacing the Dry Batteries
NOTICE Always use six AA dry batteries.
The dry batteries are fitted or replaced according to the steps outlined below.
Fitting the dry batteries
(1) Press down lightly on the part of the dry
battery cover and pull it in the indicated direction
to remove it.
(2) Take out the dry battery holder.
(3) Fit six AA batteries in the dry battery holder.
When replacing the dry batteries, take the
used dry batteries out of the holder.
CAUTION! Make sure that the polarities are
correct when fitting the batteries.
CAUTION! Do not mix and use old dry
batteries with new ones.
(4) Put the dry battery holder back in place and fit the
dry battery cover in the indicated direction.

5
3. Installation
Power suppy NOTICE The dry batteries are not included. In addition, the unit will operate
off the dry batteries if the AC adaptor is connected.
Installation location Avoid the following conditions:
CAUTION! Exposure to corrosive or flammable gases.
NOTICE Exposure to dust, wind, vibrations, electromagnetic waves and
magnetic fields.
NOTICE Exposure to direct sunlight, remarkable temperature fluctuations.
NOTICE Extremely high/low temperatures or high/low humidity.
Installation (1)
(2)
(3)
Remove the protection paper at 2 places
on the in-use keypad protective cover and
mount the cover over the keypad.
Mount the pan supporter and the pan on
the pan supporter shaft.
Assure the horizontal installation of the
balance by rotating the level screw until
the air bubble in the level comes to a rest
in the center of the red circle. (Also check
that the balance is placed steadily.)
For quick adjustment, screw in the back
left level screw until it does not touch the
table. Level the balance using the 2
screws at the rear. Finally, adjust the back
left level screw so that it touches the table
supporting the balance steadily.
*Figuresshowsmall-panmodel.

6
4. Cautions and Notices
Observe the
following:
CAUTION! Use only the AC adaptor provided by the distributor authorized
by Shimadzu if using an AC adaptor.
NOTICE Make sure that any foreign objects, including water and metal
pieces, do not enter the interior of the balance.
NOTICE Do not leave the balance with objects on the pan.
NOTICE Do not cause a shock to the pan.
5. Measurement Procedure
The procedures are explained using the ELB300 as an example.
Turn on the power
(1)
(2)
(3)
(4)
(5)
(6)
Check that nothing is placed on the pan.
Press the [ON/OFF(BREAK)] key.
The Check display will illuminate, indicating
that the temperature sensor inside the
balance is being checked.
Depending on the ambient temperature, this
may remain illuminating for about 30 seconds.
The all segments illuminate for approximately
6 seconds.
Zero is displayed.
The zero may be unstable immediately after
the power is turned on. Allow the balance to
warm up for more than 5 minutes. To conduct
accurate measurements, a warm up time of
over 30 minutes is recommended.
Calibrate sensitivity (refer to “9. Calibration”).

7
Measurement (1)
(2)
(3)
Place the container* on the center of the pan
and press the [TARE] key.
Check that the Center Zero mark illuminates.
Load the sample and read the displayed
value when the display stabilizes.
To conduct accurate measurements, perform
a preliminary loading* before conducting
measurements.
“oL” will be displayed if the weight of the
sample exceeds the capacity, or the
combined weight of the sample and
container exceeds the total available range
of the balance.
Dry Batteries consumption can be reduced by activating the Auto Power Off
function.
Refer to “6. Auto Power Off Function” for information on how to set and disable the
Auto Power Off function.
*Container:
Any container in which the sample is placed. Measurements without any container
are also possible.
*Preliminary
loading:
“Preliminary loading” refers to loading and unloading the sample or the weight
once before conducting the actual measurement. A preliminary loading improves
the accuracy of the measurement.
Turn off the power Press the [ON/OFF(BREAK)] key during weight display.
CAUTION! Be sure to turn off the power when the balance is not to be
used for a long period of time.

8
6. Auto Power Off Function
The power is automatically cut when the balance is left unused* for about 5 minutes or more.
Effective usage of this function can reduce dry batteries consumption.
*The balance is considered to be unused when the following conditions (1) and (2) continue.
(1) Keys are not operated.
(2) No changes in the measured weight value amounting to “approx. 1g or more over a 0.5
second period” are detected.
NOTICE This function is activated at the time of factory shipment.
6.1 Setting the Auto Power Off Function
(1) Press the [MODE] key 5 times from weight
display.
(2) The display shown on the right will appear.
(3) Press the [TARE] key.
(4) The balance will revert to weight display after the
display on the right is shown.
CAUTION! The internal values of the balance are being revised while “SEt” is
displayed. Never turn off the power while “SEt” is displayed.
(5) When the Power Off function is activated, the
display will begin to flash approx. 10 seconds
before the power is about to be cut.
The display will stop flashing if either the keys are
operated or an item of about 1g or more is
weighed, in which case the balance will return to
normal weighing mode.

9
6.2 Disabling the Auto Power Off function
(1) Press the [MODE] key 6 times.
(2) The display shown on the right will appear.
(3) Press the [TARE] key.
(4) After the display shown on the right appears,
the balance will revert to weight display.
CAUTION! The internal values of the balance are being revised while “SEt” is
displayed. Never turn off the power while “SEt” is displayed.

10
7. Menu Selection
Various functions, including selecting different measurement speeds and setting of the piece counting
mode, are available on the ELB-series balance. Selection of these functions is referred to as “Menu
Selection”.
Procedure (1)
(2)
(3)
(4)
(5)
Press the [MODE] key.
The currently set conditions are displayed in symbols.
(Example)
Auto Power Off function activated *
Zero tracking activated *
Stability detection width: Large
Normal Response Mode
(Items with “*” illuminates
when set to on.)
The display changes in the order shown in the table on page 11 by pressing the
[MODE] key.
To select a condition or a mode, press the [TARE] key while the condition or the
mode is displayed.
When a condition or a mode is selected,
“SEt” is displayed, and then it reverts to the
weight display. (This does not occur when
calibration, piece counting, or percentage
conversion is selected.)
CAUTION! The internal values of the balance are being revised while “SEt”
is displayed. Do not turn off the power while “SEt” is displayed.
After displaying “SG” (“Unit kg” for the ELB12K), the balance reverts to the weight
display.
- Press the [ON/OFF(BREAK)] key to stop menu selection.
- Set the response mode to “Normal” (A-2) in ordinary cases.
Set the response mode to “Fast” (A-1) when it is necessary to reduce the time
required for measurements. (Be acknowledged that measurement accuracy
may be sacrificed).

11
- Set the internal stability detection width to “Large” (P-2) when external causes
such as vibration hinder smooth output for Auto Printing, or when intending to
reduce the time required for output. (Be acknowledged that measurement
accuracy may be sacrificed.)
- Activating Zero Tracking (d-on) will automatically cancel the minor fluctuation
in the zero display. Select “d-off” when measuring slight differences of the
weight.
Menu Items
Display Description Symbol for
conditions display
Conv PCS Piece counting
Conv % Percentage conversion
Mode
CAL Calibration
P.C.-on Auto Power Off function activated P
P. C . - o F Auto Power Off function disabled
A-1 Fast Response Mode 1
A-2 Normal Response Mode 2
P-1 Internal stability detection width: Small 1
P-2 Internal stability detection width: Large 2
d-on Zero tracking: ON d
d-off Zero tracking: OFF
Conditions
IF RS-232C communication specification settings
Mode SG Specific gravity measurement
*1Unit kg Kilogram
Unit g Gram
Unit ct Carat 1ct=0.2g
*2Unit oz Ounce 1oz=28.3495g
*2 Unit ozt Troy ounce 1ozt=31.1035g
*2 Unit dwt Penny weight 1dwt=1.55517g
*2 Unit GN Grain 1GN=0.0647989g
*2 UnitH tl Hong Kong tael 1tl=37.429g
*2 UnitS tl Singapore tael 1tl=37.7994g
*2 Unitt tl Taiwan tale (1) 1tl=37.5g
*2 Unit mo Momme 1mo=3.75g
*2 Unit
W
Pound 1Lb=453.6g
*2 Unit k Kyats 1Ks=16.6g
*2 Unit Sawaran 1S=7.999g
*2 Unit Tct Custom 1custom=11.664g
*2 Unitt Ttl Taiwan tale (2) 1tl=37.5g
*2 Unitt
W
tl Taiwan tale (3) 1tl=37.5g
*2 Unitt
W
Ttl Taiwan tale (4) 1tl=37.5g
Units
CLEAr Canceling registered units
*1ELB12K only
*2Not applicable depending on the local regulations for measuring instruments.

12
8. Registration of Units
Three units can be registered in addition to “gram”. The registered units remain after the power has
been turned off. Registered units can be selected by pressing the [UNIT] key.
8.1 Conditions for Registration
- Up to three units (including piece counting, % and specific gravity) can be registered in addition to
“gram”.
- When a new unit is added after three units have been registered, the first-registered unit is deleted
and the new unit is added.
8.2 Registration Procedures
1) Repeat pressing the [MODE] key while the balance displays the weight (except for the case of
specific gravity measurement) until “Unit xx” is displayed.
2) Press the [TARE] key when the desired unit is displayed. “” is displayed for already registered
units.
3) “SEt” appears on the display and it changes to the weight display with the newly registered unit.
CAUTION! The internal values of the balance are being revised while “SEt” is displayed. Do
not turn off the power while “SEt” is displayed.
8.3 Deleting the Registration
- Follow the procedure below to delete registered units one by one. (Piece counting and % cannot be
deleted by this method.)
1) Repeat pressing the [MODE] key while the balance displays the weight (except for the case of
specific gravity measurement) until “Unit xx” is displayed.
2) Repeat pressing the [MODE] key until the unit to delete is displayed. “” is displayed for already
registered units.
3) Press the [TARE] key when the unit to delete is displayed.
4) “SEt” appears on the display and it changes to the weight display.
CAUTION! The internal values of the balance are being revised while “SEt” is displayed. Do
not turn off the power while “SEt” is displayed.
- Follow the procedure below to delete all the units registered.
1) Repeat pressing the [MODE] key while the balance displays the weight (except for the case of
specific gravity measurement) until “CLEAr” is displayed.
2) Press the [TARE] key while “CLEAr” is displayed.
3) “SEt” appears on the display and it changes to the weight display.
CAUTION! The internal values of the balance are being revised while “SEt” is displayed. Do
not turn off the power while “SEt” is displayed.
This manual suits for next models
9
Table of contents
Other Shimadzu Scale manuals

Shimadzu
Shimadzu UW620HV User manual

Shimadzu
Shimadzu ATX224 User manual

Shimadzu
Shimadzu UW220H User manual

Shimadzu
Shimadzu TW Series User manual

Shimadzu
Shimadzu TW223L User manual

Shimadzu
Shimadzu ELB Series User manual

Shimadzu
Shimadzu AW Series User manual

Shimadzu
Shimadzu UPX Series User manual

Shimadzu
Shimadzu AUW220D User manual

Shimadzu
Shimadzu ATX Series User manual