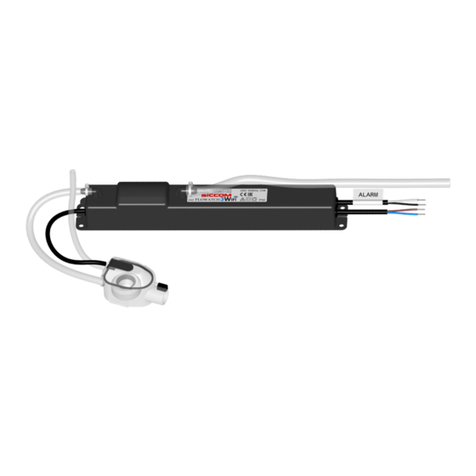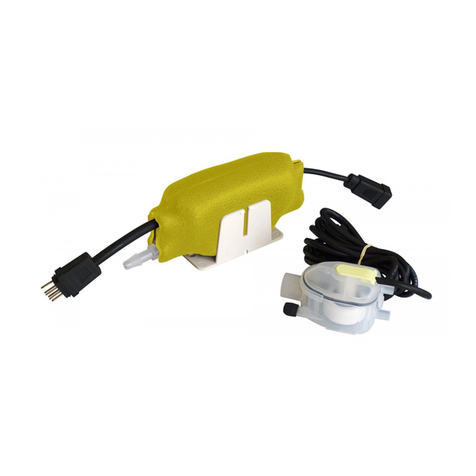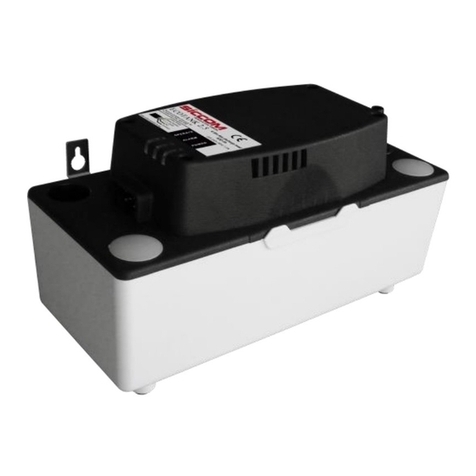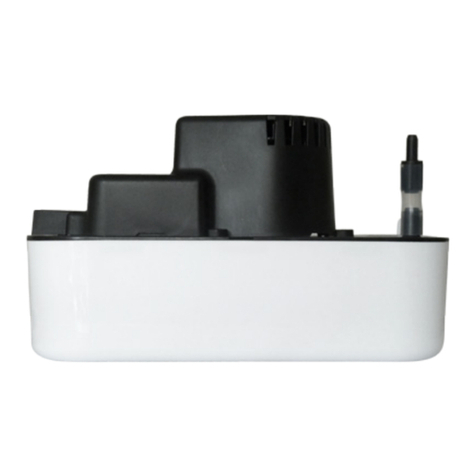
Cet appareil peut être utilisé par des enfants âgés
d’au moins 8 ans et par des personnes ayant
des capacités physiques, sensorielles ou mentales
réduites ou dénuées d’expérience ou de connaissance,
s’ils (si elles) sont correctement surveillé(e)s ou si des
instructions relatives à l’utilisation de l’appareil en toute
sécurité leur ont été données et si les risques encourus
ont été appréhendés. Les enfants ne doivent pas jouer
avec l’appareil. Le nettoyage et l’entretien par l’usager
ne doivent pas être eectués par des enfants sans
surveillance.
• Le raccordement du câble d’alimentation électrique
doit être eectué par un professionnel qualié,
conformément aux normes en vigueur, en prévoyant
un moyen de déconnexion dans les canalisations xes.
• Si le câble d’alimentation est endommagé, il doit être
remplacé par le fabricant, son service après vente ou
des personnes de qualication similaire an d’éviter un
danger.
A. BRANCHEMENT ELECTRIQUE / ALARME
1. Alimentation électrique de la pompe
Déconnecter toute alimentation secteur pendant l’installation.
2. Branchement de l’alarme
La pompe dispose d’un contact de sécurité normalement fermé (NC) permettant d’arrêter l’unité
This appliance can be used by children form
8 years and above and people with reduced
physical, sensory or mental capabilities or lack of
experience and knowledge if they have been given
supervision or instruction concerning the use of the
appliance in a safe way and understand the hazards
involved.Children must not play with the appliance.
Cleaning and maintenance by the user must not be
performed by children.
• The connection of the power supply cable must be
carried out by a qualied professional, in accordance
with the standards in force, providing a means of
disconnection in the xed pipes.
• If the power cable is damaged, it must be replaced by
the manufacturer, his service department or similarly
qualied persons to avoid danger.
A. POWER SUPPLY / ALARM
1. Power supply of the pump
Disconnect the power supply before installation.
2. Alarm
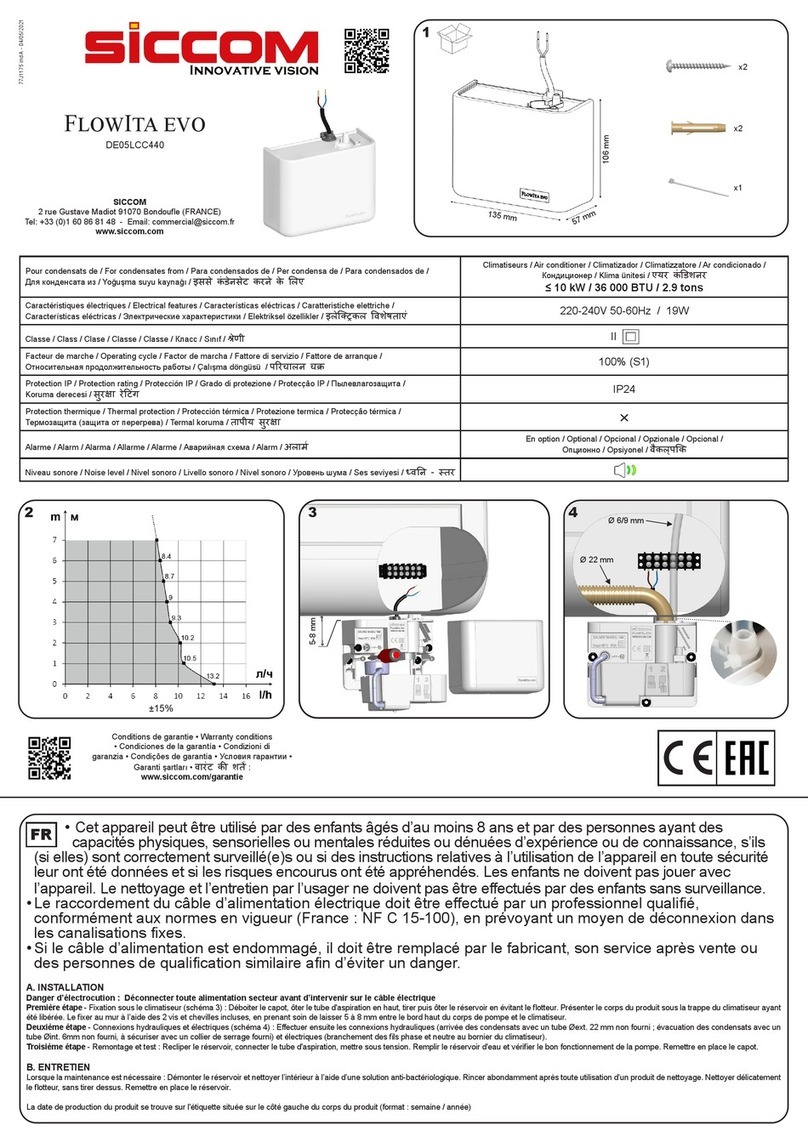
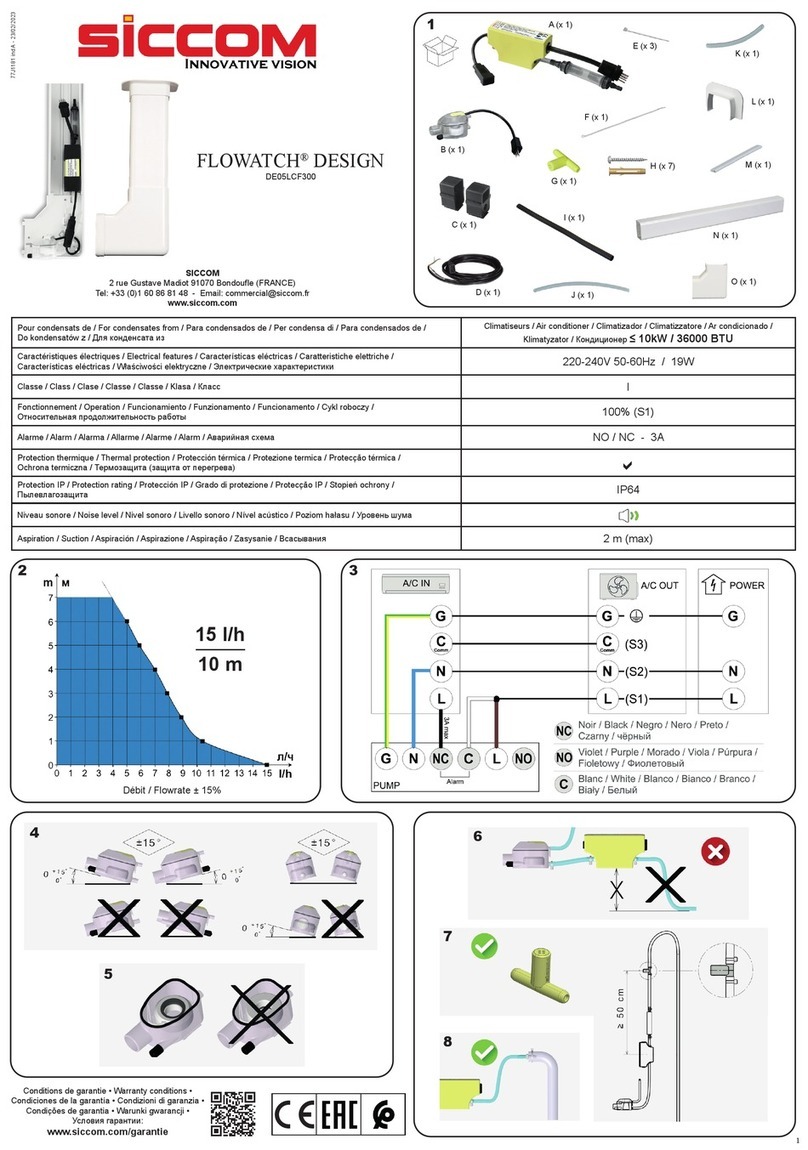
The pump has a normally closed (NC) safety contact to stop the indoor air conditioning unit, and a
normally open (NO) safety contact to trigger a sound or light signal (to be installed by yourself) if there
is a risk of condensate overow (remember to check the specications of the air conditioner). Follow
gure 4 for the alarm connection (NC).
Maximum length of alarm line between pump and terminal strip should be 3m.
• Este aparato puede ser utilizado por niños de
8 años o más y por personas con capacidades
físicas, sensoriales o mentales reducidas o sin
experiencia o conocimientos, si se les supervisa
adecuadamente o si se les han dado instrucciones
sobre cómo utilizar el aparato de forma segura y si
se comprenden los riesgos que conlleva. Los niños
no deben jugar con el aparato. La limpieza y el
mantenimiento por parte del usuario no debe ser llevada
a cabo por niños sin supervisión.
• La conexión del cable de alimentación debe ser
realizada por un profesional cualicado, de acuerdo
con las normas vigentes, proporcionando un medio
de desconexión en las tuberías jas.
• Si el cable de alimentación está dañado, debe
ser reemplazado por un cable o conjunto especial
disponible en el fabricante o su departamento de
servicio.
A. CONEXIÓN ELÉCTRICA / ALARMA
1. El suministro de energía de la bomba
Desconectar de toda alimentación eléctrica durante la instalación.
2. Conectando la alarma
La bomba dispone de un contacto de seguridad normalmente cerrado (NC) para detener la unidad
interior de aire acondicionado, y de un contacto de seguridad normalmente abierto (NO) para activar
intérieure de climatisation, et normalement ouvert (NO) pour déclencher un signal sonore ou lumineux
(à installer par vos soins), en cas de risque de débordement des condensats (pensez à vérier les
spécications du climatiseur). Respecter le schéma 4 pour le branchement de l’alarme (NC).
La longueur maximale du câble alarme entre la pompe et le bornier doit être de 3m.
B. INSTALLATION DE LA POMPE
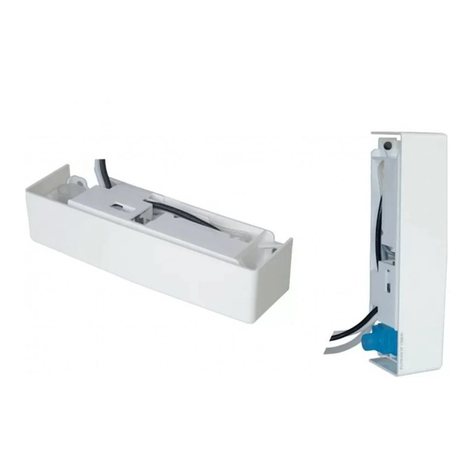
La FLOWATCH® VISION peut être installée en dessous ou sur le côté, à droite ou à gauche du
climatiseur (voir schéma 5). Consulter le guide d’installation fourni.
C. FONCTIONNEMENT ET ENTRETIEN
1. TEST DE FONCTIONNEMENT (recommandé)
Attention : Ne jamais faire fonctionner la pompe à sec plus des quelques secondes indispensables pour
la mise en service (risque de détérioration de la pompe)
• Verser de l’eau dans le bac du climatiseur sans excès
• Vérier la mise en marche de la pompe et constater l’évacuation de l’eau par la pompe, puis l’arrêt
de celle-ci.
• Tester l’alarme en versant de l’eau en continu, même au delà de la mise en marche pompe pour que
le otteur active l’alarme (otteur niveau haut).
2. ENTRETIEN
Toute intervention sur la pompe de relevage de condensats doit être eectuée hors tension.
En début de saison ou régulièrement si la pompe est utilisée toute l’année :
Enlever le capot en exerçant une traction parallèle au mur.
• Pour une implantation horizontale : pousser le réservoir horizontalement vers la pompe puis, lorsqu’il
s’est dégagé vers le bas pour enlever le couvercle et récupérer le réservoir.
• Pour une implantation verticale : tirer le réservoir dans la direction opposée au climatiseur ; une fois
dégagé de son logement séparer le couvercle du réservoir.
Démonter le otteur du couvercle en tirant la rondelle vers le bas (voir schéma 6.b). Nettoyer l’intérieur
du réservoir ainsi que le otteur avec une solution anti-bactériologique. Replacer le otteur avec l’aimant
vers le haut (voir schéma 6.a) et la rondelle de blocage (voir schéma 6.b) ; remettre le ltre en place
(voir schéma 6.c) dans le réservoir et remonter le couvercle. Remettre en place le réservoir suivant le
mode inverse décrit ci-dessus pour les deux types de montage.
La date de production du produit se trouve sur l’étiquette située sur le corps du produit (format :
semaine / année)
B. PUMP INSTALLATION
The FLOWATCH® VISION can be installed under or on the side, on the right or on the left of the air
conditioner (see gure 5). Refer to the supplied installation guide.
C. OPERATION AND MAINTENANCE
1. RUN TEST (recommended)
Caution: Never run the pump dry for more than the few seconds required for commissioning (risk of
damage to the pump).
• Pour water into the air conditioner tray without excess.
• Check that the pump is switched on and that the water is drained from the pump, and then switched
o.
• Test the alarm by pouring water continuously, even after the pump is switched on so that the oat
activates the alarm (high level oat).
2. MAINTENANCE
Any work on the condensate pump must be carried out with the power o.
At the beginning of the season or regularly if the pump is used all year round:
Remove the cover by pulling parallel to the wall.
• For horizontal installation: push the reservoir horizontally towards the pump and then, when it is free,
push down to remove the cover and retrieve the reservoir.
• For vertical installation: pull the reservoir in the opposite direction to the air conditioner; once released
from its housing, separate the reservoir cover.
Remove the oat from the cover by pulling the locking washer down (see gure 6.b). Clean the inside
of the reservoir and the oat with an anti-bacterial solution. Replace the oat with the magnet upwards
(see gure 6.a) and the locking washer (see gure 6.b); replace the lter in the reservoir (see gure 6.c)
and ret the cover. Replace the reservoir according to the reverse procedure described above for both
types of installation.
The production date of the product can be found on the label located on the body of the product (format:
week / year).
Korean Service Providers [BESQ]
Phone number [02-2138-0791]
Address is [40-13 Gangnam-daero 8-gil, Seocho-gu, Seoul (Yangjae-dong)]
una señal sonora o luminosa (a instalar por usted mismo) en caso de riesgo de desbordamiento del
condensado (recuerde comprobar las especicaciones del aire acondicionado). Siga la gura 4 para la
conexión de la alarma (NC).
La longitud máxima del cable de alarma entre la bomba y el bloque de terminales debe ser de 3m.
B. INSTALACIÓN DE LA UNIDAD DE BOMBEO
La FLOWATCH® VISION puede instalarse por debajo o por el lado, a la derecha o a la izquierda del
climatizador (ver gura 5). Consulte la guía de instalación suministrada.
C. OPERACIÓN Y MANTENIMIENTO
1. PRUEBA DE FUNCIONAMIENTO (recomendado)
Precaución: Nunca haga funcionar la bomba en seco durante más de los pocos segundos necesarios
para la puesta en marcha (riesgo de daños en la bomba).
• Vierta agua en la bandeja del aire acondicionado sin exceso (NB el tubo de ventilación debe
permanecer seco).
• Comprueba que la bomba está encendida y que el agua se drena de la bomba y luego se apaga.
• Pruebe la alarma vertiendo agua continuamente, incluso después de que la bomba haya arrancado,
para que el otador active la alarma (otador de alto nivel).
2. MANTENIMIENTO
Cualquier trabajo en la bomba de condensado debe realizarse con la energía apagada.
Al comienzo de la temporada o periódicamente si se utiliza la bomba todo el año:
Retirar la tapa ejerciendo una tracción paralela a la pared.
• En una instalación horizontal: empujar el depósito horizontalmente hacia la bomba y después, cuando
se haya separado, hacia abajo para quitar la tapa y retirar el depósito.
• En una instalación vertical: tirar del depósito en la dirección opuesta al climatizador; una vez que haya
salido de su alojamiento, separar la tapa del depósito.
Desmontar el otador de la tapa tirando la arandela de bloqueo hacia abajo (ver gura 6.b).
Limpiar el interior del depósito y el otador con una solución antibacteriana. Volver a colocar el otador
con el imán hacia arriba (ver gura 6.a) y la arandela de bloqueo (ver gura 6.b); colocar de nuevo el
ltro en el depósito (ver gura 6.c) y poner la tapa. Instalar de nuevo el depósito en su sitio siguiendo a
la inversa los pasos arriba descritos para los dos tipos de montaje.
The production date of the product can be found on the label located on the body of the product (format:
week / year).
FR
EN
ES


