Chapter 2Techncial Information
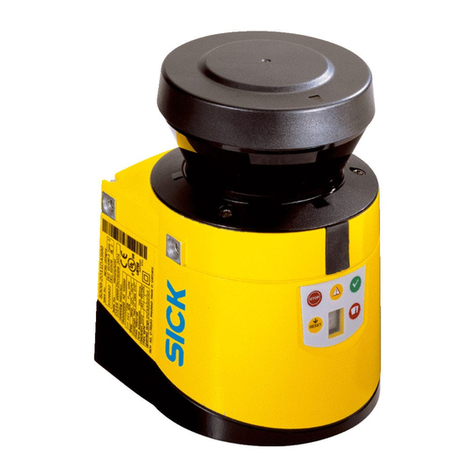
TiM3xx Detecting Laser Scanner
6©SICK AG · Germany · All rights reserved · Subject to change without notice 8014318/VM03/2011-12-14
Operating principle of the TiM3xx
2Operating principle of the TiM3xx
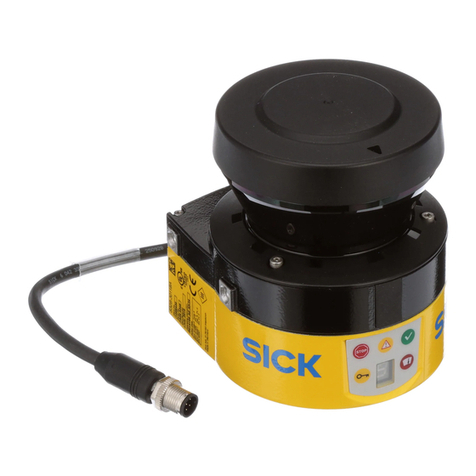
The TiM3xx is an opto-electronic laser scanner that electro-sensitively scans the perimeter
of its surroundings at a single plane with the aid of laser beams. The TiM3xx measures its
surroundings using two-dimensional polar coordinates based on its measurement origin.
This is marked on the hood in the centre using a circular indentation. If a laser beam hits
an object, its position in terms of distance and direction is determined.
Scanning is performed across a 270° sector. The maximum range of the TiM3xx is 4 m
(13.12 ft) on light, natural surfaces with an object reflectivity > 50 % (e.g. a white house
wall).
2.1 Distance measurement
The TiM3xx emits pulsed laser beams using a laser diode. If one of these laser pulses hits
an object or a person, this is reflected at its surface. The reflection is detected in the
TiM3xx's receiver by a photodiode. The TiM3xx uses HDDM technology (High Definition
Distance Measurement), a SICK own-development. Using this measurement method, a
measured value is formed by the average value for several individual pulses. The TiM3xx
calculates the distance to the object from the transit time required by the light from emis-
sion of the beam to receipt of the reflection. This principle of "time-of-flight measurement"
is used by radar systems in a similar manner.
2.2 Direction measurement
The emitted laser beams are deflected by the TiM3xx using a rotating mirror and its sur-
roundings scanned in a circular form. The measurements are triggered internally at regular
angle increments using an angular encoder.
The TiM3xx scans at a scanning frequency of 15 Hz. The measurement method forms an
average value from several pulses to determine individual measured values.
At an angle resolution of 1°, a measuring point is formed from the average of 84 measure-
ments. The spot geometry of the submeasuring points is virtually circular whereas a mea-
suring point has the form of a narrow rectangle due to overlapping.
