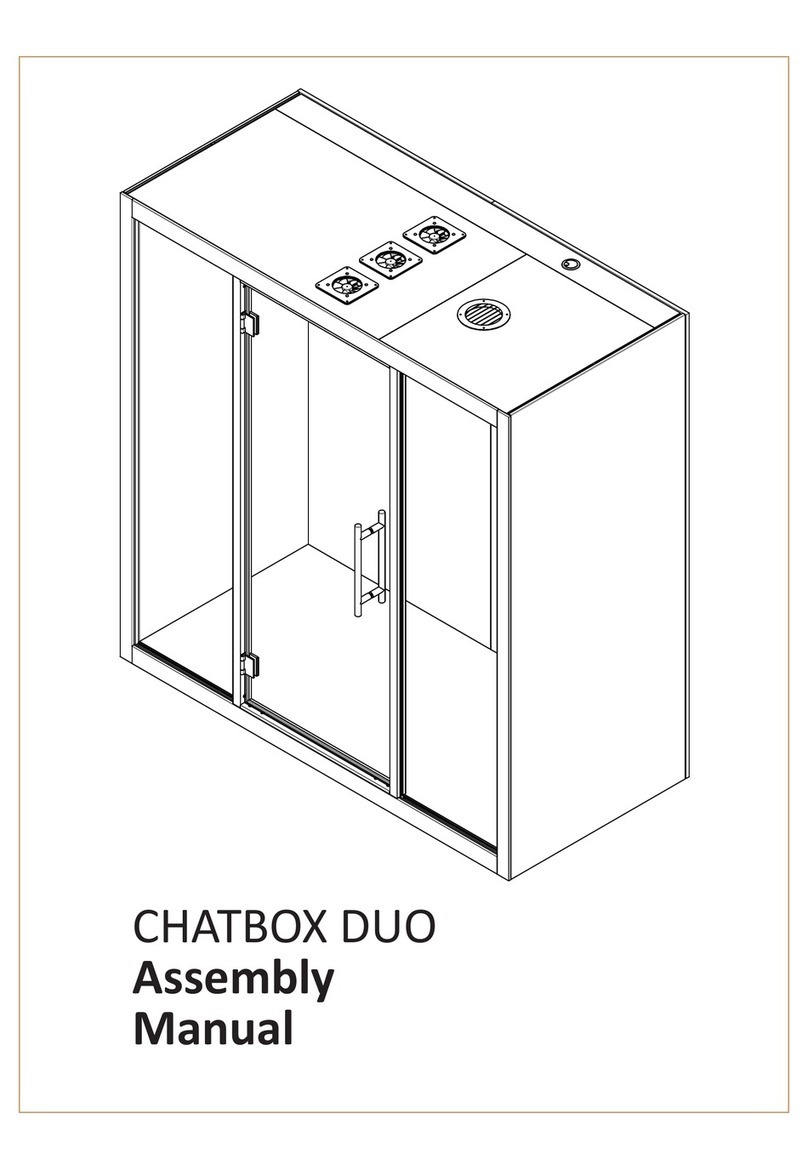
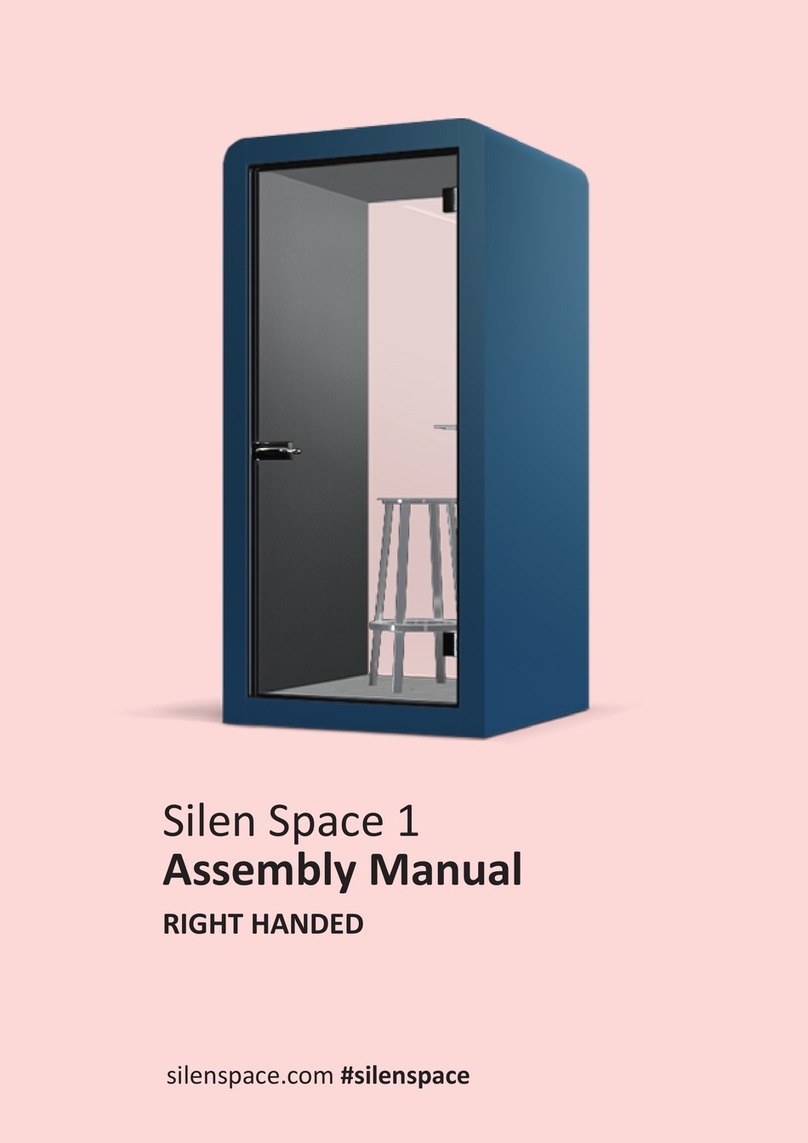
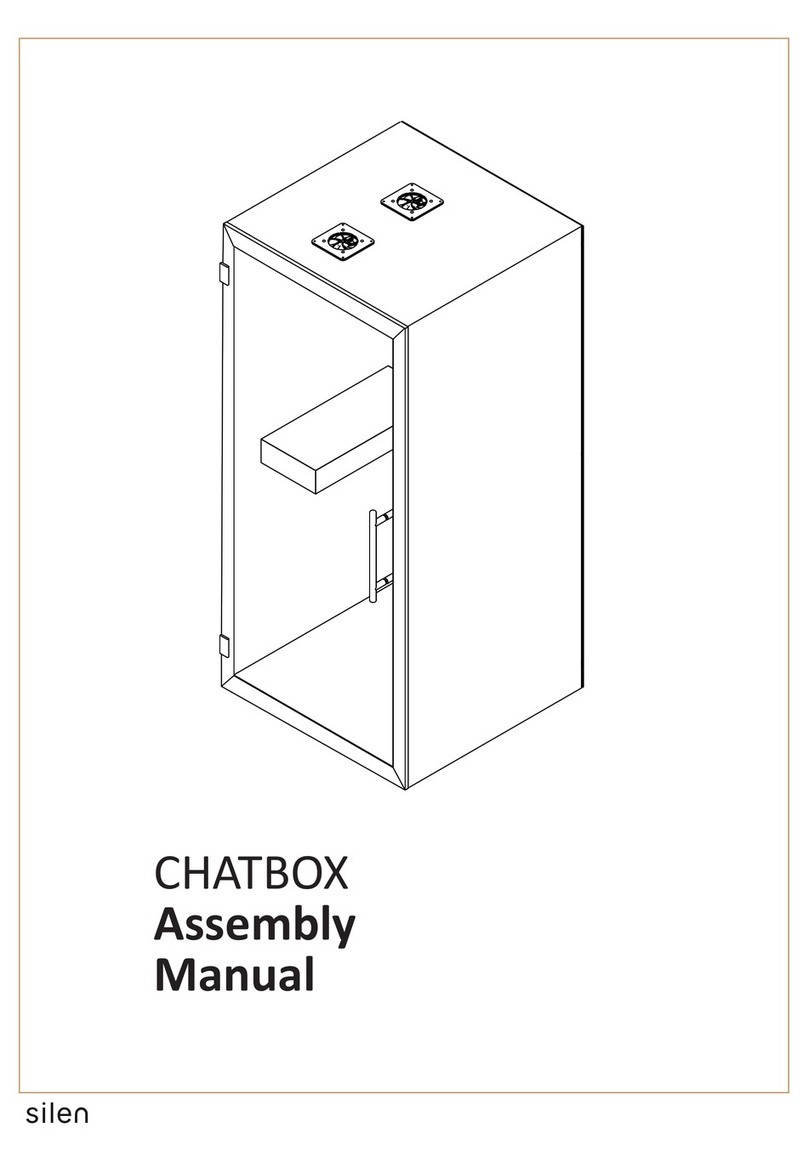
silen CHATBOX Quattro User manual

CHATBOX Qua�ro
Assembly
Manual

2 Person Assembly
Approx. Assembly
Time
1h
Required
Assembly Space
4 x 4 m
Tip-Over Hazard!
DANGER!
opening the cardboard packages
to document any damage caused
during delivery.
Minimum two persons required
for the product assembly.
Note! Assembly may take longer.
Assembly requires approximate
required for safety.
Don’t support on
corner
Risk of damaging the glass panels
or other product parts if supported
on corners for assembly and
1

2
A1
B1 x2 B2 x2
G x4
A2 F
K x2
H x4
I x4
l=2200mm
l=546mm
L x2 l=2000mm
J x2
Product components
C1 C2
E x2
D x3

Allen key set
TOOLS:
Screwdriver
Rubber Mallet &
3
a
M8x30
c x6
ATTACHMENTS:
d x2
g h i x2
b
M4.5x45 4200mm
e x2
2085mm
f x4
Allen 5mm
M5x30
straps 2pcs
4pcs
B2
B1
G
G
G
G
D
D
D
E
E
F
A1
A2
B1
B2
C1
C2
L
L
L
L
K
K
K
K

A1 A1
5mm
of the Chatbox. Remove carpet plugs on marked
Note! Glides must be lowered minimally.
A1
31in /795mm3in/85mm
3in/75mm
4 in / 93 mm 37 in / 947 mm
21 in / 533 mm 20 in / 506 mm 20 in / 506 mm 21 in / 533 mm
37 in / 947 mm 4 in / 93 mm
19in /490mm
18in /470mm
4

A2 A2
5mm
of the Chatbox. Remove carpet plugs on marked
Note! Glides must be lowered minimally.
2. Floor Module Leveling
A2
31in /795mm3in/85mm
3in/75mm
4 in / 93 mm 37 in / 947 mm
21 in / 533 mm 20 in / 506 mm 20 in / 506 mm 21 in / 533 mm
37 in / 947 mm 4 in / 93 mm
19in /490mm
18in /470mm
5

A1
A2
a
3. Floor module Assembly
6
a x3
M8x30
Note! Make sure both modules are leveled to the same height,
if not repeat instrucons from page 4 & 5 and readjust the
modules
2 Person Assembly
A1
A1 A2
A2
A1
a x3
REPEAT PREVIOUS
STEPS UNTIL LEVEL

7
4. Side Module Assembly
2 Person Assembly
B1
A1
b x2
b x2
A1
A1
A1
B1 B1
b
with each other. Then drive in screws “b” to secure the Side module.
Note! Assembly must be supported from the side to avoid pping over
unl all side modules are aached.
Note! Place highlighted
aluminium profiles on front!
Tip-Over Hazard!
DANGER!
B1
FRONT MUST
BE LEVEL!
b
M5x70

B1
B2
A2
A1
8
5. Side Module Assembly
2 Person Assembly
Tip-Over Hazard!
DANGER!
are level with each other.
Note! Assembly must be supported from the side to avoid pping over
unl all side modules are aached.
a x3
M8x30
B1 B2
a
B1 B2
a
c x3
Note! Place highlighted
aluminium profiles on front!
A2
B2
FRONT MUST
BE LEVEL!
a x3
M8x30

9
6. Side Module Assembly
2 Person Assembly
Tip-Over Hazard!
DANGER!
c x3
b x2
M5x70
b x2
c x3
pw
wrench
with each other.
Note! Assembly must be supported from the side to avoid pping over
unl all side modules are aached.
B1 B2
c
A2
B2
b
B1
B2
A2
A1

10
7. Side Module Assembly
2 Person Assembly
Tip-Over Hazard!
DANGER!
c x3
b x4
M5x70
b x2
b x2
a x3
a x3
M8x30
To finish the side module assembly, repeat steps from page 7 - 9:
Page 7:
drive in screws “b” to secure the Side module.
Page 8:
Page 9: part “c” and t
Note! Assembly must be supported from the side to avoid pping over
unl all side modules are aached.
A1
A2
B1
B1
B2
B2
c x3

11
8. Ceiling Module Assembly
2 Person Assembly
b x4
Step 3.
B1
C1
B2 B2
C1
C1
C1
Step 2.
Note! Place highlighted
aluminium profiles on front!
b x4
M5x70
b
Step 1.
screws “b” to secure the side modules.
Step 1.
Step 3.
B1
B1
B2
B2
C1
A2
A1
d
d x2
d

12
2 Person Assembly
Note! Place highlighted
aluminium profiles on front!
b x4
M5x70
Step 1.
Step 2.
screws “b” to secure the side modules.
Step 2.
Step 3.
B2
C2
B1 B1
C2
C2
C2
Step 2.
b
b x4
d
d x2
d
C1
C2
B1
B2
A2
A1
B1
B2

13
Don’t support on
corner
B2
IC2 1.
2.
C2
D
A2
3.
B1
D
Step 2. Step 3.
Step 1.
m
it.
Step 2.
us
- Pu
back of the cabin,
- Care
spacers pre-
I
C2
A2
B1
B2
D
D
- Repeat with second glass panel on the opposite side.
Step 3.
the b

D
D
e
e
14
Don’t support on
corner
1.
2.
C2
D
A2
3.
Step 2.
Step 1. Carefully clean the visible
edges of previously installed glass
panels with s
to remove any residue. Remove the
glue covering strip from glass-glass
seal “e” from only one side and
of glass panel in
full length.
Note! Make sure to leave the oppo-
site glue covering strip on the
glass-glass seal “e”.
Step 2. Clean
based
residue,
using
C2
A2
B1
B2
D
e
e
e x2
2085mm
- Puback
of the cabin,
- Care
spacer

15
Don’t support on
corner
Step 1. Remove the remaining glue covering strips from previ-
ously ched glass-glass seals “e”,
Step 2. Aach fourss panels
(as shown on ng straps between
cu
ls while making sure
the glass panels are on the same plane to one another.
Note! Make sure the side module and floor module are
perpendicular to each other.
e e
NB!
D D D
e
DD
e
Step 2.
DD
D
90o
C2
A2
B1
B2
D
D
D

C2
A2
B1
B2
16
I
J
J
D D
JJ
DI
A1
D
Step 1.
a rubber mallet a
Step 2.
module.
Step 2.

Don’t support on
corner
E
E
H
H
B2
HC1 1.
2.
C1
E
A1
3.
B1
E
Step 1.
to the ceiling module using a
rubber m
to secure it.
Step 2.
using
- Pu
back of the
cabin,
- Carefully lower the glass panel
spacers
Step 2. Step 3.
17
B1
A1
B2
C1
- Repeat with second glass panel on the opposite side.
Step 3.
the b

Don’t support on
corner
F
E E
A1
B2 B1
FRONT
180°
Note! To change the door
handedness rotate
the Door frame (H) 180°
F
18
B1
A1
B2
C1

EEF
90o
pro
Note! Make sure the side and floor module are perpendicular
to each other
E
E
EE
F
19
Table of contents
Other silen Office Equipment manuals
Popular Office Equipment manuals by other brands

Creo
Creo Lotem 400 Series Site preparation guide

Herman Miller
Herman Miller Canvas Office Landscape Installation and Disassembly for Recycling Instructions

BuzziSpace
BuzziSpace BuzziNest Pod installation manual

Formax
Formax FD 260 Operator's manual

Eurobib Direct
Eurobib Direct Info Pod E4695 user manual

Geiser
Geiser One 1BS911 Installation principles