manuals.online logo
Brands
  1. Home
  2. •
  3. Brands
  4. •
  5. silen
  6. •
  7. Office Equipment
  8. •
  9. silen CHATBOX User manual

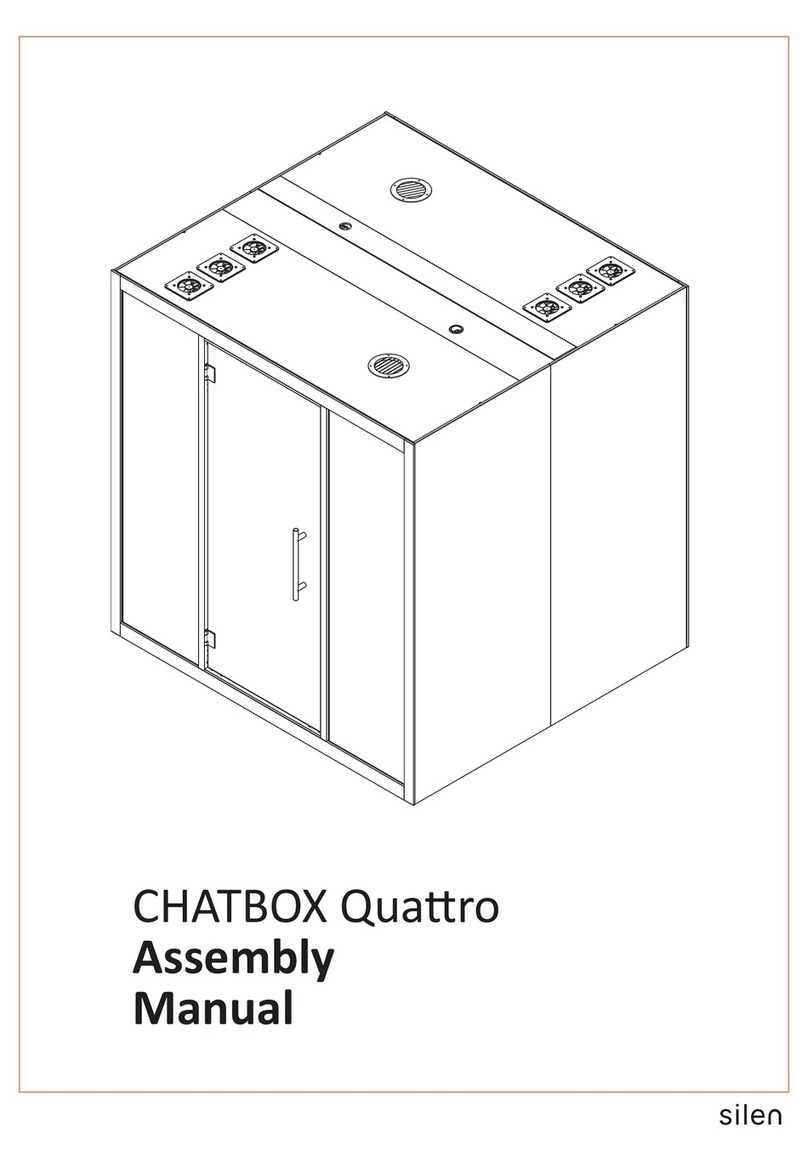
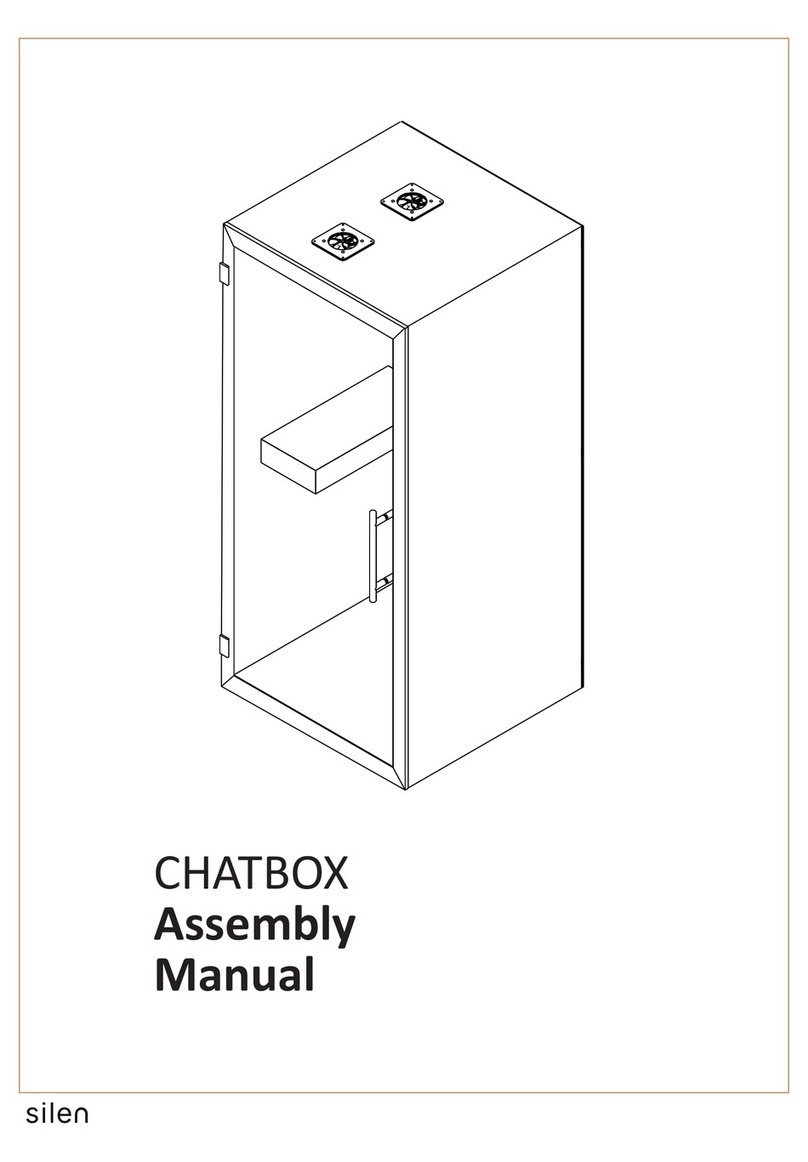
silen CHATBOX User manual

CHATBOX DUO
Assembly
Manual
1

2 Person Assembly
Approx. Assembly
Time
1
h
Required
Assembly Space
4 x 4 m
Tip-Over Hazard!
DANGER!

opening the cardboard packages
to document any damage caused
during delivery.
Minimum two persons required
for the product assembly.

Note! Assembly may take longer.
Assembly requires approximate



required for safety.
Don’t support on
corner
Risk of damaging the glass panels
or other product parts if supported
on corners for assembly and

1
2
A 
B x2 D1 
G x2 H  I x2
C 
M x2
K x4
J x2
l=2200mm
l=550mm
l=2039mm
L x2 l=2000mm
D2  D3  E x2
F x2
Product components
Allen key set
Level
TOOLS:

Allen 4mm
a x8
M5x40
d x4
ATTACHMENTS:
e 
f  g 
c x6
Screwdriver
A
B
B
C
D3
D2
G
G
H
I
I
L
L
M
M
Allen 4mm
 Allen 5mm
M6x30

straps 2pcs


4pcs
Rubber Mallet &

3
D1
F
E
E
F
h 

M5x70
i x8

M3.5x35
A A
5mm
       
of the Chatbox. Remove carpet plugs on marked


Note! Glides must be lowered minimally.

A
31in /795mm3in/85mm
3in/75mm
4 in / 96 mm 37 in / 944 mm 37 in / 944 mm 4 in / 96 mm
11in /
280mm
11in /
270mm16in /405mm
21 in / 535 mm 40 in / 1010 mm 21 in / 535 mm
4
2. Side module Assembly
a x4
A
B
AA
BB
a
a

Floor module (A) and drive in screws “a” to
secure the Side modules.
Note! Assembly must be supported from the
side to avoid pping over before second Side
module is aached.
2 Person Assembly
Tip-Over Hazard!
DANGER!
B
Note! Place highlighted
aluminium profiles on front!
Allen 4mm
a x4
M5x40
5
Step 1. 

to secure the side modules.
Step 2.     

b x4
B
B
C
3. Ceiling module Assembly
Step 2.
B
C
b
BB
C
C

2 Person Assembly
Note! Place highlighted
aluminium profiles on front!
Allen 4mm
M5x40
b x4
6
4. Rear Wall Panel Assembly
2 Person Assembly
C
D1
h 
A
h
Step 1. 
Floor module (A).
Step 2.
Repeat step 1 and step 2 wit Rear wall panels (D2 & D3)
D2
D3
D1
D2
D3
7
h 

M5x70
C
D1
D2
D3
h
 Step 2.
D1
D3
8
5. Rear Wall Trims Assembly
Step 1. 
D1
D3
B
E
E
E

i x8

M3.5x35
2 Person Assembly
i
D1
D2
D3
F F
 Step 2.
F
Step 1. 
and then slowly let the magnets pull the side panel to it’s place.
Step 2. 
9
F
F
6. Rear Wall Covering Plate Assembly
7. Front Glass Panel Assembly
Don’t support on
corner
B
C
B
A
G
G
K
K
B
KC1.
2.
C
G
A
3.
B
G
Step 1. 
module using a rubber m
block to secure it.
Step 2.

 us
- Pu
towards the back of the cabin,
- Care
stands on spacers pre-installed in the

- Repeat with second glass panel on the
opposite side.
Step 3. 
b

 Step 2. Step 3.
10
8. Door Frame Assembly
Don’t support on
corner
H
G G
A
B B
FRONT
BACK
180°
Note! To change the door
handedness rotate
the Door frame (H) 180°
H
11
9. Front Glass Panel Adjustments
GG
H
90o

 pro
Note! Make sure the side and floor module are perpendicular
to each other
G
G
GG
H
12

d x4
A
H
A
H
d

(H) to the Chatbox
Note! Door must be in “open” posion for
assembly.
d x4
Allen 5mm
M6x30
13

G
JJ
H
GK
A
G
Step 1.
a rubber mallet a
Step 2. 
module.
K
K
J
J
14

e
e
Step1. Place the Door handle “e” on the
Door glass (H) and secure it with the provid-

Step 2. Place the second half of the handle

bolts with an allen key.
H
e
e
H
e
e
e 
15

f
Hf
A
Step1. -

Step 2. 
side to door frame (H).
eH
f 
16

L
L

Ceiling modules (A & C). Parts are secured
with magnets which are preinstalled to
modules.
17

c x6
c
L M
B
 Step 2.
M
Step 1. 
Covering trims (L) with preinstalled pins.
Step 2. Secure the Covering trims (M) to

and screws “c”.
18

- Powercord connecon
- Side panel (table socket) connecon
2. 3.
g
Remove the Cover plate from Ceiling module
     
Power chord “g” and return Cover plate.
1.
g 
19

Other manuals for CHATBOX

2

This manual suits for next models

2

Other silen Office Equipment manuals

silen Space 2 User manual

silen

silen Space 2 User manual

silen CHATBOX User manual

silen

silen CHATBOX User manual

silen CHATBOX User manual

silen

silen CHATBOX User manual

silen Space 1 User manual

silen

silen Space 1 User manual

silen Space 2 User manual

silen

silen Space 2 User manual

silen CHATBOX Quattro User manual

silen

silen CHATBOX Quattro User manual

silen CBX-1-K User manual

silen

silen CBX-1-K User manual

Popular Office Equipment manuals by other brands

MBM FC-10 Service manual

MBM

MBM FC-10 Service manual

Panasonic KXF-3V3C operating instructions

Panasonic

Panasonic KXF-3V3C operating instructions

Oka FrameWork MTA 0137K Assembly instructions

Oka

Oka FrameWork MTA 0137K Assembly instructions

Renz DTP 340 M manual

Renz

Renz DTP 340 M manual

Dahle 550 user guide

Dahle

Dahle 550 user guide

Steelcase Elective Elements Fixed Modesty Panel manual

Steelcase

Steelcase Elective Elements Fixed Modesty Panel manual

Panduit PND110 installation instructions

Panduit

Panduit PND110 installation instructions

DETEWE Varix SD38 operating instructions

DETEWE

DETEWE Varix SD38 operating instructions

Akiles Cardmac Plus Operational manual

Akiles

Akiles Cardmac Plus Operational manual

LEGRAND WIREMOLD WMC220 manual

LEGRAND

LEGRAND WIREMOLD WMC220 manual

Datexx DPS-10H owner's manual

Datexx

Datexx DPS-10H owner's manual

Zenbooth Solo Build instructions

Zenbooth

Zenbooth Solo Build instructions

ASA Electronics Versa Flap Dual 2.0 Manual instructions

ASA Electronics

ASA Electronics Versa Flap Dual 2.0 Manual instructions

Reiner D280 operating instructions

Reiner

Reiner D280 operating instructions

Kodak Desktop 3 Microfilmer user guide

Kodak

Kodak Desktop 3 Microfilmer user guide

Uchida Yoko AeroCut X Operation manual

Uchida Yoko

Uchida Yoko AeroCut X Operation manual

Formax FD 210M Operator's manual

Formax

Formax FD 210M Operator's manual

OCTOO Laptable manual

OCTOO

OCTOO Laptable manual

manuals.online logo
manuals.online logoBrands
  • About & Mission
  • Contact us
  • Privacy Policy
  • Terms and Conditions

Copyright 2025 Manuals.Online. All Rights Reserved.