manuals.online logo
Brands
  1. Home
  2. •
  3. Brands
  4. •
  5. silen
  6. •
  7. Office Equipment
  8. •
  9. silen CHATBOX User manual

silen CHATBOX User manual

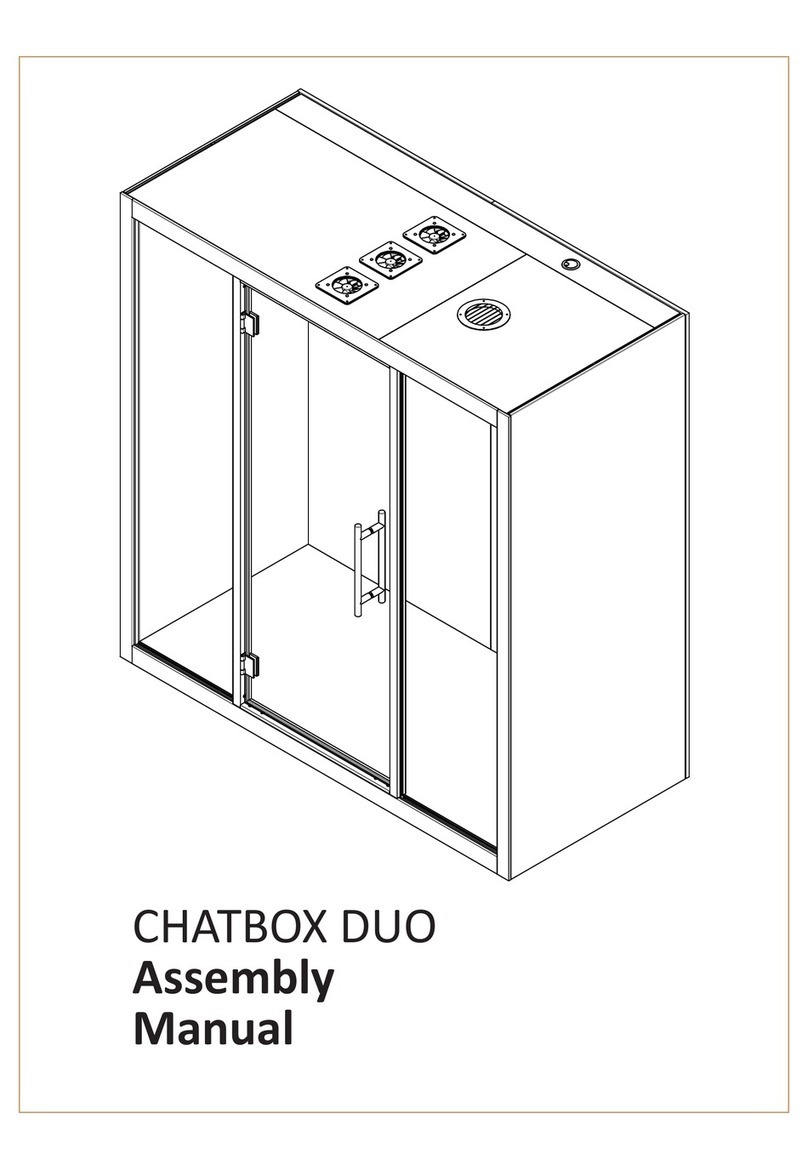
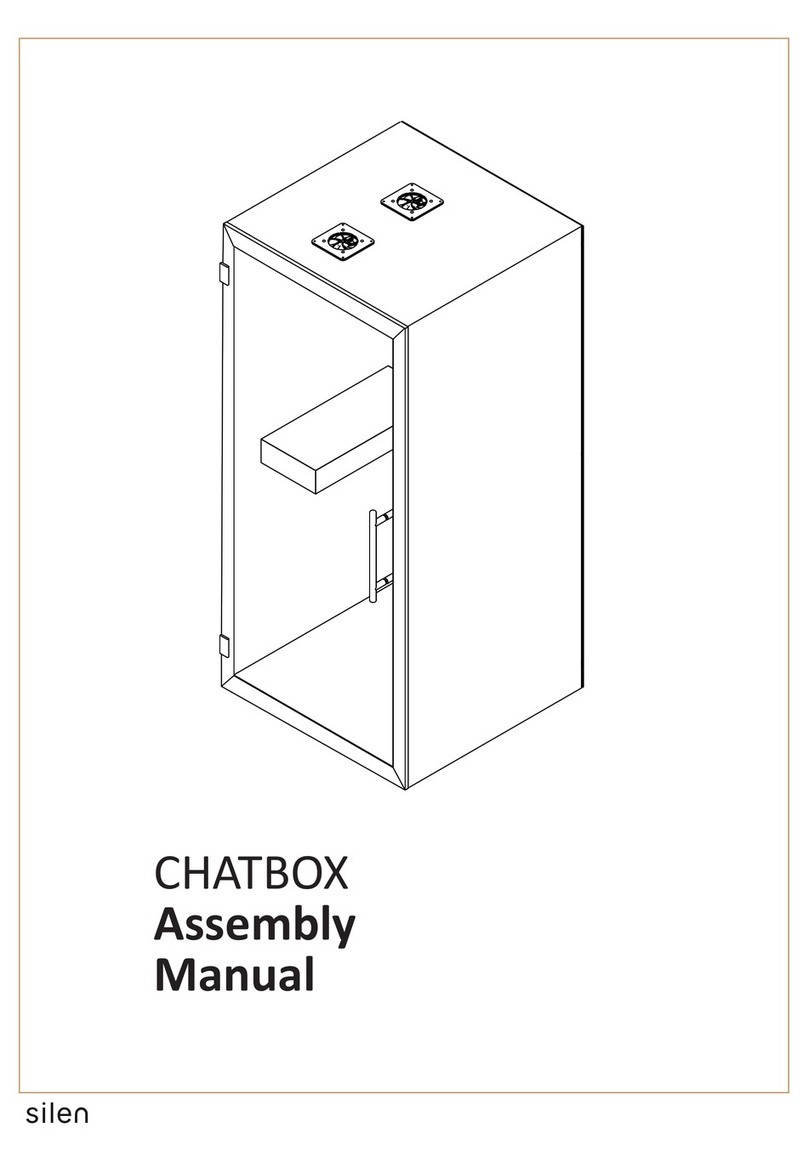
CHATBOX
Assembly
Manual
1
Product components
2 Person Assembly
Approx. Assembly
Time
30
min
Required
Assembly Space
4 x 4 m
Tip-Over Hazard!
DANGER!

opening the cardboard packages
to document any damage caused
during delivery.
Minimum two persons required
for the product assembly.

min.
Note! Assembly may take longer.
Assembly requires approximate



required for safety.
Don’t support on
corner
Risk of damaging the glass panels
or other product parts if support-
ed on corners for assembly and

A x1
B x1 C x1
D x1 E x1
F x1 G x1 I x2
COMPONENTS:
IMPORTANT SAFETY INFORMATION
Allen key set
Level
TOOLS:
2

Allen 5mm
a x4

Allen 5mm
M6x45
b x4 d x6

Allen 2,5mm
i x1
ATTACHMENTS:
Allen 5mm
h 

I
ID
A
C
B
E
G
F
j x1
e x6
f x6 g x6
Allen 5mm

c x4
Screwdriver
k x1
6x8mm
Scissors
3
1847544518
7575
4272
A A
5mm

the Chatbox. Remove carpet plugs on marked

adjust all 7 levelling glides.
Note! Glides must be lowered minimally.
A
1. Floor module Assembly
A
4
2. Side module Assembly
a x4
A
C
B
AA
CC
a
a


secure the Side modules.
Note! Assembly must be supported from the
side to avoid pping over before second Side
module is aached.
2 Person Assembly
Tip-Over Hazard!
DANGER!
Allen 5mm
a x4

Step 1.       


Step 2.     

b x4
B
C
D
5

Step 2.
B
D
b
CC
D
D
Step 1.
2 Person Assembly
Allen 5mm
M6x45
b x4
6
4. Table Assembly
B
E
1.
2.
B
B
E
E
Step 1.



Step 2.

Step 3. 

BE

Step 1.
2 Person Assembly
c x4
Step 2.
c
Allen 5mm

c x4
7
5. Gasket Assembly
k x1
k
k
6x8mm
k

RIGHT HANDED ASSEMBLY LEFT HANDED ASSEMBLY

assembly @ page 8-9

Frame assembly @ page 10
*6R Right Handed Rear Glass
assembly @ page 11-12
*7R Right Handed Door Frame
assembly @ page 13
8

2 Person Assembly
Don’t support on
corner
F
d x6 e x6 f x6 g x6
d x6

Allen 2,5mm
e x6
f x6 g x6
Step 1. 
        
allen key. Note! 

Step 2.
Step 3.-

Step 4.

Chatbox
TABLE
F
BACK
FRONT
d d
d d
d d
Note! Table on Le side
d
F
B & C B & C
Gap!
e
B & C
F
B & C
9

f
g
Step 1. Step 2.  Step 4.
10


Note! Door must be in “open” posion and
supported from boom edge for assembly.
GG
B&C B&C
hh
Open
h 

G
h h
h h
h h
TABLE
BACK
FRONT
Open
h
hG
2 Person Assembly
Note! Table on Le side
Don’t support on
corner
Place support
under Frame
11
6R. Right Handed Rear Glass Assembly
F
2 Person Assembly
Don’t support on
corner
d x6 e x6 f x6 g x6
d x6

Allen 2,5mm
e x6
f x6 g x6
TABLE
F
BACK
FRONT
d d
d d
d d
Note! Table on Right side
d
F
B & C B & C
Gap!
e
B & C
F
B & C
f
g
Step 1. Step 2.  Step 4.
6R. Right Handed Rear Glass Assembly
Step 1. 
        
allen key. Note! 

Step 2.
Step 3.-

Step 4.

Chatbox
12
13
TABLE
BACK
FRONT
Open
h
hG
h 
Open


Note! Door must be in “open” posion and
supported from boom edge for assembly.
GG
B&C B&C
hh
h h
h h
h h
7R. Right Handed Door Frame Assembly
G
2 Person Assembly
Note! Table on Right side
Don’t support on
corner
Place support
under Frame
Open
G
14
8. Door Handle Assembly
i
i
Step1. 
-

Step 2. Place the second half of the handle

bolts with an allen key.
i
G
i
i
G
i
i x1
15

- Powercord connecon
- Side panel (table socket) connecon
1.
2. 3.
j
Remove the Cover plate from Ceiling module


j x1
16
Oponal. 
j
j
CB
j
17

I
I
I
1.
2.


slowly let the magnets pull the side panel to
it’s place.

Other manuals for CHATBOX

2

Other silen Office Equipment manuals

silen CBX-1-K User manual

silen

silen CBX-1-K User manual

silen Space 2 User manual

silen

silen Space 2 User manual

silen CHATBOX User manual

silen

silen CHATBOX User manual

silen Space 2 User manual

silen

silen Space 2 User manual

silen CHATBOX Quattro User manual

silen

silen CHATBOX Quattro User manual

silen CHATBOX User manual

silen

silen CHATBOX User manual

silen Space 1 User manual

silen

silen Space 1 User manual

Popular Office Equipment manuals by other brands

Nellie's Power Boss manual

Nellie's

Nellie's Power Boss manual

Presstek Vector FL52 Operator's manual

Presstek

Presstek Vector FL52 Operator's manual

Metal Arc Lateral File Installation & use instructions

Metal Arc

Metal Arc Lateral File Installation & use instructions

HORRAY H67b operating instructions

HORRAY

HORRAY H67b operating instructions

promethean ActiVote Training manual

promethean

promethean ActiVote Training manual

Safco 9763 Assembly and operating instructions

Safco

Safco 9763 Assembly and operating instructions

Safco E-Z Stor 9254HW Assembly instructions

Safco

Safco E-Z Stor 9254HW Assembly instructions

Plus M-18S Service manual

Plus

Plus M-18S Service manual

Advent Instruments AI-7280 DLL Programmers Guide

Advent Instruments

Advent Instruments AI-7280 DLL Programmers Guide

SHFL DECK MATE BLACKJACK Service manual

SHFL

SHFL DECK MATE BLACKJACK Service manual

Primera Pictura 310ds datasheet

Primera

Primera Pictura 310ds datasheet

Formax 6404 Series Operator's manual

Formax

Formax 6404 Series Operator's manual

OCEE DESIGN DEN.Curve Assembly instructions

OCEE DESIGN

OCEE DESIGN DEN.Curve Assembly instructions

LDI SAFCO 3045 Assembly instructions

LDI

LDI SAFCO 3045 Assembly instructions

Secap SI5400 Operator's guide

Secap

Secap SI5400 Operator's guide

Reiner 880 Service manual

Reiner

Reiner 880 Service manual

Westermann wp office quick start guide

Westermann

Westermann wp office quick start guide

Global FOLI MECHANISM WITH ECS+ user manual

Global

Global FOLI MECHANISM WITH ECS+ user manual

manuals.online logo
manuals.online logoBrands
  • About & Mission
  • Contact us
  • Privacy Policy
  • Terms and Conditions

Copyright 2025 Manuals.Online. All Rights Reserved.