4 DE
~Schützen Sie das Grundgerät vor Feuch-
tigkeit, Tropf- und Spritzwasser.
~Bedienen Sie das Gerät nicht mit feuch-
ten Händen.
~Das Gerät ist auch nach Ausschalten
nicht vollständig vom Netz getrennt. Um
dies zu tun, ziehen Sie den Netzstecker.
~Greifen Sie niemals zwischen den An-
triebsarm und das Gehäuse. Beim Her-
unterklappen besteht die Gefahr von
Verletzungen durch Quetschen.
~Halten Sie keine Löffel oder Ähnliches in
die drehenden Teile. Halten Sie auch
lange Haare oder weite Kleidung von
den drehenden Teilen fern.
~Achten Sie immer darauf, dass der Ge-
schwindigkeitsregler auf0steht, bevor
Sie den Netzstecker in die Steckdose
stecken.
~Das Rührwerk darf höchstens 10 Minu-
ten am Stück betrieben werden. Danach
müssen Sie das Gerät erst wieder auf
Raumtemperatur abkühlen lassen.
~
Verwenden Sie nur das Originalzubehör.
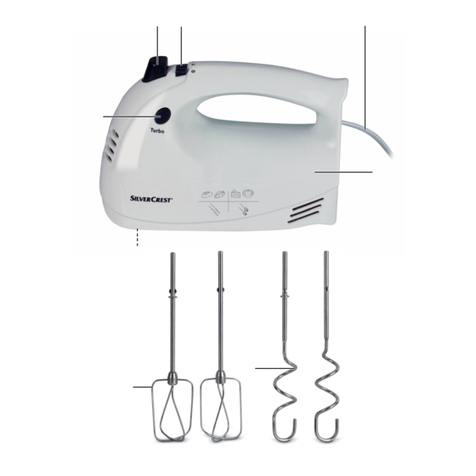
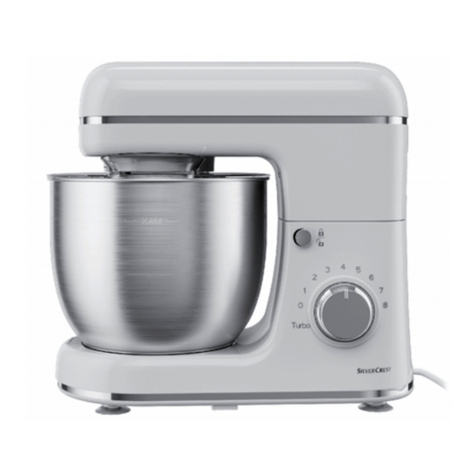
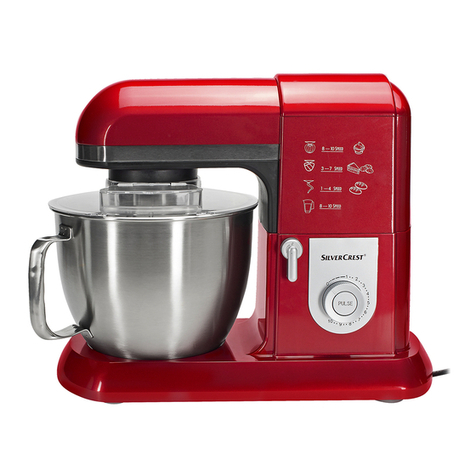
Übersicht
1Entriegelungsknopf (für den
Antriebsarm)
2Turbo 0 - 8: Geschwindigkeitsregler
mit Ein-/Aus-Funktion
3Anschlussleitung mit Netzstecker
4Knethaken
5Rührschüssel
6Schneebesen
7Rührbesen
8Saugfuß
9Grundgerät
10 Einfüllöffnung
11 Spritzschutz
12 Antriebsarm
13 Achse zur Aufnahme der Rührwerk-
zeuge
14 Kabelaufwicklung
Auspacken und aufstellen
1. Entfernen Sie sämtliches Verpackungs-
material.
2. Überprüfen Sie, ob alle Teile vorhanden
und unbeschädigt sind.
3. Bauen Sie das Gerät auseinander.
4. Reinigen Sie das Gerät vor der
ersten Benutzung!
5. Bild B: Wickeln Sie überschüssige An-
schlussleitung in der Kabelaufwick-
lung14 auf der Unterseite des
Grundgerätes9auf.
6. Stellen Sie das Grundgerät9auf einer
ebenen, trockenen und wasserfesten
Fläche auf, damit das Gerät weder um-
fallen noch herunterrutschen kann.
Wählen Sie eine glatte, saubere Unter-
lage, damit sich die Saugfüße8fest-
saugen können und sicheren Halt
geben.
VORSICHT:
~Überlaufende Flüssigkeit fließt auf die
Unterlage. Stellen Sie das Gerät des-
halb auf eine wasserfeste Unterlage.
Gerät auseinanderbauen
GEFAHR durch drehende
Teile!
~Schalten Sie das Gerät aus und ziehen
Sie den Netzstecker3aus der Steckdo-
se, bevor Sie das Gerät auseinander-
bauen.
1. Drücken Sie den Entriegelungsknopf1
und klappen Sie den Antriebsarm12
hoch, bis er einrastet und der Entriege-
lungsknopf1wieder herausspringt.
2. Drücken Sie das Rührwerkzeug4/6/7
etwas nach oben und drehen es gegen
den Uhrzeigersinn, bis es sich von der
Achse13 abziehen lässt.
__360497_2010_KURZ_B8.book Seite 4 Donnerstag, 4. Februar 2021 9:51 09
