ENG
5
Check the parts of the RE-BAR tier before inserting
the battery.
Check that all screws are tightened properly. Improper
tightening of screws can result in an accident or breaka-
ge. If parts are missing or need to be repaired, contact
your dealer immediately. Use only parts approved by the
manufacturer.
Make sure that the RE-BAR tier is in good condition.
To maintain the functionality and the quality from the work
of the RE-BAR tier, maintain it properly and make sure
that it is being serviced on a regular basis. Remember to
keep the handle free of oil and dirt.
Use only approved batteries.
Use only the approved type of battery LI-300 for this
RE-BAR tier. If using another power source, for example
another type of battery, dry cell battery or a car battery,
the machine can break down or burst into ames.
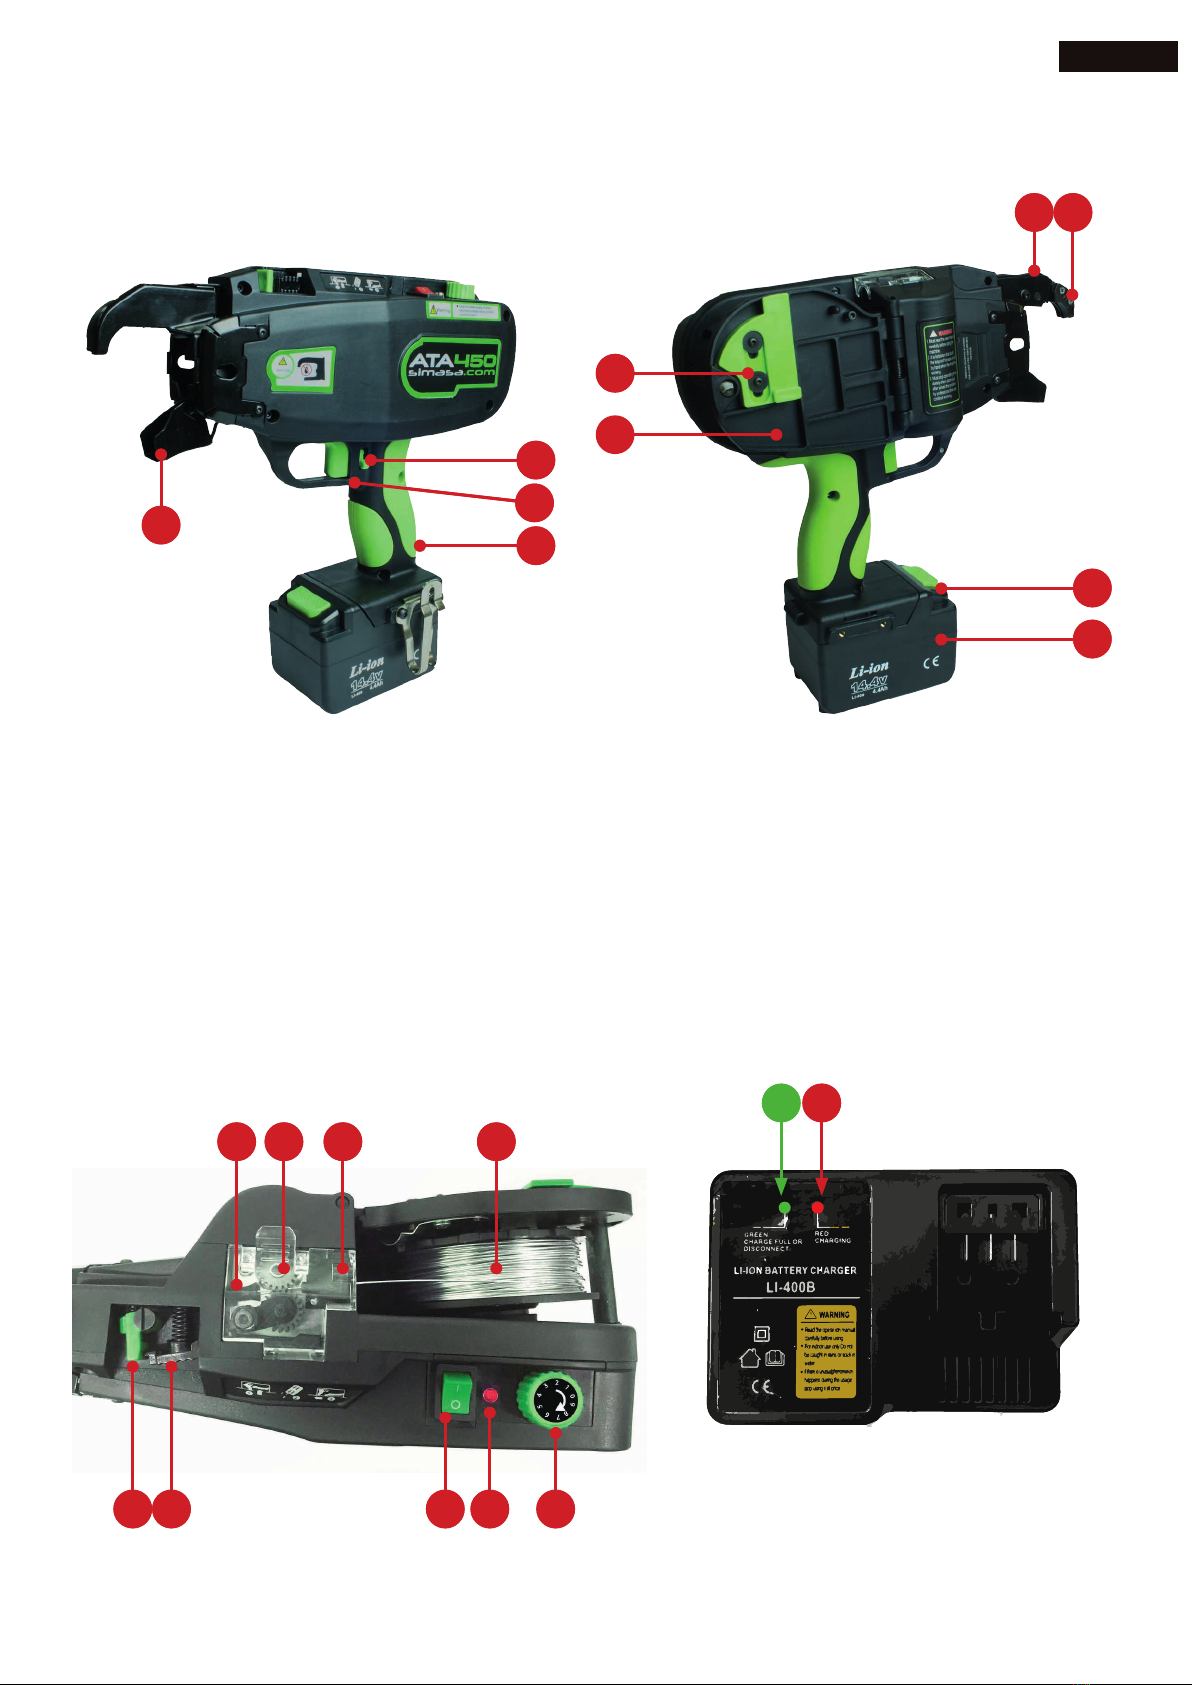
When the main switch is
set to
1, do not place your ngers
near the curl guide or other
moving parts of the machine!
Avoid switching the main
switch repeatedly Between
1 and 0. This can cause a
machine breakdown.
Charge the batteries before use.
A new battery or a battery which has not been used for
a long period of time, may be discharged and has to be
fully recharged before use.
Use only approved charger.
Use only the approved charger which comes with the
RE-BAR tier and batteries. The batteries cannot be re-
charged with other chargers – this may cause damage,
overheating or re.
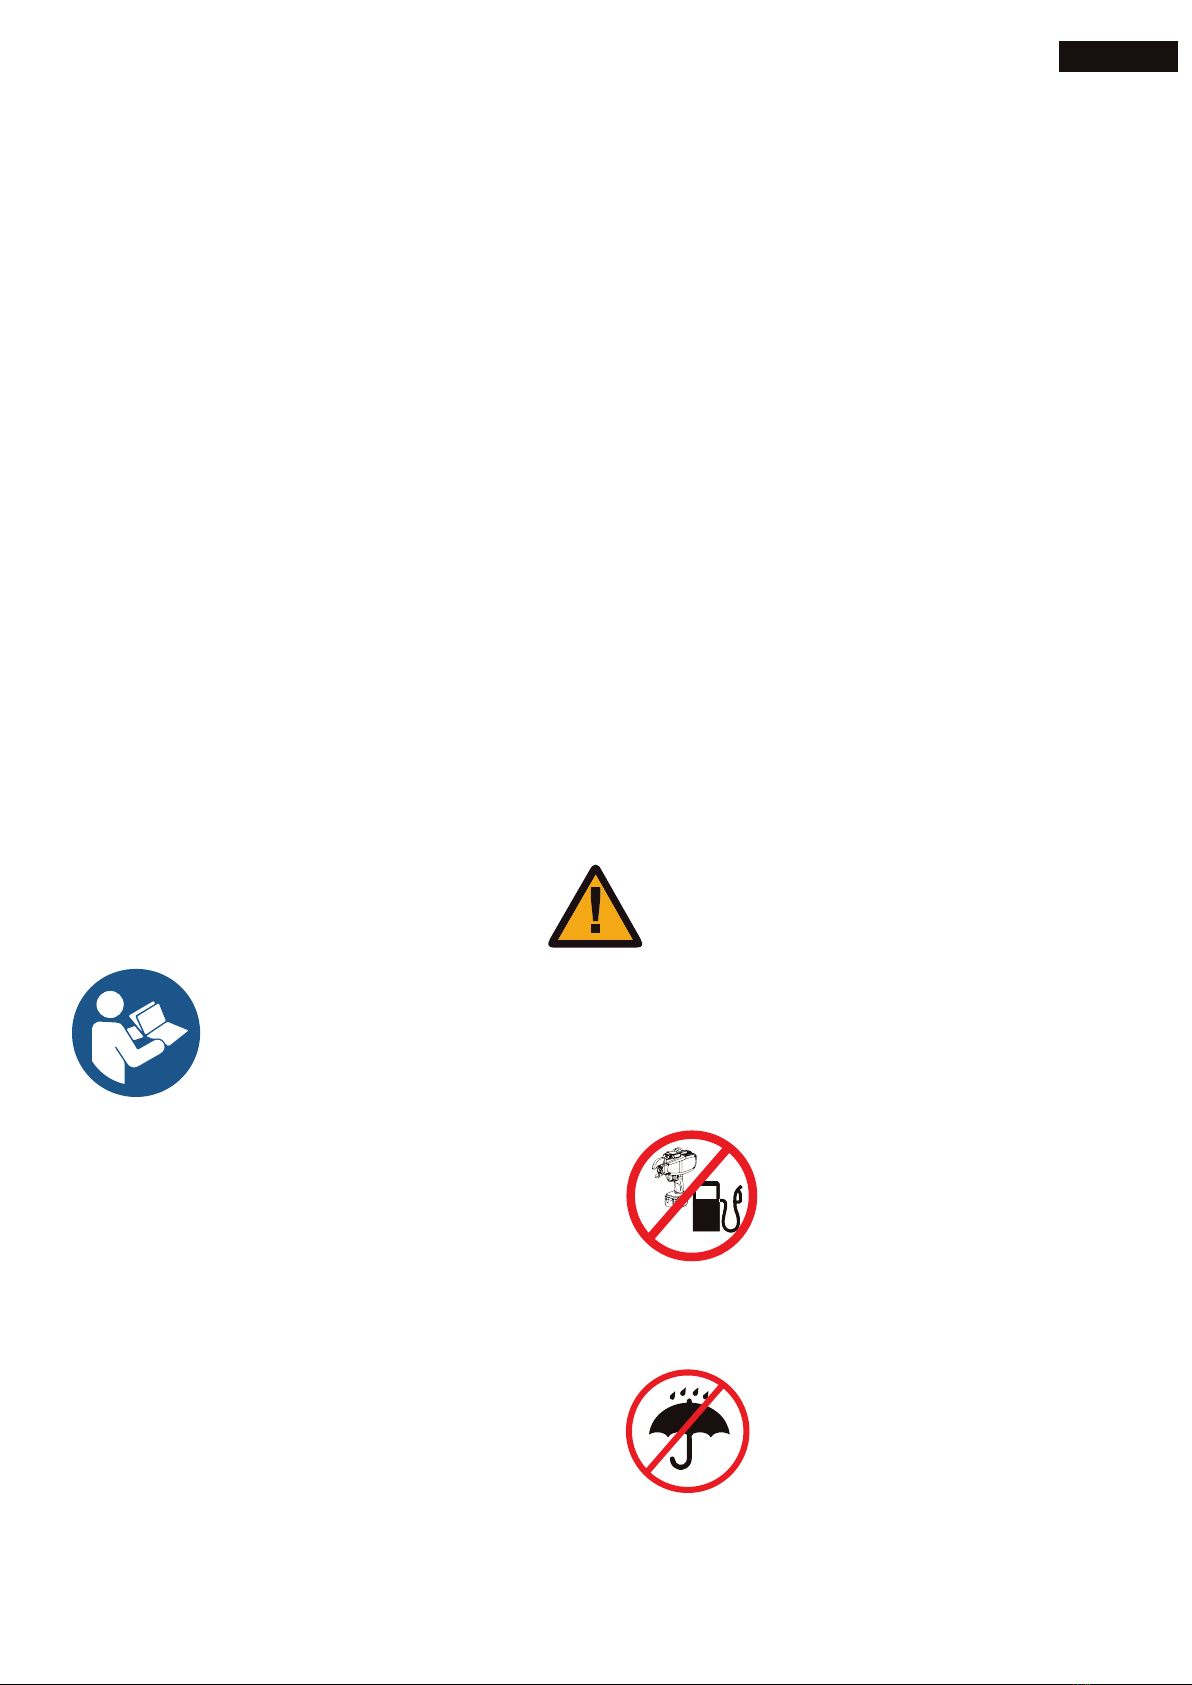
Precautions in connection
with battery charging, chargers
and batteries.
Recharge the batteries with the Correct voltage.
Make sure that the charger is connected
to an ordinary 100-240V outtake. Using another volta-
ge than 100-240V will cause a malfunction and/or over-
heating, causing damage to the battery and charger.
Never use a booster-type transformer.
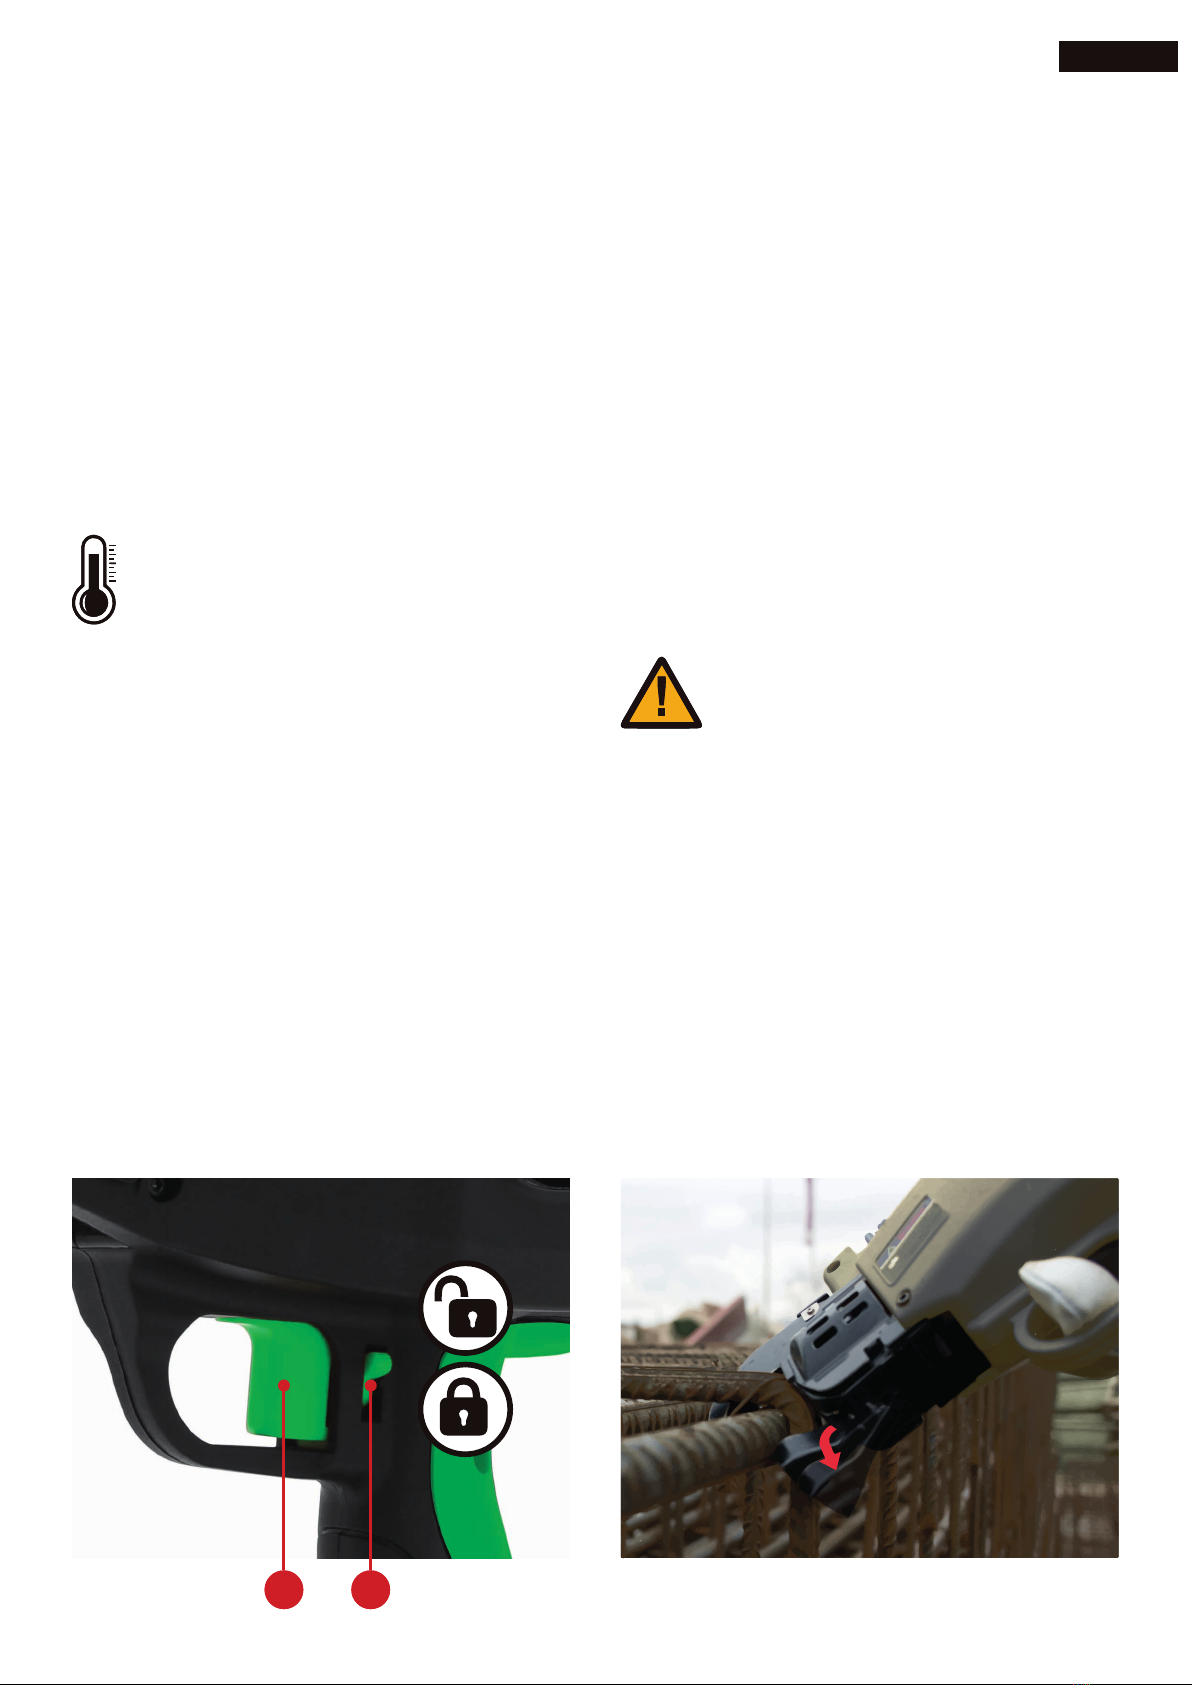
Set the main switch to 0 position and lock the trig-
ger when changing or adjusting the wire coil or if a
fault occurs and the machine cannot be used.
If the machine is left on, it may cause damage.
Keep clear of the wire coil during use of the RE-BAR
tier.
If not, it can cause serious injury.
Keep clear of the curl guide during use of the RE-
BAR tier.
You may get caught in the wheels and suffer serious in-
jury.
Do not point the RE-BAR tier towards others during
use. People can get hurt if they are caught in the
machine during use. When tying, be careful
and stay clear of the machine mouth and curl guide.
Do not touch the trigger unless you have to.
When carrying the RE-BAR tier and when not tying, re-
member to set the main switch to 0 position, and lock
the trigger. If not, you will risk activating the RE-BAR tier
unintentionally and cause a dangerous situation.
Do not use the RE-BAR tier during a malfunction.
If the RE-BAR tier does not work correctly, set the main
switch to 0 position and lock the trigger, before checking
what is wrong. If necessary, contact your dealer and have
the RE-BAR tier repaired.
When inserting the battery, check the following
points. Do not load a wire coil in the RE-BAR tier if:
* There is a sound from the curl guide, even though the
RE-BAR tier is not in use.
* The RE-BAR tier is warmer than usual, mells odd, or a
noise is coming from the machine when not in use.
* The RE-BAR tier starts itself without being activated.
* Do not use the RE-BAR tier without correcting the fault.
* If it is not possible to correct it, contact your dealer.
Do not make any modications to the RE-BAR tier.
Modifying the RE-BAR tier does not only reduce the
function of it, but also the level of security. Do not make
any modications to the RE-BAR tier.