Simulaids RANDY 9000 User manual

RANDY 9000
Instruction and Care Manual

Product Instructions
Thank you for purchasing this Simulaids Training Device. The purpose of this document is to familiarize you with
the assembly process and to explain the use and care of the product. This product, Randy 9000, is intended to be
used in water, land or air rescue evolutions, particularly in exercises that are too dangerous to be dependent upon
volunteers. The product is warranted against defects in materials or workmanship for a period of three years.
However, this warranty coverage does not include damage due to abuse, misuse, or alteration of the product.
You will receive this product in various pieces, the majority of which are “halves.” These halves are the front and
back portion of each body part. For instance, the lower leg is made up of the front half with the foot and the back
half with the heel. Within each of the ball joints reside a ball joint stop to limit the range of motion, making three
plastic parts to each joint and the associated nut/bolt/washer combination. Put the ball joint assemblies together
first. Then begin your assembly process, lay out each of the parts in their relative position so that you can visualize
the various parts. There are four 4” ball joints for the knees and elbows, two 5” ball joints for the shoulders, two 6”
ball joints for the hips plus the one 8” ball joint in the mid torso. The 8” ball joint utilizes the single joint stop that
has a larger bolt hole diameter than the rest.
The above photo shows one leg assembly front and back halves with hardware.
You will also find a package of hardware. The stainless steel nuts and bolts hold together the halves of the lower
leg, upper leg, pelvis, torso, lower arm, upper arm, etc. The 6 Acorn Nuts are for use in the hand area where the
threads for the common bolts may need a smooth covering. There are also longer bolts for installation in the ball
joints. The sized and shouldered bolts furnished with this product prevent you from over tightening the bolts,
thereby cracking the plastic. If you lose any of these bolts, we strongly recommended that you contact Simulaids to
obtain replacement parts shown in the chart below. Also within the packaged contents are the tapered, hole-
stoppers: 2 small, green ones for the waist ball joint seals and 25 larger, black ones for the rest of the body parts.
Each body part half has a hole in which you may place weight material for custom weighting your Randy 9000. It is
important that you insert all of the stoppers in their perspective holes in each half, even if you are not filling both

halves. This not only preserves the stoppers for later use, but also allows the stopper on one side to hold and seal
the stopper on the other as the parts are bolted together.
Hardware found in the carton of the Randy 9000
If all of the parts are filled with water, the manikin will weigh 170 pounds. If all of the body parts are filled with dry
sand, the manikin will weigh 250 pounds. It is recommended that if you want to make a lighter manikin that you do
so by completely filling one half of an extremity so that the weight doesn’t shift during the movement of the
manikin and disrupt any balance achieved by the rescuers. Another way to make a lighter manikin is to only fill one
half of any extremity. For instance, if you fill one half of the right thigh and no other parts of the right leg, the
manikin will be lighter than if you also fill one half of the lower leg.
Once you have determined the appropriate parts to fill, the substance you want to use to fill them, and the
number of parts to fill, and have accomplished the filling process, start the assembly of the manikin by laying the
back pieces of the manikin in their relative position. Then place the ball joints in their respective locations
throughout the body. Take note that the knee joints and the elbow joints have limited range of motion in one
direction. It is possible to put these joints in backward, or 180 degrees out of alignment. It will be easy to see in the
lower leg since the foot will be backward. If that’s the case, simply turn the ball joint over in the lower leg so that
the stop points the toes the other way. The same holds true with the elbow joints and the lower arm positioning.
Or, in other words, you may end up with an arm that only bends backwards. Simply change its position to the
other side of the manikin so that the forearm bends forward, or reverse the positioning of the ball joint.
You’ll note that the ball joint ends are held firmly in place by the addition of the front half of the body parts. During
the placement of the front halves, you may choose to insert the hardware and start securing the bolts. Do not
tighten all of the bolts until the manikin is fully assembled in case you have not anticipated the need to either fill or
drain one of the parts. Once you are satisfied that the manikin is weighted and constructed appropriately, secure
the bolts down to their tightest torque. Mentioned earlier in these instructions is the fact that these shoulder bolts
Component
Description
Qty
per
PP0011
Bolt 18-8 Stainless Oal 6"
2
PP0012
Bolt 18-8 Stainless Oal 8"
1
PP0024
Plug Round Tapered 1" Height
1
PP0029
Stop 2" Diameter X 1.90" Long
8
PP0036
Acorn Nut High Crown 10-24 Ss
1
PP0054
Nutdriver 1/2" Hex Dia 3/8"
1
PP0055
Nutdriver 7/16 Hex Dia 3/8"
1
PP0056
Nutdriver 3/8" Hex Dia 3/8"
2
PP0085
Locknut 1/4-20 18-8ss Serrated
1
PP0096
Carton Paperboard 3x2x 5 1/4
2
PP0114
Plug 5/8" Large End Id Push-in
2
PP0116
Stop 2" With 3/8" Hole
1
PP0156
Bolt 3/8 Hex Hd Indented 70pk
1
PP0160
Washer Flat 18-8 Ss 1/4 Screw
1
PP0162
Nut Flange Serrated Hex 18-8ss
1
PP0163
Bolt 18-8 Ss Oal 4" Pkg Of 4
1
PP1133
Carton 8 X 6 X 6 Ect #32
1
PP5541
Bolt 18-8 Stainless Oal 5"
1

are sized to hold the parts together without stressing the plastic, so the only damage you can do if you over tighten
the bolts is destroying the nut or bolt.
If, in the future, you want to transport the product but wish to lighten your load, you may simply remove the pelvis
section and have the upper and lower pieces of the manikin to move. This will save time and effort and prevent
having to unload each of the pieces every time you move it.
CLEANING AND STORAGE
When water is used for weighting the manikin, add two drops of commercial laundry bleach to each part that
contains water (increase this to 5 drops in the larger parts like the chest). This will kill all bacteria in the water and
effectively prevent having to empty the water under normal conditions.
Do not leave the water in the manikin if there is any possibility that the water will freeze. Some freezing prevention
can be ensured if you include the proper amount of recreational vehicle non-potable water antifreeze in the parts.
The Randy 9000 is made from polyethylene, so none of these chemicals will damage the product. If you empty the
anti-freeze liquid out of the manikin, be sure to dispose of the fluid properly.
Normal surface cleaning of the manikin can be done with any household cleanser.
Use of this product in very warm climates is approved, but it is not fire proof; the warmer the weather, the more
pliable the plastic. Extremely cold temperatures puts plastic at risk of cracking, so handle the manikin gently, as
you would a patient, in near freezing conditions. However, under most human tolerance temperatures, the
product will remain useable.
Shipping Size:
Carton size: 54 x 25 x 11 inches
Shipping weight: 90 lbs
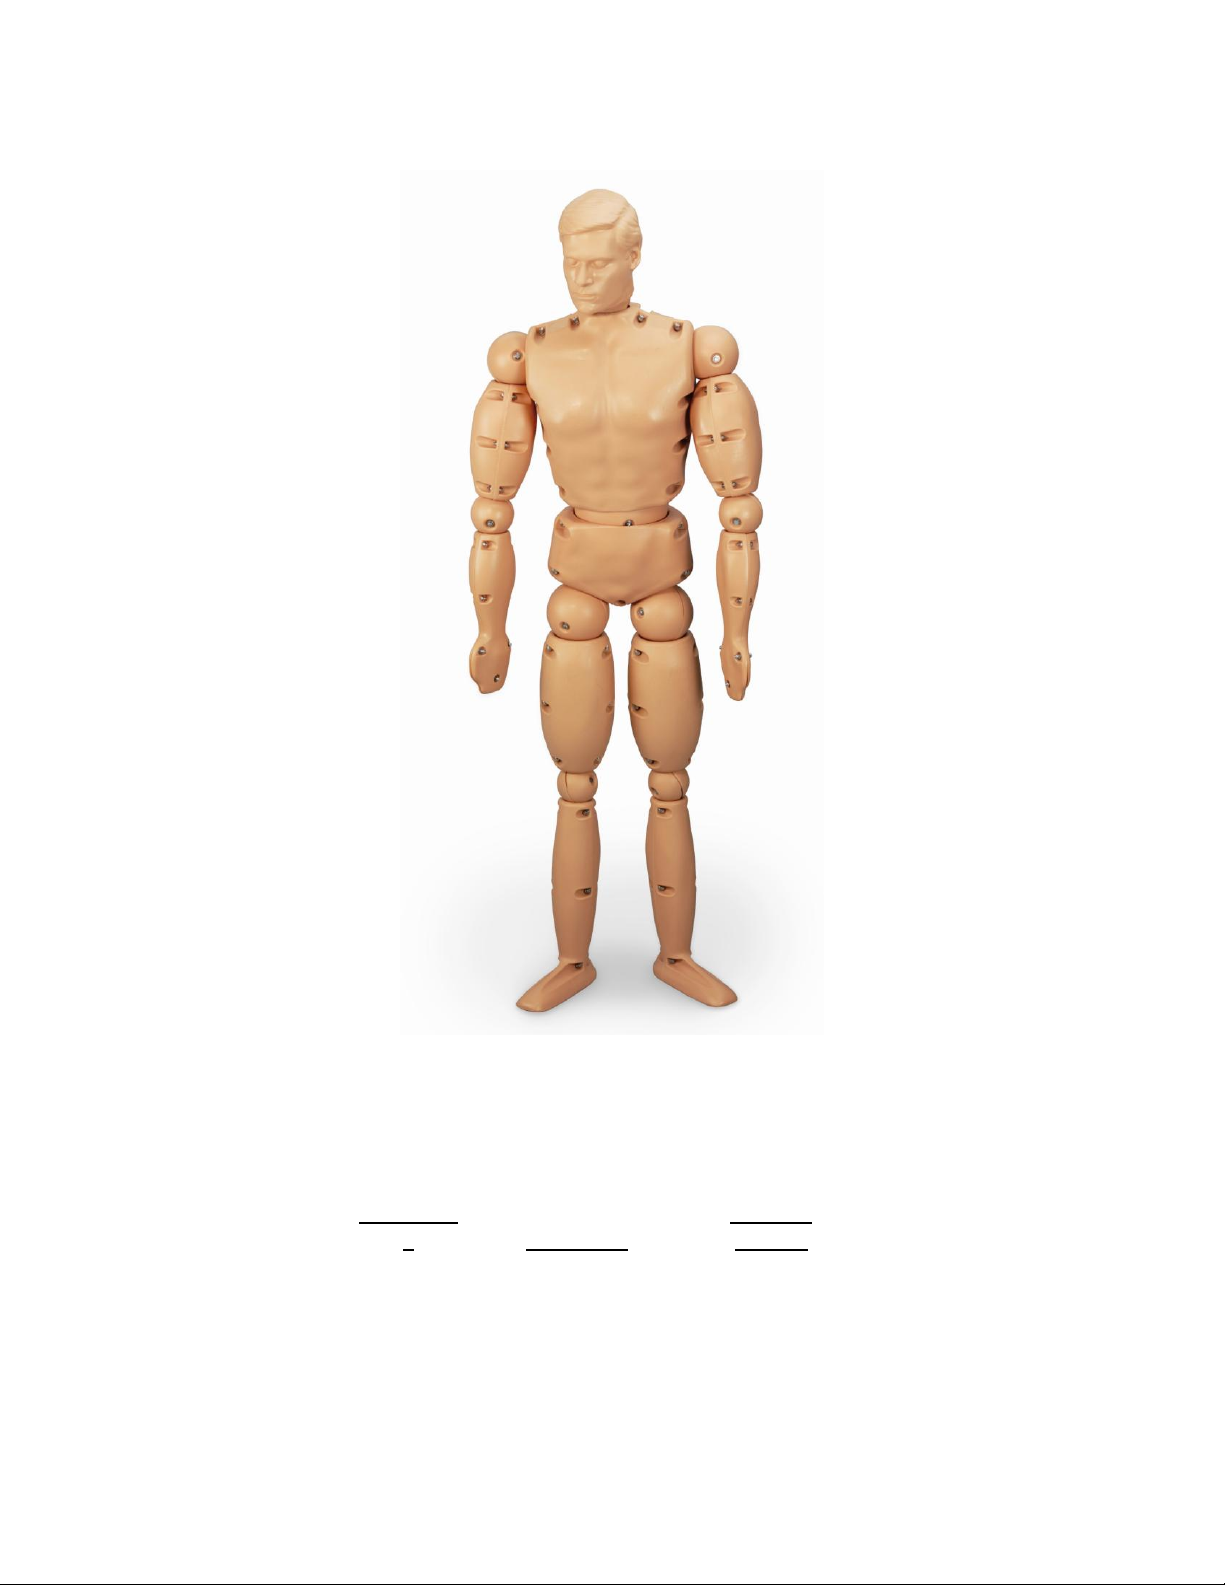
Randy 9000 Fully Assembled
Randy 9000 Replacement Hardware
Plastic part
#
Description
Bolt Item
Package
9023
Shoulder joint
PP5541
9018
Hip Joint
PP0011
9015
Waist Joint
PP0012
9012
Knee and Elbow
joint
PP5540
All other body parts
PP5495
Table of contents
Other Simulaids Educational Equipment manuals


Popular Educational Equipment manuals by other brands


Quanser
Quanser 6 DOF Hexapod Laboratory guide

Surefire
Surefire Flying Model Rocket Kit How to use

ACROME
ACROME myCONTROL STEWART PRO user manual

SmartMan
SmartMan Baby Manikin manual

Nasco
Nasco Life/form LF03840U instruction manual

Pitsco Education
Pitsco Education BUILDERSPACES SPACEPORT Assembly instructions