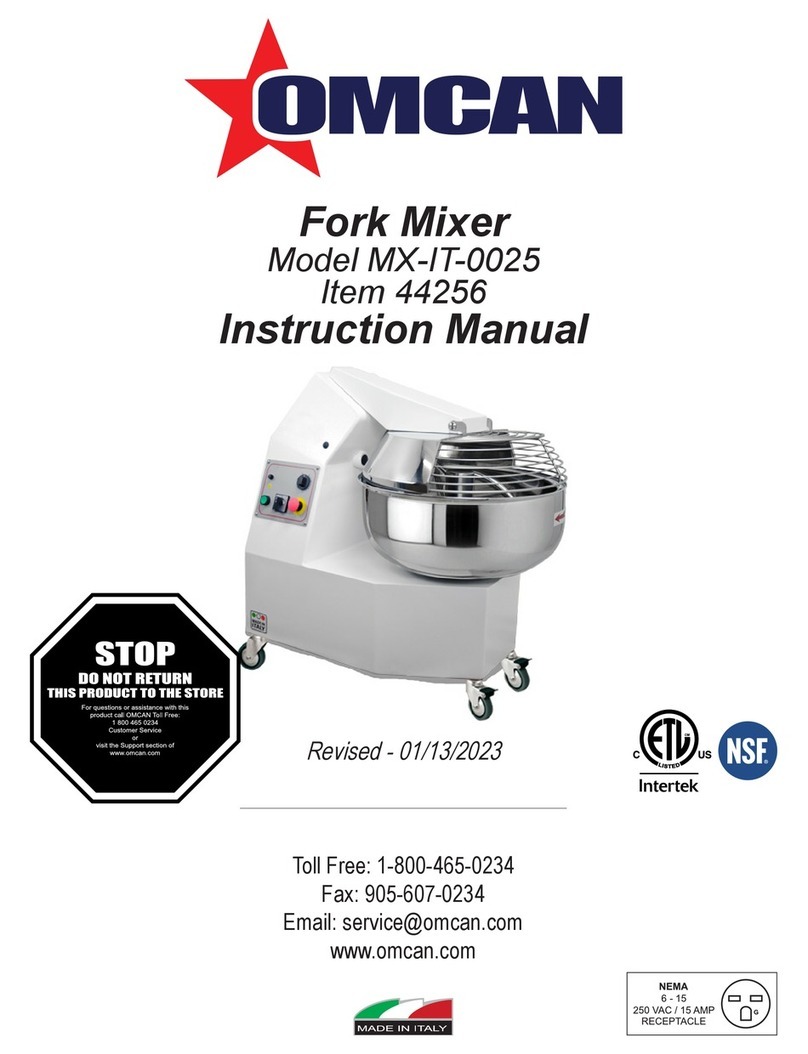
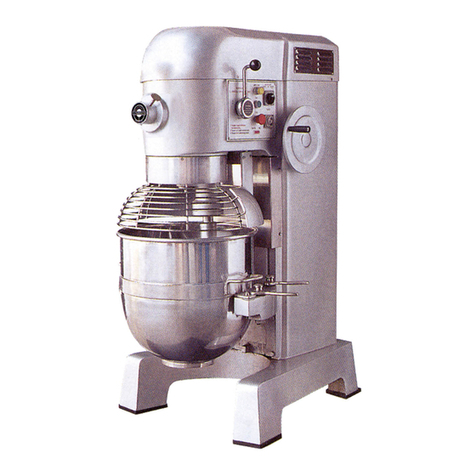
Sinmag Europe KM-25 User manual

Spiral mixer.Pétrin à spirale.Spiraalkneder
Spiralkneter.Amasadora.Impastatrice
KM-25 .KM-50T .KM-80T .KM-120T
Manual.Mode d’emploi.Handleiding.Handbuch.Manuale ENG

Congratulations with the purchase of this spiral mixer.
This machine has been tested thoroughly in our warehouse
in Belgium before delivery.
This way, Sinmag Europe is able to guarantee delivery of a
machine ready for installation.
For correct use and long service life of your spiral mixer,
we recommend that you read this manual attentively before
starting to use the machine.
Sinmag Europe thank you for your trust and wish you much
job satisfaction with this spiral mixer.
Sinmag Europe Team.
ENG
2
SINMAG EUROPE BVBA

1. Installation
The machine has to be installed on a horizontal and smooth
surface.
Adjust the four screws to make
sure the machine seats rmly
on its four corners.
ENG
SINMAG EUROPE BVBA
3

2. Electrical supply
Please connect the machine to the correct electri-
cal supply, as indicated on the
identication plate.
After the machine has been connected to the
electrical supply, rst of all check the direction
of rotation of the kneading spiral and the bowl.
Seen from above, both kneading
spiral and bowl should rotate clockwise.
The arrow on the bowl indicates the
rotating direction of the bowl.
If the rotating direction is wrong, please
exchange any two of the electrical phase
cables to reverse the rotating direction.
ENG
4
SINMAG EUROPE BVBA

3. Control panel
Function keys
Timer I for reverse
direction
Timer II for rst
speed
AB
Timer
III for
second
speed
F
E
D
Indication LED
C
ENG
SINMAG EUROPE BVBA
5

ENG
4. Operation of the spiral mixer by means of the
touch digital panel
4.1 Description
4.1.1 Timers
The timers are located at the upper side of the panel. Timer I is for
reverse direction, timer II for rst speed, timer III for second speed.
The timers are set by means of the +and --keys. If you press the
+ once, the set time will increase by 10 seconds. The maximum time
that can be set is 20 minutes. After 20 minutes, the timer will start from
0 minutes again.
Press the - key for reducing the set time by 10 seconds.
When the spiral mixer is switched ON , the timers will indicate the set
time. When the timer starts to work, the time indicated on the timer will
be reduced 10 seconds at a time until it reaches 0.
When the safety cover is raised during AUTOMATIC operation, the
timer will stop at the current position. When the spiral mixer restarts
after such a stop, the timer will continue from the current position to
nish the remaining time.
During MANUAL operation, the timer will
not work.
When the OFF -key is pressed, the timers
will return to the set time.
Safety cover open
ENG
ENG
6
SINMAG EUROPE BVBA

4.1.2 Indication LEDS
These LEDS show the operation mode in which the spiral mixer is
functioning:
A. “AUTO/MANUAL” operation:
When the “AUTO”LED lights up, the spiral mixer is functioning
in AUTOMATIC mode.
When the “MANU” LED lights up, the spiral mixer is functioning
in MANUAL mode.
B. Bowl direction:
When the -LED lights up, the bowl will rotate in FORWARD
direction (clockwise).
When the -LED lights up, the bowl will rotate in REVERSE
direction. (counterclockwise)
C. The “ON”-LED lights up when the machine is functioning.
D. Speed:
When the “I”-LED lights up, the spiral mixer is operating in
rst speed.
When the “II”-LED lights up, the spiral mixer is operating in
second speed.
E. The “INCH”-LED indicates the inching
mode. When neither the “INCH”, nor the “ON”-LED lights up,
the machine is in “STOP”.
F. The “STOP”-LED lights up only when the
safety cover is raised during operation of the machine.
G. “O.L.” (Over-Load): This LED lights up when
the overload relay is on. After the fault (voltage drop,
mixer overload or one of the cable connections has
come loose) has been removed, this LED will turn off.
ENG
SINMAG EUROPE BVBA
7

ENG
4.1.3 Function keys
AUTO/MANUAL
operation mode
Button for the selection of the speed in
which the spiral mixer should operate.
Seen from above, the spiral should run
in clockwise direction.
Button for the selection
of the bowl direction
(Forward-0-Reverse).
The bowl should rotate in the
same direction as the arrow
mark “ “ on the bowl.
START button
STOP button
Inching button. Only the bowl will run
while you press this key. This button’s
function is to bring the dough to the front
after operation, in order that it can be
taken out.
ENG
ENG
8
SINMAG EUROPE BVBA

ENG
4.2 Automatic operation
A. Press the + and - -buttons below timer I to set desired
time for reverse direction.
B. Press the + and - - buttons below timer II to set the
desired time for rst speed.
C. Press the + and - buttons below timer ||| to set the
desired time for second speed.
D. Press the AUTO / MANU -button until the “AUTO”-LED
lights up.
E. Press the -button until the -LED lights up.
F. Press the ON -button to start the machine.
After completing the above procedure, the machine will start ope-
rating. It will work in reverse direction until timer I reaches 0. Then ,
the machine will start operating in rst speed until timer II reaches 0.
Finally the machine will start operating in second speed until timer |||
reaches 0. The machine will now stop automatically.
During the “AUTOMATIC” operation, the machine will stop when you
lift the safety cover.
The timer will stop at its current position. The timer will restart from that
position after you have closed the safety cover and pressed the ON
-button.
Upon pressing the OFF -button, the timer will return to the set positi-
on and restart.
F
R
ENG
SINMAG EUROPE BVBA
9

4.3 Manual operation
A. Press the AUTO/MANU-button until the “MANU”-LED lights
up.
B. Press the and -buttons to select the desired speed
and rotation direction.
C. Press the ON -button to start the machine.
D. Press the OFF -button to stop the operation.
The timers will not function during manual operation. The bowl directi-
on cannot be reversed in second speed. The mixer will always start in
rst speed, even if you select “II” to start. When the mixer is running in
rst speed, you can then press to switch to second speed.
4.4 Manual switch
When the digital panel is damaged, the mixer can be operated with
the manual switch that is located at the left side of the top cover. You
can select rst or second speed manually without timer.
F
R
ENG
ENG
10
SINMAG EUROPE BVBA

Spiral mixer.Pétrin à spirale.Spiraalkneder
Spiralkneter.Amasadora.Impastatrice
KM-25 .KM-50T .KM-80T .KM-120T
Manual.Mode d’emploi.Handleiding.Handbuch.Manuale

Nous vous félicitons pour l’achat de votre pétrin à spirale.
Avant l’expédition, cette machine a été contrôlée dans not-
re dépôt en Belgique. De cette façon, nous pouvons vous
assurer le livraison d’une machine prête à l’installation.
Pour une bonne utilisation et une longue durée de vie de la
machine, nous vous recommandons de lire ce mode d’em-
ploi avec attention avant d’utiliser la machine.
Sinmag Europe vous remercie pour la conance et l’intérêt
et nous vous souhaitons beaucoup de joie au travail avec
cette machine
L’équipe de Sinmag Europe.
FR
12
SINMAG EUROPE BVBA

1. INSTALLATION
La machine est prête à être installée.
Elle doit être installée sur une surface horizontale et égale.
Adaptez les vis de manière à ce que la machine soit
placée solidement sur ses quatre pieds.
FR
SINMAG EUROPE BVBA
13

2. ALIMENTATION ELECTRIQUE
Prenez soin d’alimenter la machine avec la tension
électrique correcte, comme elle est indiquée sur la
plaque signalétique du fabricant.
Après avoir branché la machine, vous devez
contrôler d’abord la direction de la spirale et de
la cuve. Vu du haut, la spirale ainsi que la cuve
doivent tourner dans le sens des aiguilles d’une
montre. La êche indique la direction de rotation
de la cuve.
Si la direction de rotation est incorrecte, vous
devez échanger les deux cables de phase an
d’inverser la direction de rotation.
FR
14
SINMAG EUROPE BVBA

3. CLAVIER DIGITAL
Boutons de fonction
Minuterie | pour la
direction inverse de la
cuve
Minuterie || pour la
première vitesse
AB
Minuterie
||| pour la
deuxième
vitesse
C
F
E
D
LED d’indication
FR
SINMAG EUROPE BVBA
15

4. UTILISATION DU PETRIN
4.1 Description
4.1.1 Les minuteries
En haut de l’afcheur, vous trouvez la minuterie I pour la direction
inverse de la cuve, la minuterie II pour la vitesse basse et la minuterie
III pour la vitesse haute. Les trois minuteries indiquent le temps en
minutes.
Les minuteries sont réglées par les boutons +et -. Si vous poussez
le bouton + une fois, le temps montera de dix secondes. Le temps
maximum qui peut être déni, est 20 minutes. Après 20 minutes, la
minuterie recommencera à 0 minutes. Pressez le bouton -pour
diminuer le temps par dix secondes.
Quand le pétrin à spirale est mis en marche, les minuteries indiqueront
le dernier temps programmé. Quand la minuterie commence à travail-
ler, le temps indiqué diminuera par dix secondes à la fois, jusqu’au
moment où la minuterie atteint 0.
Quand le couvercle de sécurité est levé pendant l’opération
automatique (« AUTOMATIC »), la minuterie s’arrête à la position où
elle se trouve. Quand le pétrin à spirale recommence à travailler, la
minuterie reprend son travail de cette position jusqu’au moment où
elle atteint la n du temps déni.
Pendant l’opération manuelle, la minuterie ne
fonctionne pas.
Quand vous poussez le bouton OFF , les
minuteries retournent au dernier temps.
l’écran de sécurité ouvert
FR
16
SINMAG EUROPE BVBA

4.1.2 LES LAMPES D’INDICATION
Ces lampes indiquent le mode dans lequel le pétrin à spirale
fonctionne:
A. Opération “AUTO/MANUAL”:
Quand le lampe AUTO s’illumine, la machine est en
fonctionnement automatique.
Quand la lampe MANU s’illumine, la machine est en
fonctionnement manuel.
B. Direction de la cuve:
Quand la lampe s’illumine, la cuve tourne en avant.
Quand la lampe s’illumine, la cuve tourne inversement.
C. Vitesse: Quand la lampe “I” s’illumine, la machine tourne à
vitesse basse.
Quand la lampe “II” s’illumine, la machine tourne à vitesse
haute.
D. La lampe INCH permet de fonctionner en pas-à-pas.
Ce bouton vous permet de facilement sortir la pâte, en
avançant la cuve.
Quand ni la lampe INCH, ni la lampe ON ne s’illuminent, la
machine est en mode STOP.
E. La lampe ON s’illumine quand la machine est en marche
F. La lampe STOP s’illumine seulement quand le couvercle de
sécurité est levé pendant que la machine est en marche.
G. O.L. (Over-load) : Cette lampe s’illumine quand le relais de
surtension est mis en marche. Essayez d’éliminer la cause du
problème (un manque de voltage, surcharge du pétrin ou une
mauvaise connexion de câble). Puis la lampe s’éteindra.
FR
SINMAG EUROPE BVBA
17

Bouton pour la sélection du
sens de rotation de la cuve
(Forward – 0 – Reverse).
Quand ce bouton-ci est en
position « F », la cuve devrait
tourner dans la même direction
que la êche « » sur la cuve.
4.1.3 Les boutons de fonction
Boutons pour la
sélection du mode
AUTO/MANUAL
Bouton pour la sélection de la vitesse
Vu du haut, la spirale devrait tourner dans le
sens des aiguilles d’une montre.
Bouton pour la mise en
marche
Bouton pour l’arrêt de la
machine
Bouton pour la sélection du mode pas-à-
pas.
La cuve tournera seulement quand vous
poussez ce bouton.
FR
18
SINMAG EUROPE BVBA

4.2 MODE AUTOMATIQUE
A. Poussez les boutons +et -sous la minuterie I pour mettre
au point la durée voulue pour la direction inverse de la cuve.
B. Poussez les boutons +et -sous la minuterie II pour mettre
au point la durée voulue pour la vitesse basse.
C. Poussez les boutons +et -sous la minuterie III pour mett-
re au point la durée voulue pour la vitesse haute.
D. Poussez le bouton AUTO/MANU, la lampe AUTO/MANU
s’illumine.
E. Poussez le bouton
F
Rla lampe s’illumine.
F. Poussez le bouton ON pour mettre la machine en marche.
Après avoir suivi la procédure mentionnée ci-dessus, la machine com-
mencera à fonctionner. Elle fonctionnera en direction inverse, jusqu’au
moment où la minuterie I atteint 0. Puis, la machine fonctionnera à
vitesse basse, jusqu’au moment où la durée indiquée sur la minuterie
II est nie. Enn, la machine fonctionnera à vitesse haute. La machine
s’arrêtera automatiquement après.
En mode automatique, la machine s’arrêtera quand vous levez le
couvercle de sécurité. La minuterie aussi s’arrêtera à ce moment-là.
La machine et la minuterie ne recommenceront à fonctionner qu’après
avoir poussé le bouton ON .
Quand vous poussez OFF , la minuterie retournera au temps que vous
avez mis au point et la machine recommencera son travail.
FR
SINMAG EUROPE BVBA
19

4.3 MODE MANUEL
A. Poussez le bouton AUTO/MANU jusque la lampe MANU
s’illumine.
B. Poussez les boutons I / II et F/R pour sélectionner la
vitesse et la direction de la cuve voulue.
C. Poussez le bouton ON pour mettre la machine en marche.
D. Poussez le bouton OFF quand vous voulez terminer
l’opération.
La minuterie ne fonctionnera pas pendant l’opération manuelle.
La direction de la cuve ne peut pas être inversée pendant que la ma-
chine fonctionne à vitesse haute.
Le pétrin se mettra toujours en marche à vitesse basse, même si vous
avez sélectionné « II » pour commencer. Quand le pétrin fonctionne à
vitesse basse, vous pouvez ensuite pousser II pour faire fonctionner le
pétrin à vitesse haute.
4.4 INTERRUPTEUR MANUEL
Si le clavier digital est endommagé, le pétrin peut fonctionner avec un
interrupteur manuel qui se trouve à
gauche sur le côté supérieur de la
machine. Vous pouvez ainsi sélectionner la vitesse basse ou haute
manuellement sans avoir besoin du clavier digital.
FR
20
SINMAG EUROPE BVBA
This manual suits for next models
3
Table of contents
Languages:
Other Sinmag Europe Mixer manuals
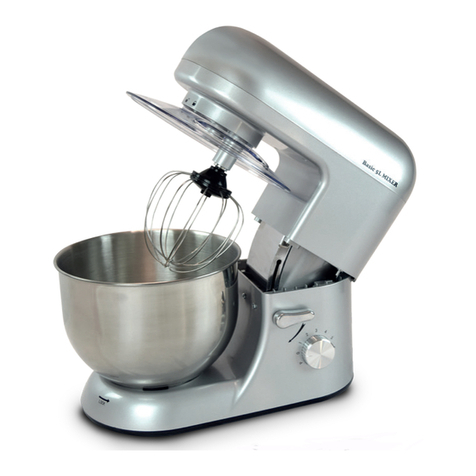
Sinmag Europe
Sinmag Europe Basic 5L User manual
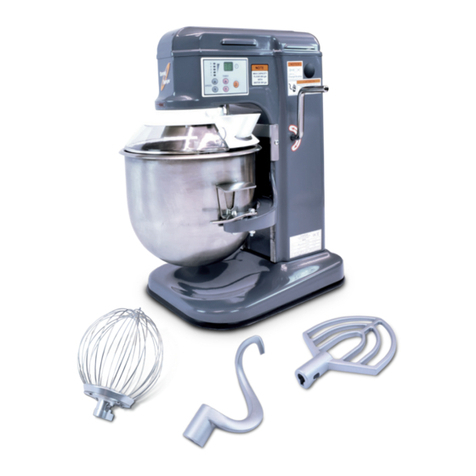
Sinmag Europe
Sinmag Europe SE10L User manual
Sinmag Europe
Sinmag Europe SM100C User manual

Sinmag Europe
Sinmag Europe SPIRALO XL User manual
Sinmag Europe
Sinmag Europe SPIRALO Series User manual
Sinmag Europe
Sinmag Europe SE7L User manual

Sinmag Europe
Sinmag Europe SM20L User manual
Sinmag Europe
Sinmag Europe SE7L User manual
Sinmag Europe
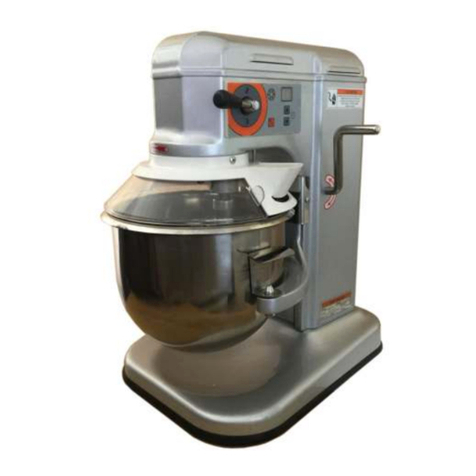
Sinmag Europe WHL07 User manual

Sinmag Europe
Sinmag Europe SM-200 User manual
