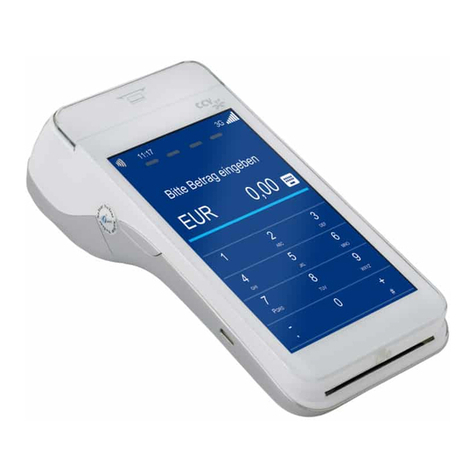
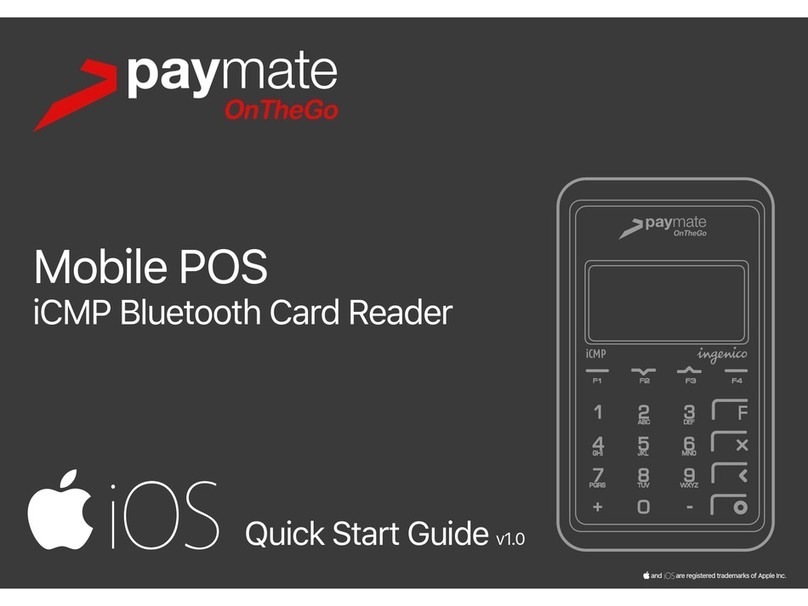
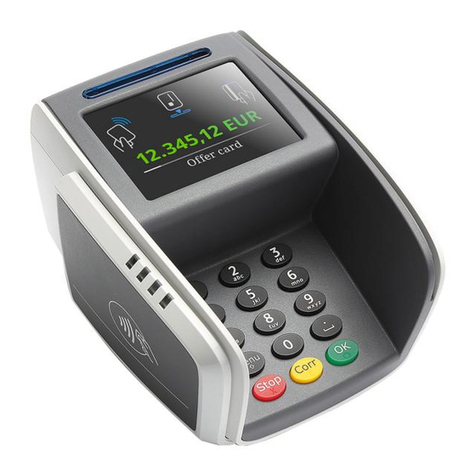
SIX Payment Services Ingenico Desk 3500 User manual

Purchase
1. Pressing the green <OK> button switches the terminal on.
2. The <F> button opens the main menu.
3. Pressing <1> opens the transaction menu. 1: Transactions
4. Push the <1> button. “Purchase” is activated. 1: Purchase
5. Enter the amount and confirm with <OK>.
The amount is separated (e.g. euros/cents) with a period.
Amounts less than “1” are registered with a “0.” at the beginning.
<Amount>
6. Depending on the card type, it must be inserted in the chip card reader, held up to the
contactless reader or pulled through the magnetic swipe reader. If the customer uses
the wrong reader for his or her card, that person is instructed to use the proper reader.
7. The amount is displayed for the customer to read. When using a card with an associated
PIN, the customer is instructed to enter the PIN code (4 to 6 digits) and confirm with
<OK>. When using a card without a PIN, only the amount must be confirmed. Generally,
customers do not need to do anything further for a contactless payment of a small
amount. The transaction can be interrupted by pressing
. Please confirm the
message “Please return trm. to cashier” with the upper left function key, so that
terminal switches back to basic state.
<PIN>
8. Payments are processed and, when appropriate, authorised online.
Chip cards: The card must remain inserted in the chip reader during the transaction
until the instructions appear to remove the card.
9. Receipt is printed out. Please follow the terminal’s instructions: If the customer’s
signature is necessary, request that he or she provide one.
10. To print a copy of the receipt: Push the <1> button.
To not print a copy of the receipt: Push the <2> button.
If no button is pushed, a copy is automatically printed after 10 seconds.
1: Copy
or
2: No copy
The most important functions of
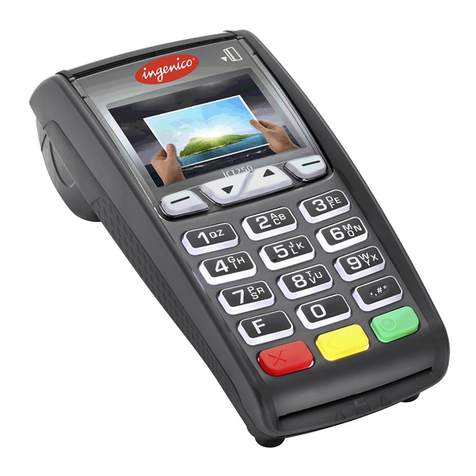
Ingenico Desk 3500
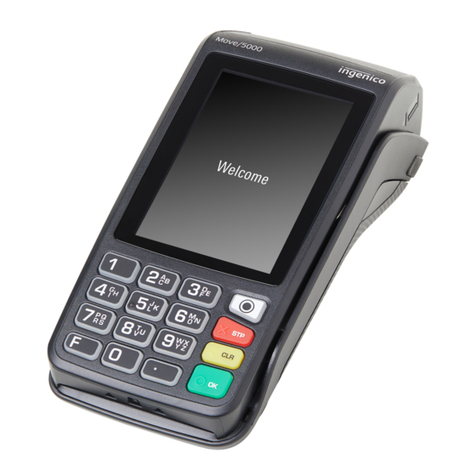
Ingenico Move 3500

Reversal (Cancellation)
With this function, the last transaction that was carried out is cancelled.
1. Pressing the green <OK> button switches the terminal on.
2. The <F> button opens the main menu.
3. Pressing <1> opens the transaction menu. 1: Transactions
4. Push the <3> button. “Reversal” is activated. 3: Reversal
5. Enter the terminal’s password and confirm with <OK>.
(For the password, see the configuration sheet.)
<Password>
6. The amount of the previous transaction is displayed, and confirm it with <OK>.
7. Reversal is processed and, when appropriate, authorised online.
8. Receipt is printed out.
9. To print a copy of the receipt: Push the <1> button.
To not print a copy of the receipt: Push the <2> button.
If no button is pushed, a copy is automatically printed after 10 seconds.
1: Copy
or
2: No copy
Credit (Refund)
If a transaction can no longer be cancelled, a credit can be issued.
1. Pressing the green <OK> button switches the terminal on.
2. The <F> button opens the main menu.
3. Pressing <1> opens the transaction menu. 1: Transactions
4. Push the <4> button. “Credit” is activated. 4: Credit
5. Enter the terminal’s password and confirm with <OK>. <Password>
6. Enter the amount and confirm with <OK>.
The amount is separated (e.g. euros/cents) with a period.
Amounts less than “1” are registered with a “0.” at the beginning.
<Amount>
7. Only if the DCC function is activated: Enter the date of the original transaction and
confirm with <OK>.
<Date>
8. Depending on the card type, it must be inserted in the chip card reader, held up to the
contactless reader or pulled through the magnetic swipe reader.
9. The cashier signs the receipt as a confirmation.

Daily closing
During the daily closing, all processed transactions are delivered and closed. After the daily clos-
ing, all amounts are credited. A daily closing should be performed at least once a day – the best
time is after the store has closed. The daily and shift counters are set to “0”. During the shift hand-
over, you can determine which transactions were carried out during this period (shift). The shift
handover is provided strictly for information purposes and does not replace a daily settlement.
Tips
– Software updates take place at night and only when shifts are closed.
Therefore, do not open a new shift in the evening after the daily closing is complete.
– After an “end of shift”, reversals can no longer be carried out.
Pressing the green <OK> button switches the terminal on.
The <F> button opens the main menu.
Select Function <2> Balances and afterwards <3> Daily closing. <2> <3>
Special button
Special button with “please return terminal”: Merchant notications are not displayed automatically
in customer mode. When the merchant presses the function button on the top left extended
messages are displayed to the merchant.
Enquiries and settings
Enquiries (journal) Settings
Use the button to get to the terminal’s main menu.
Select the function <3> Queries.
The following options are available:
– Shift counter (current status of the present shift)
– Daily counter (current status since the last daily
settlement)
– Trx Log Info (current status of transactions following the
last data transmission)
– Print DCC rate (optional)
– Print last ticket
Use the button to get to the terminal’s main menu.
Select the function <4> Settings.
Various options are available.

110.0364.02 INT_EN/11.2016
Your local point of contact can be found at: www.six-payment-services.com/contact
SIX Payment Services Ltd
Hardturmstrasse 201
P. O. Box
CH-8021 Zurich
SIX Payment Services (Europe) S.A.
10, rue Gabriel Lippmann
5365 Munsbach
Luxembourg
SIX Payment Services (Austria) GmbH
Marxergasse 1B
1030 Vienna
Austria
Further information
Are you looking for detailed information about your payment terminal?
Videos and product yers can be found on our website.
www.six-payment-services.com/tetra
Notes about the unit
PLEASE NOTE! SIX carries out software updates at night in order to enable you to
use your payment terminal without interruption during the day. For this reason, your
payment terminal must be left switched on at night with a constant Internet
connection.
Function Description Buttons
Switching on
the terminal
Pressing the green <OK> button switches the terminal on.
Opening the
main menu
The <F> button opens the main menu.
Setting up and
activating WLAN
Set up WLAN. <4> <5> <Password>
Setup It is possible to reach this menu item only with the terminal
password. <5> <Password>
Configuration The terminal retrieves the latest configuration parameters. <5> <Password> <1>
Initialisation Individual or all card issuers are reinitialised. <5> <Password> <2>
SW update The terminal loads the latest version of the software.
Caution! Downloading the software can take several minutes.
Never pull out the plug.
<5> <Password> <3>
Trm reset This function is available only to service technicians and is
protected with a special password.
<5> <Password> <4>
Info The terminal ID and current version of the software are displayed. <5> <Password> <5>
Information
receipt
The current configuration is printed out.
Note: This detailed printout requires a good deal of paper.
<5> <Password> <6>
<1> Basic / <2> Detailed
Print HW info This function is available only to service technicians and is
protected with a special password.
<5> <Password> <8>
System Use this function only if you are requested to do so by our hotline. <5> <Password> <9>
Varia
Purchase after
phone authorization
The authorization code is (will be) issued by a CCC representative
by telephone. <1> <2> <Amount>
<Authorization code>
This manual suits for next models
1
Other SIX Payment Services Payment Terminal manuals
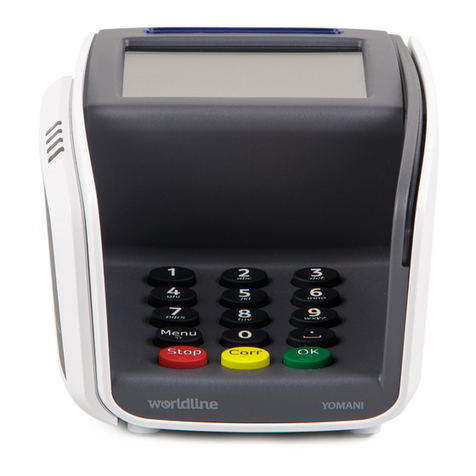
SIX Payment Services
SIX Payment Services Worldline YOMANI AUTONOM User manual
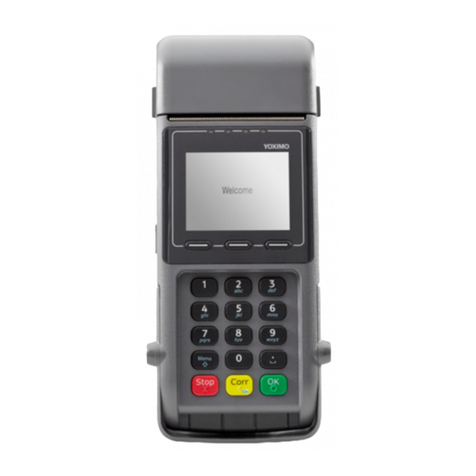
SIX Payment Services
SIX Payment Services Wordline YOXIMO MOBILE User manual
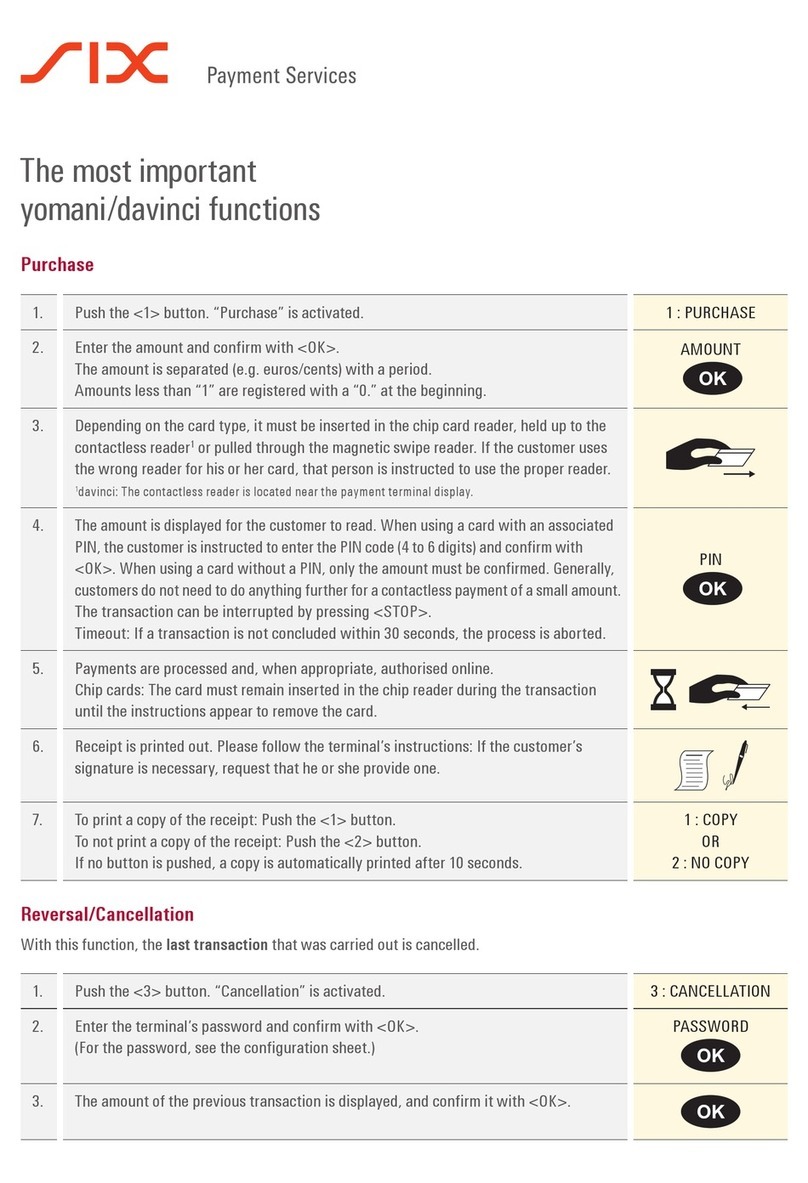
SIX Payment Services
SIX Payment Services davinci AUTONOM Parts list manual
SIX Payment Services
SIX Payment Services Worldline YOMANI TOUCH XR AUTONOM User manual
