manuals.online logo
Brands
  1. Home
  2. •
  3. Brands
  4. •
  5. Skymsen
  6. •
  7. Blender
  8. •
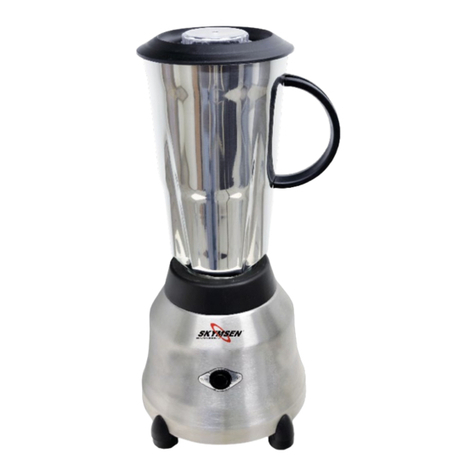
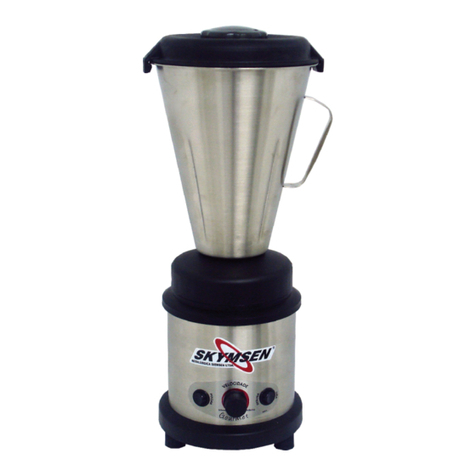
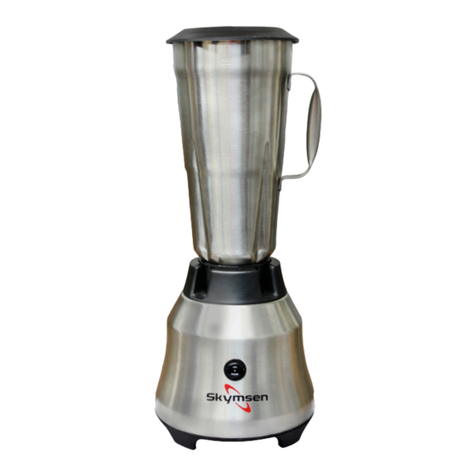
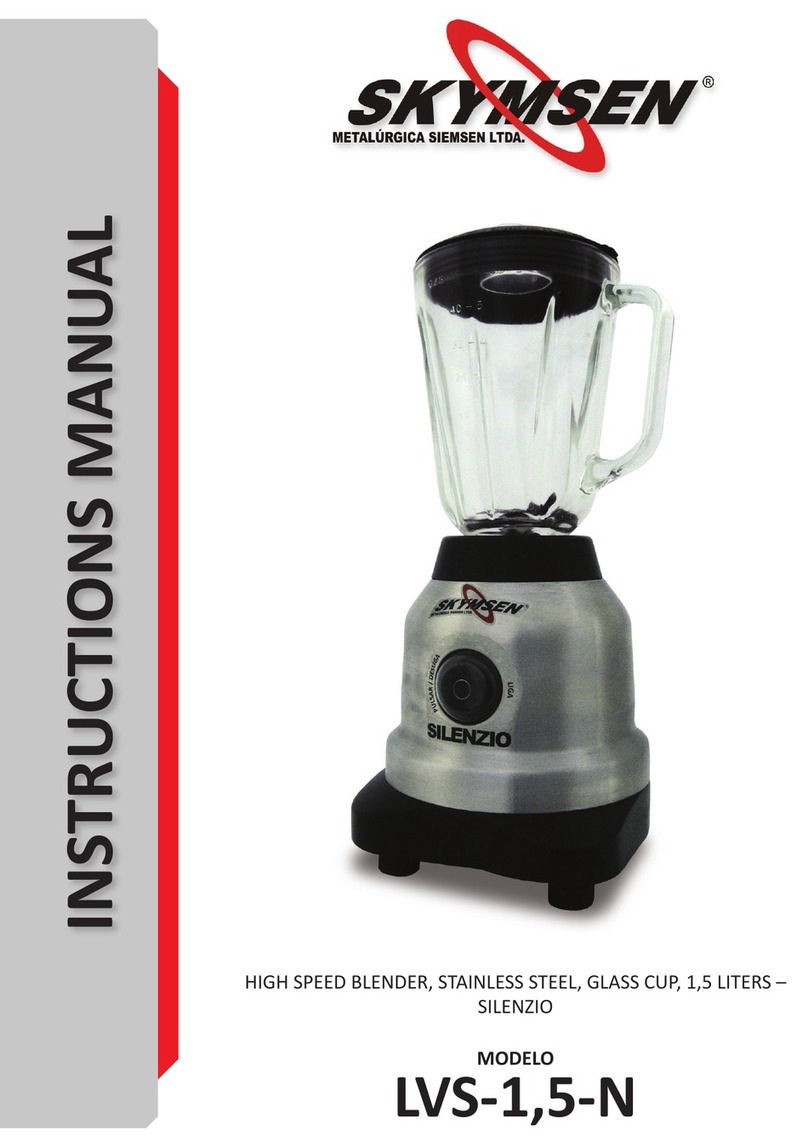
  9. Skymsen LB-15PMB User manual

Skymsen LB-15PMB User manual

8. ELECTRICAL DIAGRAM
F
M1~
ELECTRICAL NETWORK
110V / 60Hz
ON/OFF
N
T1,T3 T2,T4
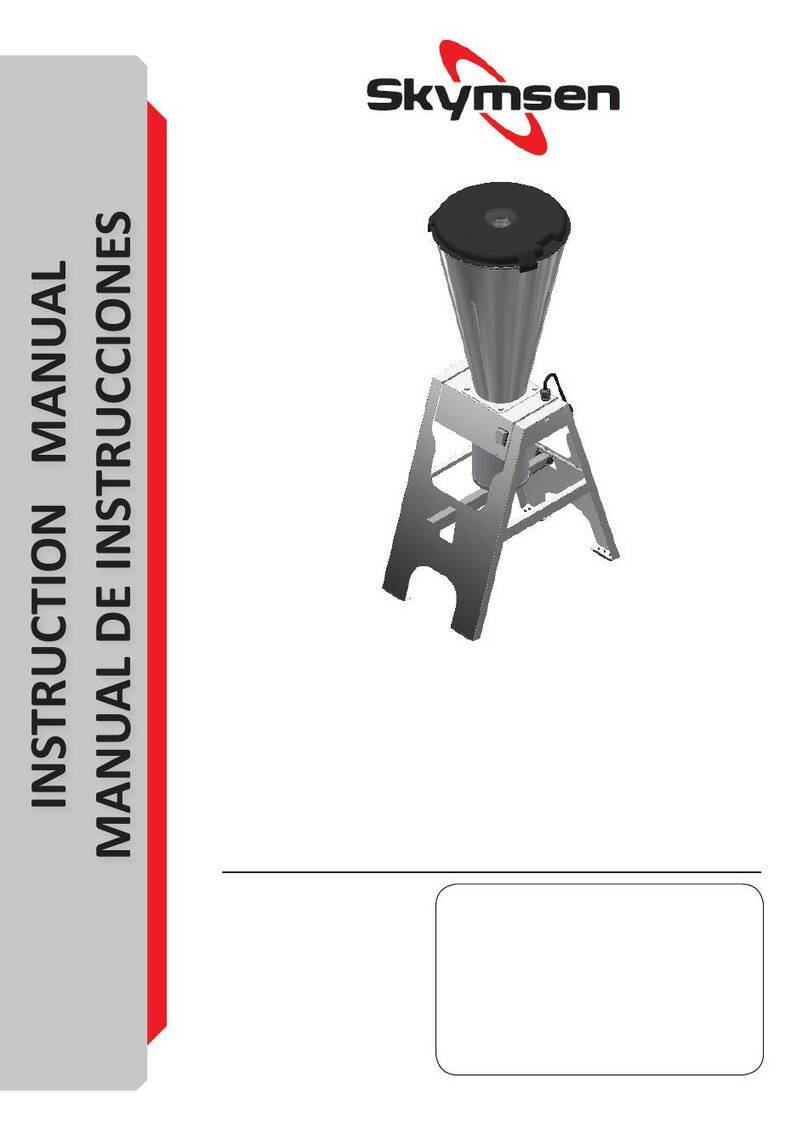
INSTRUCTIONS MANUAL
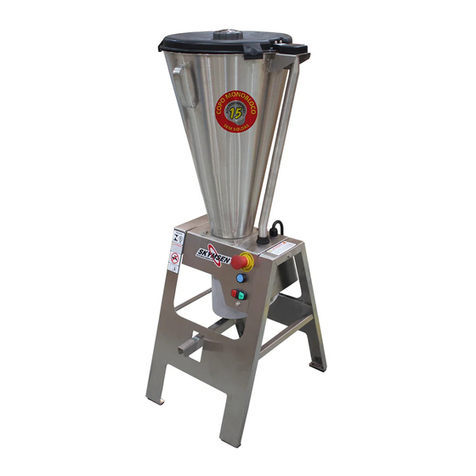
COMMERCIAL TILTING BLENDER
MODEL
LB-15PMB/LB-25PMB
METALÚRGICA SKYMSEN LTDA.
Rodovia Ivo Silveira, 9525 - Bateas
88355-202 - Brusque - Santa Catarina
Caixa Postal 52
Fone: +55 47 3211 6000 - Fax: +55 47 3211 6020
www.skymsen.com - [email protected]om
64619.9 - INGLÊS
Data de Revisão: 17/07/2018
DEVIDO À CONSTANTE EVOLUÇÃO DOS NOSSOS PRODUTOS, AS INFORMAÇÕES AQUI CONTIDAS PODEM SER MODIFICADAS SEM AVISO PRÉVIO.
SUMÁRIO
1. INTRODUCTION
1.1 Safety
2. COMPONENTS AND TECHNICAL
CHARACTERISTICS
3. INSTALLATION AND PRE-OPERATION
3.1 Placing
3.2 Electrical Installaon
3.4 Pre-Operaon
3.4.1 Cup Placing
3.4.2 Lid Placing
3.4.3 Cap Placing
4. OPERATION
4.1 Starng
4.2 Operaon Procedures
5. CLEANING
6. MAITENANCE
7. PROBLEM SOLVING
9. ELECTRICAL DIAGRAM
1. INTRODUCTION
This equipment has been designed to be used in commercial
kitchens, such as: restaurants, cafeterias, hospitals, bakeries,
butcheries and so on.
This equipment is not recommended to be used:
- when connuous industrial producon is necessary.
- the working place has a corrosive or explosive atmosphere
nor water vapour or gas contaminated ambient.
1.1 Safety
To avoid accidents respect the following instrucons:
1.1.1 In order to avoid the risk of electric shocks and damage
to the machine, never operate it wearing wet clothes or
shoes, install the equipment on a wet or humid surface nor
dip it in water or any other liquid, and do not spray water
directly on it.
1.1.2 Do not use the equipment if it is not working correctly,
nor if it has been damaged in any way. In case that happens,
take the equipment to the nearest Technical Assistance to
check it up.
1.1.3 The use of accessories not recommended by the
manufacturer may cause personal hurt.
1.1.4 Keep your hands or any tool out of the machine while
operang to avoid personal hurt or any damage to the
equipment.
1.1.5 During operaon, never wear loose clothes with wide
sleeves principally around the wrists.
1.1.6 Make sure the equipment voltage and the network
voltage are the same, and the equipment has been solidly
grounded.
1.1.7 Always place the Lid # 02 (Pic.01) on the cup before to
start the machine.
1.1.8 Always hold the Cup # 03 (Pic.01) while the blender is
in operaon. If the cup #3 (Pic. 01) gets loose, turn offthe
equipment immediately.
1.1.9 When mixing hot liquids remove the Cap # 01 (Pic.01)
out of the Lid # 02 (Pic.01) and keep the hands away from
the Lid hole avoiding possible burns.
1.2.0 Do not use the equipment outdoors.
1.2.1 The use of the equipment must be always supervised.
1.2.2 Never touch the knife when the equipment is
operang.
1.2.3 When installing the equipment make sure that it is
grounded accordingly to the local laws and norms.
1.2.4 For your safety the temperature of the product shall
not be above 40 degrees cengrade.
1.2.5 Do not expect your blender to replace any other kitchen
appliance. It is not supposed to make mashed potatoes, it
does not blend egg white or any other cream for covering, it
does not grind raw meat, it does not blend hard pastas and
does not extract kernels from fruit and vegetables.
1.2.6 Do not process mixtures for too long. Remember that
this kind of blender works in seconds and not in minutes.
Therefore, never let your blender working for more than one
minute. It is beer to switch it offand check the mixing
consistency aer a few seconds to avoid over blending.
1.2.7 Do not overload the motor with big or heavy porons,
once it will decrease the blender’s lifespan. If the motor
stops, immediately switch it off, unplug and remove part of
the load before restarng the operaon.
This equipment must not be used by children or any
persons with reduced physical or mental aptness, lack of
experience or knowledge, unless they are under supervision
or have received from the person responsible for safety,
proper instrucons on how to use the equipment.
Make sure the cord is in perfect condions for use. If
it is not, change it for a new one in accordance with the
technical specificaons and safety rules. The substuon
shall be made by a qualified professional, and shall respect
the local safety norms.
In case of emergency take offthe plug from its socket.

01 - Lid Cap
02 - Lid
03 - Cup
04 - Motor
05 - Tilng Pedal
06 - Stand
07 - ON/OFF Switch
2. COMPONENTS AND TECHNICAL CHARACTERISTICS
CHARACTERISTICS UNIT LS-15MB LS-25MB
Rotaon rpm 3500 3500
Voltage V 127 or 220 127 or 220
Frequency Hz 50 or 60 50 or 60
Power Rang CV 1,0 or 1,5 1,0 or 1,5
Consupon kW/h 0,73 or 1 0,73 or 1
Height mm 1060 1180
Width mm 360 410
Depth mm 525 525
Net Weight Kg 19 20,5
Gross weight Kg 23 24
01
04
02
03
05
07
06
3. INSTALLATION AND PRE-OPERATION
3.1 Placing
Your equipment must be placed and levelled on a dry and
firm surface with, preferably, 33 inches high.
3.2 Electrical Installaon
Please verify the voltage informed on the label aached to
the cord when you unpack it.
The feeding cord has 3 pins, the central pin is for grounding.
It is mandatory that all 3 pins are correctly connected before
turning the equipment on.
3.4 Pre-operaon
• Check if the Blender is firm on its posion.
• Before using the Tilng Blender, you must wash with
water and neutral soap all the parts that get in contact
with the products to be processed.
3.4.1 Cup Placement
The cup brings an efficient lng system allowing the cup to
be placed simply and safely .
To lt the Cup follow the below instrucon :
Switch offthe blender pressing the OFF Switch.
Remove the Lid.
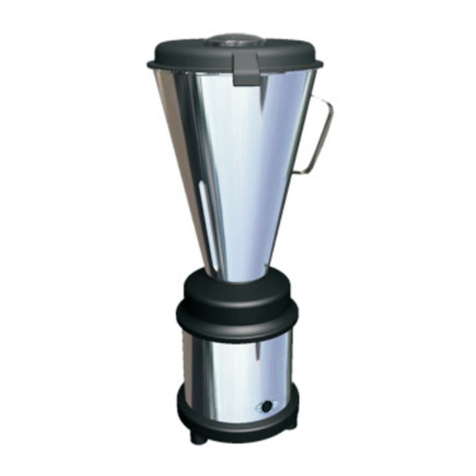
Hold ghtly the Cup handle and with your foot press the
Pedal # 01 (Pict 02) geng free the lng Cup.
Move the Cup and get the product off.
Move back the Cup unl to be locked on to vercal posion.
Never move the Cup with the Blender Switched ON.
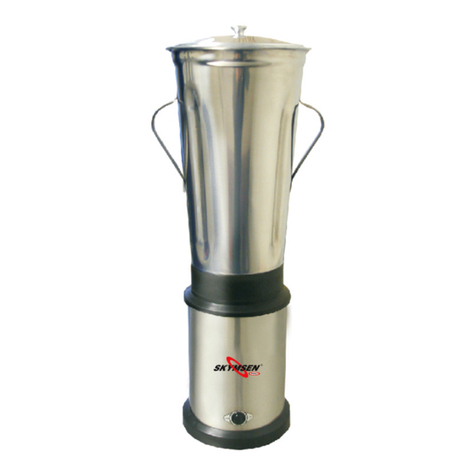
PICTURE 01
3.4.2 Lid Placement
The cup has a non toxic rubber Lid providing an efficient
sealing during operaon.
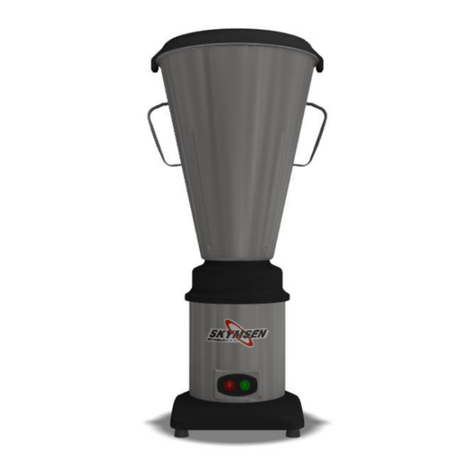
Check the lid to be duly placed on the Cup as shown with
picture 03 .
3.4.3 Cap Placement
The cap may be used to view the products being processed
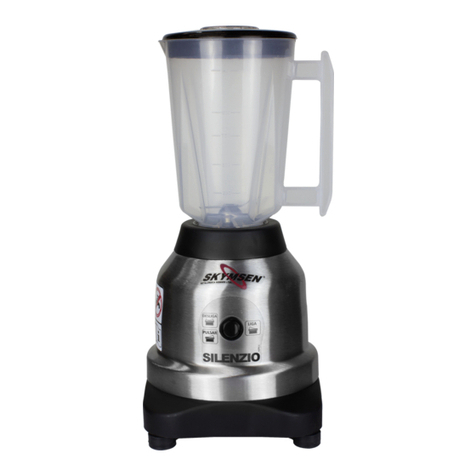
as well as to add ingredients/products to be processed. (Pic
04).
To remove the cap, just turn it clockwise unl it gets loose,
and pull it upwards.
4. OPERATION
4.1 Starng
- Insert the plug into the socket.
Then start the blender pressing the ON Switch.
To switch OFF the blender press the OFF Switch to posion.
4.2 Operaon Procedure
Remove the Lid with the Cap.
With the equipment switched off, first put the LIQUID
ingredient of the recipe, and then put the more solid
ingredients.
The maximum volume is determined by the marking
on the cup.
Put back the Lid along with the Cap, as described on items
3.4.2 e 3.4.3 and switch the blender ON.
The processing me on Blenders change for each
product. It is not recommended to grind solid products
without any liquid ingredient, once it may cause
overheang and consequent damage to the cup sealing
system.
Never turn the machine on when the cup is empty. This
may cause irreparable damages.
5. CLEANING
Always unplug the machine from the socket before
cleaning it.
Never spray water directly upon the equipment.
The equipment must be totally cleaned and sanized:
- Before using it for the first me;
- Aer the end of each workday;
- Before to be stored for a long me
- Always when the equipment has not been in use for a long
me;
Some parts may be removed from the blender:
- The Lid;
- The Lid Cap;
Wash all the parts with water and neutral detergent.
To clean the cup, fill half of its capacity with water and neu-
tral ph detergent.
Place the Lid and turn the blender ON to agitate this mix
unl all residues are removed.
Turn the equipment OFF and remove the content of the cup.
If necessary, with the equipment switched OFF, use a nylon
brush to help cleaning.
6. MAITENANCE
Maintenance must be considered a set of procedures
with the purpose to keep the equipment best operang
condions , therefore increasing the equipment life and
safety.
* Cleaning – check item 5 CLEANING
* Wiring - Check all wires regarding deteriorate condions as
well as all electric contacts (terminals) regarding ghtening
and corrosion.
*Contacts – ON/OFF switch, electronic circuits etc , check
the equipment in order to assure
that all components are correctly working and the
equipment operaon is normal .
* Installaon – make sure the installaon followed item 3
PICTURE 04
PICTURE 03
PICTURE 02
01
instrucons.
1. Each month check:
- Check the electrical installaon
- Measure the voltage at the socket
- Measure the working current and match it with the
nominal current
- Check the ghtening of all electric terminals to avoid bad
contacts
- Check electric motor shaclearance
- Check the wiring for overeang , insulaon failures and
mechanical damages.
2. Each three month checks
- Check electrical components such as ON/OFF switch,
electronic electric circuits ,
overeang, insulaon failings, or mechanical damages
- Check bearings clearances
- Check retainers, O’rings, V’rings and other seals.
7. PROBLEM SOLVING
PROBLEMS CAUSES SOLUTION
- The blender
does not
switch ON
- Electricity shortage.
- Problem with the
blender electric
circuit.
- Check
electricity.
- Call technical
assistance
- Burning smell
or smoke.
- Problem with the
blender electric
Circuits.
- Call technical
assistance
-The blender
starts, but
aer to place
the ingredients
inside the cup,
the blender
rotaon is too
low.
- Problem with the
motor.
- Call technical
assistance.
- Damaged
cord.
- Problem during
transportaon.
- Call technical
assistance.
-Unusual
noises. - Damaged bearing. - Call technical
assistance.
-The product
does not
process
- Product pieces too
large do not allow
contact with the
knife.
- Blunt knife.
- Cut smaller
pieces about 3,5
cm.
- Call technical
assistance.
- Cup is
leaking. - Damaged seal - Call technical
assistance.

This manual suits for next models

1

Other Skymsen Blender manuals

Skymsen LI-2,0-N User manual

Skymsen

Skymsen LI-2,0-N User manual

Skymsen LVS-1,5-N User manual

Skymsen

Skymsen LVS-1,5-N User manual

Skymsen LAR-15LMB-HD User manual

Skymsen

Skymsen LAR-15LMB-HD User manual

Skymsen TA-4.0 MB User manual

Skymsen

Skymsen TA-4.0 MB User manual

Skymsen ls-04 User manual

Skymsen

Skymsen ls-04 User manual

Skymsen LAR-06MB User manual

Skymsen

Skymsen LAR-06MB User manual

Skymsen Fleetwood LAR-08 User manual

Skymsen

Skymsen Fleetwood LAR-08 User manual

Skymsen LAR-08MB User manual

Skymsen

Skymsen LAR-08MB User manual

Skymsen SILENZIO LIS-1,5-N User manual

Skymsen

Skymsen SILENZIO LIS-1,5-N User manual

Skymsen LVS-1,5-N User manual

Skymsen

Skymsen LVS-1,5-N User manual

Skymsen LT-2 User manual

Skymsen

Skymsen LT-2 User manual

Skymsen TA-2.0 SUPER GOURMET User manual

Skymsen

Skymsen TA-2.0 SUPER GOURMET User manual

Skymsen TA-02-N User manual

Skymsen

Skymsen TA-02-N User manual

Skymsen LAR-25PMB User manual

Skymsen

Skymsen LAR-25PMB User manual

Skymsen TA-02S User manual

Skymsen

Skymsen TA-02S User manual

Skymsen LAR-04 User manual

Skymsen

Skymsen LAR-04 User manual

Skymsen LTS-1 User manual

Skymsen

Skymsen LTS-1 User manual

Skymsen LAR-10MB User manual

Skymsen

Skymsen LAR-10MB User manual

Skymsen TA-2.0 SUPER GOURMET User manual

Skymsen

Skymsen TA-2.0 SUPER GOURMET User manual

Skymsen LT-2,0 SUPER GOURMET 2 User manual

Skymsen

Skymsen LT-2,0 SUPER GOURMET 2 User manual

Skymsen TA-04MB-N User manual

Skymsen

Skymsen TA-04MB-N User manual

Skymsen LI -1 User manual

Skymsen

Skymsen LI -1 User manual

Skymsen VENTUS LAR-15MB User manual

Skymsen

Skymsen VENTUS LAR-15MB User manual

Skymsen LV-1,5 BAR User manual

Skymsen

Skymsen LV-1,5 BAR User manual

Popular Blender manuals by other brands

Thulos TH-BV1580 instruction manual

Thulos

Thulos TH-BV1580 instruction manual

Midea MJ-60BE01C user manual

Midea

Midea MJ-60BE01C user manual

Bosch MCM3501MGB instruction manual

Bosch

Bosch MCM3501MGB instruction manual

Gastroback 40971 manual

Gastroback

Gastroback 40971 manual

ELECTROTEK ET-BM200PL instruction manual

ELECTROTEK

ELECTROTEK ET-BM200PL instruction manual

CTC Union Clatronic SMS 3455 instruction manual

CTC Union

CTC Union Clatronic SMS 3455 instruction manual

Braun MR 730 cc quick guide

Braun

Braun MR 730 cc quick guide

Ninja BL800 owner's guide

Ninja

Ninja BL800 owner's guide

Zelmer 480 user manual

Zelmer

Zelmer 480 user manual

Wilfa BBLSP-1800T instruction manual

Wilfa

Wilfa BBLSP-1800T instruction manual

INNOLIVING INN-698 user manual

INNOLIVING

INNOLIVING INN-698 user manual

Beko 01M-8832833200-5015-01 user manual

Beko

Beko 01M-8832833200-5015-01 user manual

ENKHO 158734.01 user manual

ENKHO

ENKHO 158734.01 user manual

Mellerware ROBOT 200 manual

Mellerware

Mellerware ROBOT 200 manual

Cuisinart Velocity Ultra 1 HP Quick reference guide

Cuisinart

Cuisinart Velocity Ultra 1 HP Quick reference guide

KitchenAid 5KHBV53Z manual

KitchenAid

KitchenAid 5KHBV53Z manual

Philips AVENT SCF870 manual

Philips

Philips AVENT SCF870 manual

Ninja BL642NZ owner's guide

Ninja

Ninja BL642NZ owner's guide

manuals.online logo
manuals.online logoBrands
  • About & Mission
  • Contact us
  • Privacy Policy
  • Terms and Conditions

Copyright 2025 Manuals.Online. All Rights Reserved.