ENEN
5 6
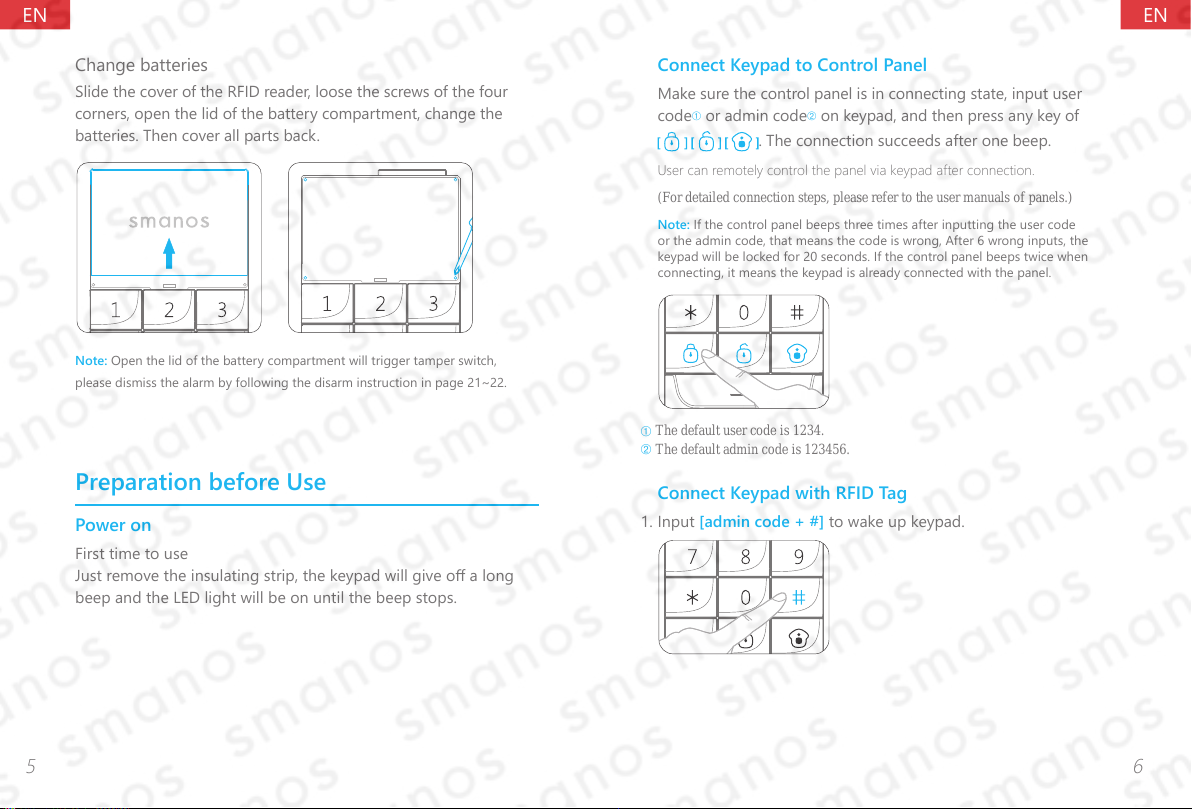
Change batteries
Slide the cover of the RFID reader, loose the screws of the four
corners, open the lid of the battery compartment, change the
batteries. Then cover all parts back.
Note: Open the lid of the battery compartment will trigger tamper switch,
please dismiss the alarm by following the disarm instruction in page 21~22.
Preparation before Use
Power on
First time to use
Just remove the insulating strip, the keypad will give o a long
beep and the LED light will be on until the beep stops.
Connect Keypad to Control Panel
Make sure the control panel is in connecting state, input user
codeâor admin codeêon keypad, and then press any key of
. The connection succeeds after one beep.
User can remotely control the panel via keypad after connection.
(For detailed connection steps, please refer to the user manuals of panels.)
Note: If the control panel beeps three times after inputting the user code
or the admin code, that means the code is wrong, After 6 wrong inputs, the
keypad will be locked for 20 seconds. If the control panel beeps twice when
connecting, it means the keypad is already connected with the panel.
â The default user code is 1234.
ê The default admin code is 123456.
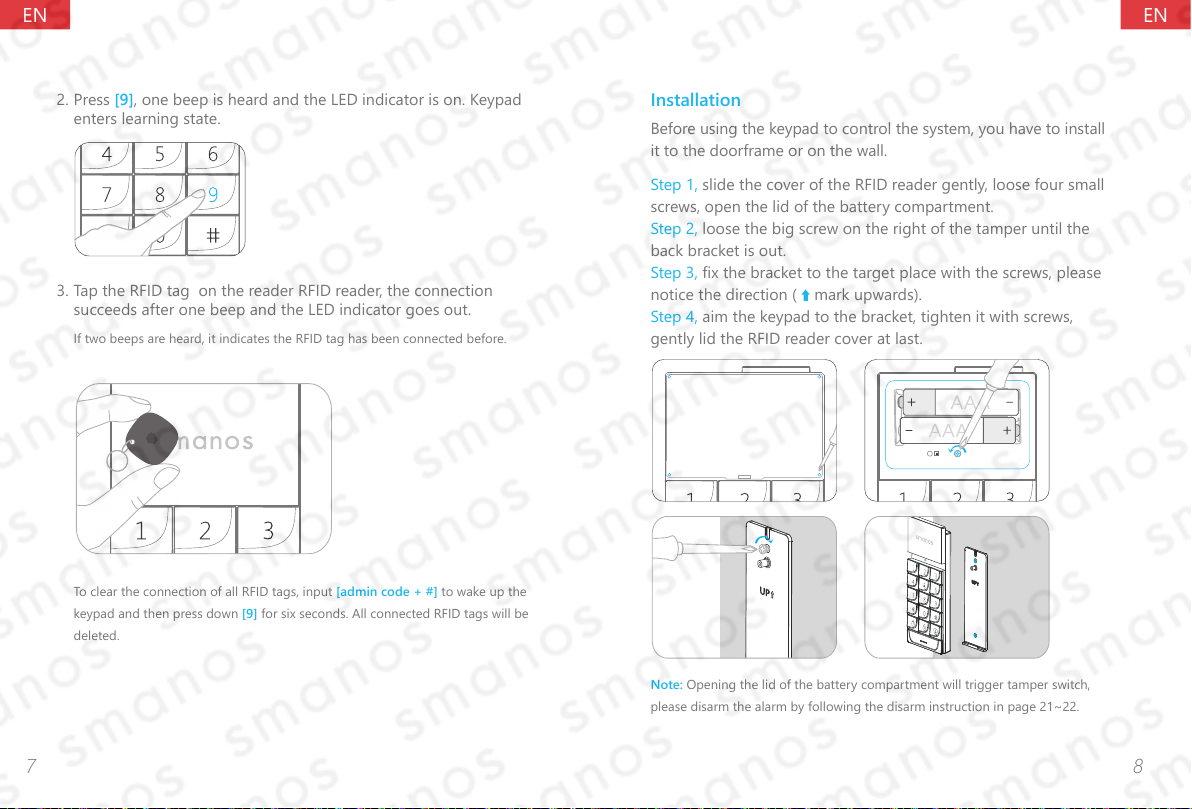
Connect Keypad with RFID Tag
1. Input [admin code + #] to wake up keypad.