manuals.online logo
Brands
  1. Home
  2. •
  3. Brands
  4. •
  5. SMART
  6. •
  7. Measuring Instrument
  8. •
  9. SMART Centellis 2000 DC 1.2 User manual

SMART Centellis 2000 DC 1.2 User manual

1 Box contents
Make sure you receive all items of your shipment:
1. One Centellis 2000 AdvancedTCA shelf
2. Software CDs:
– ATCA-MF105 firmware
– BBS (Centellis 2000-DC-TS/PPE/FP only)
3. One printed copy of Quick Start Guide (this document)
4. One printed copy of Safety Notes Summary
When installing or servicing the system or accessories,
strictly observe the safety precautions in the Safety Notes
Summary. Ignoring these instructions can void the system
warranty and cause personal injury or property damage.
2 ESD
Electrostatic discharge and incorrect installation or
removal of the card can damage circuit or shorten its life.
Use a properly grounded ESD wrist strap or work in an
ESD-safe environment.
Connect to the ESD Bond Point connector at the front or
the rear of the system.
3 Site preparation
1. Make sure that all environmental and power requirements
defined in the Centellis 2000 DC 1.2 Installation and Use
manual are met.
2. Remove all items from the box.
3. Provide the following cables:
– Earth grounding cable with a two-hole lug, distance 5/8”
(15.9mm)
– Two power input cables with a minimum cross section of
25mm2, AWG12
– Ethernet cable for connecting the shelf manager
4 Mount shelf in rack
1. Insert the shelf into a 19" ANSI rack.
2. Fasten the shelf to the rack via the mounting brackets using two
bolts or screws (minimum 6mm [0.24"] in diameter) on the left
side and two on the right side of the shelf.
5 Install RTMs and node
blades
1. If the shelf is not equipped with rear transition modules
(RTMs) and node blades, install these units.
2. Cover remaining openings with filler blades.
6 Ground the system
1. Connect the rack ground lug to the shelf ground lugs at the
bottom left rear of the shelf. The shelf ground lugs are marked
with the corresponding grounding symbol:
2. Torque the shelf ground lug nuts to maximum of 2.0 Nm.
3. Connect the shelf permanently to the earth ground of the
building.
7 Connect to power feed
1. Make sure that both PEM breakers of the shelf
are in the OFF position.
2. Make sure that the external power feeds you plan to
attach are powered off and cannot be switched on
while you are working.
3. Remove the insulation from the ends of the power cables.
4. Crimp the ends of the power cables.
5. Loosen the screws on both sides of the pluggable screw
terminals and remove the terminals from the rear of the shelf.
6. Insert the crimped ends of the power cables to the rectangular
openings (3.5mm x 3.5mm wide) of the pluggable screw
terminals–observe the correct orientation: -48V and Return–and
fasten the screws at the bottom of the pluggable screw terminals.
7. Plug the screw terminals to the power connectors and fasten the
screws on both sides of the terminals.
8. Turn on the feed power.
Centellis 2000 DC 1.2
Quick Start Guide
P/N: 6806800J17E January 2020
Centellis 2000 DC 1.2 Quick Start Guide
SMART Embedded Computing, 2900 S. Diablo Way, Suite 190, Tempe, Arizona 85282
8 Power up the system
Make sure that the system has been located in a place with room
temperature for at least 24 hours before powering it up.
Perform the following steps for both power entry modules:
1. Check the LEDs on the front of the module.
Make sure that the Reverse LED (red) is off and
that the In LED (green) is on.
2. Switch on the breaker.
9 Connect to shelf manager
Establish a network connection to the active shelf manager:
1. On the rear of the shelf, plug the network connector in the
MGMT ETH jack of the MF105 whose yellow ACT LED is lit.
2. Access the shelf manager via its default IP address using telnet
or SSH, user name and password: root.
The default IP addresses are as follows:
.
10 Set shelf geographical and
IP addresses
1. Set the shelf geographical address as required. The default
shelf geographical address is 0.
2. Change the shelf manager IP-addresses if required. For more
information, see the Centellis 2000 DC 1.2 Installation and Use
manual.
3. Define the IP addresses of the node blades. There are no
predefined IP addresses for the node blades.
For more information, see the documentation of the respective
blade.
11 Boot the node blades
Boot the node blades via the network connection. For details on the
boot process, see the documentation of the respective blade.
12 Check for firmware
upgrades
Before putting the system into operation, SMART Embedded
Computing recommends to check for firmware upgrades.
Install the latest firmware upgrades.
For more information, see the Centellis 2000 DC 1.2 Installation and
Use manual.
ATCA-MF105 IP Address
Left ATCA-MF105 192.168.0.8
Right ATCA-MF105 192.168.0.9
Active ATCA-MF105 192.168.0.171
Standby ATCA-MF105 192.168.0.181
© 2020 SMART Embedded Computing™, Inc. All rights reserved. The stylized “S” and
“SMART” is a registered trademark of SMART Modular Technologies, Inc. and “SMART
Embedded Computing” and the SMART Embedded Computing logo are trademarks of
SMART Modular Technologies, Inc. All other names and logos referred to are trade names,
trademarks, or registered trademarks of their respective owners. These materials are
provided by SMART Embedded Computing as a service to its customers and may be used
for informational purposes only. For full legal terms and conditions, visit
www.smartembedded.com/ec/legal.
Get More Information
For more information on this product, see the Centellis
2000 DC 1.2 Installation and Use manual and other
related technical documentation, which can be found by
using the Documentation Search at
https://www.smartembedded.com/ec/support/.
Technical Assistance
For technical assistance or to report product damage or shortages,
contact your local SMART Embedded Computing sales
representative or visit https://www.smartembedded.com/ec/support/.
Other SMART Measuring Instrument manuals

SMART Olympus LS-14 Operating and installation instructions

SMART

SMART Olympus LS-14 Operating and installation instructions

SMART MN586B User manual

SMART

SMART MN586B User manual

SMART MN586 User manual

SMART

SMART MN586 User manual

SMART MN520 User manual

SMART

SMART MN520 User manual

SMART SMART X User manual

SMART

SMART SMART X User manual

SMART SFD11 User manual

SMART

SMART SFD11 User manual

SMART EX510 User manual

SMART

SMART EX510 User manual

SMART EX500B User manual

SMART

SMART EX500B User manual

SMART Smartmeter S1 User manual

SMART

SMART Smartmeter S1 User manual

SMART 433-CMU-40 User manual

SMART

SMART 433-CMU-40 User manual

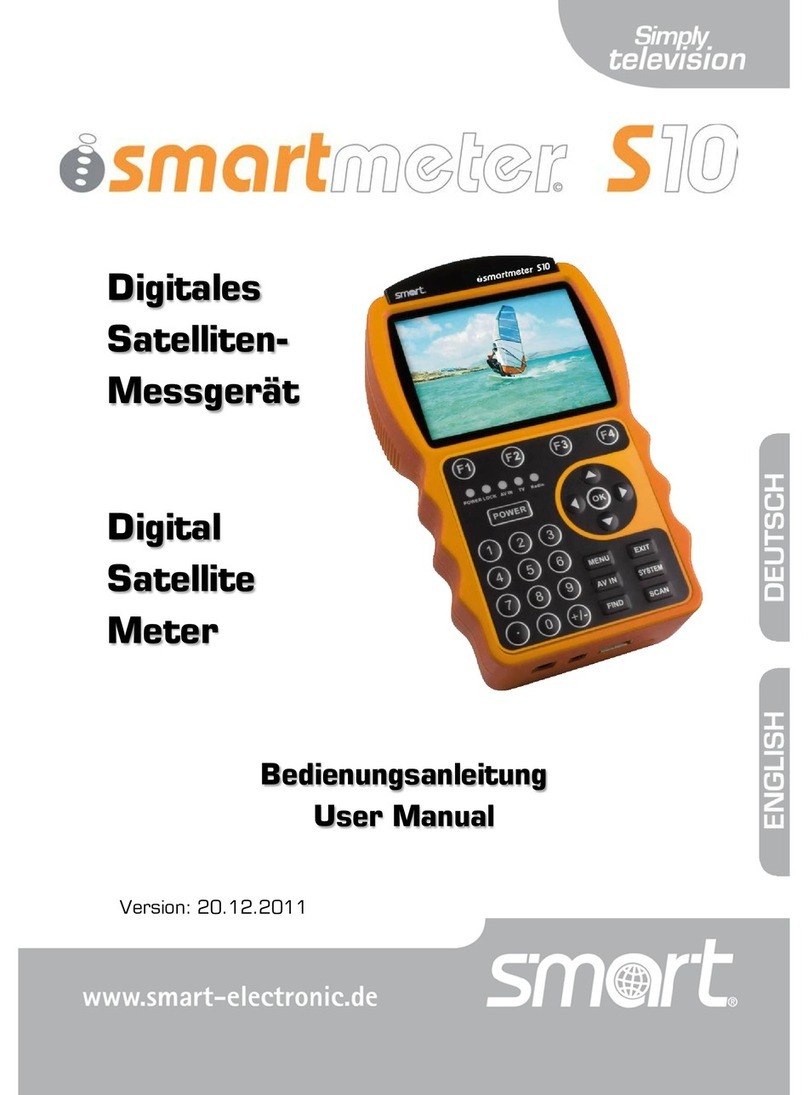
SMART S10 User manual

SMART

SMART S10 User manual

SMART EX505 User manual

SMART

SMART EX505 User manual

SMART SMART PE260 User manual

SMART

SMART SMART PE260 User manual

Popular Measuring Instrument manuals by other brands

METER TEROS 32 quick start

METER

METER TEROS 32 quick start

Horiba Scientific LAQUA F-74BW Quick manual

Horiba Scientific

Horiba Scientific LAQUA F-74BW Quick manual

Coulometrix Metiri COUMET60100SC user manual

Coulometrix

Coulometrix Metiri COUMET60100SC user manual

PCE Americas PCE-WL 2 manual

PCE Americas

PCE Americas PCE-WL 2 manual

GREISINGER GMH 3831 operating manual

GREISINGER

GREISINGER GMH 3831 operating manual

Siemens SITRANS LR560 Quick start manual

Siemens

Siemens SITRANS LR560 Quick start manual

X-IO x-IMU3 user manual

X-IO

X-IO x-IMU3 user manual

Reed Instruments R7050 instruction manual

Reed Instruments

Reed Instruments R7050 instruction manual

Sonic Driver POCKET PLUS-UFM operating instructions

Sonic Driver

Sonic Driver POCKET PLUS-UFM operating instructions

Teac HD-P2 Service manual

Teac

Teac HD-P2 Service manual

Agilent Technologies AA Series user guide

Agilent Technologies

Agilent Technologies AA Series user guide

WEHRLE WECOUNT-S ETK-EAM operating instructions

WEHRLE

WEHRLE WECOUNT-S ETK-EAM operating instructions

ARJAY ENGINEERING GasAlert II user manual

ARJAY ENGINEERING

ARJAY ENGINEERING GasAlert II user manual

Solar-Log Pro 380 Quick reference guide

Solar-Log

Solar-Log Pro 380 Quick reference guide

Baumer isiLine 36 operating instructions

Baumer

Baumer isiLine 36 operating instructions

Lovibond Maxi Direct instruction manual

Lovibond

Lovibond Maxi Direct instruction manual

NTI ENVIROMUX Series Installation and operation manual

NTI

NTI ENVIROMUX Series Installation and operation manual

ABB SPEF 3A2 C User manual and technical description

ABB

ABB SPEF 3A2 C User manual and technical description

manuals.online logo
manuals.online logoBrands
  • About & Mission
  • Contact us
  • Privacy Policy
  • Terms and Conditions

Copyright 2025 Manuals.Online. All Rights Reserved.