1-7
Getting Started
1
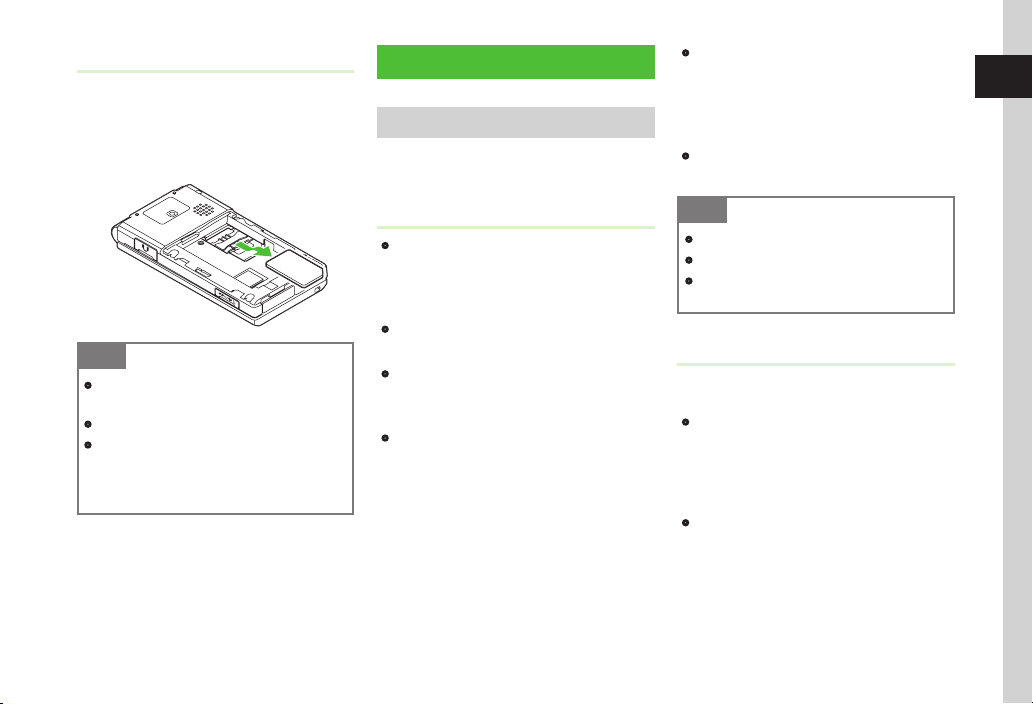
Removing
a Remove battery (fP.1-9)
bPress down on USIM Card and
gently slide it out
Note
・
Inserting USIM Card with excessive force
may damage it or handset.
・
Do not misplace a removed USIM Card.
・
To prevent damaging USIM Card, avoid
touching the IC chip when inserting or
removing it. Do not touch USIM Card with
battery contacts.
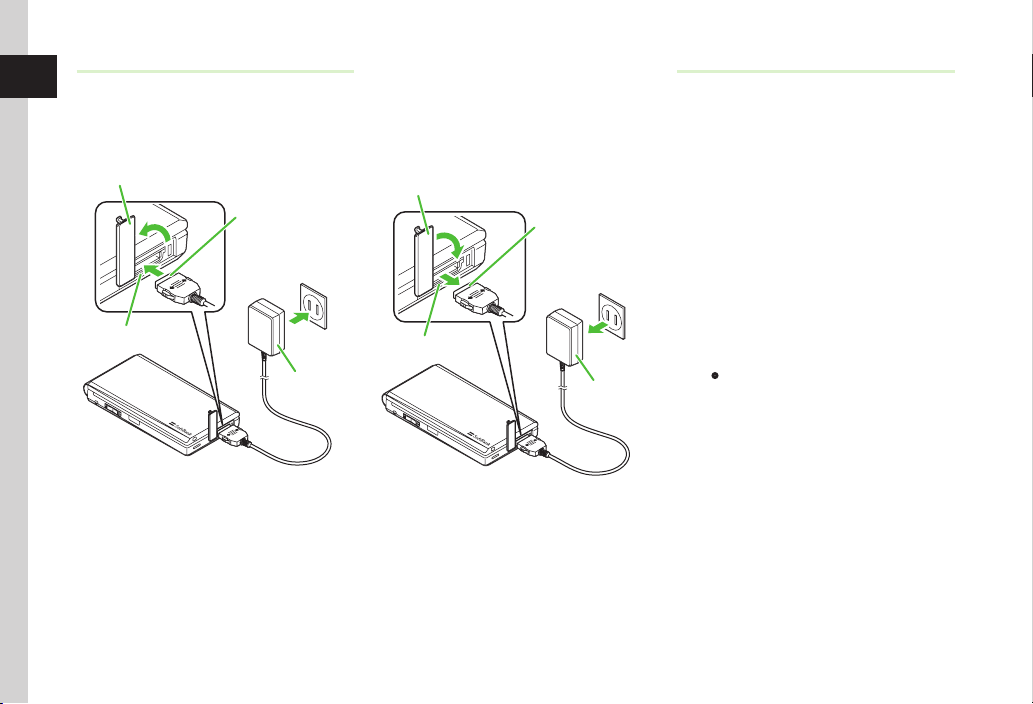
Battery & Charger
Before Using Battery or Charger
Chargebatterybeforerstuseofhandsetorafter
long periods of disuse.
Battery
・
Long periods of disuse may affect battery's
ability to hold a full charge. Charge battery at
least once every six months while not in use.
Otherwise, battery may become unusable.
・
Depending on usage, bulges may appear near
end of battery life; this does not affect safety.
・
Handset uses a lithium-ion battery; charge
battery in anytime without damaging its ability
to hold a charge.
・
Do not charge battery under the following
conditions:
- In ambient temperatures beyond 5°C - 40°C
- In high levels of humidity, vibration or dust
(Malfunction may result)
- Near a radio receiver (Feedback may result)
・
Handset or Charger may become warm while
charging. This is normal, however, should they
become very hot to the touch, stop charging
and contact SoftBank Mobile Customer Center,
General Information (fP.14-22).
・
Battery is a consumable; replace it if operating
time shortens noticeably.
Note
・
Use specied Charger only.
・
Battery must be inside handset to charge it.
・
When not in use, unplug Charger from
outlet.
Battery Life
Battery time/life may be reduced by any of the
following:
・
Environmental Factors
- Storing/using handset beyond 5°C - 40°C
- Using handset in poor signal conditions
- Debris on handset, battery or Charger Port
・
Operational Factors
- Camera use
- Media Player use
- Heavy use (e.g., for using messaging)