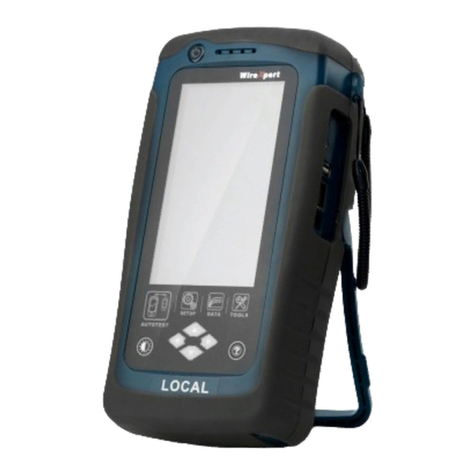
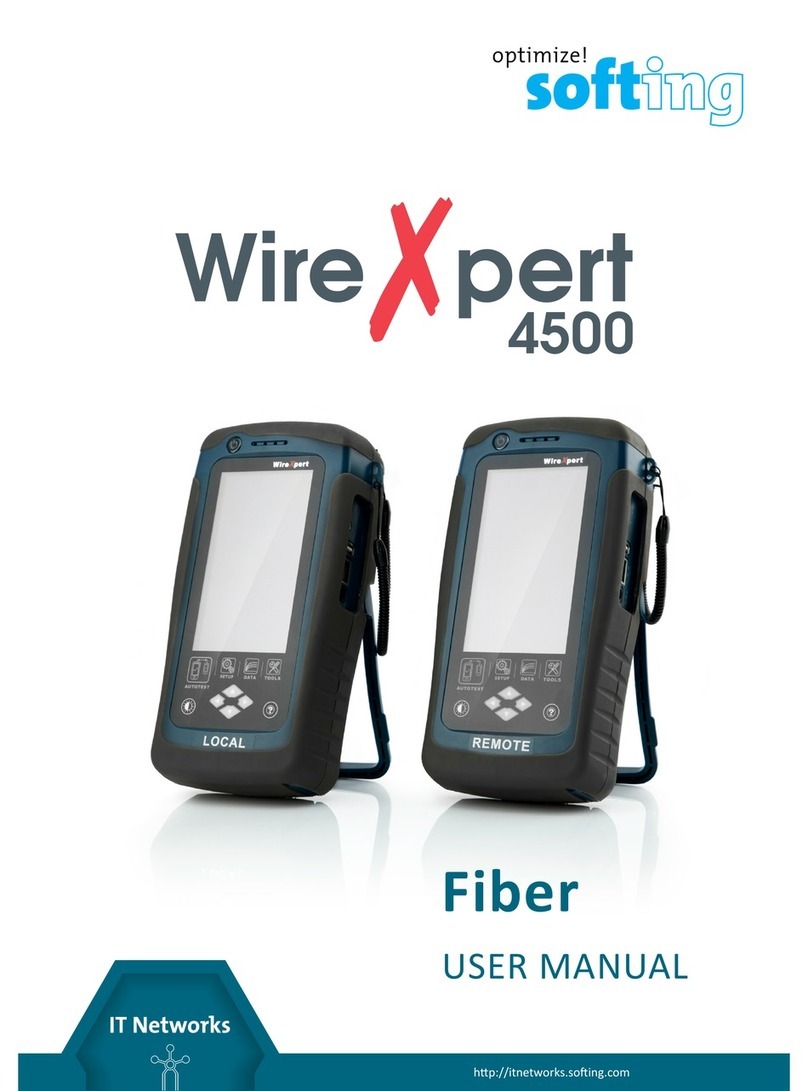
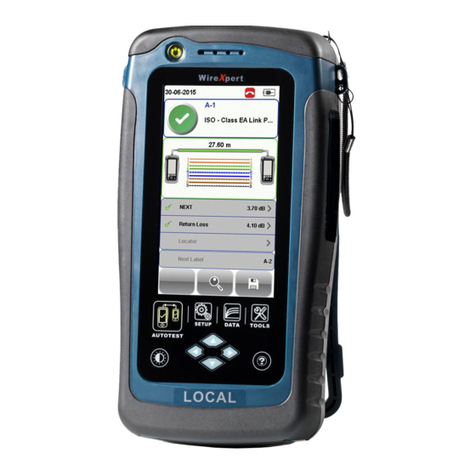
Softing WireXpert 4500 User manual

Version: WireXpert4500_MPO_IT_EN_U_201702
© Copyright 2017 Softing Singapore Pte Ltd
User Manual

Disclaimer of liability
The information contained in these instructions corresponds to the technical status at the time of printing of it and is passed on with the
best of our knowledge. The information in these instructions is in no event a basis for warranty claims or contractual agreements
concerning the described products, and may especially not be deemed as warranty concerning the quality and durability pursuant to Sec.
We reserve the right to make any alterations or improvements to these instructions without prior notice. The actual design of products
may deviate from the information contained in the instructions if technical alterations and product improvements so require.
It may not, in part or in its entirety, be reproduced, copied, or transferred into electronic media.
Softing Singapore Pte Ltd
Singapore Science Park 1
3 Science Park Drive
Franklin, #03-09
Singapore 118223
http://itnetworks.softing.com
+ 65 6569 6019
+ 65 6899 1016
asia-support.itnetworks@softing.com
The latest version of this manual is available in the Softing download area at: http://itnetworks.softing.com.

Table of Contents
© Copyright 2017 Softing IT Networks 3
Table of Contents
Table of Contents........................................................................................................... 3
1Introduction ................................................................................................... 5
1.1 About product.............................................................................................................................5
1.2 Safety precautions ......................................................................................................................5
1.3 Intended use ...............................................................................................................................6
1.4 About this document ..................................................................................................................6
1.5 Before you start ..........................................................................................................................7
1.6 Scope of delivery.........................................................................................................................7
1.7 System requirements..................................................................................................................8
2WireXpert PC Software and Firmware ............................................................ 9
2.1 Install software ...........................................................................................................................9
2.2 Upgrade firmware.......................................................................................................................9
3WireXpert User Interface.............................................................................. 11
3.1 Touch Screen Layout.................................................................................................................11
3.2 The One Touch Access Button ..................................................................................................12
4Setting Reference ......................................................................................... 18
5Configuring an AUTOTEST............................................................................. 20
5.1 Setting up WireXpert ................................................................................................................20
5.2 Testing Guide for 12-channels MPO Testing ............................................................................22
6Performing an AUTOTEST ............................................................................. 24
6.1 Understanding AUTOTEST ........................................................................................................24
6.2 Managing test result(s).............................................................................................................25
6.3 Exporting test results into eXport PC Software........................................................................27
7Declarations ................................................................................................. 28
8Appendix...................................................................................................... 32
9Technical Support......................................................................................... 35
Table of Contents
4 © Copyright 2017 Softing IT Networks
This page is left intentionally blank

Introduction
© Copyright 2017 Softing IT Networks 5
1Introduction
1.1 About product
Softing's WireXpert, with its unparalleled 2,500 MHz measurement range, is the first cable certifier with
capability to certify the highest performance cabling systems in enterprise networks and data centers.
Cable installers make significant gain in productivity with WireXpert‘s industry leading test speed and
ease of use. With certification testing up to Class FA and CAT8 copper cabling, as well as MPO, SM, MM
and MMEF fiber optic cabling, WireXpert is ready for 40G and beyond.
1.2 Safety precautions
Read this manual before starting
For damages due to improper connection, implementation or operation Softing refuses
any liability according to our existing warranty obligations.
Note
This symbol is used to call attention to notable information that should be followed
during installation, use, or servicing of this device.
Hint
This symbol is used when providing you with helpful user hints.
CAUTION
Selection of option may cause all or partial of saved data and/or settings in the device to
be erased or restored to non-reversible original factory state. Backing up of saved
result(s) is recommended before executing option.

Introduction
6 © Copyright 2017 Softing IT Networks
CAUTION
CAUTION indicates a potentially hazardous situation which, if not avoided, may result
in minor or moderate injury.
WARNING
WARNING indicates a potentially hazardous situation which, if not avoided, could result in
death or serious injury
DANGER
DANGER indicates an imminently hazardous situation which, if not avoided, will result in
death or serious injury. This signal word is to be limited to the most extreme situations.
1.3 Intended use
WireXpert series has been designed for use in factory, process and building control. The unit must not
be used in explosion hazard areas. The permissible ambient conditions given in the Technical Data must
be complied with.
The faultless and safe operation of the product requires proper transport, proper storage and
installation, and expert operation and maintenance in accordance with the manual.
1.4 About this document
Read this manual before starting
For damages due to improper connection, implementation or operation Softing refuses
any liability according to our existing warranty obligations.
1.4.1 Document history
Document version Modifications compared to previous version
005 Firmware update to v7.3.
Table 1: Document history
1.4.2 Conventions used
The following conventions are used throughout Softing customer documentation:

Introduction
© Copyright 2017 Softing IT Networks 7
Keys, buttons, menu items, commands and other
elements involving user interaction are set in bold
font and menu sequences are separated by an
arrow
Open Start Control Panel Programs
Buttons from the user interface are enclosed in
brackets and set to bold typeface
Press [Start] to start the application
Coding samples, file extracts and screen output is
set in Courier font type
MaxDlsapAddressSupported=23
Filenames and directories are written in italic
Device description files are located in
C:\<product
name>\delivery\software\Device
Description files
1.5 Before you start
Check that the latest eXport PC software and firmware is installed in the workstation and WireXpert
respectively to ensure the latest features are available. Ensure WireXpert is calibrated annually for
optimum accuracy.
Key differences between WX4500 and WX500
Features WX4500-FA WX500
Frequency of measurement
2500 MHz
500 MHz
Accuracy Specification
Level 2G
Level IIIe
Fiber Testing option
Yes
No
Class FA/CAT 8 options
Yes
No
Patch Cord Test adapters
Yes
Yes
1.6 Scope of delivery
Single Mode Fiber (WX_AD_MM_MPO_KIT)
Power Meter (LOCAL) Adapter
(WX_AD_MM_MPO_PWRMETER)
Light Source (REMOTE) adapter
(WX_AD_MM_MPO_SOURCE)
Type A Test Cords
(WX_AC_MM_MPO_TESTCORD)
Type A Reference Cords
(WX_AC_MM_MPO_REFCORD_A)
Type B Reference Cords
(WX_AC_MM_MPO_REFCORD_B)
Mating Couplers
(WX_AC_MPO_ADAPTER_A)
MPO Cleaning Kit
(WX_AC_MPO_CLEANING_KIT)

Introduction
8 © Copyright 2017 Softing IT Networks
Description/ Type A B C
Fiber Map
Module Type
Single module type
wire in a „straight
through“ configuration
Single module type on both ends, wired in a
„straight through“ configuration
MPO Methods
Polarity
Polarity is addressed in
the patch cords.
Polarity is managed in
the trunk.
Polarity is managed in
the cable.
CAUTION
Always use a coupler when mating a pinned and unpinned connector. Mating two
pinned connectors with a coupler will damage the pins.
Male / Pinned Connector
Female / Unpinned Connector
1.7 System requirements
Hardware
PC
Operating system
Windows Vista, 7, 8.x or 10 (32 bit or 64 bit)
Intel Core i3, 2.4Ghz and above
4 GB of RAM
200 MB of free space of installation
Microsoft .NET framework 4.0

WireXpert PC Software and Firmware
© Copyright 2017 Softing IT Networks 9
2WireXpert PC Software and Firmware
2.1 Install software
1Download the latest eXport PC software from http://itnetworks.softing.com/
2If this is a new installation, install the files in the package in the following order
a. Step_1_drvupdate-amd64.exeb
b.Step_2_dotNetFx40_Full_x86_x64.exed
c. Step_3_vcredist_x64.exe
d.Step_4_vcredist_x64_mfc.EXE
e. Step_5_eXport_setup_v7.2.0_x64.exe
3If this is an upgrade from an earlier version from 6.x and above, install only item e.
User Manuals
For more information on installation and using eXport PC software, please refer to
“Installation Guide for eXport PC software” and “User Manual for eXport PC software”.
Note
Softing IT Networks has ceased support for ReportXpert v5.x and earlier. Please contact
asia-[email protected] for more information.
2.2 Upgrade firmware
1Download and install the latest eXport PC software.
2Connect an USB flash drive to the workstation.
3Run eXport PC software.
4Go to Tools Update Device Firmware
5Click [OK]and select USB drive from “Export to USB” window.
6Click [Export]and [OK]to proceed.
7Please wait while exporting takes place. This process may take a while.
8Remove USB flash drive from workstation and connect to WireXpert.
9Select [Upgrade Firmware] from prompt and click [OK] button to continue.
10 If prompt did not appear, check that USB icon is present on the status bar, and press the SETUP
button Settings 2 Storage USB.
11 Please wait while upgrading takes place. This process may take a while.
12 Upgrade process is complete.

WireXpert PC Software and Firmware
10 © Copyright 2017 Softing IT Networks
CAUTION
Saved test results and settings may be erased during upgrading. You are recommended
to save all test results before upgrading the firmware.

WireXpert User Interface
© Copyright 2017 Softing IT Networks 11
3WireXpert User Interface
3.1 Touch Screen Layout
The Graphical User Interface (GUI) in version 7.0’s firmware has been updated with a more responsive
system and quick-access menus.
WireXpert boots up to the SETUP screen. It is categorized into 5 groups:
1. Status bar
2. Channel Selector
3. Test Settings group
4. Project Settings group
5. System Settings group
1. The Status bar displays the current date and time, talk set and battery level. Tap icons to change/view
setting.
2. The Channel Selector provides selection on which channel loss limit will be applied on a 12 core MPO
cable during an AUTOTEST.
3. The Test Settings group provides results oriented configurations necessary to perform an AUTOTEST.
4. The Project Settings group provides non-results oriented configurations before performing an
AUTOTEST.
5. The System Settings group settings provides device, time, localization and device related
configurations.

WireXpert User Interface
12 © Copyright 2017 Softing IT Networks
3.2 The One Touch Access Button
The fundamental philosophy behind the WireXpert User Interface is simplicity in its ease of use. The
main functions of the One-Touch access buttons as follows:
3.2.1 The [AUTOTEST] button
The [AUTOTEST]button will perform an immediate certification test on the last
configured settings. If no settings were configured, default settings will be used.
Test results will be generated automatically after the test is completed.
You will receive any of the following 4 results after performing AUTOTEST:
Green “PASS” – Good test result in accordance to pre-defined settings.
Red “FAIL” – Unacceptable results with severe disturbance on one or more test parameters.
You will be given the following option after performing an AUTOTEST:
•[Save] test results to device
An “AUTOTEST” will fail in the event of missing connection between the Local and Remote units, wrong
settings configured, “dirty” end connectors or broken cables.
MPO AUTOTEST results
Detailed loss results
Detailed polarity results
Note
Diagrams and images used are for illustration purposes only and do not represent
suggested test values. Reference and test values vary to usage and condition.

WireXpert User Interface
© Copyright 2017 Softing IT Networks 13
3.2.2 The [SETUP] button
The [SETUP] button provides setting options necessary to conduct an AUTOTEST and configure
the device.
These options include –
3.2.2.1 Channel Selector
Channel Selector provides selection on which channel(s) loss limit will be applied on during an
AUTOTEST. Passed and failed result(s) will be indicated in green and red respectively. Deselected
channels will be indicated in yellow.
Channel Selector
Passed AUTOTEST result with
all channels selected
3.2.2.2 Test Settings
Test Settings provides results oriented configurations necessary to perform an AUTOTEST including;-
3.2.2.2.1 Network Limits
Choose from 40GBASE-SR4 and 100GBASE-SR10 limit to perform MPO test. SR4 uses a single MPO
ribbon with four strands to transmit and four strands to receive. SR10 uses a 24 strand MPO cable with
ten strands to transmit and 10 strands to receive.

WireXpert User Interface
14 © Copyright 2017 Softing IT Networks
Select Network Limits
TX TX TX TX TX TX TX TX
40Gbase-SR4
TX TX TX TX TX TX TX TX TX TX
RX RX RX RX RX RX RX RX RX RX
100Gbase-SR10
Custom Limit: Enter Loss Limit to perform custom limit test. Uncheck “Enable Polarity Check” to bypass
polarity check for customized cable.
Test Settings
Custom Limit
Change Custom Limit
with/without Polarity Check
Channel Selector: Loss limit will be applied to selected channels during an AUTOTEST.

WireXpert User Interface
© Copyright 2017 Softing IT Networks 15
Test Settings
Channel Selector
Select choice of channel Selector
3.2.2.2.2 Cable
Select [Generic MMF] cable.
Cable
Select choice of generic MMF
3.2.2.2.3 Connector
Select [Generic] connector.

WireXpert User Interface
16 © Copyright 2017 Softing IT Networks
Cable
Select choice of generic
3.2.2.3 Project Settings
Project Settings provides non-results oriented configurations before performing an AUTOTEST.
User Manuals
Refer “User Manual – Copper Certification Testing” for more information on Project
Settings.
3.2.2.3.1 Label Source
User Manuals
Refer “User Manual – Copper Certification Testing” or “User Guide – List Based Testing”
for more information.
List Based Testing
List based testing allows creation of label list in the eXport software on PC and then bring the list to
WireXpert. It further allows easy selection of labels from the list to help technician select the cables to
be tested quickly. This testing method is carefully optimized for typical test work-flow, and it
significantly improves productivity.
User Manuals
Refer “User Guide – List Based Testing” for more information on List Based Testing.
3.2.2.4 System Settings
3.2.2.4.1 Device Settings
Press the [SETUP] button System Settings Settings Device Settings Device Type to set unit
as a Local or Remote unit. Device will reboot to take effect.
User Manuals
Refer “User Manual – Copper Certification Testing” for more information on System
Settings.

WireXpert User Interface
© Copyright 2017 Softing IT Networks 17
The [DATA] button
The [DATA]button provides archive and data management ability to saved sites and test
results. Saved test results can be renamed or deleted in this option.
View Results
Manage Results
CAUTION
Deleting a site will also delete its containing test results.
3.2.3 The [TOOLS] button
The [TOOLS]button provides advanced options for in-depth troubleshooting and expert
WireXpert users. These options include;-
Requires:
Local and Remote
Requires:
Local and Remote
Requires:
Local or Remote
Set Reference – Establish test
conditions and exclude the
reference cords from the
measurement.
Power Meter –Measures the
power loss from a
850/1300nm or 1310/1550nm
wavelength light source.
Light Source – Emits
850/1300nm or 1310/1550nm
light source to determine loss
on a Power Meter.
Requires:
1. Local or Remote
2. Inspection Probe
Requires:
Local or Remote
(MMEF only)
Requires:
1. Local MM/MMEF
2. Remote MPO
Inspect Fiber – Performs visual
verification of fiber’s quality
using an external scope probe.
VFL – Visual Fault Locator.
Emits light for visual detection
of broken fiber location.
MPO/MTP – Switches device
to MPO mode to perform
single fiber Power Meter test.
Requires:
Local or Remote
About – Displays worldwide
contact information.

Setting Reference
18 © Copyright 2017 Softing IT Networks
4Setting Reference
It is necessary to perform a set reference measurement before each test. If there is a mismatch in
firmware versions, WireXpert will require user to perform a set reference.
The setup varies depending on the number of jumpers reference is selected.
Note
Diagrams and images used are for illustration purposes only and do not represent
suggested test values. Reference and test values vary to usage and condition.
1. Connect the unpinned end of the tail cords to the LOCAL and REMOTE units.
2. Connect each pinned end of the tail cord to a coupler.
3. Connect a Type A or Type B reference cord to the other end of the connectors.
Please ensure the fiber cables are cleaned using the cleaning kit provided in the kit.
4. Press the [TOOLS] button Set Reference and press the [Ok] button to set reference.
Reference cord type should be the same as the MPO cable to be tested.
LOCAL
POWER METER
pinned
unpinned
unpinned
pinned
unpinned
unpinned
Type A or B
Reference Cord
Test Cord
Test Cord
REMOTE
LIGHT SOURCE

Setting Reference
© Copyright 2017 Softing IT Networks 19
MPO Type A
MPO Type B
MPO Type C

Configuring an AUTOTEST
20 © Copyright 2017 Softing IT Networks
5Configuring an AUTOTEST
5.1 Setting up WireXpert
After configuring the system settings, follow these steps to set up an AUTOTEST.
1. Press the [SETUP] button Project Settings
a. Site – Create or select a Site
Site
Select Unspecified
Create site
b. Operator – Create or select an Operator
Operator
Select Unspecified
Create site
c. Label Source – Select cable labeling scheme. Load labels from USB flash drive if using List
Based Testing (LBT).
Other manuals for WireXpert 4500
2
This manual suits for next models
3
Table of contents
Other Softing Cable Tester manuals

Softing
Softing CableMaster 200 User manual

Softing
Softing CableMaster CM200 User manual

Softing
Softing WX4500-FA User manual

Softing
Softing WireXpert 4500 User manual

Softing
Softing NetXpert XG User manual

Softing
Softing WX500-PLUS User manual

Softing
Softing CableMaster CM200 User manual

Softing
Softing WireXpert 4500 Fiber MPO User manual

Softing
Softing WireXpert 500 User manual

Softing
Softing WireXpert 4500 User manual