manuals.online logo
Brands
  1. Home
  2. •
  3. Brands
  4. •
  5. SolarWorld
  6. •
  7. Solar Panel
  8. •
  9. SolarWorld solar modules User manual

SolarWorld solar modules User manual

•Grounding of the module nd fr me
Grounding V modules is necessary to reduce or eliminate shock and fire hazards.
The installer of a V system is responsible for grounding each module frame. It is
recommended to ground each module frame at the provided grounding holes (4mm
or 5/32 inch diameter, marked with the grounding symbol).
The ground connections between modules must be approved by a qualified electrician.
The main earth ground must only be connected by a qualified electrician. UL approved
grounding method is mandatory in the USA and Canada.
Ex mple A: (Not approved by UL)
The modules can be connected at the grounding holes using cables (16 mm2or 5AWG)
with cable lugs.To create the conductive connection (frame is anodized), use a bolt (M 4
or5/32 inch diameter) a serrated washer and a nut.
1)Cable lug 3) Serrated washer
2) Bolt 4) Nut
Ex mple B: (Approved by UL)
The modules can be connected at the grounding holes using a Lay-in lug and a bolt
with a serrated washer, a washer and a nut.
Dr wings:
Ground connection using a cable lug, a bolt,a serrated washer, a washer and a nut.
1) Lay-in lug 3) Serrated washer 5) Nut
2) Bolt 4) Washer
We recommend using the components as listed below. Any UL approved V grounding
method and components are also acceptable in the US and Canada.
T ble: Recommended components
Item Description M nuf cturer/ M nuf cturer
Distributor P rt Number
Grounding Lug Lay-In Lug Ilsco GBL-4
Bolt #6-32, SS McMaster Carr 92314A148
Serrated washer M5, SS McMaster Carr 91120A140
Washer ID 9/64’’, OD 3/8’’, SS McMaster Carr 92141A007
Nut #6-32, SS McMaster Carr 91841A007
• Fire s fety
The roof construction and installation may affect the fire safety of a building;improper
installation may contribute to hazards in the event of fire. For roof application, the
modules should be mounted over a fire resistant covering rated for the application.
The module is „non-explosion-protected equipment“. Hence it must not be installed in
the proximity of highly flammable gases and vapors (e.g. filling stations, gas containers,
paint spraying equipment).The module must not be installed near open flames or
flammable materials.
• Suit ble environment l conditions
The module is intended for use in temperate climatic conditions.
The module must not be subjected to concentrated light.It must not be immersed in water
or constantly exposed to water spray (e.g. from fountains). There is risk of corrosion with
exposure to salt (it is recommended that modules are installed at least 500 m or 1700 ft
from the sea) and sulfur (sulfur sources, volcanoes). The module may not be exposed to
extremely corrosive chemicals (e.g.emissions from manufacturing plants).
• Suit ble inst ll tion
Make sure the module meets the technical requirements of the system as a whole.Ensure
that other system components do not exert damaging mechanical or electrical influences
on the modules.When connected in series, modules must all have the same amperage.
When connected in parallel, the modules must all have the same voltage. The modules
must not be connected together to create a voltage higher than the permitted system
voltage. Modules must not be fitted as overhead glazing or vertical glazing (façade).
Ensure that the mounting system can also withstand the anticipated wind and snow
Crefully re d through these inst ll tion instructions before inst lling,oper ting or
servicing the photovolt ic (PV) system. F ilure to follow these instructions m y result in
bodily injury or d m ge to property. Keep these instructions! Working on PV system
requires speci lized knowledge nd must therefore be c rried out only by ppropri tely
qu lified nd uthorized personnel. Keep children w y!
W rning notices
D nger of de th from electric shock!
Solar modules generate electricity as soon as they are exposed to light. The
voltage of a single module is less than 50VDC. When several modules are connected in
series, the summed voltage can be dangerously high. When the modules are connected
in parallel the currents are summed together. Although touch protection is provided
in the form of the fully insulated plug contacts, the following points must be observed
when handling the solar modules to avoid the risk of fire, arcing and fatal electric
shock:
• The inst ll tion of higher volt ge systems should be done by qu lified, licensed
profession ls.
• Do not insert electric lly conducting p rts into the plugs or sockets!
•Do not we r met llic jewelry while performing mech nic l or electric l Inst ll tion.
• Do not fit sol r modules nd wiring with wet plugs nd sockets! Tools nd working
conditions must be dry.
•Exercise extreme c ution when c rrying out work on wiring nd use the
ppropri te s fety equipment (insul ted tools, insul ted gloves, etc.)!
• Do not use d m ged modules! Do not dism ntle modules! Do not remove ny p rt
or l bel fitted by the m nuf cturer! Do not tre t the re r of the l min te with p int,
dhesives or m rk it using sh rp objects!
D nger of de th from electric shock!
The inverter can produce dangerous, high voltages, even when not connected:
• Exercise extreme c ution when working on wiring nd the inverter.
• After switching off the inverter, it is essenti l to w it for the time interv l
specified by the m nuf cturer before beginning ny further work.
This llows the high volt ge components time to disch rge.
• Be sure c refully to follow the inverter m nuf cturer’s inst ll tion instructions.
D nger of de th from rcing!
Modules generate direct current (DC) when any amount of light shines on them.
When breaking a connected string of modules (e.g. when disconnecting the DC line from
the inverter under load), a lethally strong arc can occur:
• Never remove the sol r gener tor from the inverter while it is still connected to the
m in grid!
• Ensure th t the c ble connections re in perfect condition (no cr cking, soiling or other
cont min tion)!
Unp cking the modules nd stor ge
• Observe the w rnings on the p ck ging!
The utmost care is required when handling the modules. Take care when unpacking,
transporting, and storing them. Leave modules in packaging until they are to be installed.
Carry modules with both hands.Do not use the connection socket as a handle. Do not
stand modules on hard or rough ground. Do not stand modules on their corners. Ensure
modules do not bow. Do not place modules on top of each other. Do not subject to load,
do not stand on them, do not drop. Do not mark or work on them with sharp objects.
Keep all electrical contacts clean and dry. In order to keep a record of your system, we
recommend that you make a note of the serial numbers. If it is necessary to store the
modules temporarily, a dry, ventilated room should be used.
Gener l s fety inform tion
Ensure that the module is used for its intended purpose only. ay attention to the local
ordinances, building standards and accident-prevention regulations during installation.
The safety information for other system components must also be followed.
Inst ll tion
When installing the modules, please pay attention to:
• S fety during inst ll tion
Do not carry out installation work when there are strong winds. Secure yourself and
other workers to avoid falling. Secure work materials to prevent articles from falling.
Create a work zone to avoid accidents with other people.
• Keeping within the m ximum permitted lo d
Make sure the support structure adheres to maximum permissible load requirements as
prescribed by local ordinances, particularly in regions of high snow accumulations and
high wind velocities.Take notice to possible bowing of the modules under high loads.
Avoid installing fasteners,cable ties,etc. between the module backside and support
structure (i.e. on mounting rails) as any sharp edges can damage module.
Quick Guide for Users
SolarWorld® solar modules
Last revised: February 2008
Dr wing:
Bowing of the module under
high mechanical front loads.
Dr wing:
Ground connection using
a cable lug, bolt, serrated
washer and a nut
See: www.ilsco.com; www.mcmaster.com
4
3
2
1
5
3
4
2
1
Dr wing:
Grounding symbol
Sol rWorld AG
Kurt-Schumacher-Straße 12-14
53113 Bonn
Germany
Telefon: +49 - 228 - 55920 - 0
Telefax: +49 - 228 - 55920 - 99
service@solarworld.de
www.solarworld.de
Sol rWorld Ibéric , S.L.
C/La Granja 15, Bloque B-1°B
28108 Alcobendas, Madrid
Spain
Tel.: +34 - 91 - 4905999
Fax: +34 - 91 - 6574967
[email protected]
www.solarworld.es
Sol rWorld C liforni Inc.
4650 Adohr Lane
Camarillo, CA 93012
USA
Tel.: +1 - 800 - 947 - 6527
Fax: +1 - 805 - 388 - 6395
[email protected]
www.solarworld-usa.com
Underwriters L bor tories Inform tion (U.S. nd C n d )
•The solar module electrical characteristics are within +/-10% of the module label
indicated values of Isc ,Voc,and mpp under Standard Test Conditions (irradiance of
100 mW/cm2, AM 1.5 spectrum, and a cell temperature of 25°C/77°F)
• Under normal conditions, a photovoltaic module is likely to experience conditions that
produce more current and/or voltage than reported at standard test conditions.
Accordingly, the values of Isc and Voc marked on this module should be multiplied by a
factor of 1.25 when determining component voltage ratings, conductor capacities, fuse
sizes, and size of controls connected to the V output.
•Refer to section 690-8 of the National Electric Code (NEC) for an additional multiplying
factor of 125% (80% de-rating) which may be applicable
• Over-current protection shall be in accordance with the requirements of Article 240 of
the NEC
•Conductor recommendations: 8-14 AWG (1.5-10 mm2)USE-2(nonconduit)/ THWN-2
(conduit ), 90°C wet rated
•Cable conduits should be used in locations where the wiring is accessible to children
or small animals
• Modification or tampering of diodes by unqualified personnel is not permitted. lease
consult a SolarWorld Service Center for additional information regarding diode
replacement/repair.
M inten nce nd cle ning
Given a sufficient tilt (at least 15°), it is generally not necessary to clean the modules
(rainfall will have a self-cleaning effect). In case of heavy soiling, we recommend cleaning
the modules using plenty of water (from a hose) without any cleaning agents and using
agentle cleaning implement (a sponge). Dirt must never be scraped or rubbed away when
dry, as this may cause micro-scratches.
We recommend that the system be inspected at regular intervals to ensure:
1. All mounting points are tight and secure and free of corrosion.
2.All cable connections are secure, tight,clean and free of corrosion.
3. Cables are not damaged in any way.
4. The conductivity of module frame to earth ground.
Discl imer of li bility
Since compliance with this guide and the conditions and methods of installation, operation,
use and maintenance of the modules are not checked or monitored by SolarWorld AG,
SolarWorld AG accepts no liability for damage arising through improper use or incorrect
installation, operation, use or maintenance. This does not apply to damages due to a
module fault, in cases of loss of life,bodily injury or damage to health or in the event of a
grossly negligent breach of obligations on the part of SolarWorld AG and/or in the event of
an intentional or grossly negligent breach of obligations by a legal representative or vicarious
agent.
Furthermore,liability for infringements of patent law or of other third party rights arising
from the use of the modules is excluded unless we are automatically liable by law.
loads.There are openings at the base of the module frame to allow water from precipitation
to drain. Ensure that these openings are not blocked nor partially blocked by the module
installation method.
• Optimum orient tion nd tilt
To obtain maximum yield from the system, we recommend that you determine the best
direction and tilt angle for the modules. Conditions for generating electricity are
considered ideal when the sun’s rays strike the module perpendicular to its surface.To
avoid
performance drops in series circuits, ensure that all modules have the same orientation
and tilt.
•Avoid nce of sh ding
Even partial shading will cause a yield reduction. A module is“shade free“ when the entire
surface is shade free all year round and, even on the most unfavorable days of the year,
receives unobstructed sunlight.
• Adequ te ventil tion
Ventilation of the module backside is necessary to avoid the build-up of heat that can
reduce performance.
Mounting
Each module must be securely fastened at a minimum of 4points.The frame has been
stress tested for mounting by the long sides. The module should not be secured by its
short sides.
V modules can be mounted to the substructure by clamping on (Example A) at the front
side or by screwing (Example B) at the back side.
Ex mple A: Clamping Ex mple B: Bolting
The clamping area (Example A) of the washer must cover at least 135 mm2or 0.21 in2.
A torque wrench must be used for assembly. In the examples shown, the tightening
torque (using stainless steel M8 or 5/16 inch bolts) must be 16 Nm or 11.8 ft-lbf. Use the
existing holes for securing the module; do not drill any additional holes (doing so would
void the warranty). Use appropriate corrosion-proof fastening materials.
Wiring
The module is provided from the factory with pre-connectorized cables.
Under no circumstances should the junction box be opened.
For the wiring, pay attention to:
• Correct wiring scheme
In order to decrease voltage caused by indirect lightning strikes,all connecting cables
should be as short as possible. Check that the wiring is correct before commissioning the
system. If the measured open circuit voltage differs from the specifications, then there is
a wiring fault. Ensure that the polarity is correct.
• Correct plug connections
Make connections only in dry conditions. Ensure that connections are secure and tight.
• Use of suit ble m teri ls
Use special solar cable and suitable connectors only. Ensure that they are in perfect
electrical and mechanical condition. Use only single wire cables. Select a suitable
conductor diameter to minimize voltage drop.
• C ble protection
Secure the cables to the mounting system using UV-resistant cable ties. rotect exposed
cables from damage using suitable precautions (e.g. running them through plastic
conduit). Avoid direct exposure to sunlight.
Sol rWorld Asi P cific Pte. Ltd.
72 Bendemeer Road
#07-01, Luzerne
Singapore 339941
Singapore
Tel.: +65 - 6842 - 3886
Fax: +65 - 6842 - 3887
[email protected]
www.solarworld.sg
Sol rWorld Afric Pty. Ltd.
20th Floor
1Thibault Square
Cape Town, 8001
South Africa
Tel.: +27 - 21 - 421 - 8001
Fax: +27 - 21 - 421 - 8002
[email protected].za
www.solarworld-africa.co.za
1) Stainless steel serrated lock nut
2) Stainless steel washer
3) Stainless steel M8 (5/16 inch) T-head bolt
1
2
3
1
3
1/4 module length
mounting area mounting area
1/4 module length
1/8 module length
1/8 module length
do not mount
on the short side

Other SolarWorld Solar Panel manuals

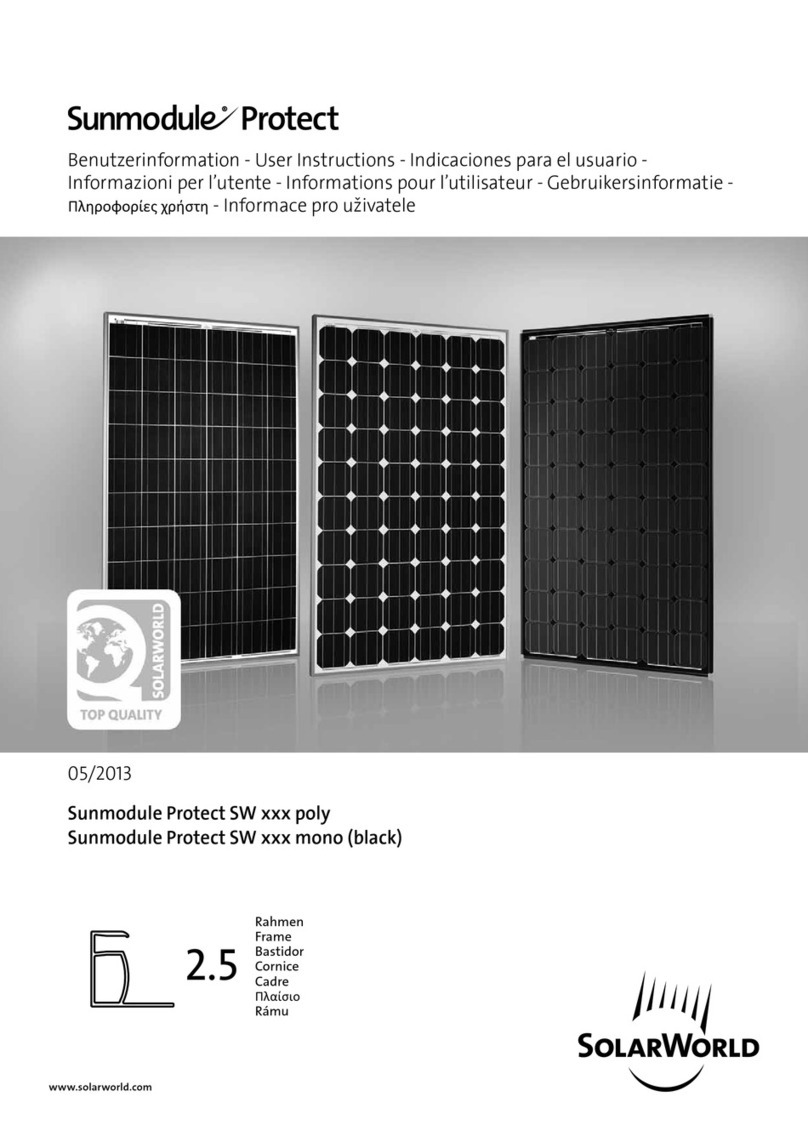
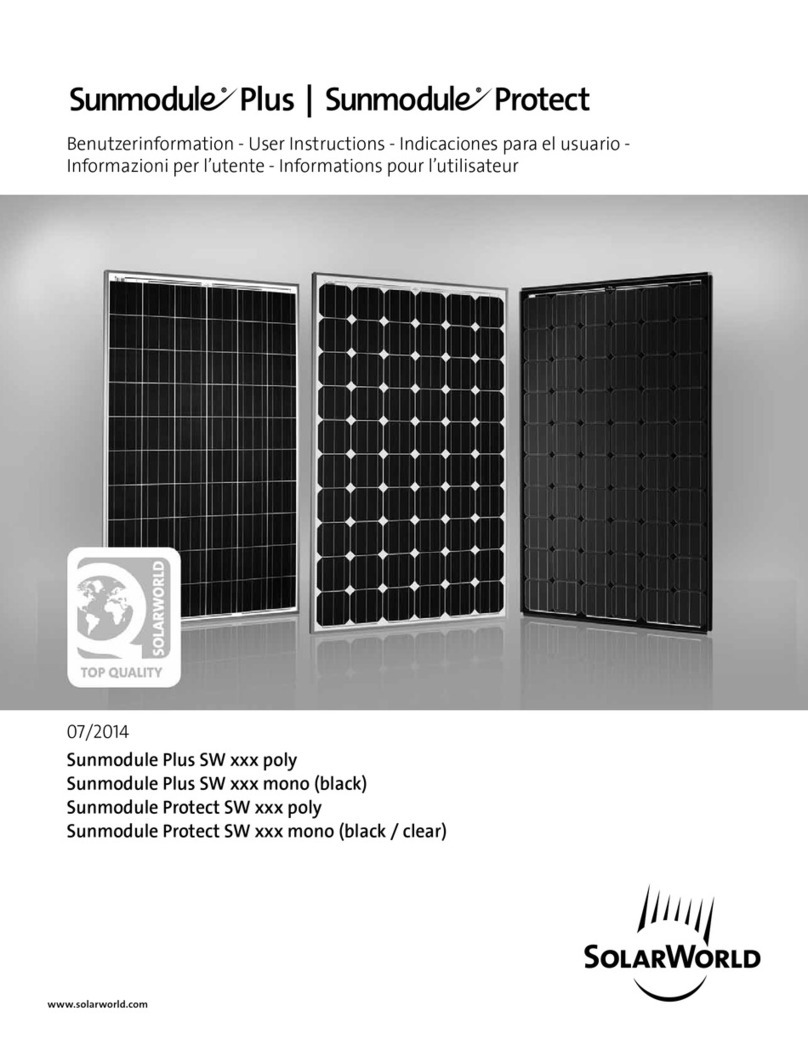
SolarWorld Sunmodule Plus User manual

SolarWorld

SolarWorld Sunmodule Plus User manual

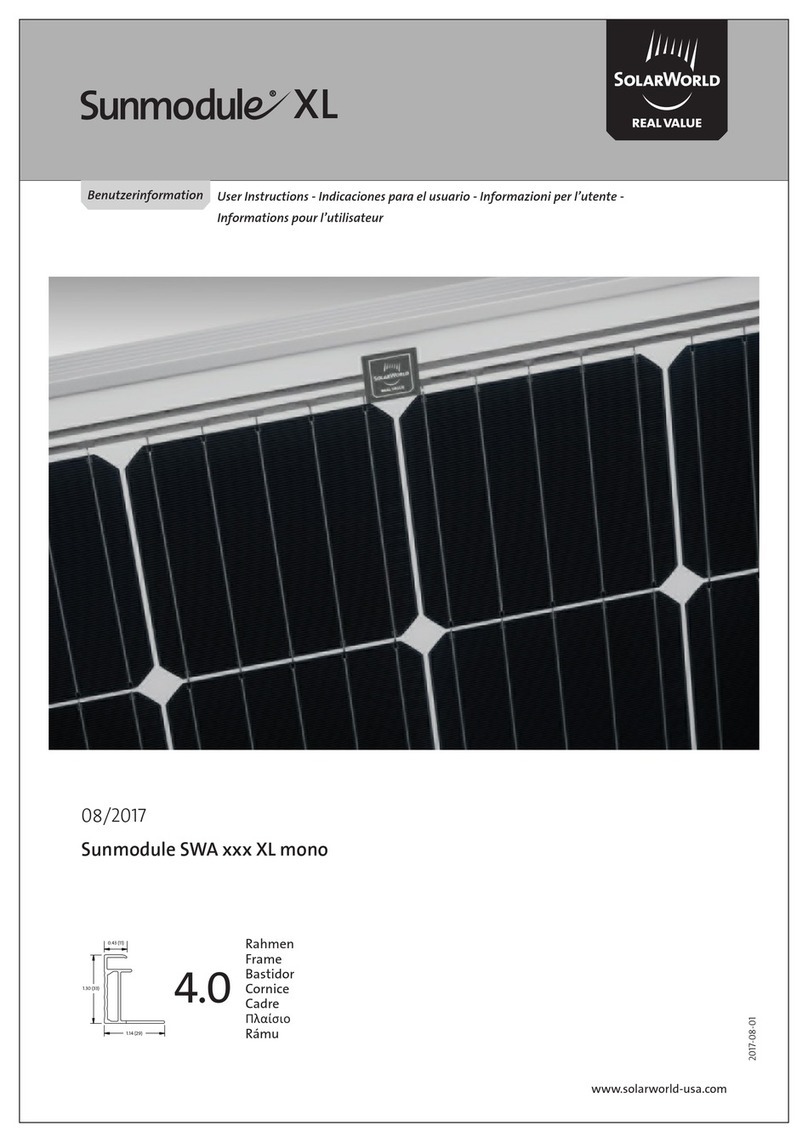
SolarWorld Sunmodule SWA XL mono Series User manual

SolarWorld

SolarWorld Sunmodule SWA XL mono Series User manual

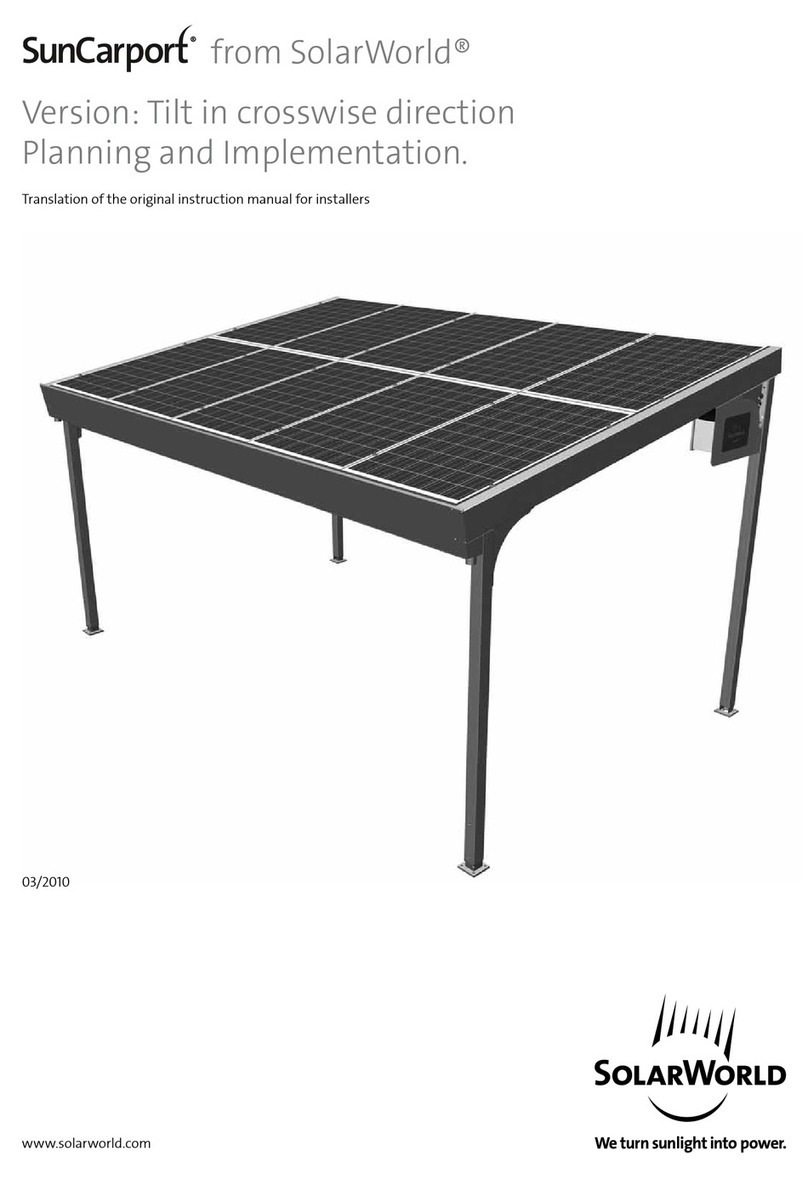
SolarWorld SunCarport User manual

SolarWorld

SolarWorld SunCarport User manual

SolarWorld Sunmodule SW xx poly RGA User manual

SolarWorld

SolarWorld Sunmodule SW xx poly RGA User manual

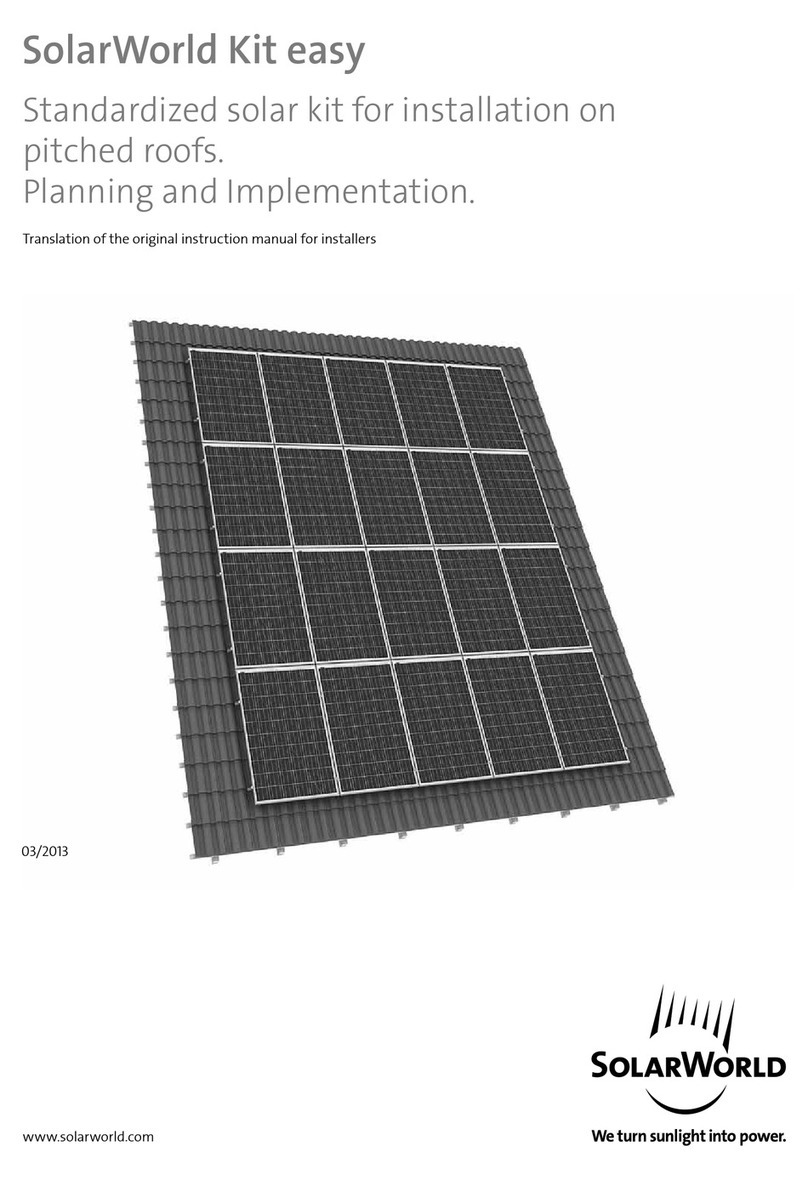
SolarWorld Kit User guide

SolarWorld

SolarWorld Kit User guide

SolarWorld Sunmodule SW *** poly User manual

SolarWorld

SolarWorld Sunmodule SW *** poly User manual

SolarWorld Sunmodule Protect Series User manual

SolarWorld

SolarWorld Sunmodule Protect Series User manual

SolarWorld Sunmodule SW xx poly RHA User manual

SolarWorld

SolarWorld Sunmodule SW xx poly RHA User manual

SolarWorld Sunmodule Plus SW xxx poly series User manual

SolarWorld

SolarWorld Sunmodule Plus SW xxx poly series User manual

SolarWorld Sunmodule SW xxx poly R6A User manual

SolarWorld

SolarWorld Sunmodule SW xxx poly R6A User manual

SolarWorld Suntub User manual

SolarWorld

SolarWorld Suntub User manual

SolarWorld SW poly/RGA Series Operation manual

SolarWorld

SolarWorld SW poly/RGA Series Operation manual

Popular Solar Panel manuals by other brands

Silicon Solar PathLight-12W instruction manual

Silicon Solar

Silicon Solar PathLight-12W instruction manual

UTEPO UPSP200-2 Quick installation guide

UTEPO

UTEPO UPSP200-2 Quick installation guide

Solibro SL2 Installation and operation manual

Solibro

Solibro SL2 Installation and operation manual

Dometic NDS BS 165WP Installation and operating manual

Dometic

Dometic NDS BS 165WP Installation and operating manual

Simplicity 1691260 Operator's manual

Simplicity

Simplicity 1691260 Operator's manual

Rovin GH2208 instruction manual

Rovin

Rovin GH2208 instruction manual

DÖRR PB-10000 instruction manual

DÖRR

DÖRR PB-10000 instruction manual

Solfex IRC 2.1 System installation, commissioning and maintenance manual

Solfex

Solfex IRC 2.1 System installation, commissioning and maintenance manual

Sharp NU-JC410B installation manual

Sharp

Sharp NU-JC410B installation manual

AEROCOMPACT CompactFLAT SN10 Assembly instructions

AEROCOMPACT

AEROCOMPACT CompactFLAT SN10 Assembly instructions

Wasserstein Solar Panel For Blink XT and Blink XT 2 Cam user manual

Wasserstein

Wasserstein Solar Panel For Blink XT and Blink XT 2 Cam user manual

Yingli Solar YL265P-29b Installation and user manual

Yingli Solar

Yingli Solar YL265P-29b Installation and user manual

XDISC ASOL-250P-WSR Mounting instruction

XDISC

XDISC ASOL-250P-WSR Mounting instruction

Kyocera KS10 datasheet

Kyocera

Kyocera KS10 datasheet

Solar Technology International SolarMate Arena 2 Light user manual

Solar Technology International

Solar Technology International SolarMate Arena 2 Light user manual

Nature Power 55701 manual

Nature Power

Nature Power 55701 manual

Shentai Solar SR10 installation manual

Shentai Solar

Shentai Solar SR10 installation manual

Solfex SOLAR CANOPY installation manual

Solfex

Solfex SOLAR CANOPY installation manual

manuals.online logo
manuals.online logoBrands
  • About & Mission
  • Contact us
  • Privacy Policy
  • Terms and Conditions

Copyright 2025 Manuals.Online. All Rights Reserved.