manuals.online logo
Brands
  1. Home
  2. •
  3. Brands
  4. •
  5. SolarWorld
  6. •
  7. Solar Panel
  8. •
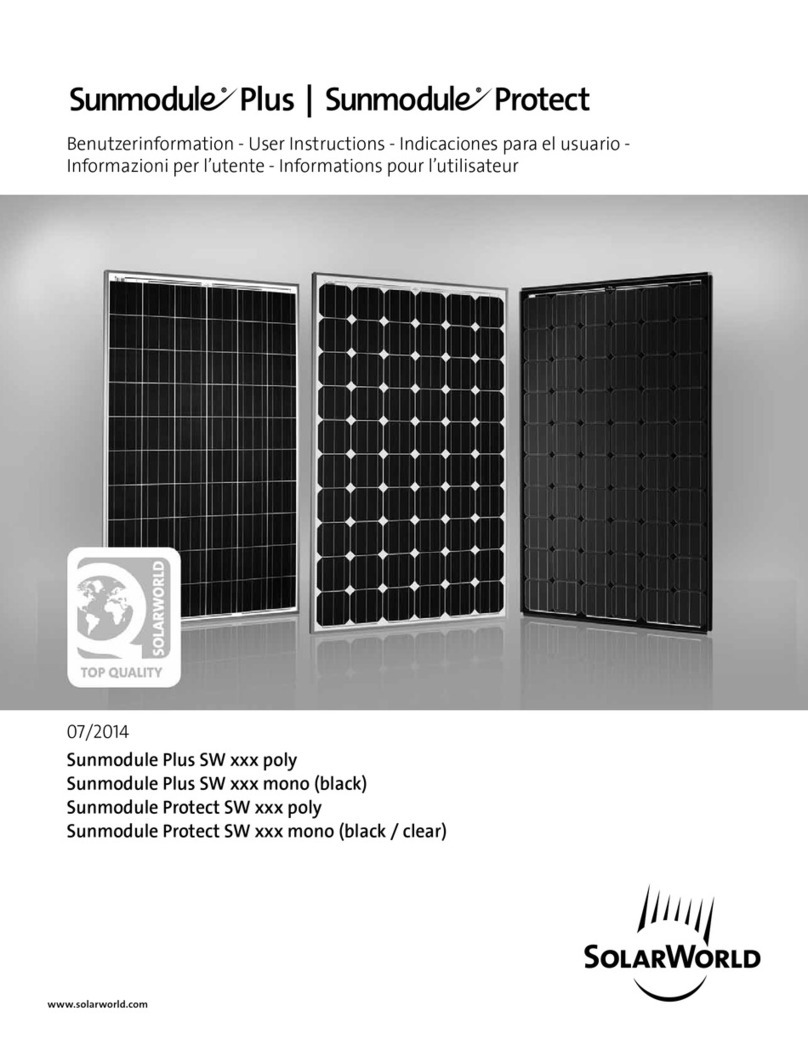
  9. SolarWorld Sunmodule SW xxx poly R6A User manual

SolarWorld Sunmodule SW xxx poly R6A User manual

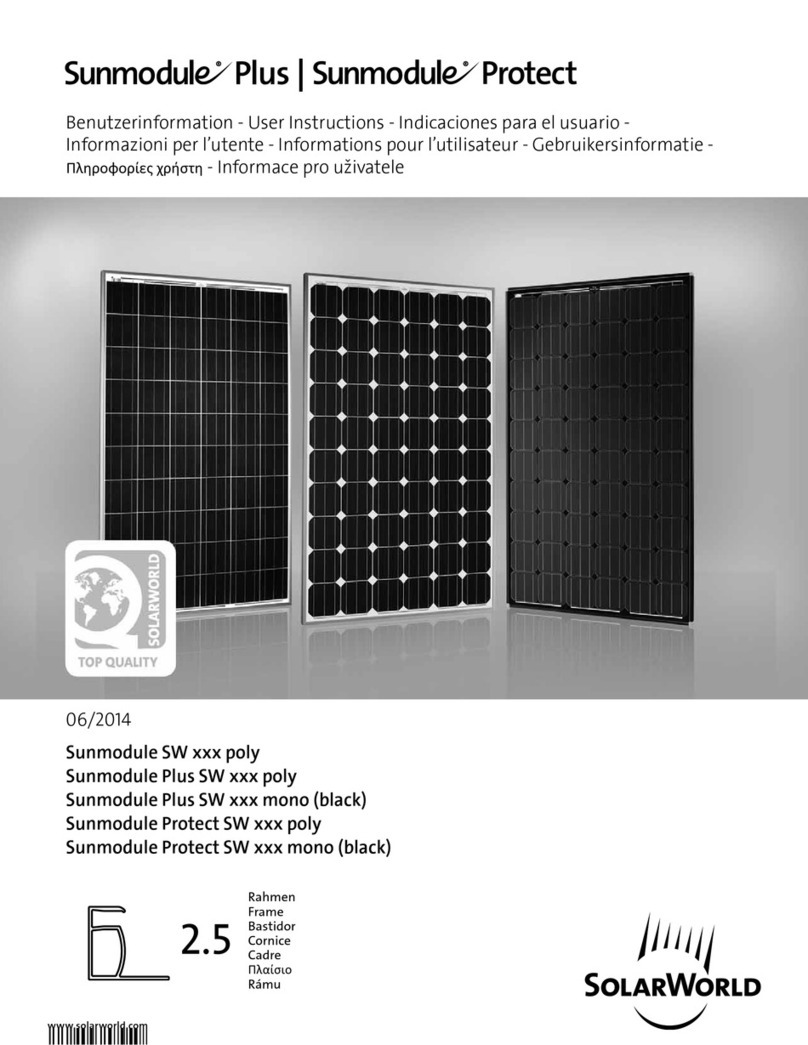
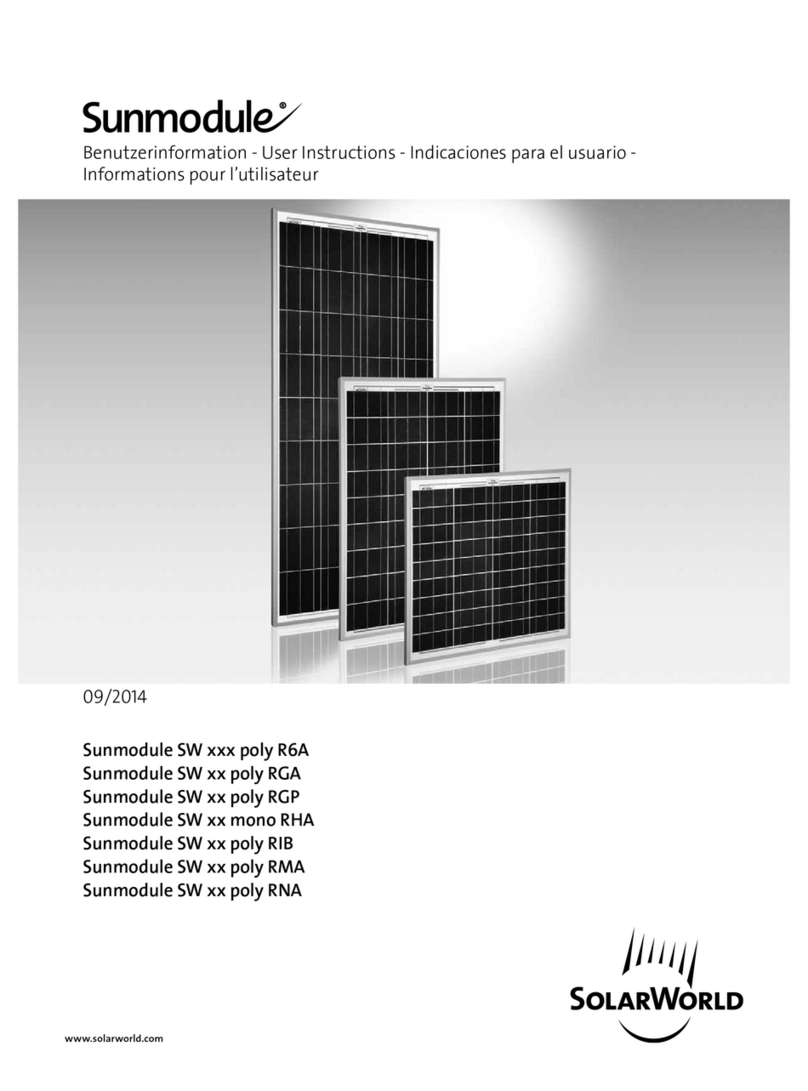
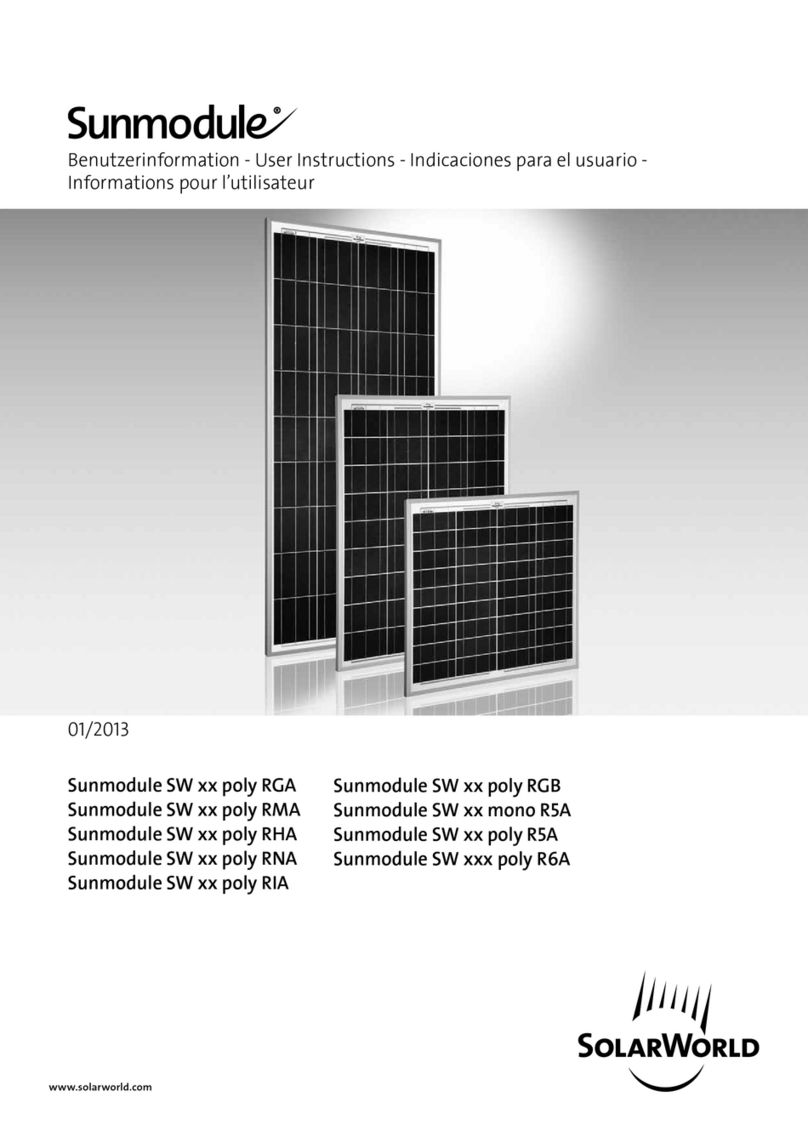
Benutzerinformation - User Instructions - Indicaciones para el usuario -
Informations pour l’utilisateur
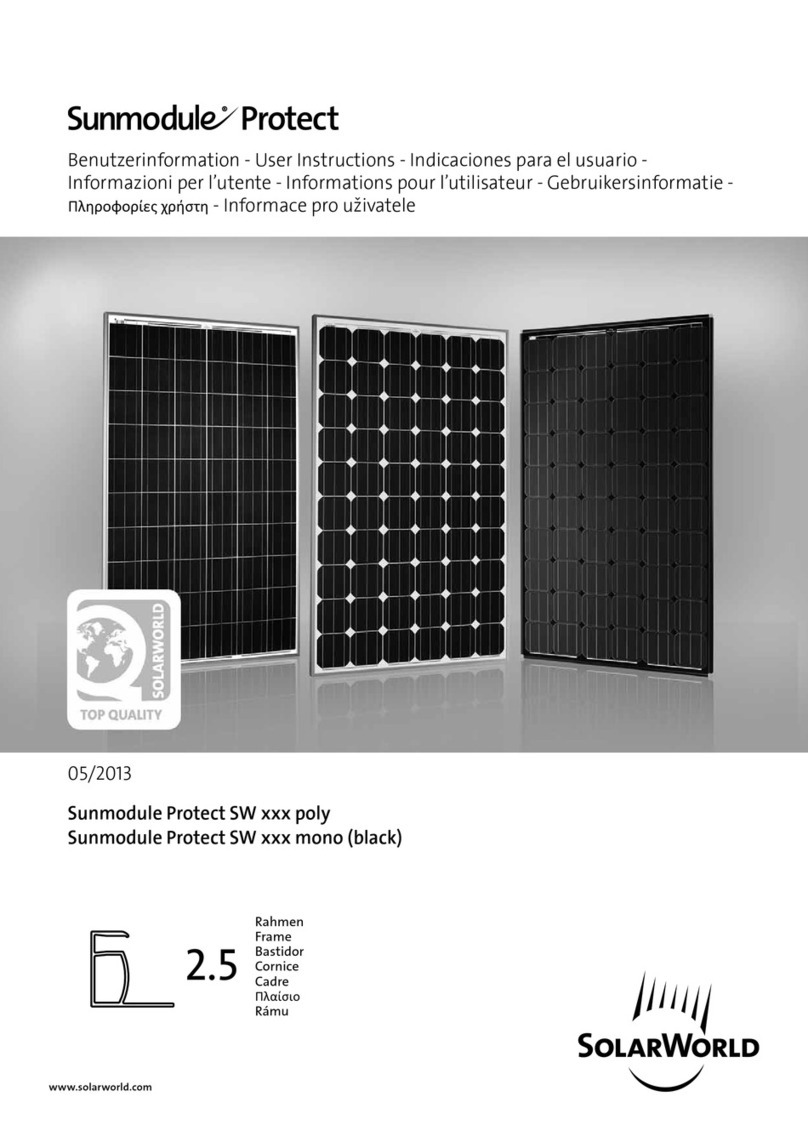
Sunmodule SW xxx poly R6A
Sunmodule SW xx poly RGA
Sunmodule SW xx poly RGP
Sunmodule SW xx mono RHA
Sunmodule SW xx poly RIB
Sunmodule SW xx poly RMA
Sunmodule SW xx poly RNA
07/2014
www.solarworld.com
DANGER!
Electric shock
The connection of several modules in series creates increased voltage and may
impose danger. Do not insert electrically conducting parts into connectors! Do
not install solar modules and wiring with wet connectors! Make sure to work
with dry tools and under dry working conditions!
Work on live parts
When working on wiring, use and wear protective equipment (insulated tools,
insulated gloves, etc.)!
ATTENTION
Do not use damaged modules. Do not dismantle modules. Do not remove any
parts or nameplates installed by the manufacturer. Do not apply paint or adhe-
sives on the back side. Do not work on modules with sharp objects.
WARNING!
Arcing
Modules generate direct current (DC) when exposed to light. When breaking a
closed circuit, a dangerous arc may be generated. Do not cut any live wires.
Safe installation
Do not carry out installation work in strong winds. Secure yourself and other
persons to prevent falls. Secure work materials against dropping. Ensure a safe
working environment so as to prevent accidents.
Fire prevention/explosion prevention
Modules must not be installed in the vicinity of highly flammable gases, vapors
or dusts (e.g. filling stations, gas tanks, paint spraying equipment). The safety
instructions for other system components must also be followed. Make sure to
comply with local standards, building regulations and accident prevention regu-
lations during installation. For roof installation, modules must be mounted on a
fire-resistant base material.
Unpacking and intermediate storage
Do not use the junction box as a handle. Do not place modules roughly on hard sur-
faces or on their corners. Do not place modules on top of each other. Do not step or
stand on modules. Do not place any objects on modules. Do not work on modules
with sharp objects. Store modules in a dry place. Leave modules in original packaging
until ready to install.
EN
Table: Recommended components for grounding in the US and Canada
Item Manufacturer/Description Tightening torque
Bolt (1) #10-32, SS 25 Ibf-in (2.9 Nm)
Serrated washer (2) M5, SS
Washer (3) ID 9/64’’, OD 3/8’’, SS
Nut (4) #10-32, SS
Lay-In lug (5) Ilsco GBL-4DBT (E34440) 35 in-lb, 4-6 AWG stranded
25 in-lb, 8 AWG stranded
20 in-lb, 10-14 AWG sol/str
Body Conductor Diameter Voltage Diode Max. Series Fuse
IEC 12-14 AWG (2.5 - 4 mm²) 5.5 - 7.8 mm 1000 VDC SL1011 15 A
UL 12 AWG (4 mm²) 7.1 ± 0.2 mm 600 VDC SL1011 15 A
General Information
This module is rated for use in application class A according to IEC 61730. For the elec-
trical ratings please refer to the datasheet. Under normal conditions, a photovoltaic
module is likely to experience conditions that produce more current and/or voltage
than reported at standard test conditions. Accordingly, the values of ISC and VOC
marked on this module should be multiplied by a factor of 1,25 when determining
component voltage ratings, conuctor current ratings, fuse sizes, and size of controls
connected to the PV output.“
Assembly
▹▹Recommended angle of inclination for photovoltaic operated stand-alone
systems/year-round use.
Latitude Fixed angle of inclination
0° - 15° 15°
15° - 25° equal to the latitude
25° - 30° Latitude + 5°
30° - 35° Latitude + 10°
35° - 40° Latitude + 15°
over 40° Latitude + 20°
Your local photovoltaic dealer can give you information about a suitable installa-
tion location and method.
Grounding of the module and frame
We recommend ensuring the functional grounding of the module metal frame. If
an exterior lightning protection system is already provided, the PV system has to be
integrated into the protection system against direct lightning stroke. Local standards
shall be observed.
Grounding in the US and Canada
Grounding hardware can be installed utilizing a lay-in lug, bolt with serrated washer,
washer and nut. The lug must be a tin-coated copper lug, silver in color. Do NOT use
a bare copper lug, which is brown. Any grounding method and components listed
according to NEC requirements are also acceptable in the US and Canada.
1
2
3
4
5
Cleaning
On principle, the modules do not need much cleaning if the tilt angle is sucient
(> 15°; self-cleaning by rain). If soiling occurs, we recommend cleaning the modules
with plenty of water (hose) without the addition of cleaning agents but applicati-
on of a soft cleaning device (sponge). Never scrape or rub o dirt; this may result in
micro-scratches.
Maintenance
We recommend regular inspections of the system to ensure that:
1. All fixtures are securely tightened and corrosion-free;
2. Wiring is securely connected, properly arranged and free of corrosion;
3. Cables are free of damage;
Please also observe applicable standards.
Disclaimer of liability
SolarWorld AG does not guarantee the operational capability and functionality
of modules if the instructions contained in the present user information are not
complied with. Since compliance with this guide and the conditions and methods
of installation, operation, use and maintenance of the modules are not checked or
monitored by SolarWorld AG, SolarWorld AG accepts no liability for damage arising
through improper use or incorrect installation, operation, use or maintenance. Fur-
thermore, liability for infringements of patent law or of other third party rights ari-
sing from the use of the modules is excluded unless we are automatically liable by
law.
Underwriters Laboratories Information (U.S. and Canada)
The solar module electrical characteristics are within +/-10% of the module label
indicated values of Isc , Voc and Pmpp under Standard Test Conditions (irradiance
of 100 mW/cm2, AM 1.5 spectrum, and a cell temperature of 25°C/77°F). Under nor-
mal conditions, a photovoltaic module is likely to experience conditions that produce
more current and/or voltage than reported at standard test conditions. Accordingly,
the values of Isc and Voc marked on this module should be multiplied by a factor of
1.25 when determining component voltage ratings, conductor capacities, fuse sizes,
and size of controls connected to the PV output. Refer to section 690-8 of the Natio-
nal Electric Code (NEC) for an additional multiplying factor of 125% (80% de-rating)
which may be applicable. Over-current protection shall be in accordance with the
requirements of Article 240 of the NEC. Intended wire to be used: Listed PV Wire,
AWG 12, outer diameter 7.1±0.2mm, rated min. 90°C dry/wet, 600V. PV Connectors:
Type PV-KBT4/6II-UR and type PV-KST4/6II-UR are suitable for the output cable. Cab-
le conduits should be used in locations where the wiring is accessible to children or
small animals. Modification or tampering of diodes by unqualified personnel is not
permitted. Please consult a SolarWorld Service Center for additional information
regarding diode replacement/repair.
To reduce the operating temperature the module must be mounted with a minimum
stando height of 4 in (10 cm) above any surface.
In Canada the installation shall be in accordance with CSA C22.1, Safety Standard for
Electrical Installations, Canadian Electrical Code, Part 1.
Suitable ambient conditions
The module is intended for use in moderate climatic conditions. The module must
not be exposed to focused light. The module must neither be immersed in water
or be exposed to continuous wetting (e.g. by fountains). Exposure to salt or sulfur
(sulfur sources, volcanoes) implies a risk of corrosion. The module must not be used
for maritime (e.g. boats) purposes. The module must not be exposed to extraordi-
nary chemical loads (e.g. emissions from manufacturing plants). If the modules are
installed on stables, a distance of 3 ft/1 m to ventilation openings shall be ensured.
Appropriate usage
Make sure that the module meets the technical requirements of the overall system.
Other system components should not exert any adverse mechanical or electrical
influences on the module. Modules may bend under high loads. For this reason,
sharp-edged mounting elements or other sharp objects (e.g. cable ties on mounting
sections must not be mounted near the module back side. When wiring in series, use
only modules of the same amperage rating, when wiring in parallel, use only modu-
les of the same voltage. The modules must not be operated at a higher voltage than
the permissible system voltage. For system documentation, please note the model
and serial number.
Optimum installation
In order to avoid performance losses, all modules connected in series should be
arranged with the same orientation and tilt angle. The modules should be installed in
an all-season shade free area. Even partial shading results in yield losses and should
be avoided. Proper ventilation of the module underside will prevent heat build-up
that reduces performance. Artificially concentrated sunlight shall not be directed on
the module.
Mounting
The modules must be securely installed at a minimum of 4 locations on the frame.
Mounting is only allowed in designated areas. These designated areas for mounting
are located on the module long sides. They are located between 1/8 of the module
length and 1/4 of the module length, measured from the module corner. Mounting
the module on its narrow sides is not sucient. In regards to “Top-Down” mounting
methods, the maximum clamping pressure is 50 N/mm² (72.5 psi). Do not drill any
holes into the module. Use corrosion-proof mounting material. For more details see
mounting drawings and details shown on the last page.
Recommendation: Sunfix supporting profile, Sunfix (end) clamp 1.44 in (34 mm),
frame tightening torque: 177 in-lb (20 Nm)
Electrical connection
Use only rated copper solar wire and appropriate connectors. Ensure that they are
in perfect electrical and mechanical condition. Connectors may only be connected
under dry conditions. Make sure to avoid loose connections in a plugged connection.
Only singlecore solar wires may be used for connecting the modules. Wires should
be attached to the installation system by means of UV-resistant cable ties. Exposed
wires should be protected against sunlight and damage by suitable precautions (e.g.
conduits). Check that wiring polarity is correct prior to commissioning the system.
5
1
1
1
2
2
2
3
CABLE INSTALLATION GUIDE
11 mm
11 mm
GEFAHR!
Stromschlag
Werden mehrere Module in Serie geschaltet so summieren sich die Spannungen
und stellen eine Gefahr dar. Keine elektrisch leitenden Teile in die Stecker und
Buchsen einführen! Solarmodule und Leitungen nicht mit nassen Steckern und
Buchsen montieren! Werkzeuge und Arbeitsbedingungen müssen trocken sein!
Arbeiten unter Spannung
Bei Arbeiten an den Leitungen Sicherheitsausrüstung (isolierte Werkzeuge, Iso-
lierhandschuhe etc.) verwenden!
DANGER!
Electric shock
The connection of several modules in series results in the adding up of voltage
and imposes danger. Do not insert electrically conducting parts into connectors!
Do not fit solar modules and wiring with wet connectors! Make sure to work
with dry tools and under dry working conditions!
Work on live parts
When working on wiring, use and wear protective equipment (insulated tools,
insulated gloves, etc.)!
PELIGRO!
Descarga eléctrica
Si se conectan varios módulos en serie, las tensiones se suman y ello constituye
un riesgo. ¡No introduzca ninguna pieza conductiva en los enchufes y clavijas!
¡No instale los módulos, ni enchufe los conectores estándo húmedos! ¡Las
herramientas tienen que estar secas, así como las condiciones de trabajo!
Trabajo con tensión
¡Al trabajar con los cables, utilice equipamiento de seguridad (herramientas y
guantes aislantes)!
DANGER !
Électrocution
Lorsque plusieurs panneaux sont connectés en parallèle, les courants se cumu-
lent et présentent un danger. Ne pas introduire des pièces électro-conductrices
dans les fiches et douilles ! Ne montez pas les panneaux solaires et les câbles
avec des douilles et fiches humides ! Les outils et les conditions de travail doivent
être à sec !
Travail sous tension
Lorsque vous eectuez des travaux sur les câbles, utilisez les équipements de
protection (outils isolés, gants isolés, etc.) !
1
3 4
65
2
13
2
2.0 in(51 mm)
13
2
2.0 in(51 mm)
ANLEITUNG
Um die Anschlussdose zu önen benutzen Sie einen Schlitzschraubendreher mit
3,5 mm breiter Klinge. Führen Sie den Schraubendreher in die markierte Lasche
des Deckels und hebeln Sie diesen aus.
Önen Sie die beiden Muttern der Kabelverschraubung, wenn diese werkseitig
nicht geönet sind.
Isolieren Sie das Kabel auf einer Länge von 11 mm ab. Drücken Sie mit dem
Tyco-Werkzeug 1579007-2 (alternativ: 3,5 mm Schlitzschraubendreher) auf
die Anschlussklemme und halten Sie diese unten. Führen Sie das Kabel in die
Anschlussdose und achten Sie auf einen korrekten Sitz in der Kabelaufnahme
und die Polarität. Wiederholen Sie die Installation mit dem zweiten Anschlus-
skabel.
Entlasten Sie die Klemme, kontrollieren Sie den korrekten Sitz des Kabels indem
Sie leicht an diesem ziehen. Die mittlere unbelegte Anschlussklemme ist bei kor-
rekter Installation stärker zu sehen.
Schließen Sie den Deckel der Anschlussdose. Drücken Sie diesen rundum an.
Ziehen Sie die Mutter der Kabeldurchführung mit 1,3 – 1,5 Nm fest. Die Dose ist
hierdurch IP65 geschützt und das Kabel fest fixiert. Hierzu wird die Benutzung
einer geschlitzten Nuss, mit der Schlüsselweite 13 empfohlen.
1
2
3
4
5
6
INSTRUCTION
To open the junction box, use a screwdriver with a 9/64” (3.5 mm) wide flat head.
Insert the screwdriver into the marked opening lug. Gently unlock lug and release
lid. Do not pull the lid out at once.
Open cable gland nut, if not already factory-provided.
Strip 0.44 in (11 mm) of insulation from cable. Use Tyco-Tool 1579007-2 (alternati-
ve: 9/64” (3.5 mm) flat-head screwdriver) to press and hold down terminal clamp.
Push cable through cable gland and lead it to terminal clamp. Pay attention to
polarity. Repeat with second cable. Ensure the correct plug-in depth of 2.0 in
(51 mm) for cable to junction box.
Removal of tool causes a clamping connection. Check by pulling the cable. After
proper installation the top end of cable spring is deeper compared to the middle
idle cable spring.
After engaged lid at top end push the lid over entire perimeter 1-3.
Tighten cable gland to a torque of 11.5 – 13.3 lbf-in (1.3 – 1.5 Nm) to ensure IP65 pro-
tection and fixation of cable. For this is recommended the use of a slotted socket
wrench with wrench size of 13mm.
1
2
3
4
5
6
INSTRUCCIONES
Abra la caja de conexión mediante un destornillador plano de 3,5 mm. Inserte la
punta en la pestaña marcada y haga palanca para abrir la tapa. No arranque la
tapa con fuerza.
Abra los prensaestopas para poder introducir los cables.
Pele 11mm. el aislamiento de los extremos de los cables. Presione hacia abajo la
clema de presión con la punta del destornillador e introduzca los cables. Preste
especial atención a la correcta polaridad.
Deje de presionar la clema y compruebe que los cables han quedado bien sujetos,
tirando de ellos. La clema de presión central quedará en una posición superior
respecto a las otras.
Cierre la tapa de la caja de conexión presionando en todo el perímetro 1-3.
Apriete los prensaestopas (par de apriete entre 1,3 y 1,5 Nm) para asegurar una
protección IP65 de la caja y una fuerte fijación del cableado.
1
2
3
4
5
6
INSTRUCTIONS
Pour ouvrir la boîte de jonction utilisez un tournevis à tête plate d‘une largeur
de 3,5mm. Insérez le tournevis dans l‘orifice indiqué. Agitez la languette jusqu‘à
ce que le crochet d‘encliquetage libère le couvercle. Ne pas soulever le couvercle
d‘un seul coup.
Desserrez l’écrou si ce n’est pas déjà fait en usine.
Enlevez l’isolation des câbles sur 11mm. Appuyez et maintenez en position basse
le serre-fils à l’aide d’un outil Tyco 1579007-2 (ou à défaut d’un tournevis à tête
plate d’une largeur de 3,5mm). Faites passer le câble à travers le presse-étoupe
pour l’amener jusqu’au serre-fils. Respectez la polarité. Répétez avec le deuxième
câble.
Le retrait de l’outil ou du tournevis permet une connexion par pression. Vérifiez
en tirant sur le câble.
Après avoir posé le couvercle, exercez une pression sur tout le périmètre 1-3.
Serrer le presse-étoupe avec un couple de serrage dans la plage (1.3 -1.5Nm) pour
assurer la protection IP65 et la fixation du câble
1
2
3
4
5
6
DE
EN
ES
FR
SolarWorld AG
Martin-Luther-King-Str. 24
53175 Bonn
Germany
Phone: +49 228 55920 0
Fax: +49 228 55920 99
[email protected]
www.solarworld.de
SolarWorld France SAS
Hotel del`Entreprise 31, rue Gus-
tave Eiel 3800 Grenoble
France
Phone: +33 (4) 38 210050
Fax: +33 (4) 38 210059
[email protected]
www.solarworld.fr
SolarWorld Americas LLC.
25300 NW Evergreen Road
Hillsboro, OR 97124
USA
Phone: 1-503-844-3400
Fax: +1 805 388 6395
[email protected]
www.solarworld-usa.com
SolarWorld Asia Pacific Pte. Ltd.
72 Bendemeer Road
# 07-01 Hiap Huat Housem
339941 Singapore
Singapore
Phone: +65 6842 3886
Fax: +65 6842 3887
[email protected]
www.solarworld.sg
SolarWorld Africa Pty. Ltd.
24th Floor
1 Thibault Square
Cape Town, 8001
South Africa
Phone: +27 21 421 8001
Fax: +27 21 421 8002
[email protected]a
www.solarworld-africa.co
www.solarworld.com
1
2
33
1
Example A: clamping on Example B: Bolting
1 V2A-Serrated ange nut
2 V2A-Clamping washer
3 V2A-T-head bolt
(50 psf) (113 psf)
SH5006
Hammerkopfschraube M8x49 A2 DE
Head bolt M8x49 A2 EN
Tornillo de cabeza de martillo M8x49 A2 ES
Corps boulon,tête rect. M8x49 A2 FR
SA5079
Klemmscheibe D=36mm DE
Connection disc D=36mm EN
Arandela de sujeción D=36mm ES
Rondelle de serrage D=36mm FR
SK5012
Flanschmutter M8 A2 DE
Flange nut M8 A2 EN
Tuerca de brida M8 A2 ES
Écrou de la bride M8 A2 FR
SA5087
Klemme Profilabschluss 33,5 mm DE
Clamp profile end 33.5 mm EN
Borne de extremo de perfil 33,5 mm ES
Borne fermeture de profilé 33,5 mm FR

This manual suits for next models

6

Other SolarWorld Solar Panel manuals

SolarWorld Sunmodule Protect Series User manual

SolarWorld

SolarWorld Sunmodule Protect Series User manual

SolarWorld Suntub User manual

SolarWorld

SolarWorld Suntub User manual

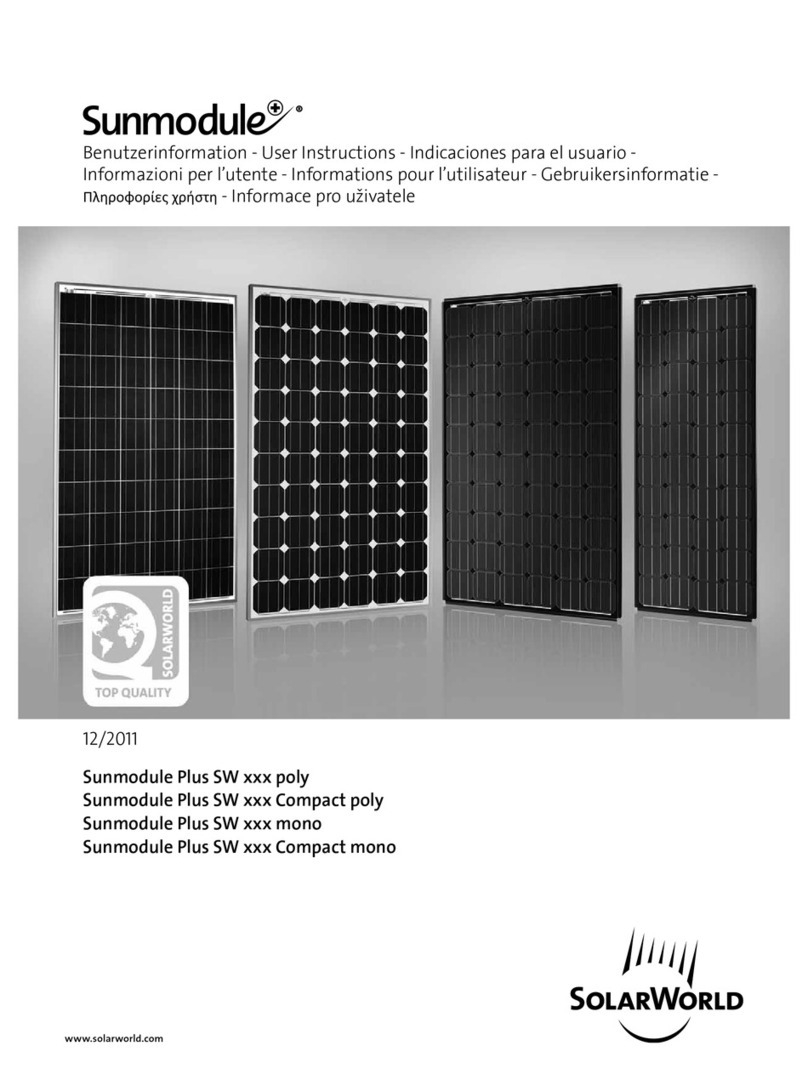
SolarWorld Sunmodule SW xx poly RGA User manual

SolarWorld

SolarWorld Sunmodule SW xx poly RGA User manual

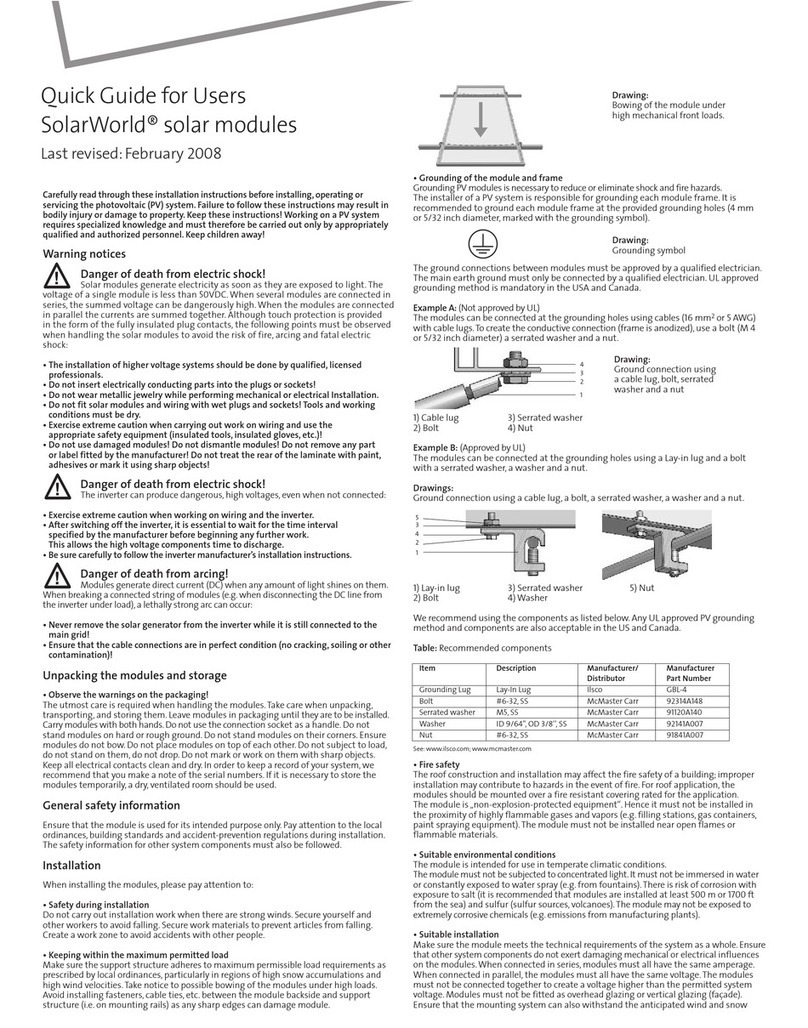
SolarWorld solar modules User manual

SolarWorld

SolarWorld solar modules User manual

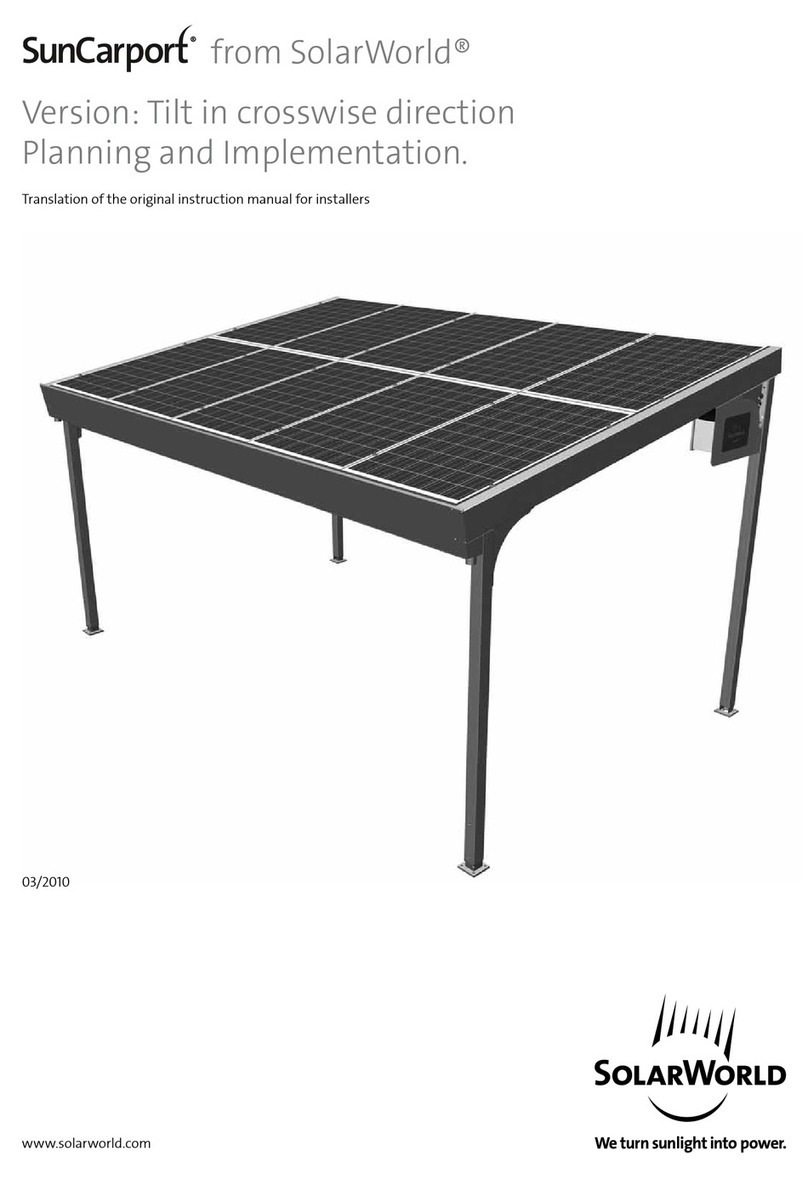
SolarWorld SunCarport User manual

SolarWorld

SolarWorld SunCarport User manual

SolarWorld Kit User guide

SolarWorld

SolarWorld Kit User guide

SolarWorld SW poly/RGA Series Operation manual

SolarWorld

SolarWorld SW poly/RGA Series Operation manual

SolarWorld Sunmodule SWA XL mono Series User manual

SolarWorld

SolarWorld Sunmodule SWA XL mono Series User manual

SolarWorld Sunmodule SW xx poly RHA User manual

SolarWorld

SolarWorld Sunmodule SW xx poly RHA User manual

SolarWorld Sunmodule Plus SW xxx poly series User manual

SolarWorld

SolarWorld Sunmodule Plus SW xxx poly series User manual

SolarWorld Sunmodule Plus User manual

SolarWorld

SolarWorld Sunmodule Plus User manual

SolarWorld Sunmodule SW *** poly User manual

SolarWorld

SolarWorld Sunmodule SW *** poly User manual

Popular Solar Panel manuals by other brands

Dometic LSE 105 BF Short Operating Manual

Dometic

Dometic LSE 105 BF Short Operating Manual

PV-ezRack DFendr installation guide

PV-ezRack

PV-ezRack DFendr installation guide

thermital TSOL 20 N BLU installation instructions

thermital

thermital TSOL 20 N BLU installation instructions

NEO TOOLS 90-143 user manual

NEO TOOLS

NEO TOOLS 90-143 user manual

Marley SolarTile installation guide

Marley

Marley SolarTile installation guide

DABBSSON DBS200S user guide

DABBSSON

DABBSSON DBS200S user guide

Solar Technology International PV Logic user manual

Solar Technology International

Solar Technology International PV Logic user manual

Floe 511-01351-00 Assembly instructions

Floe

Floe 511-01351-00 Assembly instructions

FLIN FLINflex 50W Operating and safety instructions

FLIN

FLIN FLINflex 50W Operating and safety instructions

PLX Legion Solar Installation and operation manual

PLX

PLX Legion Solar Installation and operation manual

Suaoki 100W Solar Panel user manual

Suaoki

Suaoki 100W Solar Panel user manual

EVEBASE GO 120W user manual

EVEBASE

EVEBASE GO 120W user manual

Arlo VMC4030 quick start guide

Arlo

Arlo VMC4030 quick start guide

LG LGxxxS1C(W installation instructions

LG

LG LGxxxS1C(W installation instructions

Renogy 100W Solar Suitcase manual

Renogy

Renogy 100W Solar Suitcase manual

Korax Solar KS-90 installation guide

Korax Solar

Korax Solar KS-90 installation guide

SLK SOLAR PV MODULE Assembly instructions

SLK SOLAR

SLK SOLAR PV MODULE Assembly instructions

GOAL ZERO NOMAD 7 user manual

GOAL ZERO

GOAL ZERO NOMAD 7 user manual

manuals.online logo
manuals.online logoBrands
  • About & Mission
  • Contact us
  • Privacy Policy
  • Terms and Conditions

Copyright 2025 Manuals.Online. All Rights Reserved.