3
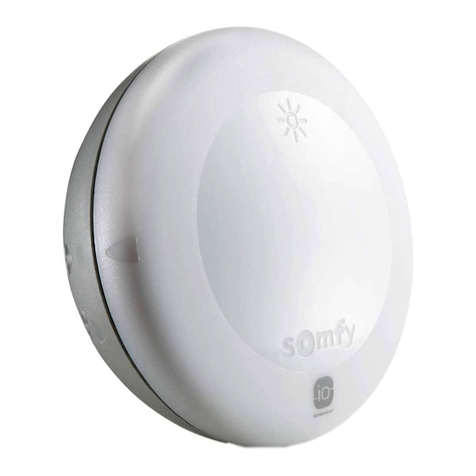
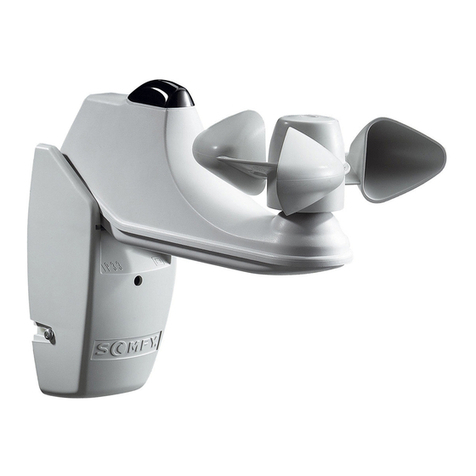
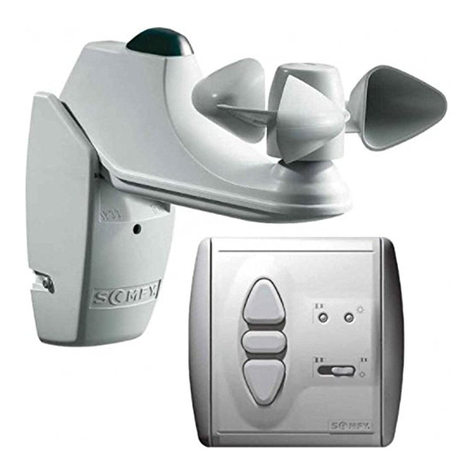
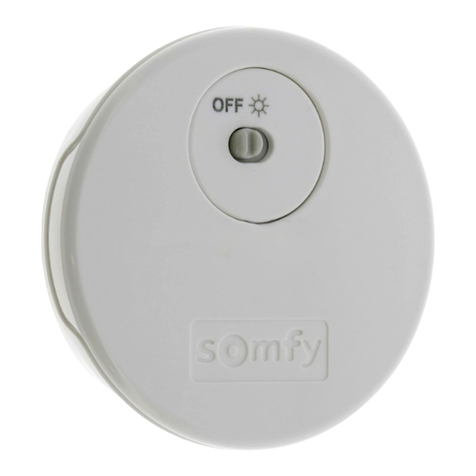
Light sensor
3.2 Automatic dusk control unit (not with Chronis RTS L)
You can switch the automatic dusk control unit on or off manually. The factory setting for the automatic dusk control unit
is ON.
Switching the automatic dusk control unit on / off
1 Press once
➜
the time flashes.
2Press until the bar display for the “Dusk” reference value is displayed.
3Press several times until is displayed.
4Press to store the changes.
1 Press once
➜
the time flashes.
2 Press until is displayed.
3 Press several times until the desired number of bars for the “Dusk” reference value
has been set.
4 Press to store the changes.
To switch the automatic dusk control unit off :
To switch the automatic dusk control unit back on :
The factory setting for the automatic dusk control unit is pre-set to a mean value of 6 bars (60 Lux approximately).
The “Dusk” reference value can be entered at any time except in the “OFF” position.
Tip: It is best to enter data when the evening dusk reaches the brightness level at which you wish to have the shutter
close automatically in the future. To do this, set the “Dusk” reference value to 1 bar, and then press Plus (+) until the
moon symbol ( ) is displayed. This value then corresponds to the current dusk setting.
Setting the automatic dusk control unit
The desired dusk value at which the shutter is to close in conjunction with the switching time can be set by entering the
“Dusk” threshold value.
1Press once
➜
the time flashes.
2Press until the bar display for the “Dusk” reference value is displayed.
3The “Dusk” reference value can be set by pressing several times.
1 bar = roller shutter does not close until dusk has set (10 Lux).
12 bars = roller shutter closes as early as the onset of dusk (250 Lux).
4Press to store the changes.
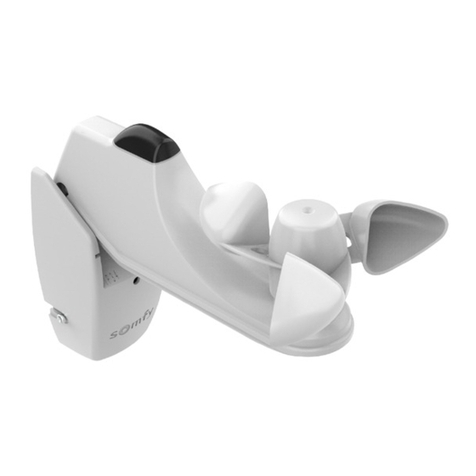
Light sensor
2
Operating the automatic solar control unit
When the motor has been stopped manually or automatically in the UP
direction, brightness is then measured. If the “Sun” reference value is
exceeded, then the sun symbol ( ) is displayed on the control.
If the reference value is exceeded for more than 5 minutes ,the roller
shutter moves up level with the sensor, stops and moves briefly upward
to exposed the sensor again (50% above the threshold).
➜The shutter is now in the Shade 1 position and the sun symbol ( ) is
displayed permanently.
If the brightness falls below 50% of “Sun” reference value (sun rise), the
sun symbol ( ) starts to flash. If this value remains below for more than
15 minutes, the control unit issues an UP command.
If the brightness measured during the UP command does not exceed
50% of “Sun” reference value anymore, then the shutter moves to its
end limit. If the brightness exceed 50% during the UP command, then
the shutter stops.
➜The shutter is now in the Shade 2 position and the sun symbol ( ) is
displayed permanently.
If the brightness falls bellow 50% again for more than 15 minutes when
the shutter is in shade position 2, then this one will be retracted to its UP
limit.
There are 2 shade positions.
Venetian blind operation (VB mode)
In VB mode an intermediate position (IP) and a (slat) rotating time have to be memorised. (Please follow the control unit’s usage
instructions). The brightness sensor must be attached to the window in such a way that it is not shaded in the intermediate position (IP)
by the venetian blind .
If the “Sun” reference value is exceeded for more than 5 minutes, the venetian blind moves into the intermediate position (IP), stops
there and rotates the slats. As soon as the “Sun” reference value falls below 50% for more than 15 minutes, the shutter moves back
directly to its UP end limit.
With Chronis RTS L this function can be carried out only in conjunction with a suitable radio receiver that can move the blind to an
intermediate position (IP) with slat rotating time.
sensor
roller
shutter
window
sun
sensor
roller
shutter
window
sun
sensor
roller
shutter
window
sun
sensor
window
roller
shutter
sensor
roller
shutter
window
sun
sensor
roller
shutter
window
sun
< 50%
< 50%
> 50%
> 50%
< 50% < 50%
sun rise
STOP
shade
position 2
end
limit
STOP
shade
position 1
➠
Setting the automatic solar control unit
The desired brightness value at which the shutter is to move into the shade position can be selected by entering the “Sun” reference
value. The factory setting for the automatic solar control unit is a threshold value of 6 bars (30 kLux approximately).
Inputting the “Sun” reference value (can be entered at any time except in the “OFF” position) :
1press once ➜ the time flashes.
2Press until the bar display for the “Sun” reference value is displayed.
3The “Sun” reference value can be set by pressing several times.
1 bar = roller shutter moves into the shade position if sun is weak (10 kLux).
12 bars = roller shutter moves into the shade position if sun is strong (more than 50 kLux).
4Press to store the changes.
Tip: it is best to enter data when the sun reaches the intensity at which you wish to move the shutter automatically into the shade
position in the future. First set the “Sun” reference value to 12 bars, and then press Minus (-) until the sun symbol ( ) is
displayed. This value then corresponds to the current solar intensity.
Operating the automatic dusk control unit
As soon as the “Dusk” reference value does not meet the selected setting, the moon symbol ( ) is displayed. If the
reference value remains below this level for more than 5 minutes approximately and the
DOWN switching time has arrived already, the control unit gives a DOWN command. If the DOWN switching time has
not been exceeded yet, the control unit waits until this time comes and then moves the shutter down.
Example:
DOWN switching time Actual clock time Dusk value Action
20:00 19:45 reached ➜the DOWN arrow in the display flashes.
➜Wait until switching time of 20.00 comes
20:00 20:15 Not reached yet ➜Display in window changes to next UP
switching time and DOWN arrow flashes!
➜Wait for as long as “Dusk” reference value is
not met.
20:00 20:15 reached ➜Shutter moves down.
Note:
The dusk function can be impaired with strong sources of light in the surroundings of the light sensor.
