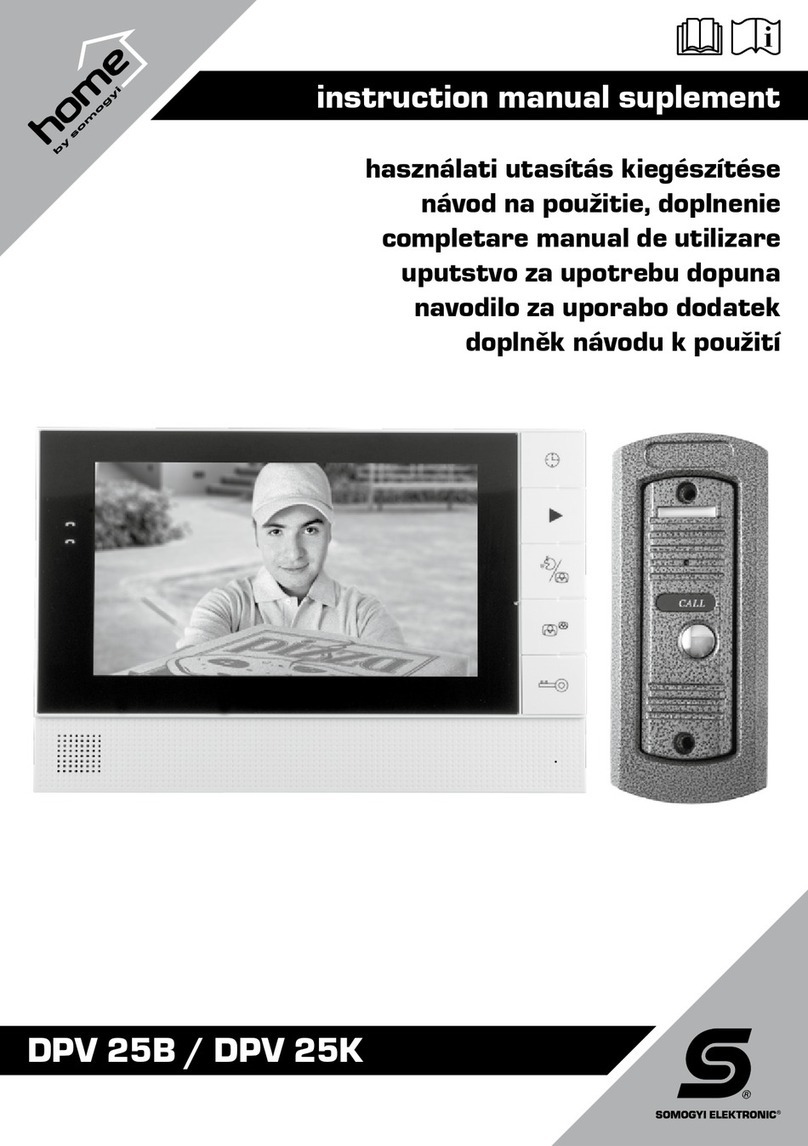
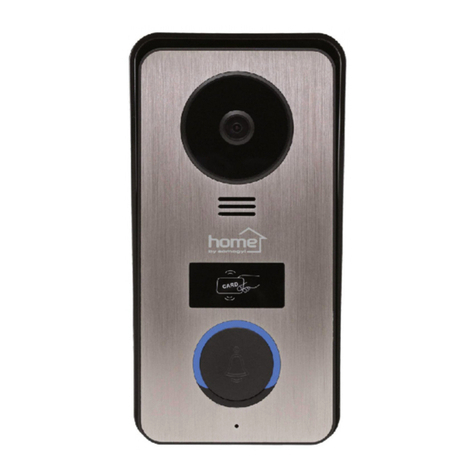
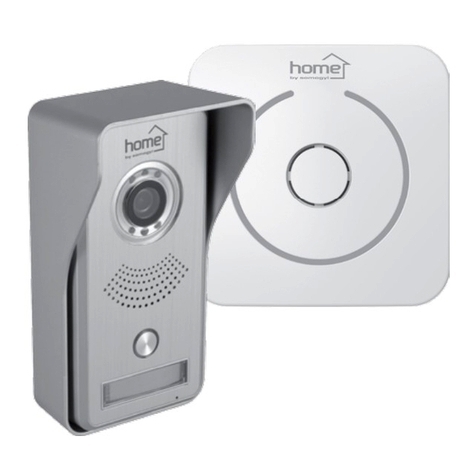
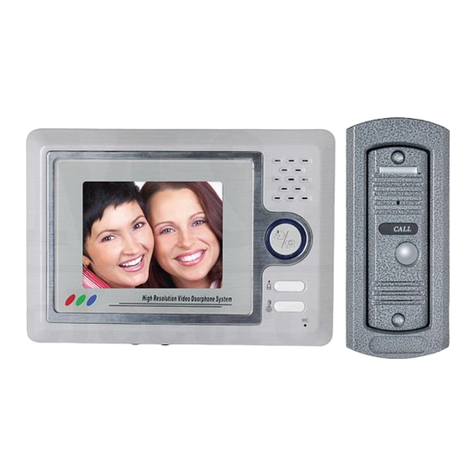
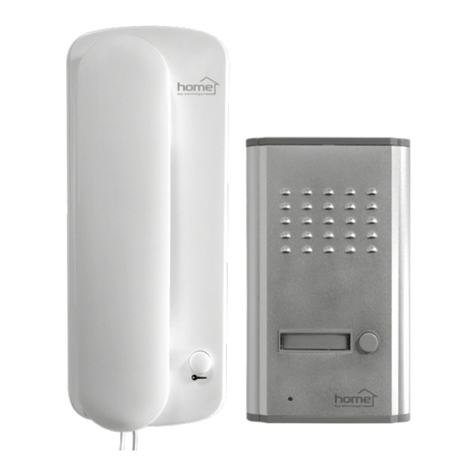
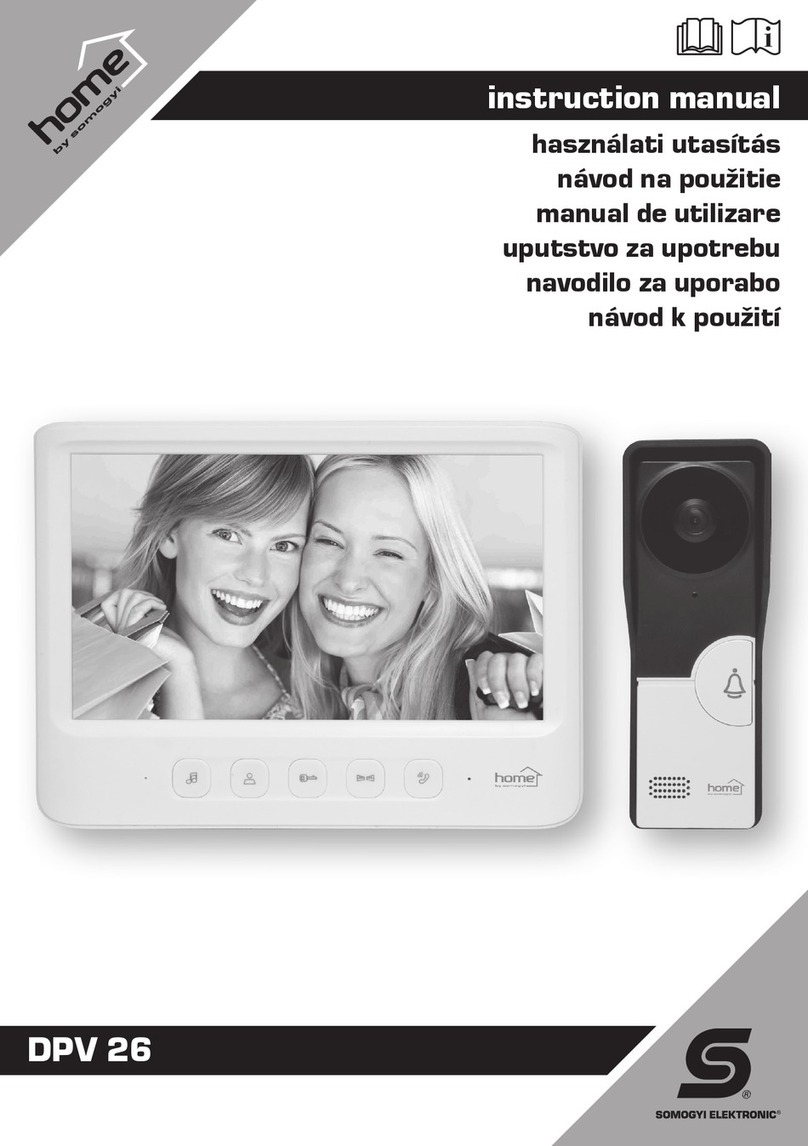
Somogyi Elektronic DPV 25 User manual

instruction manual
DPV 25
használati utasítás
návod na použitie
manual de utilizare
uputstvo za upotrebu
navodilo za uporabo
návod k použití

4
5
1
2
3
EN
1. Microphone Mikrofon Mikrofón Microfon Mikrofon Mikrofon Mikrofon
2. Infra LED lighting Infra LED
világítás Infra LED
osvetlenie Lumină infra LED Infra LED
osvetljenje Infra LED
osvetlitev
Osvětlení
infračervenými
LED diodami
3. Speaker Hangszóró Reproduktor Difuzor Zvučnik Zvočnik Reproduktor
4. Hidden camera Rejtett kamera Skrytá kamera Cameră ascunsă Skrivena kamera Skrita kamera Skrytá kamera
5. Call button Hívó gomb Tlačidlo volania Buton de apel Taster za poziv Tipka za klic Tlačítko volání
Outdoor unit / Kültéri egység / Vonkajšia jednotka / / Spoljna jedinica / Zunanja enota / Venkovní jednotka
EN
1. Main outdoor unit LED Fő kültéri egység LED Hlavná vonkajšia
jednotka LED unitate exterioară
principală Glavna spoljna jedinica
LED Glavna zunanja enota
LED LED dioda hlavní
venkovní jednotky
2. Second outdoor
unit LED Második kültéri egység
LED Druhá vonkajšia
jednotka LED unitate exterioară
secundară Druga spoljna jedinica
LED Druga zunanja enot
LED LED dioda druhé
venkovní jednotky
3. LCD display LCD képernyő LCD obrazovka Monitor LCD LCD monitor LCD monitor LCD monitor
4. Speaker Hangszóró Reproduktor Difuzor Zvučnik Zvočnik Reproduktor
5. Time/Date Idő/dátum Čas / dátum Ora/data Vreme/datum Čas/datum Čas/datum
6. Play Lejátszás Prehrávanie Redare Reprodukcija Predvajanje Přehrávání
7. Street monitor/reply Kitekintés/válasz Pozorovanie / odpoveď Vizor/răspuns Osmatranje/odgovor Opazovanje /odgovor Monitoring/odpověď
8. Intercom call Intercom hívás Intercom volanie Apel intercom Intercom poziv Intercom klic Intercom volání
9. Lock opener Zárnyitó Otvorenie zámky Deschizător yală Otključavanje brave Odklepanje ključavnice Otevírání zámku
10. Microphone Mikrofon Mikrofón Microfon Mikrofon Mikrofon Mikrofon
11. Voice volume Beszéd hangerő Hlasitosť hovoru Volum sunet Jačina zvuka govora Jakost zvoka govora Hlasitost hovoru
12. Brightness Fényerő Svietivosť Intensitate lumină Jačina svetlosti Jakost svetlobe Jas
13. Ringing volume Csengetési hangerő Hlasitosť zvonenia Intensitate volum
sonerie Jačina zvonjenja Jakost zvonjenja Hlasitost vyzvánění
14. Melody selection Dallam választó Výber melódie Selecţie melodie Odabir melodije Izbira melodije Volba melodie
5
16
7
8
9
10
2
3
411 12 13 14
Indoor unit / Beltéri egység / Vnútorná jednotka / / Unutrašnja jedinica / Notranja enota / Interiérová jednotka
EN
1. Indoor unit Beltéri egység Vnútorná jednotka Unitate interioară Unutrašnja jedinica Notranja enota Interiérová jednotka
2. Outdoor unit Kültéri egység Vonkajšia jednotka Unitate exterioară Spoljna jedinica Zunanja enota Venkovní jednotka
3. Outdoor bracket Kültéri szerelvények Vonkajšie montážne
prvky Elemente montaj
exterior Delovi za montažu
spoljne jedinice Deli za montažo
zunanja enota Venkovní armatury
4. Monitor wall mount Monitor fali tartó Nástenná konzola na
monitor Suport monitor de
perete Zidni nosač monitora Stenski nosilec
monitora Nástěnná konzole pro
připevnění monitoru
5. Mains adapter Hálózati adapter Sieťový adaptér Adaptor reţea Strujni adapter Električni pretvornik Síťový adapter
6. Cable Vezeték Kábel Cablu Kabel Kabel Kabely
7. Screws Csavarok Skrutky şuruburi Šara Vijaki Šrouby
1 2 3 4 5 6 7
Accessories / Tartozékok / Príslušenstvo / Accesorii / Delovi / Deli /

CONNECTION / CSATLAKOZTATÁS / PREPOJENIE / CONECTARE / POVEZIVANJE / POVEZOVANJE / ZAPOJENÍ
4 wire
2 wire
110-240 V~
monitor2 wire
electric lock
camera
145 cm ~ 160 cm
monitor
180 cm
660
110 cm
50 cm
80 cm
50 cm
530

EN
B+ red / positive supply
voltage piros / pozitív
tápfeszültség červená / pozitívne
napätie napájania Roşu/tensiune alimen-
tare pozitivă crveni / pozitivni pol
napajanja rdeči / pozitivni pol
napajanja červená / pozitivní
napájecí napětí
Gblack / GND supply
voltage fekete / GND
tápfeszültség čierna / GND napätie
napájania negru/tensiune GND crni/ GND napajanje črni/ GND napajanje černá / GND napájecí
napětí
Awhite / voice cable fehér / hang vezeték biela / kábel na prenos
zvuku alb/cablu sunet beli / kabel za zvuk beli / kabel za zvok bílá / zvukový kabel
Vyellow / display cable sárga / kép vezeték žltá / kábel na prenos
obrazu galben/cablu imagine žuti / kabel za sliku rumeni / kabel za sliko žlutá / obrazový kabel
Wiring diagram / Kapcsolási rajzok / Schémy zapojenia / / Skica povezivanja / Skica povezovanja / Schéma zapojení
110-240 V~
camera
110-240 V~
electric
lock
+13,5 V
GND
+13,5 V
GND
monitor 1
monitor 2
B+
red
V
yellow
A
white
G
black
B+
red
V
yellow
A
white
G
black
110-240 V~
B+
red
V
yellow
A
white
G
black
+13,5 V
GND
camera
electric
lock
monitor

camera 2
camera 1
110-240 V~
110-240 V~
+13,5 V
GND
+13,5 V
GND
monitor 1
monitor 2
electric lock 1
electric lock 2
B+
red
V
yellow
A
white
G
black
B+
red
V
yellow
A
white
G
black
B+
red
V
yellow
A
white
G
black
B+
red
V
yellow
A
white
G
black
camera 2
camera 1
110-240 V~
110-240 V~
110-240 V~
+13,5 V
GND
+13,5 V
GND
+13,5 V
GND
monitor 1
monitor 2
monitor 3
electric lock 1electric lock 2
B+
red
V
yellow
A
white
G
black
B+
red
V
yellow
A
white
G
black
B+
red
V
yellow
A
white
G
black
B+
red
V
yellow
A
white
G
black
B+
red
V
yellow
A
white
G
black
B+
red
V
yellow
A
white
G
black
camera 2
camera 1
110-240 V~
+13,5 V
GND
monitor
electric lock 1electric lock 2
B+
red
V
yellow
A
white
G
black
B+
red
V
yellow
A
white
G
black

DPV 25
intercom* video doorphone
Before using the product for the rst time, please read the instructions for use below and retain them for later reference.
The original instructions were written in the Hungarian language. After unpacking the unit, conrm that it has not been
damaged during transit. Keep the packaging away from children if it contains plastic bags or other potentially hazardous
components.
This appliance may only be used by persons with impaired physical, sensory or mental capabilities,
or lacking in experience or knowledge, as well as children from the age of 8, if they are under supervision
or have been given instruction concerning use of the appliance by a person responsible for their safety
and they have understood the hazards associated with use. Children should not be allowed to play with
the unit. Children may only clean or perform user maintenance on the appliance under supervision.
WARNINGS:
• Only usable indoors, in a dry place! • If the mains connection cable is damaged, immediately switch
off the supply voltage, and contact a specialist! • If not used for a longer time period, disconnect
it from the supply voltage! • Separate the cables connecting the units from other mains cables! •
Using thin cables can lead to the degradation of sound quality. • Do not operate the device in the
vicinity of a strong magnetic eld! • Protect from dust, humidity, liquids, moisture, frost and shock, as
well as from direct heat and sunlight! • Protect from splashing water, and do not place objects lled
with water, e.g. glass on the device! • Open ame sources, like a burning candle cannot be placed
on the device! • Do not disassemble, or modify the device, as that can cause re, an accident, or
electric shock! • Due to the presence of mains voltage, obey the usual rules to protect life! • Do not
touch the device, or the connection cable with moist hands! • The device is not for public use, it was
made for domestic use. • Due to constant improvements, the technical data and design can change
without prior notice. • We do not take responsibility for the accidental printing errors, and are sorry
if it happened.
Caution: Risk of electric shock!
Do not attempt to disassemble of modify the unit or its accessories. In case any part is damaged,
immediately power off the unit and seek the assistance of a specialist.
Waste equipment must not be collected separately or disposed of with household waste because
it may contain components hazardous to the environment or health. Used or waste equipment
may be dropped off free of charge at the point of sale, or at any distributor which sells equipment
of identical nature and function. Dispose of product at a facility specializing in the collection of
electronic waste. By doing so, you will protect the environment as well as the health of others and
yourself. If you have any questions, contact the local waste management organization. We shall
undertake the tasks pertinent to the manufacturer as prescribed in the relevant regulations and
shall bear any associated costs arising.
EN

USE
The device is ideal for replacing regular door phone systems and doorbells. The appropriate sound and screen quality is dependent on the
distance between the devices, and the cross-section of the used cables. For a given distance the following cable cross-section is recom-
mended:
In order to achieve an interference free signal use shielded wires between the units! When using a cable with 8 cores, we recommend to
bind the remaining unnecessary conducting cores parallel to the used cores, as this increases the actual cross section. In order to put the
door phone system into operation, use the help of a professional!
ISNTALLATION
Outdoor unit
Satisfying every need, it can be placed in three different ways. Can be aesthetically recessed into the wall, or by expanding it with the rain
cover can be installed outside the wall. If needed – e. g. in condominiums – it can be installed in the corners using the accessories located
in the package. In case of recessed installing, do not use the rain cover! In this case weather protection needs to be solved in another way.
Install the outdoor unit to ap lace where it is protected from rain and direct sunlight!
The power supply of the outer unit is ensured from the monitor.
Indoor unit
The connection cable included in the package can be extended, or exchanged by a professional by following the points stated in the “APPLICA-
TION” paragraph. The necessary cables need to be acquired separately according to personal needs. Lead them in such a way so they do not
get damaged, and are in a place protected from weather and physical damage. Before inserting the mains adapter, check the connection!
RECEIVING VISITORS
By pressing the button of the outdoor unit, the indoor monitor emits a sound signal, and shows the face of the visitor. If you wish to speak
with him, press the STREET MONITOR/REPLY (7.) button. The electric lock can be opened by the LOCK OPENER (9.) button, and the
visitors can be let in. When nished with talking, press the STREET MONITOR/REPLY (7.) button again. Whit this the call is nished and
the monitor shuts down. The monitor automatically shuts down after 60 seconds.
STREET MONITOR
Pressing the STREET MONITOR/REPLY (7.) button in standby mode, the vicinity of the entrance
can be checked. In case of using two outdoor units the second press of the button operates the
second camera. With another button press – or after 60 seconds – it turns off. On the left side of the
screen two receiver icons show with blue and red colors if the rst or second camera is active.
GATE OPENER FUNCTION
Security solution: when pressing the lock opener button, the lock only opens, if the monitor is op-
erational, and active at the time. The red (+) / black (-) wire located on the back of the outdoor unit
operates the lock. The electric lock is not included in the package. It needs to be installed according
to personal needs, and the shape of the door/gate. The lock can be opened from the indoor unit. If no
outer gate opener circuit is used, then the desired output of electric lock should not be greater than
12 V / 500 mA! In case of operating a lock with greater output, an outer transformer and relay has
to be used with it.
INTERCOM FUNCTION
The home phone mode allows the indoor units to call each other, in case of using at least 2 DPV 25B monitors. The two to three monitors,
placed in two to three rooms are capable of voice transfer between each other. The INTERCOM (8.) button operates a sound signal on the
other monitors. Communication can be started by pressing the STREET VIEW/REPLY (7.) button, then can be nished by pressing the
button again. If during this one of the monitors is active, then it will shut down with a 60 second delay.
SELECTING THE TONE
By pressing the TONE SELECT (14.) button, select the tone you wish to use, then press the STREET VIEW/REPLY (7.) button to accept
it. Volume can be adjusted with button (13.).
The separately purchasable outdoor (DPV 25K) and indoor (DPV 25B) units can be used to expand the base system. The following pos-
sibilities are accessible: 1x camera + 1x monitor / 1x camera + 2x monitor / 2x camera + 1x monitor / 2x camera + 2x monitor / 1x camera
+ 3x monitor
Seek the help of a professional, and let him connect the wires according to the wiring diagram.
TAKING A PICTURE
When pressing the call button of the outdoor unit a photograph of the visitor is taken. If visited while not at home you can rematch the taken
pictures later. The photographs are given time stamps. The system can store up to 20 photos, after that the oldest one is deleted.
SELECTING LANGUAGE
Go into the menu by pressing the STREET MONITOR/REPLY (7.) and after that the TIME/DATE (5.) button. By further pressing the TIME/
DATE (5.) button select the desired menu language. With the STREET MONITOR/REPLY (7.) the monitor can be turned off.
TIME AND DATE SETUP
Go into the menu by pressing the STREET MONITOR/REPLY (7.) and after that the TIME/DATE (5.) button. Use the PLAY (6.) button to
select the desired function. Accept the selected row with the TIME/DATE (5.) button, then by pressing it again set the blinking data. With the
PLAY (6.) button the next data setup can be accessed. In the menu you can move with button (5.) and (6.) and set the parameters.
Exiting the menu: Select the EXIT row with the PLAY (6.) button, and accept it using the TIME/DATE (5.) button.
VIEWING THE PHOTOS
In standby (turned off) mode, press the STREET MONITOR/REPLY (7.) button, then the PLAY (6.) button to view the last taken picture.
The other pictures can be accessed with the TIME/DATE (5.) button, or you can exit with the STREET MONITOR/REPLY (7.) button. The
number of the picture, and the precise date of when it was taken is shown at the top of the screen.
DELETING PICTURES
In standby (turned off) mode, press the STREET MONITOR/REPLY (7.) button, then with the TIME/DATE (5.) button go into the menu. Use
the PLAY (6.) button to select DELETE ALL, then by pressing the TIME/DATE (5.) button delete all the picture. If the device already stores
20 photos, then the newer ones will overwrite the oldest photos automatically.
TROUBLESHOOTING
If no sound or display, check if
- the connection is as described
- there is a mains power supply connected
- one of the cable is no damaged
If the dialogue volume is low, or the screen display is low quality, check, if
- a wire with a sufciently big cross section was being used
- the recommended distances have not been overstepped
CLEANING
Before cleaning, depower the device, by unplugging it from the mains! Use a soft, dry cloth. Do not use aggressive cleaners
and liquids!

DPV 25
video kaputelefon
intercom* funkcióval
A termék használatba vétele előtt, kérjük olvassa el az alábbi használati utasítást és őrizze is meg. Az eredeti leírás
magyar nyelven készült. Kicsomagolás után győződjön meg róla, hogy a készülék nem sérült meg a szállítás során.
Tartsa távol a gyermekeket a csomagolástól, ha az zacskót vagy más veszélyt jelentő összetevőt tartalmaz!
Ezt a készüléket azok a személyek, akik csökkent zikai, érzékelési vagy szellemi képességekkel
rendelkeznek, vagy akiknek a tapasztalata és a tudása hiányzik, továbbá gyermekek 8 éves kortól
csak abban az esetben használhatják, ha az felügyelet mellett történik, vagy a készülék használatára
vonatkozó útmutatást kapnak, és megértik a biztonságos használatból eredő veszélyeket. Gyermekek
nem játszhatnak a készülékkel. Gyermekek kizárólag felügyelet mellett végezhetik a készülék tisztítását
vagy felhasználói karbantartását.
• Kizárólag száraz, beltéri körülmények között használható! • A hálózati adapter megsérülése vagy
bármilyen más rendellenesség esetén azonnal áramtalanítsa és forduljon szakemberhez! • Ha hosz-
szabb ideig nem használja, húzza ki a hálózatból! • Az egységeket összekötő kábeleket tartsa távol
más hálózati kábelektől! • Vékony vezetékek használata a hang- és képminőség romlását okozhatja.
• Ne működtesse a készüléket erős mágneses tér közelében! • Óvja portól, párától, folyadéktól, ned-
vességtől, fagytól és ütődéstől, valamint a közvetlen hő- vagy napsugárzástól! • A készüléket ne érje
fröccsenő víz, és ne tegyen folyadékkal töltött tárgyakat, pl. poharat a készülékre! • Nyílt lángforrás,
mint égő gyertya, nem helyezhető a készülékre! • Ne szedje szét, ne alakítsa át a készüléket, mert
tüzet, balesetet vagy áramütést okozhat! • A hálózati feszültség jelenléte miatt tartsa be a szokásos
életvédelmi szabályokat! • Nedves kézzel tilos a készülék vagy a csatlakozókábel megérintése! • A
készülék nem közületi, hanem háztartási használatra készült. • A folyamatos továbbfejlesztések miatt
műszaki adat és a design előzetes bejelentés nélkül is változhat. • Az esetleges nyomdahibákért
felelősséget nem vállalunk, és elnézést kérünk.
Áramütésveszély!
Tilos a készülék vagy tartozékainak szétszerelése, átalakítása! Bármely rész megsérülése ese-
tén azonnal áramtalanítsa és forduljon szakemberhez.
A hulladékká vált berendezést elkülönítetten gyűjtse, ne dobja a háztartási hulladékba, mert az a
környezetre vagy az emberi egészségre veszélyes összetevőket is tartalmazhat! A használt vagy
hulladékká vált berendezés térítésmentesen átadható a forgalmazás helyén, illetve valamennyi
forgalmazónál, amely a berendezéssel jellegében és funkciójában azonos berendezést értékesít.
Elhelyezheti elektronikai hulladék átvételére szakosodott hulladékgyűjtő helyen is. Ezzel Ön védi
a környezetet, embertársai és a saját egészségét. Kérdés esetén keresse a helyi hulladékkezelő
szervezetet. A vonatkozó jogszabályban előírt, a gyártóra vonatkozó feladatokat vállaljuk, az
azokkal kapcsolatban felmerülő költségeket viseljük.
Tájékoztatás a hulladékkezelésről: www.somogyi.hu

ALKALMAZÁS
A készülék ideális a hagyományos kaputelefon-rendszerek vagy ajtócsengők kiváltására. A megfelelő hang- és képminőség a készülékek
közötti távolságtól és az alkalmazott vezetékek keresztmetszetétől függ. Az adott hosszúsághoz minimum következő kábel keresztmet-
szeteket javasoljuk:
A zavarmentes jelátvitel érdekében használjon árnyékolt vezetéket az egységek között! 8 erű vezeték alkalmazásakor a feleslegesen
maradt vezető ereket javasolt párhuzamosan kötni a felhasznált vezetékekkel, ezzel növelve a tényleges keresztmetszetet. A kaputelefon
rendszer üzembe helyezéséhez vegye igénybe szakember segítségét!
Kültéri egység
Minden igényt kielégítve, három eltérő módon helyezhető el. Esztétikus módon falba süllyeszthető vagy az esővédővel kiegészítve falon
kívül szerelhető. Igény esetén – például társasházakban – sarokba is szerelhető a csomagban található kiegészítővel. Süllyesztett sze-
relés esetén ne használja az esővédőt! Ez esetben más módon kell gondoskodni az időjárás elleni védelemről. A külső egységet szerelje
csapadéktól és közvetlen napfénytől védett helyre!
A külső egység tápellátása a monitorból biztosított.
Beltéri egység
A csomagban mellékelt csatlakozókábelt szakember meghosszabbíthatja vagy kicserélheti az „ALKALMAZÁS” bekezdésben leírtak alap-
ján. A szükséges vezetékeket külön kell beszerezni az egyedi igények alapján. Úgy vezesse el azokat, hogy ne sérüljenek meg és az
időjárástól valamint a zikai behatásoktól védett helyen legyenek. Mielőtt a hálózati adaptert bedugja, ellenőrizze le a csatlakoztatást!
LÁTOGATÓ FOGADÁSA
A külső egység gombját megnyomva, a beltéri monitor hangjelzést ad és látható a látogató képe. Ha beszélni akar vele, nyomja meg
a KITEKINTÉS/VÁLASZ (7.) gombot. Az elektromos zár nyitható a ZÁRNYITÓ (9.) gombbal, a vendéget beengedheti. A beszélgetés
befejezése után nyomja meg újra a KITEKINTÉS/VÁLASZ (7.) gombot. Ezzel befejeződik a hívás és kikapcsol a monitor. A monitor auto-
matikusan kikapcsol 60 másodperc elteltével.
KITEKINTÉS
Készenléti állapotban megnyomva a KITEKINTÉS/VÁLASZ (7.) gombot, ellenőrizheti a bejárat kör-
nyékét. Két külső egység alkalmazása esetén a gomb második benyomása működteti a második
kamerát. Újabb gombnyomással – vagy 60 másodperc elteltével - kikapcsol.
A képernyő bal oldala mellett látható két telefonkagyló szimbólum kék és piros színnel jelzi, hogy az
első vagy a második számú kamera aktív-e éppen.
Biztonsági megoldás: a zárnyitó gomb megnyomáskor csak abban az esetben nyílik ki a zár, ha
eközben a monitor is működik. A külső egység hátoldalán található piros(+)/fekete(-) vezeték mű-
ködteti a zárat. Az elektromos zár nem része a csomagnak. Az egyedi igényeknek és az ajtó/kapu
kialakításának megfelelően kell azt beszerezni és beszerelni. A zár a belső egységről nyitható. Ha
nem alkalmaz külső kapunyitó áramkört, akkor az elektromos zár teljesítmény igénye ne lépje túl a
12 V / 500 mA paramétereket! Nagyobb teljesítményű zár működtetéséhez külső transzformátort
és relét kell alkalmazni.

INTERCOM FUNKCIÓ
A házi telefon mód lehetővé teszi, hogy a belső egységek hívhassák egymást; legalább két DPV 25B monitor alkalmazása esetén. A két
vagy három különböző helyiségben elhelyezett két vagy három monitor alkalmas az egymás közötti hangátvitelre. Az INTERCOM (8.)
gomb hangjelzést működtet a többi monitoron. A KITEKINTÉS/VÁLASZ (7.) gombbal lehet a beszélgetést megkezdeni, majd a gomb
újabb benyomásával befejezni. Ha eközben valamelyik képernyő is aktív, akkor az 60 másodperc késleltetéssel kapcsol ki.
A DALLAM VÁLASZTÓ (14.) nyomogatásával adja meg az alkalmazni kívánt hangjelzést, majd a KITEKINTÉS/VÁLASZ (7.) gombbal
hagyja ezt jóvá. A hangerőt a (13.) gombbal szabályozhatja.
A külön is megvásárolható külső (DPV 25K) és belső (DPV 25B) egységekkel lehetőség van a rendszer bővítésére. Az alábbi lehetőségek
érhetők el: 1x kamera + 1x monitor / 1x kamera + 2x monitor / 2x kamera + 1x monitor / 2x kamera + 2x monitor / 1x kamera + 3x monitor
A használati utasításban található kapcsolási rajzoknak megfelelően szakember csatlakoztassa a vezetékeket.
A kültéri egység hívógombjának megnyomásakor fénykép készül a látogatóról. Ha önt a távollétében keresik, akkor utólag megtekintheti a
látogatókat. A fényképeket a készülék időbélyeggel látja el. A rendszer 20 fotót tud tárolni, majd mindig a legrégebbit törli.
Lépjen be a menübe a KITEKINTÉS/VÁLASZ (7.) gomb, majd az IDŐ/DÁTUM (5.) gomb megnyomásával. Az IDŐ/DÁTUM (5.) gomb
további nyomogatásával válassza ki a menü kívánt nyelvét. A KITEKINTÉS/VÁLASZ (7.) gombbal kikapcsolhatja a monitort.
Lépjen be a menübe a KITEKINTÉS/VÁLASZ (7.) gomb, majd az IDŐ/DÁTUM (5.) gomb megnyomásával. Használja a LEJÁTSZÁS (6.)
gombot a kívánt funkció kiválasztásához. Az IDŐ/DÁTUM (5.) gombbal hagyja jóvá a kiválasztott sort, majd tovább nyomkodva állítsa be
az éppen villogó adatot. A LEJÁTSZÁS (6.) gombbal tovább léphet a következő adat beállításához. A menüben az (5.) és (6.) gombokkal
léptethet és állíthatja be a paramétereket.
Kilépés a menüből: a LEJÁTSZÁS (6.) gombbal az EXIT sor kiválasztása és annak jóvá hagyása az IDŐ/DÁTUM (5.) gombbal.
A FOTÓK MEGTEKINTÉSE
Készenléti (kikapcsolt) állapotban nyomja meg a KITEKINTÉS/VÁLASZ (7.) gombot, majd a LEJÁTSZÁS (6.) gombot az utolsó fénykép
megtekintéséhez. A többi képet elérheti az IDŐ/DÁTUM (5.) gombbal vagy kiléphet a KITEKINTÉS/VÁLASZ (7.) gombbal. A képek sor-
száma és a felvétel készítésének pontos időpontja a képernyő tetején olvasható.
A FOTÓK TÖRLÉSE
Készenléti (kikapcsolt) állapotban nyomja meg a KITEKINTÉS/VÁLASZ (7.) gombot, majd az IDŐ/DÁTUM (5.) gombbal lépjen be a menü-
be. Használja a LEJÁTSZÁS (6.) gombot a DELETE ALL kiválasztásához, majd az IDŐ/DÁTUM (5.) gombbal törölje az összes képet. Ha
már 20 fényképet tárol a készülék, akkor az újabb fotók tárolásához mindig a legrégebbi fényképeket törli automatikusan.
HIBAELHÁRÍTÁS
Ha nincs hang vagy kép, ellenőrizze, hogy
- előírás szerinti-e a csatlakoztatás
- van-e hálózati tápellátás
- nem sérült-e valamelyik vezeték
Ha halkan hallható a beszélgetés vagy gyenge a képminőség, ellenőrizze, hogy
- megfelelően nagy keresztmetszetű vezetékeket alkalmazott-e
- nem lépte túl a javasolt távolságokat
TISZTÍTÁS
Tisztítás előtt áramtalanítsa a készüléket a hálózatból történő kihúzással! Használjon puha, száraz törlőkendőt. Ne hasz-
náljon agresszív tisztítószereket és folyadékot!
Table of contents
Languages:
Other Somogyi Elektronic Intercom System manuals

Somogyi Elektronic
Somogyi Elektronic Home DPV 22 User manual

Somogyi Elektronic
Somogyi Elektronic Home DPV 26 User manual

Somogyi Elektronic
Somogyi Elektronic home DPV 23 User manual

Somogyi Elektronic
Somogyi Elektronic Home DPV 26 User manual

Somogyi Elektronic
Somogyi Elektronic Home DPV 270RFID User manual

Somogyi Elektronic
Somogyi Elektronic Home DP 02 User manual

Somogyi Elektronic
Somogyi Elektronic home DBKS 1200AC User manual

Somogyi Elektronic
Somogyi Elektronic Home DPV 26 User manual

Somogyi Elektronic
Somogyi Elektronic Home DB 442 User manual

Somogyi Elektronic
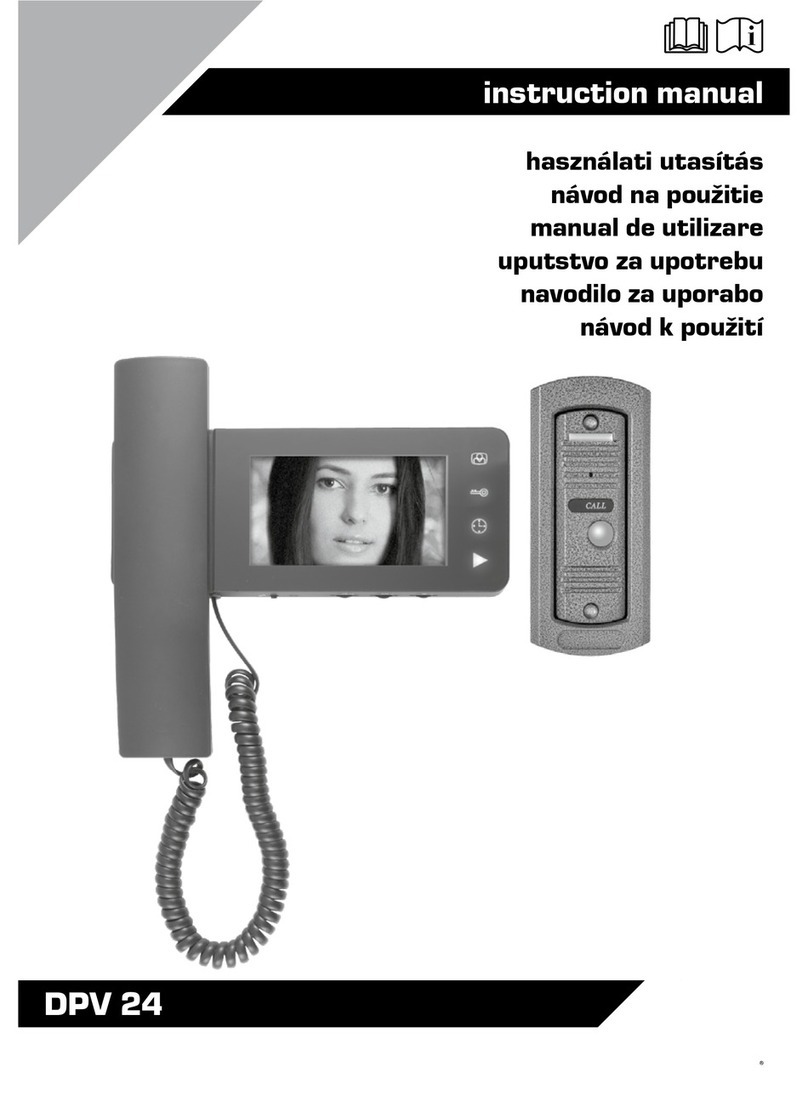
Somogyi Elektronic DPV 24 User manual