Sonoff DIY D1 User manual

中文 English Deutsch Español Français
Italiano Русский язык
Wi-Fi Smart Dimmer Switch
Quick Installation Guide V 1.0

1
ON OF F
ON OF F
ON OF F
ON OF F
1
断 电
Power off
Ausschalten
Apagado
Éteindre
Spegnimento
Вык лючить

设备安 装、 故障维 修请由专业 资质电 工操作,以 免发生触电
危险!
To avoid electric shocks, please consult the dealer or a qualified
professional for help when installing and repairing.
Wenden Sie sich bitte an den Händler oder einen qualifizierten
Fachmann, um Hi l f e bei d e r Installa t i on und R ep a ra t ur zu
erhalten und um Stromschläge zu vermeiden.
Para evitar descargas eléctricas, consulte con su distribuidor
o un profesional cualificado para solicitar ayuda durante la
instalación y la reparación.
Po ur é vi te r l es é le ct ro cu ti o n s , p re ne z c on ta c t a ve c l e
revendeur ou un professionnel qualifié pour obtenir de l'aide
pour l'installation et les réparations éventuelles.
Per evitare scosse elettriche, consultare il rivenditore o un
professionista qualificato per assistenza durante l'installazione
e la riparazione.
Во и зб ежа н и е по ра же ни я эле к т р и ч е с к и м то к о м п ри
установке и р е м о нте обращайтесь за консульта ц и ями к
пр одавцу или квалифицированному специалисту.
2

3
接 线
Wiring instruction
Verkabelungsanleitung
Instrucciones de cableado
Instructions de câblage
Istruzioni per il cablaggio
Инструкции по проводке
2
N In L In L Out N
100-240VAC
设备只支持接入“白织灯”和“可调光的LED灯”使用。
The de vi ce can o nl y conne ct inca n de scent light bulb and
dimma b le LED l ig ht.

确保零火线接入无误。
Make sure the neutral wire and live wire connection is correct.
Vergewissern Sie sich, dass der Anschluss von Neutralleiter
und stromführender P h a s e ko r rekt s ind .
Comp rueb e que las con ex ione s del cab l e ne u tro y act iv o
sean cor recta s.
As s ur ez- vou s q ue l e fil n e ut re et l e fi l so u s te nsi on so nt
correctement installés.
Assicurarsi che il collegamento del cavo di neutro e del cavo
di fase sia corretto.
Убеди тес ь , ч то пр овод не йтр али ( н оль ) и п ров од п од
на п ряжением (фаза) подк л ючены.
Da s Ge rä t ka nn si ch nu r m it G lü hbi rn en u nd di mm b ar en
LE D-L eu c ht en v er bin de n.
El dispositivo solo se puede conectar a una lámpara
incandescente y a una lámpara LED regulable.
L'appareil ne peut raccorder qu'une ampoule à incandescence
et un luminaire LED graduable.
Il dispositivo si può collegare solo a lampade a incandescenza
e a lampade a LED dimmerabili.
Ус тр ойс тв о м оже т с ое ди н ят ьс я т оль ко с л а мп ой
накаливания и светодиодной лампой с регулируемой
яркостью.
4

eWeLink
works with everything
eWeLink
eWeLink
3下载APP
Download the APP
APP herunterladen
Descargar la aplicación
Télécharger l'application
Scarica la APP
Cкачать приложение
5

通电后,设备首次使用,默认进入快速配网模式(Touch)。设备
连接的灯呈“呼吸状态”。
4上 电
Power on
Einschalten
Encender
Allumer
Accensione
Включить
After powering on, the device will enter the quick pairing mode
(Touch) during the first use. The connected light enters the
“breathing mode”.
Nach dem Ein schal te n we ch selt das Ger ät be i der er s ten
Inbe t rieb n ahme i n den Sch n ellko pplun gs modu s (Touch ) .
Das a ngesc hloss e ne Li ch t geh t in d e n „At emmod u s“.
Después de encender, el dispositivo se pondrá en modo de
emparejamiento rápido (táctil) durante el primer uso. La luz
cone ctad a en t ra en “mo do re spira ción ” .
Après allumage, l’appareil entre en mode d’association rapide
(Touch) lors de l’utilisation initiale. L'éclairage raccordé passe
en « mode respiration ».
Dopo l'accensione, il dispositivo entrerà nella modalità di
accoppiamento (a sfioramento) durante il primo utilizzo. La
luce collegata entra nella “modalità attivazione”.
После первого включения устройство перейдет в режим
быстрого сопряжения. Индикатор соединения переходит в
«дышащий режим».
6

三分钟内没有进行配网,设备将退出快速配网模式(Touch)。如需
再次进入,请断电重启直到设备连接的灯呈“呼吸状态”即可。
It will exit the quick pairing mode (Touch) if the device is not
paired within 3mins. If you need to enter this mode again,
please power off and restart the device until the connected
light enters the “breathing mode”.
Es wird den Schn e ll ko pp lu n gs mo du s ( Touch) ver l as se n ,
wenn d as Gerät ni ch t innerh a lb von 3 Minuten gekoppel t
wird. Wenn Si e diesen Mod u s e rn eu t a u fr uf en müssen,
schalte n Sie da s Gerät a us und sta r te n Sie es n eu , bis die
angesch l os s en e Leuchte in den „ At em mo d us “ wechsel t .
Saldrá del modo de emparejamiento rápido (Táctil) si el
dispositivo no se conecta dentro de los 3 minutos. Si
necesitar a ctivar este modo nuevamente, por favor apague
el dispositivo y reinícielo hasta que la luz de conexión se
encuentre e n “modo respiración”.
Il quitte le mode d'appairage rapide (Touch) si l'appareil n'est
pa s appairé dans les 3 minutes. Si vous devez à nouveau
entrer dans ce mode, veuillez éteindre et rallumer l'appareil
jusqu'à ce que le voyant raccordé passe en « mode respiration ».
Se il dispositivo non è accoppiato entro 3 minuti la luce uscirà
da l la m od ali tà di acc op p ia m en to ra pid o (Tou ch) . Se s i
desidera entrare nuovamente in questa modalità, spegnere
e riavviare il dispositivo fino a quando la luce collegata non
entra nella “modalità attivazione”.
Если устройство не выполнило связывание в течение 3
минут, оно выходит из режима быстрого связывания
устройств (к асайтесь). Если потребуется снова перейти
в этот р ежи м , выключ ите п и тан и е и перезапустите
устройство, пок а индикатор соединения не перейдет в
«дышащий режим».
7

Sou nd Pa ir ing
Add dev ice in th is mode i f your
devic e s uppor t this fe ature .
Sca n QR co de
GSM devices and devices with QR co
de can be added in this mode.
Quick Pairing
WIF I devic es can be a dded in t his mo
de( make su re the de vice is i n pairi ng
mod e).
Add D evice
添加设备
Add the device
Gerät hinzufügen
Añadir el dispositivo
Ajouter l'appareil
Aggiungere il dispositivo
Добавить устройство
5
点击“+”,选择“快速添加”,再根据app提示进行操作。
Tap “ + ” and sel e ct “Quick P ai ri ng ”, then op e ra te follow i ng
the pro m pt on the a pp .
8

Pulse “+” y seleccione “emparejamiento rápido”, luego opere
siguiendo las indicaciones de la aplicación.
Tapez sur « + » et séle c t ion n e z « Appairage r ap i d e » , puis
suivez l'invi t e s ur l 'a pp l i cat i o n.
Toccare “+” e sele z io n a re “Accoppiam e nt o rapido”, q ui n di
procedere s eg u e nd o le indic a z io n i dell'app.
Коснитесь «+» и выберите «Быстрое связывание», затем
вы пол ня йт е д ей ст ви я п ос ле п оя вле ни я п од ск аз ки в
пр и л ожении.
设备与SONOFF RM433遥控器的配对方法:
Pair ing me thod for t he dev ice a nd SON OFF RM433
remo te con troller:
Kopplungsverf ahren für das Ger ät u nd die SONOFF
RM433 Fernbedien ung:
Método de emparejamiento para dispositivo y controlador
remoto de SONOFF RM433:
Méthode de couplage de l'appareil et de la télécommande
SONOFF RM433 :
Met odo di acc opp iam ent o tr a il dispositi vo e il
tel eco man do S ONO FF R M433:
Метод связывания устройства и пульта
дистанционного управления SONOFF RM433:
Tippen Sie auf „+“, wählen Sie „Schnellkopplung“ und arbeiten
Sie dann gemäß der Aufforderung auf der app.
9

在设备上电后5s内,短按遥控器任意按键,听到设备蜂鸣器发
出“滴” 一声,即全部按键配对成功。
Short press any button on the RM433 remote controller within
5s after powering on until you hear “Bi”, which indicates all
buttons are paired successfully.
Drücken Sie innerhalb von 5 Sekunden nach dem Einschalten
eine be l iebige Taste de r Fernbe di en ung RM43 3 kurz, b is
Sie „ Bi“ h ö ren , d as an z eig t, da ss all e Tas t en er fol grei ch
ge koppelt sind.
Pulse b r e ve m en t e cualquie r botón del c o n tr o la d or remoto
SONOFF RM433 dentro de los 5 segundos luego de encenderlo
hasta que escuche “Bi”, lo que indica que todos los botones
están emparejados de manera exitosa.
Ap p uy ez b riè vem ent su r n' imp ort e qu ell e to uc h e d e la
télécommande RM433 dans les 5 secondes qui suivent la mise
sous tension jusqu'à ce que vous e n tendiez « Bi », ce q ui
indique que toutes les touches sont appariées avec succès.
10

Выполните коротк ое нажатие любой кноп ки на пульте
дистанционно го управления RM433 в течение 5 сек унд
после включения питания, пок а не услышите звуковой
сигнал, котор ый ук азывает, что связ ывание всех кнопок
выполнено успешно.
Dopo l'accensione, ma entro 5 secondi, premere brevemente
un pulsante qualsiasi del telecomando RM433 fino a quando
no n si sente il segna le “Bip”, a conferma che tut ti i pulsanti
sono stati accoppiati con successo.
RM433遥控器需另行购买。
The RM433 remote controller is not included, please purchase
it separately.
Die Fernbedienung RM433 ist nicht im Lieferumfang enthalten,
bitte kaufen Sie sie separat.
El controla dor remoto SONOFF RM433 no está incluido;
por favor, cómprelo por separado.
La télécommande RM433 n'est pas incluse, veuillez l'acheter
séparément.
Il telecomando RM433 non è incluso, si prega di acquistarlo
separatamente.
Если пульт дистанционного управления RM433 не входит
в комплект поставки, приобретите его отдельно.
11

扫码或输入网址下载并查看设备详细使用说明书。
User Manual
https://www.sonoff.tech/usermanuals
Scan the QR code or enter the website to download and check
detailed device user manual.
Scannen Sie den QR-Code oder besuchen Sie die Website,
um das detaillierte Benutzerhandbuch des Geräts
herunterz uladen und zu überprüfen.
Debe escanear el código QR o entrar al sitio web para descargar
y revisar el ma nual de usuario detallado del dispositivo.
Scannez le code QR ou visitez le site Web pour télécharger
et vérifier le manuel d'utilisation détaillé de l'appareil.
Scansionare il codice QR o accedere al sito web per scaricare e
controllare il manuale dettagliato dell'utente per il dispositivo.
Сканируйте QR-код или посетите веб-сайт, чтобы загрузить
под роб ное ру ков од ст во поль зова т ел я ус тр о йс тва и
ознакомиться с ним.
12

Sca n th e QR co d e to re ad t h e vo ice con tro l instruction for
Amazon Echo Google Home and .
扫码阅读使用天猫精灵、Echo、Google语音控制教程。
Sca n nen S i e den Q R-Co de, um d ie An weis unge n für di e
Spr a chs t euer ung f ür Amaz on Ec ho u n d Go o gle Hom e zu
les e n.
Scansionare il codice QR per leggere le istruzioni di controllo
vocale per Amazon Echo e Google Home.
Сканируйте этот QR для просмотра инструкций по
голосовому управлению для Amazon Echo и Google Home.
E s c a n e e e l c ó d i g o Q R p a r a l e e r l a s i n st ru c ci o ne s de l
control po r v o z de Amazon E cho y Go ogle Hom e.
Scannez le code QR pour lire les instructions de contrôle vocal
de l'Amazon Echo et Google Home.
FCC Warning
Changes or modifications not expressly approved by the party
re sponsible for complianc e c ould avoidthe user’s authority
to o p erate the equipment.
This device complies with part 15 of the FCC Rules. Operation
is subject to the following two conditions: (1) This device may
not c a use ha rmfu l i nter fere n ce, a n d ( 2) thi s d evic e m ust
accept any interference received, including interference that
may cause undesired operation.
13

FCC Radiation Exposure Statement:
This equipment complies with FCC radiation exposure limits
set forth for an uncontrolled environment. This equipment
should be installed and operated with minimum distance
20cm between the radiator & your body. This transmitter
must not be co-located or operating in conjunctionwith any
other antenna or transmitter.
—Reorient or relocate the receiving antenna.
—Increase the separation between the equipment and
receiver.
—Connect the equipment into an outlet on a circuit different
from that to which the receiver is connected.
—Consult the dealer or an experienced radio/TV technician
for help.
Note:
Th i s eq uipment has been tested and found to comply with
the limits for a Class B digital device, pursuant to part 15 of
th e F C C R u l es . T he s e l im i ts ar e d e s i g n e d t o p ro v id e
rea son abl e pro t ect ion aga ins t har m ful i nte rfe ren c e in a
residential installation. This equipment generates, uses and
can radiate radio frequency energy and, if not installed and
used in accordance with the instructions, may cause harmful
interference to radio communications. However, there is no
guara n te e t h at i nt erfere n ce w il l n o t o c cur in a p ar ticula r
installation. If this equipment does cause harmful interference
to radio or television reception, which can be determined by
turning the equipmentoff and on, the user is encouraged to
try to correct the interference by one or more of the following
measures:
14

Shenzhen Sonoff Technologies Co., Ltd.
Room 1001, 10F, Building 8, Lianhua Industrial Park,
Lon gyua n Ro ad,Lon ghua Di strict, Sh enzhen, GD ,
China
https://sonoff.tech
MADE IN CHINA

LIKE IT!
Glad to know you are satisfied with SONOFF products.
It would mean a lot to us if you can take a minute to share
your buying experience.
Share it with your friends and family
Share it on your social media
Share it on Amazon
Get the latest news by following us:
New arrival
Promotion
How-to videos

HAVE A PROBLEM?
We are so sorry for the inconvenience caused by the
product.
Please contact us for help via the email address below.
support@itead.cc
We will get back to you as soon as possible.
Other manuals for DIY D1
1
Table of contents
Other Sonoff Switch manuals
Sonoff
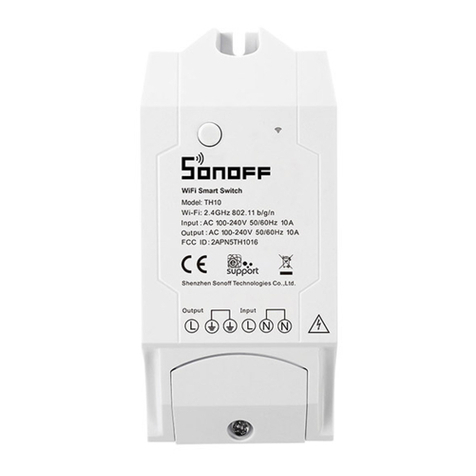
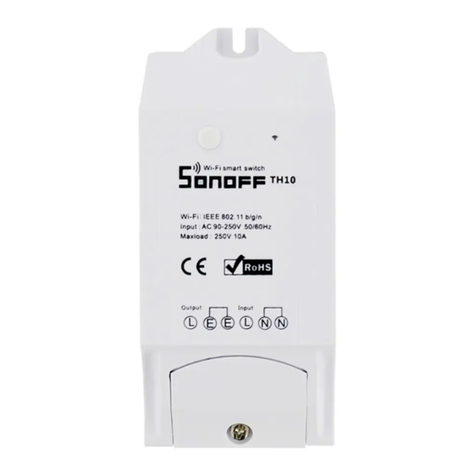
Sonoff TH10/16 User manual
Sonoff
Sonoff TH10 User manual
Sonoff
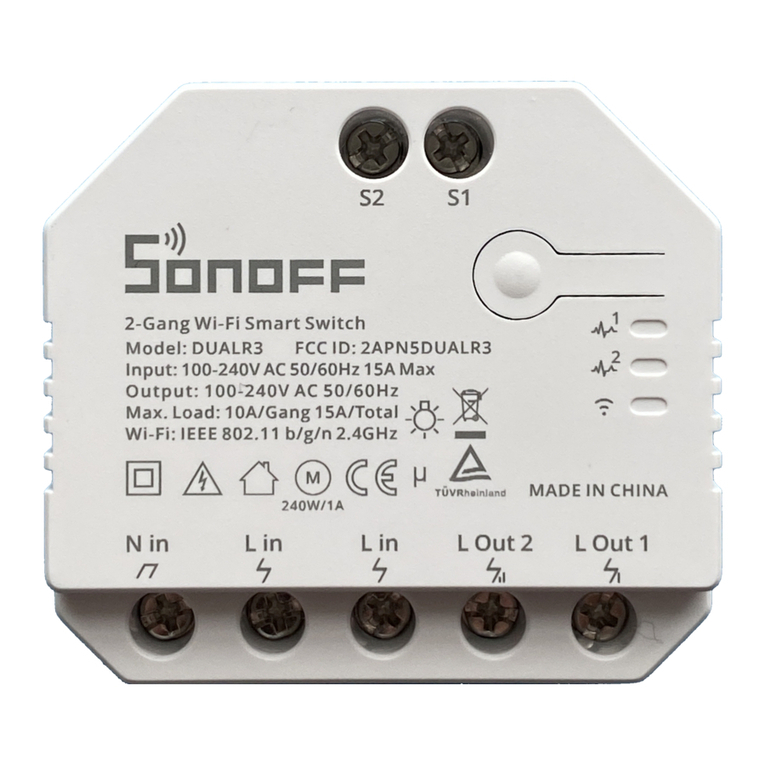
Sonoff DUALR3 User manual
Sonoff
Sonoff RF Bridge User manual
Sonoff
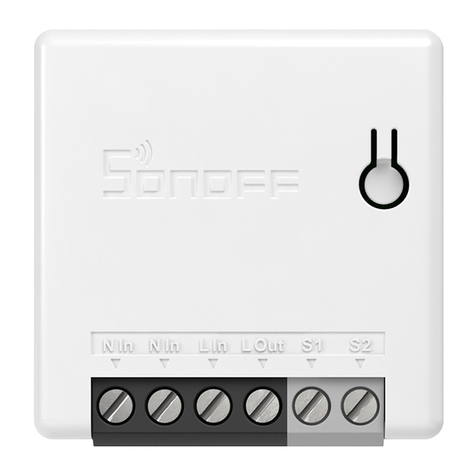
Sonoff ZBMINI User manual
Sonoff
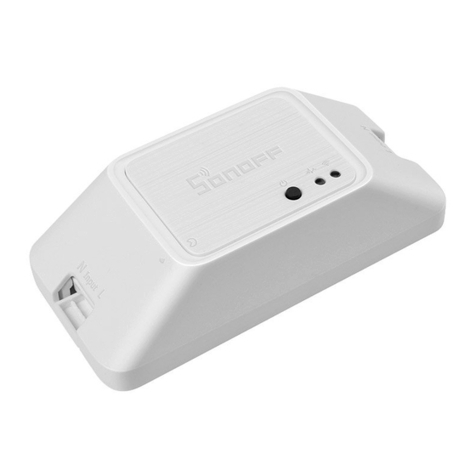
Sonoff ZigBee DIY BASICZBR3 User manual
Sonoff
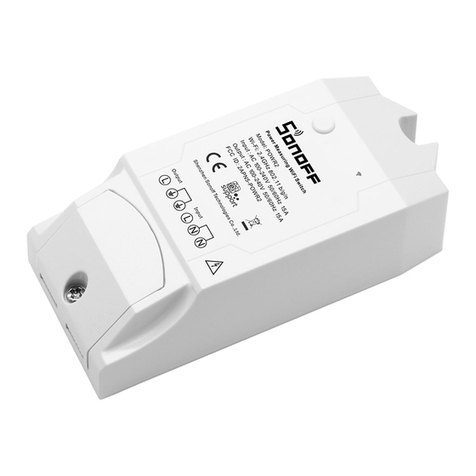
Sonoff Pow R2 User manual
Sonoff
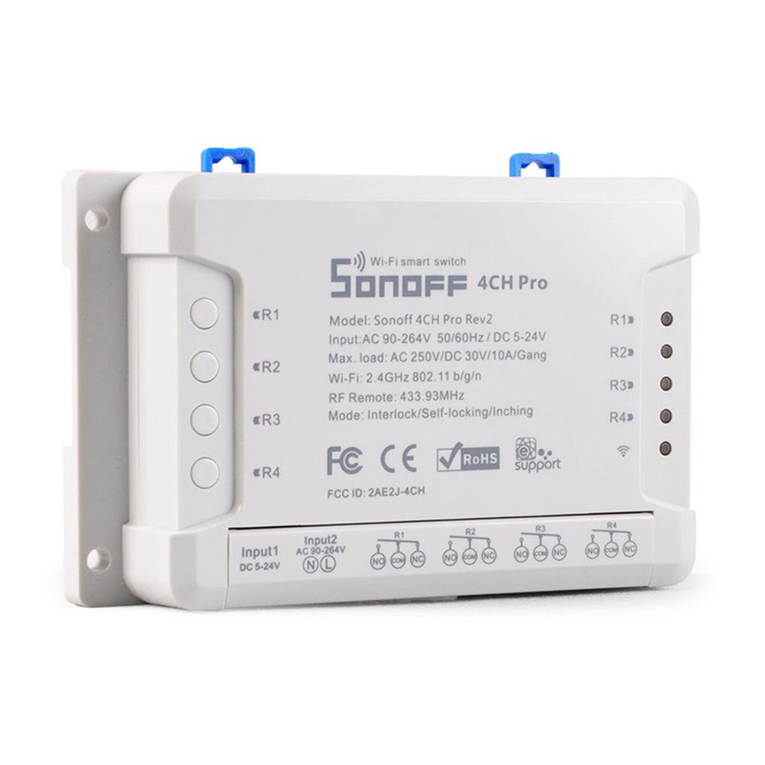
Sonoff 4CH Pro User manual
Sonoff
Sonoff DIY MINIR2 User manual
Sonoff
Sonoff DIY iFan03 User manual
Sonoff
Sonoff S-MATE2 User manual
Sonoff
Sonoff SNZB-01 User manual

Sonoff
Sonoff ZBMINI User manual
Sonoff
Sonoff POWR3 User manual
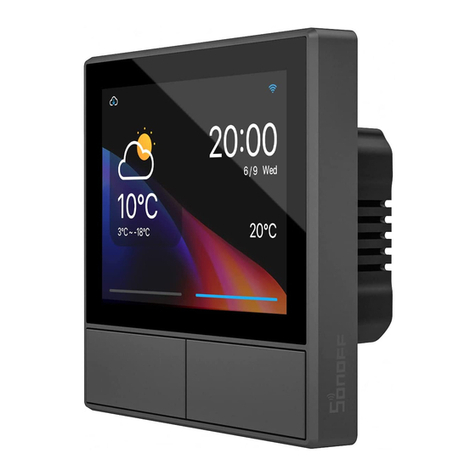
Sonoff
Sonoff NSPanel-EU User manual
Sonoff
Sonoff SNBZ-01 User manual
Sonoff
Sonoff S-MATE User manual
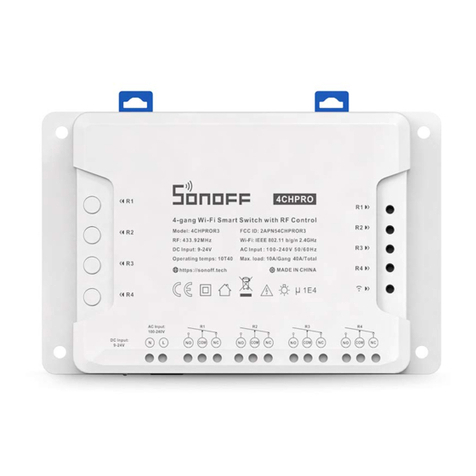
Sonoff
Sonoff 4CHPROR3 User manual

Sonoff
Sonoff SNZB-01 User manual

Sonoff
Sonoff 4CH Pro User manual

