Sonoff MINIR3 User manual

User manual V1.2
NL in LOut
N
MINIR3
中 文 ----------1-5 English----------6-11 FCC Warning----------12
Smart Switch

NL in
NLOut
产品介绍
配对按钮
开关按钮
设备重量<1Kg,建议安装⾼度<2⽶。
Wi-Fi信号指⽰灯(蓝⾊)
开关指⽰灯(红⾊)
功能特点
远程控制 智能定时/延时 语⾳控制 分享功能
局域⽹功能
智能场景
DIY模式
“轻智能”控制 组功
点动模式
使⽤说明
1.断电
ON O FF
ON O FF
ON O FF
ON O FF
设备安装、故障维修请由专业资质电⼯操作。切勿在设备通电时进⾏接线操作或触碰到接线端⼦,以免
发⽣触电危险!
中⽂
1
Shenzhen Sonoff Technologies Co., Ltd.
MINIR3是⼀⼤可连接16A电器的智能开关。带有“轻智能⽹关”功能,轻智能⼦设备添加⾄⽹关后可
本地近距离控制⽹关的开关,也可通过云端在智能场景中设置联动触发其他智能设备。

2.接线
接线前先拆下保护盖:
灯具接线⽰意:
NL in LOut
N
LOut
100-240V AC LIn
N
NL in LOut
N
LOut
100-240V AC LIn
N N
电器接线⽰意:
确保线路接⼊⽆误后,再合上保护盖。
中⽂
2
Shenzhen Sonoff Technologies Co., Ltd.
阻性负载
N
3.下载“易微联”App
易 微 联
eWeLink
Android™ & iOS

NL in
NLOut
4.上电
通电后,设备⾸次使⽤,默认进⼊蓝⽛配⽹模式。Wi-Fi指⽰灯呈“两短⼀⻓闪烁”。
三分钟内没有进⾏配⽹,设备将退出蓝⽛配⽹模式。如需再次进⼊,⻓按配对按钮5秒直到Wi-Fi指⽰灯
呈两短⼀⻓闪烁即可。
5.配对设备
点击“+”,选择“ 蓝⽛配⽹”,再根据APP提⽰进⾏操作。
添加设备
快速添加
适用于大 部分易微 联生态设 备
声波添加
适用于摄 像头等支持
声波配对 设备
扫码添加
GSM 类设备和附带
二维码的 设备
所有设 备
蓝牙配网
适用于蓝牙配网
中⽂
3
Shenzhen Sonoff Technologies Co., Ltd.
轻智能⼦设备
进⼊APPMINIR3设置⻚⾯,点击轻智能⼦设备,然后触发⼦设备,即可添加成功。
MIN IR3
定时 延时
该设备最多添加8设备。
循环定时
设备设置
快捷设置
位置管理
分享设备
创建群组
⼩程序控制
局域⽹控 制
设备设置
轻智能情 景
轻智能⼦ 设备
操作记录
>
>
>
>
>
0/8
>
>
⽹络指⽰ 灯
通电反应
>
轻智能⼦设备
>
0/8
添加

产品参数
型号
输⼊
输
⽀持平台
产品规格
MINIR3
100-240V ~ 50/60Hz 16A Max
100-240V ~ 50/60Hz 16A Max
PC V0
54x45x24mm
Android & iOS
最⼤负载 3500W
“轻智能”接收距离 最⼤50⽶
外壳材料
Wi-Fi信号指⽰灯状态说明
快速闪烁
蓝⽛配⽹模式两短⼀⻓闪烁
常亮
DIY配对模式
设备在线
快闪⼀下 未连接路由
快闪⼆下 已连接上路由器,但未连接到云端
快闪三下 固件升级中
状态描述
指⽰灯状态
Wi-Fi IEEE 802.11 b/g/n 2.4GHz
⼯作温度 -10℃~40℃
中⽂
4
Shenzhen Sonoff Technologies Co., Ltd.
⻓按设备配对按钮5秒直到Wi-Fi指⽰灯呈“两短⼀⻓闪烁”状态,松开。再次设备⻓按配对按钮5
Wi-Fi指⽰灯呈“快闪”状态,此时设备进⼊DIY配对模式。
如何进⼊DIY配对模式:
DIY模式
DIY模式专为希望通过现有家庭⾃动化开源平台或本地HTTP⼾端⽽不是eWeLinkApp制SONOFF
设备的IoT⾃动化⽤⼾和开发⼈员⽽设计 (https://sonoff.tech)。
三分钟内没进⾏配⽹,设备将退出DIY配对模式。

中⽂
恢复出⼚设置
在eWeLinkAPP端“删除设备”,设备即恢复出⼚设置。
5
Shenzhen Sonoff Technologies Co., Ltd.
常⻅问题
LED指⽰灯每2闪烁⼀次,表⽰您⽆法连接到路由器。
1.可您输⼊了错误的Wi-FiSSID和码。
2.确保您的Wi-FiSSID和码不包含特殊字符,例如希伯来语、阿拉伯语字符,我们的系统⽆法识别这些
字符,因此⽆法连接到Wi-Fi。
3.可你的路由器承载能⼒较低。
4.可是Wi-Fi强度较弱。您的路由器距离您的设备太远,或者路由器和设备之间可能存在阻碍信号传输
的障碍物。
5.确保设备的MAC不在您的MAC理⿊单中。
LED指⽰灯重复闪烁两次表⽰您⽆法连接到服务器。
1.确保互联⽹连接正常。您可以使⽤您的⼿机或PC连接互联⽹,如果⽆法访问,请检查互联⽹连接的可⽤性。
2.可你的路由器承载能⼒低。连接到路由器的设备数量超过其最⼤值。请确认您的路由器可以携带的
最⼤设备数量。如果超过,请删除⼀些设备或换个更⼤的路由器再试。
3.请联系您的ISP确认我们的服务器地址没有被屏蔽:
cn-disp.coolkit.cc(中国⼤陆)
as-disp.coolkit.cc(亚洲除中国外)
eu-disp.coolkit.cc(在盟)
us-disp.coolkit.cc(国)
果上决此问题,请通过eWeLinkAPP上的帮助&反馈提交您的请求。
Wi-Fi设备“离线”问题,请通过Wi-FiLED指⽰灯状态检查以下问题:
Wi-Fi设备与eWeLinkAPP配对失败。
1.确保设备处于配对模式。三分钟内没进⾏配⽹,设备将⾃动退出配对模式。
2.请开启定位服务并允许定位权限。在选择Wi-Fi络之前,请开启定位服务并允许定位权限。
位置信息权限⽤于获取Wi-Fi列。果单击禁⽤,您将⽆法添加设备。
3.确保您的Wi-Fi络为2.4GHz频段。
4.确保您输⼊了正确的Wi-FiSSID和码,没有包含特殊字符。密码错误是配对失败的⼀个
⾮常常⻅的原因。
5.配对时设备应靠近路由器,以保证良好的传输信号条件。

NL in
NLOut
Features
MINIR3 is a smart switch that can connect up to 16A electrical appliances. With the "eWeLink-
Remote gateway" function, the eWeLink-Remote sub-devices can be added to the gateway to
control the switch of the gateway at close range locally, and can also trigger other smart devices
in the smart scene through the cloud.
DIY Mode
“eWeLink-Remote”
control
ON O FF
ON O FF
ON O FF
ON O FF
English
The device weight is less than 1 kg. The installation height of less than 2 m is recommended.
Pairing button
On/Off button
Wi-Fi LED indicator(Blue)
On/Off LED indicator(Red)
Remote Control Single/Countdown
Timing
Share Control Voice Control Smart Scene
Product Introduction
Inching Mode LAN Control
Operating Instruction
1. Power off
Shenzhen Sonoff Technologies Co., Ltd.
Group Control
6
Please install and maintain the device by a professional electrician. To avoid electric shock
hazard, do not operate any connection or contact the terminal connector while the device is
powered on !

Before wiring, please remove the protective cover:
NL in LOut
N
LOut
100-240V AC LIn
N
N
NL in LOut
N
LOut
100-240V AC LIn
N N
Close the protective cover after confirming the wiring is correct.
2. Wiring instruction
Appliance wiring instruction:
English
Shenzhen Sonoff Technologies Co., Ltd.
Resistive load
Light fixture wiring instruction:
7

NL in
NLOut
3. Download the eWeLink App
eWeLink
eWeLink
Android™ & iOS
4. Power on
After powering on, the device will enter the bluetooth pairing mode during the first use. The
Wi-Fi LED indicator changes in a cycle of two short and one long flash and release.
The device will exit the bluetooth pairing mode if not paired within 3mins. If you want to enter
this mode, please long press the manual button for about 5s until the Wi-Fi LED indicator
changes in a cycle of two short and one long flash and release.
5. Pair with eWeLink App
Tap “+” and select “bluetooth pairing” , then operate following the prompt on the APP.
Sou nd Pa iri ng
Avail able fo r eWeLi nk supp ort dev ices
Avail able fo r GSM
and ot her dev ices
with Q Rcode .
Available for camera
and other devices that
support this pairing
method.
Add D evice All de vices
Quick P ai rin g
Sca n QR co de
Ava il able for bluetoot h
conn ec ti on.
Bluetooth Pairing
English
Shenzhen Sonoff Technologies Co., Ltd.
8

MIN IR3
Sched ule
This device can be added up to 8 sub-devices.
Timer L oopTime r
Dev iceS ett ing s
Sho rtcu ts
Ope ration r ecord
>
>
>
>
>
0/32
>
>
Net work in dicat or
>
Ass ign loc ation
Sha re
Crea te grou p
WeCh at cont rol
LAN c ontrol
Devi ce Sett ings
eWeL ink Rem ote Sce ne
eWeL ink Rem ote
Powe r-on Se tting s
>
0/8
eWeLink-Remotesub-devices
MINIR3
100-240V ~ 50/60Hz 16A Max
100-240V ~ 50/60Hz 16A Max
PC V0
54x45x24mm
Android & iOS
3500W
Up to 50M
DIY Pairing Mode
Device is Oline
Fail to Connect to Router
Connected to Router but Fail to Connect to Serve
Firmware Updating
Shell material
“eWeLink Remote” receiving distance
Model
Input
Output
Max.load
Operating systems
Dimension
LED indicator status
Flashes (one long and two short)
Keeps on
Flashes quickly
Flashes quickly once
Flashes quickly three times
Flashes quickly twice
Status instruction
Bluetooth Pairing Mode
Wi-Fi LED indicator status instruction
Specifications
IEEE 802.11 b/g/n 2.4GHz
Wi-Fi
Frequencyrange 2400-2483.5Mhz
Hardware Versions: V1.0 Software Versions: V1.0
VersionInformation
Wi-Fi: 18dbm(e.i.r.p) BLE: 10dbm(e.i.r.p)
MaximumRFoutputpower
-10℃~40℃
Working temperature
English
Shenzhen Sonoff Technologies Co., Ltd.
Add
Add eWeLink-Remote Sub-devices
Enter the MINIR3 setting page, click eWeLink-Remote sub-devices on the App and trigger the
sub-device by pressing the button on the device, then it will be added successfully.
9

Long press Pairing button for 5s until the Wi-Fi LED indicator changes in a cycle of two short
flashes and one long flash and release. Long press Pairing button for 5s again until the Wi-Fi
LED indicator flashes quickly. Then, the device enters DIY Pairing Mode.
The DIY Mode is designed for IoT home automation users and developers who would like to
control the SONOFF device via existing home automation open-source platforms or local HTTP
clients instead of the eWeLink App(https://sonoff.tech).
How to enter the DIY Pairing Mode:
DIY Mode
Deleting the device on the eWeLink app indicates you restore it to factory setting.
Factory Reset
English
Shenzhen Sonoff Technologies Co., Ltd.
The device will exit the DIY Pairing Mode if not paired within 3mins.
10

Common Problems
Fail to pair Wi-Fi devices to eWeLink APP
1. Make sure the device is in pairing mode. After three minutes of unsuccessful pairing, the
device will automatically exit pairing mode.
2. Please turn on location services and allow location permission. Before choosing the Wi-Fi
network, location services should be turned on and location permission should be allowed.
Location information permission is used to obtain Wi-Fi list information. If you click Disable,
you will not be able to add devices.
3. Make sure your Wi-Fi network runs on the 2.4GHz band.
4. Make sure you entered a correct Wi-Fi SSID and password, no special characters contained.
Wrong password is a very common reason for pairing failure.
5. The device shall get close to the router for a good transmission signal condition while pairing.
Wi-Fi devices "Offline" issue, Please check the following problems by the Wi-Fi LED indicator
status:
The LED indicator blinks once every 2s means you fail to connect to the router.
1. Maybe you entered the wrong Wi-Fi SSID and password.
2. Make sure that your Wi-Fi SSID and password don't contain special characters, for example,
the Hebrew, Arabic characters, our system can't recognize these characters
and then fail to connect to the Wi-Fi.
3. Maybe your router has a lower carrying capacity.
4. Maybe the Wi-Fi strength is weak. Your router is too far away from your device, or there may
be some obstacle between the router and device which blocks the signal transmission.
5. Be sure that the MAC of the device is not on the blacklist of your MAC management.
The LED indicator flashes twice on repeated means you fail to connect to the server.
1. Make sure the Internet connection is working. You can use your phone or PC to connect to
the Internet, and if it fails to access, please check the availability of the Internet connection.
2. Maybe your router has a low carrying capacity. The number of devices connected to the router
exceeds its maximum value. Please confirm the maximum number of devices that your router
can carry. If it exceeds, please delete some devices or get a lager router and try again.
3. Please contact your ISP and confirm our server address is not shielded:
cn-disp.coolkit.cc (China Mainland)
as-disp.coolkit.cc (in Asia except China)
eu-disp.coolkit.cc (in EU)
us-disp.coolkit.cc (in US)
If none of the above methods solved this problem, please submit your request via help&feedback
on the eWeLink APP.
English
Shenzhen Sonoff Technologies Co., Ltd.
11

FCC Radiation Exposure Statement:
FCC Warning
Changes or modifications not expressly approved by the party responsible for compliance
could avoid the user’s authority to operate the equipment.
Note:
— Reorient or relocate the receiving antenna.
— Increase the separation between the equipment and receiver.
— Connect the equipment into an outlet on a circuit different from that to which the receiver is
connected.
— Consult the dealer or an experienced radio/TV technician for help.
This device complies with part 15 of the FCC Rules. Operation is subject to the following two
conditions: (1) This device may not cause harmful interference, and (2) this device must accept
any interference received, including interference that may cause undesired operation.
This equipment complies with FCC radiation exposure limits set forth for an uncontrolled
environment. This equipment should be installed and operated with minimum distance20cm
between the radiator & your body. This transmitter must not be co-located or operating in
conjunction with any other antenna or transmitter.
This equipment has been tested and found to comply with the limits for a Class B digital device,
pursuant to part 15 of the FCC Rules. These limits are designed to provide reasonable protection
against harmful interference in a residential installation. This equipment generates, uses and
can radiate radio frequency energy and, if not installed and used in accordance with the
instructions, may cause harmful interference to radio communications. However, there is no
guarantee that interference will not occur in a particular installation. If this equipment does
cause harmful interference to radio or television reception, which can be determined by turning
the equipment off and on, the user is encouraged to try to correct the interference by one or
more of the following measures:
FCC Warning
Shenzhen Sonoff Technologies Co., Ltd.
12

Shenzhen Sonoff Technologies Co., Ltd.
MADE IN CHINA
1001, BLDG8, Lianhua Industrial Park, shenzhen, GD, China
ZIP code: 518000 Website: sonoff.tech
https://sonoff.tech/usermanuals
Hereby, Shenzhen Sonoff Technologies Co., Ltd. declares that the radio equipment type MINIR3
is in compliance with Directive 2014/53/EU.The full text of the EU declaration of conformity is
available at the following internet address:
Table of contents
Other Sonoff Switch manuals
Sonoff
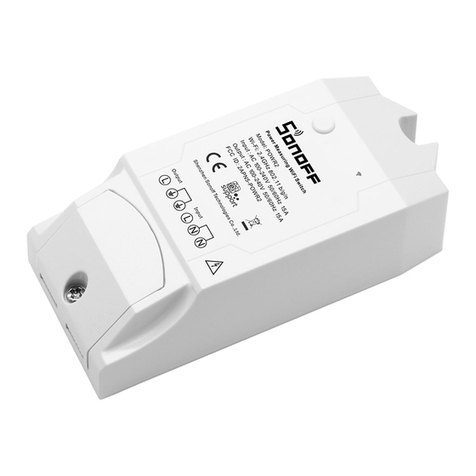
Sonoff Pow R2 User manual
Sonoff
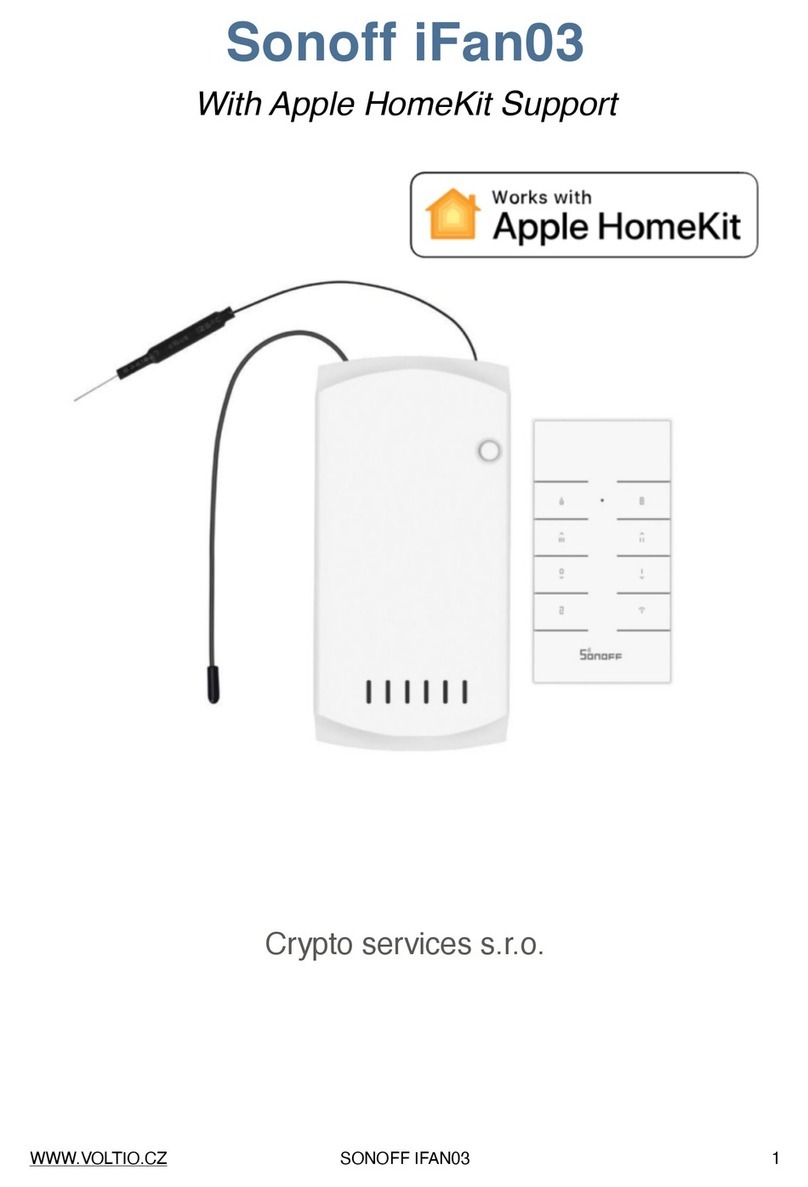
Sonoff DIY iFan03 User manual
Sonoff
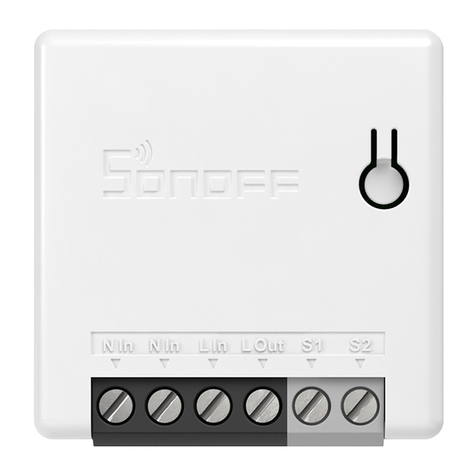
Sonoff DIY MINIR2 User manual
Sonoff
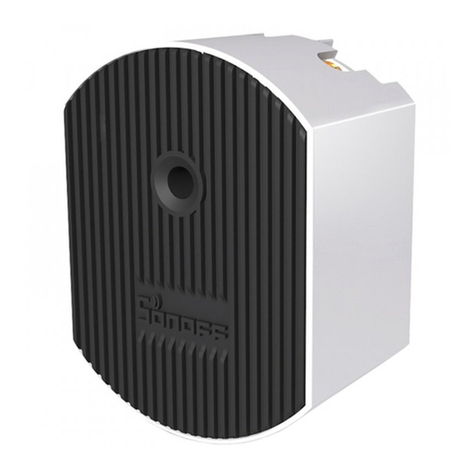
Sonoff D1 User manual
Sonoff
Sonoff TX UK User manual
Sonoff
Sonoff BASICR3 User manual
Sonoff
Sonoff DUALR3 User manual
Sonoff
Sonoff T0 User manual
Sonoff
Sonoff DIY D1 User manual
Sonoff
Sonoff TH10/16 User manual

Sonoff
Sonoff ZBMINI User manual

Sonoff
Sonoff DIY D1 User manual
Sonoff
Sonoff TH10 User manual
Sonoff
Sonoff 4CH Pro User manual
Sonoff
Sonoff POWR3 User manual

Sonoff
Sonoff ZBMINI-L User manual
Sonoff
Sonoff DIY POWR3 User manual
Sonoff
Sonoff TX US User manual
Sonoff
Sonoff SNZB-01 User manual
Sonoff
Sonoff MINIR4M User manual

