Sony FDL-3105 User manual

FDL-3105
SERVICE
MANUAL
US Model
color
watchman
SPECIFICATIONS
TV standard American TV standard
Color system NTSC
Channel coverage
VHF channel 2-13
UHF channel 14-69
Radio frequency range
FM: 87.6-108 MHz (Stereo).
AM: 530-l ,710
kHz
(Mono)
Antenna VHF/UHF/FM: telescopic antenna
AM: built-in ferrite bar antenna
Display TN LCD/TFT active matrix method
Effective picture-element ratio: more than 99.99%
Picture size 3-inch picture measured diagonally
Speaker 36 mm (1
7/16
inches) dia.
EXT ANT: minijack, impedance 75 ohms (for TV/FM-radio)
A/V IN: tripolar minijack, impedance audio 47 kilohms/
video 75 ohms
output
(headphones): stereo minijack, impedance 8-300 ohms
Power requirement 9 V DC, See “Power sources”. (page 3)
Battery life See “Power sources”.
Power consumption 3.8 W (9 V DC) AC adaptor use
Dimensions Approx.l13.6 x 166.1 x 60 mm (w/h/d)
(4
1/
2
x 6
1/
2
x 2
3/
8 inches)
incl.
projecting parts
Weight Approx. 0.58 kg (1 lb 4 oz) incl. batteries
Approx. 0.45 kg (1 lb) excl. batteries
Accessories supplied
AC power adaptor
(l),
Sun shade
(l),
Carrying pouch (1)
Optional accessories
Alkaline battery size AA (LR 6)
AV cord
AVK-715M
Car antenna VCA-SE
Headphones MDR-34
Car battery cord DCC-E19OL
Design and specifications subject to change without notice.
LCD
COLORTV=AM/FMSTEREOTUNER
SONY@

FDL-3105
SERVICE MANUAL US
Model
color
watchman

Notes on chip component replacement TABLE OF CONTENTS
l
Never reuse a disconnected chip component.
l
Notice that the minus side of a tantalum capacitor may Set tion
Title Page
be damaged by heat.
Flexible Circuit Board Repairing
1. GENERAL . . . . . . . . . . . . . . . . . . . . . . . ..*................
3
l
Keep the temperature,of the soldering iron around 2. DISASSEMBLY
270
“C
during repairing.
2-
1.
Cabinet
(Rear)
Assy
. . . . . . . . . . . . . . . . . . . l l . l l
4
l
Do not touch the soldering iron on the same conductor 2-2. A, R Boards
. . . . . . . . . . . . . . . . . . . . . . . . . . . . . . . . .
4
of the circuit board (within 3 times).
l
Be careful not to apply force on the conductor when 2-
3.
Indicator Module (LCD) l l l l l l l l l l l l l l l l l l . l 5
soldering or unsoldering. 2-J.
Dial
pointer
Setting.........................
5
3. ELECTRICAL ADJUSTMENTS
3-l. TV Section
. . . . . . . . . . . . . . . . . . . . . . . . . . . . . . . . . . .
6
Features
3-2. Radio Section
. . . . . . . . . . . . . . . . . . . . . . . . . . . . . . . .
8
l
The LCD (Liquid Crystal Display) provides clear pictures and natural
facial color tones.
l
It is used as an AV (audio/video) monitor.
l
The voltage synthesizer tuning system allows easy tuning.
l
Grip and stand are provided for cohvenient use.
l
The new power circuit and fluorescent lamp provide long
battery life (approx. 5 hours with alkaline batteries).
4. DIAGRAMS
4- 1. Block Diagram
. . . . . . . . . . . . . . . . . . . . . . . . . . . . . .
11
4-
2.
Semiconductor Lead Layouts . l l . . l . . . l l . l . l 14
J-3.
printed
Wiring
Board.......................
17
4-4. Schematic Diagrams.........................
21
Note to CATV system installer in the U.S.A.:
-
This reminder is provided to call the CATV system installer’s attention to
Article 820-40 of the NEC that provides guidelines for proper grounding
and, in particular, specifies that the cable ground shall be connected to
the grounding system of the building, as close to the point of cable entry
as practical.
4- 5. IC Block Diagrams ..........................
21
4- 5. IC Description...............................
23
5. EXPLODED VIEWS
5- 1. Cabinet Section .............................
25
5- 2. Display Section .............................
26
6. ELECTRICAL PARTS LIST
. . . . . . . . . . . . . . . . . . . . . . . . . . 27

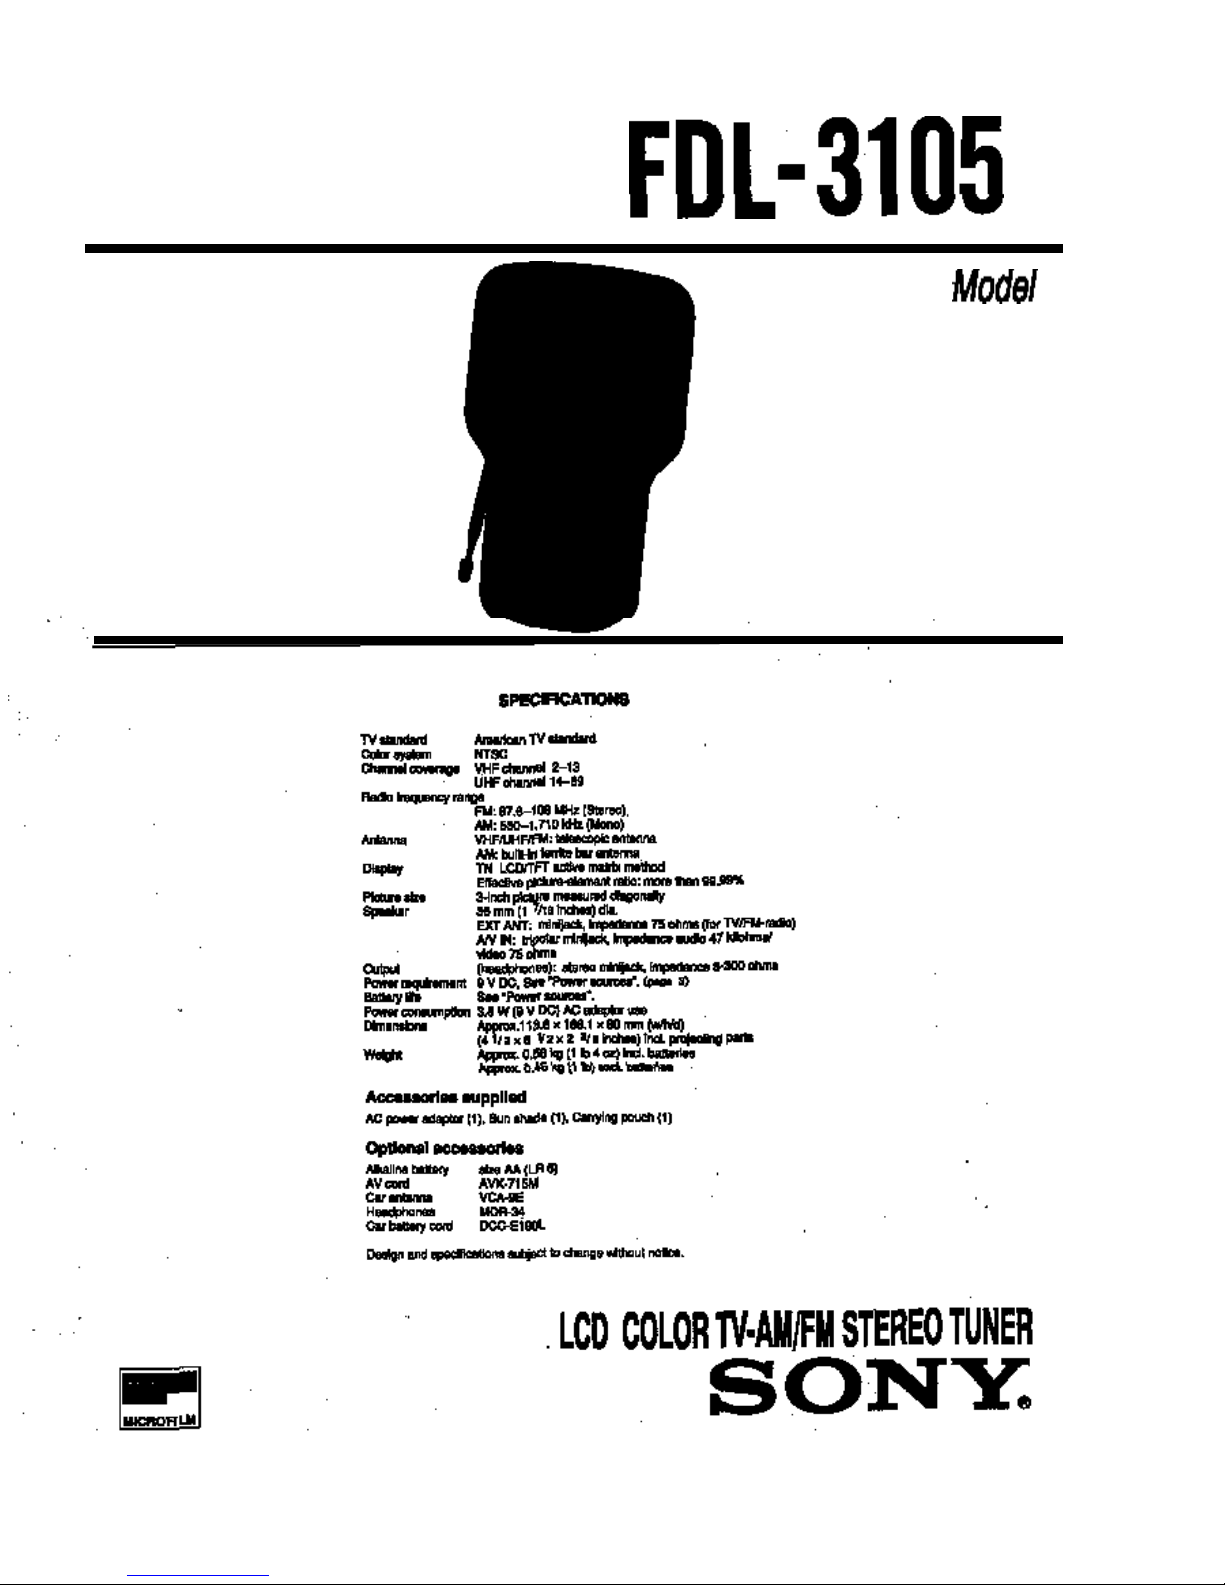
Use the supplied AC power adaptor. 35
Y
6
Insert six size AA (LR6) batteries (not supplied).
I
Raise the antenna horn the unit. to a wall outlet
e
2
Push the PUSH mark on the stand and open. Notes
l Use only the supplied AC power adaptor. Do not use any other AC
power adaptor.
c&e
@--0
Polarity of the plug.
l When the unit is not to be used for a long period of time, remove the
batteries to avoid unit damage caused by battery leakage and
corrosion.
1
Select the band, VHF or UHF.
UHF* .VHF
1
Set the POWER switch to RADIO.
A
TV BAND POWER
2
Select the band, AM or FM.
RADtO
BAND
2
Set the POWER switch to TV.
The unit starts tuning automatically.
POWER
3
Slide the battery compartment lid.
Connect the Sony
DCC-E19OL
car battery cord (not supplied) to the DC IN
9V
jack. Use only recommended car battery cord. Do not use any other
car battery cord.
~~~
3
Pull out the antenna fully for FM reception.
3
Pull out the antenna fully.
4
Tune in the desired channel.
4
Tune in the desired station.
RADIO TUNING
+
CHANNEL-
I
4
InseR
the batteries with correct polaritie
cd
I
Lay the ribbon under the
batteries.
Push the PUSH mark and open the stand.
~~~
~
5
For FM reception, adjust the length and direction of the antenna.
For AM reception, rotate the unit.
5
Adjust the length and direction of the antenna,
For UHF, the receiving may be better with the short antenna.
6
Adjust the volume.
6
Adjust the volume.
'5
Reinstall the lid. To turn off the radio
Set the POWER switch lo OFF
To turn off the TV
Set the POWER switch to OFF, and fold down the antenna.
and told the antenna.
Note
Be sure to turn off the’radio after use, especially when listening with the
headphones. This prevents unnecessary battery wear.
To lislen to the FM stereo programs in stereo, connect the headphones
with
Ihe
stereo miniplug (not suppked) to
the
I!
jack.
If the channel chan,ges
If the power is momentarily lost because of mechanical shock, or if the unit
has passed through a tunnel, the channel may change. If this happens,
tune in the desired channel again with CHANNEL
+I-.
To indicate the current channel
Press the CH (channel) CALL button.
The line (green for VHF, red for UHF) appears at the position of
the
current
channel.
When you cannot view the picture clearly owing to reflected lighl, use the
supplied sun shade.
6
Replace the stand and antenna.
To remove the batteries
Pull the ribbon. The batteries will pop out of the compartment.
Battery replacement
When the batteries become weak, the unit’s prolective function will
automatrcally cause the picture to disappear. When you are listening to
the radio, the sound may be distorted. When you are listening to an FM
stereo program in stereo lhrough the headphones, the sound may
become monaural. In this case, replace all the batteries with new ones.
HUE BRIGHT
639
4
)
.a&
skin tones
skin tones for less for more
become purplish become greenish brighlness brightness
Attach the sun shade until it clicks.
Battery life
You can use approximately following hours continuously.
II
Batterv
I
TV
I
I I Radio 1
Alkaline
5
45
I
The battery life becomes short in a cold place.
For your safely. do not watch the TV nor operate
Ihe
controls while
driving.

SECTION 2
DISASSEMBLY
NOTE : Follow the disassembly procedure in the numerical order given.
2-
1. CABINET (REAR) ASSY
0 PTP2xlO
0
PTP2xlO
2-2. A, R BOARDS
,@
cabinet (rear) assy
WPTPWH2 1


2-
3. INDICATOR MODULE (LCD)
@indicator
2-
4. DIAL POINTER SETTING
l Fully rotate tuning capacitor drum in the direction of the
arrow@. Align pointer to the direction of the arrow
@I
and insert it.
P
ointer
uning capacitor drum

SECTION 3
ELECTRICAL ADJUSTMENTS
is-
- 1. TV SECTION
1.
2.
3.
4.
5.
6.
7.
PRECAUTION
Make adjustment in sequence as described.
Power supply voltage is + 9.0 +O.lV (DC jack end) unless
otherwise specified. Power supply shall not be input
overlapped.
Check the error in waveform and screen for adjustment.
Measure a fluorescent tube and an liquid crystal display
module device by connecting them with the A board.
Unless otherwise specified, input the color bar signal, etc.
from A/V IN jack
(J301)
by using AV-cord
(AVK-715M,
etc.) to intercept the internal TV detection output. Also,
usually use monochromatic gradation wave mono scope
with
chroma
signal OFF.
Measuring instruments
l NTSC pattern generator
l Digital multitester
l Oscilloscope
l Frequency counter
Modes of Switches and Control
S601
(POWER)
•**~~~~~******TV
SlOl
(TV BAND) l . . . l . l l l . . VHF
RV401
(VOL) . . . . . . . . . . . . . .
..minimum
VOLTAGE ADJUSTMENT
1. input the pattern generator (Color chart,
75Q
lVp-p) to
Procedure:
the A/V IN jack
(J301).
1. Connect a digital multitester between TP213 (+4.2V) and
(GND) on the A board, and then adjust RV602 so that
the reading of the voltage is + 4.2
t
0.02V.
Connect an oscilloscope (DC) to TP513 (COM) to check
2. Common signal check
(2H
cycle)
if the waveform is as shown in the following figure.
Adjustment Location:
A BOARD
WAVEFORM CHECK
H pulse check
(H
cycle)
Connect an oscilloscope to Pin 21 of
IC301
(H
PULSE) to
check if the waveform is as shown in the following figure.
(5
vsec)
(about 63.5 psec)
.
HORIZONTAL AFC ADJUSTMENT
Procedure:
1.
2.
3.
4.
5.
6,
7.
Input the pattern generator (monoscope, ‘75
Q
and
1 Vp-p) to the A/V IN jack
(J301).
Short TP502
(IC801
pin 10) to GND.
The horizontal and vertical synchronization lines start
moving.
Adjust
LV801
so that these lines stop moving.(Refer to
Figure 3- 2.)
Check that the frequency counter connected to TP505
is 15.734
kHz
+
60 Hz.
Disconnect the line between TP502
(IC801
pin 10) and
GND.
Check that the lines are in the display frame and the
synchronization is stable.
E3
No good Good
Fig.
3-
1 No good
Fig. 3-2
Fig.
3-3
m
H
COMMON SIGNAL VOLTAGE ADJUSTMENT and HUE
CHECK
Procedure:
GND electric potential
(63.5
p
set)
3. Check that the blue signal output is as follows. (Chroma
demodulation)
If not, adjust RV306 (HUE Control).
These levels
are
almost the same.
6-

--.*Bo*pD

4. Connect an oscilloscope to the TP304
(IC301
Pin 36) blue
*output.
CONTRAST ADJUSTMENT
Procedure:
1. Short between
IC301
pin-46 and pin-33, and between
pin-45 and GND. (Short them at the same time.) Picture
will show the white- compressed picture.
2. Input the 5- to 16-step black and white wave (stair-
step) of the pattern generator (75
Sz
and 1 Vp-p) to the
A/V IN jack
(J301).
3. Connect an oscilloscope (DC range 1
V/
DIV) to the
TP305
(IC301
pin 34) green output.
4. Adjust RV307 (BRIGHT control) so that the black level
obtains
-
3.8V
(line K).
A : 3.8 !I O.lVp-p
u-W
Negative polarity Positive polarity
5. Adjust RV301 (contrast) so that the white line obtains
’the GND potential (line
M)
(A = 3.8
t
O.lVp-p).
6. Disconnect pin 46 from pin 33 of
IC301,
and pin 45 from
GND.
WHITE BALANCE ADJUSTMENT
Note: When performing this adjustment, set the direct
current drift
.adjustment
so that the direct currents
on each channel of the oscilloscope is stabilized, and
use the oscilloscope in this condition.
Procedure:
1. Short between
IC301
pin-46 and pin-33, and between
pin-45 and GND. (Short them at the same time.) Picture
will show the white
-
compressed picture.
2. Input the 5- to 16-step black and white step wave (stair
-step) of the pattern generator (75
Sz
and 1 Vp-p) to
the A/V IN jack
(J301).
3. Connect an oscilloscope (CHl) to the TP305
(IC301
pin
34) green output and
(CHZ)
to the TP504
(IC301
pin
32) red output.
4. Turn RV308 (SUB CONT R) to adjust the red gain so
that the positive polarity red signal step wave coincides
with the positive polarity green signal step wave on the
5. Connect an oscilloscope (CHl) to the TP305
(IC301
pin
34) green output and
(CH2)
to the TP
(IC301
pin 36)
blue output.
6. Turn RV309 (SUB CONT B) to adjust the blue gain so
that the positive polarity red signal step wave coincides
with the positive polarity green signal step wave on the
oscilloscope.
7. Disconnect pin 46 from pin 33 of
IC301,
and pin 45 from
GND.
The positive polarity signal and the negative polarity
signal may not simultaneously coincide due to the
variation.(Figures a and b)
In this case, adjust these signals to an average value.
(Figure
c)
Figure b Figure c
VIF ADJUSTMENT
Note: These adjustments are not performed usually. Never
touch CT201 of adjusting device. While, only when
CT201 have been replaced, make the following simple
adjustment.
-
Simple adjustment
-
Procedure:
Input the monochromatic gradation
.wave
from EXT
ANT IN jack (JlOl).
Connect an oscilloscope to Q314 emitter.
Adjust CT201 so that the synchro signal is maximum
(VIF adjustment).
Receive the broadcasts of 2 to
13ch,
and check if the
screen is colored after the synchronism is stopped with
each channel.
/
To make maximum
(VIF adjustment) synchro
chip
oscilloscope.
7
-
-


AGC ADJUSTMENT
Adjustment specification:
-
Simple adjustment
-
Procedure:
1.
2.
3.
4.
5.
Receive the TV broadcast.
Turn and adjust RV201 so that the snow noise is shown.
Reversely turn and set RV201 to the point where the
snow noise disappears.
Receive the broadcast for each channel, and check if
there is not beat image distortion of snow noise caused
by mixed demodulation.
If there is beat and image distortion of snow noise,
readjustment the RV201.
Adjustment using SSG
-
Input the monochromatic gradation wave to the EXT
ANT IN jack (J101).(57
dBp,
75
Q
terminator)
Receive the VHF- high band. (US, channel 9)
Connect a digital multitester to pin 2 of
IC201.
Adjust RV201
(AGC)
so that the Volt is 1.770
t
0.03 V.
1JNING ADJUSTMENT
Procedure:
1. Short
S104
(CH
CALLMState
where the green display
bar is shown on the screen.>
2. Receive the broadcast of 2ch by pushing
S102
(CHANNEL -> or
S103
(CHANNEL
+>.
3. Adjustment RV103 so that the display bar is
corresponded to the position of 2ch.
4. Receive the broadcast of
13ch,
and adjust RVlOl so
that the display bar is corresponded to the 13ch.
Note: Since. the items 3 and 4 will interfere each other, the
adjustment is necessary for 2 to 3 times.
5.
Receive the broadcasts of 2, 6, 7, to
13ch,
and check if
the display bar is corresponded to each channel.
6. Set SlOl (TV BAND) to the UHF side to check with
the screen if the display bar was turned red.
7. Receive the broadcast of
14ch,
and adjust RV104 so
that the display bar is corresponded to the position of
14ch.
8. Receive the broadcast of
69ch,
and adjust RV102 so
that the display bar is corresponded to the position of
69ch.
Note: Since the items of 7 and 8 will interfere each other,
the adjustment is necessary for 2 to 3 times.
9.
Receive the broadcasts of 14, 30, 40 to
69ch,
and check
if the display bar in corresponded to the position of
each channel.
10. Disconnect the S104 shorted in the above item 1.
2
The figure must be within this range.
I
IAlso the display bars are within therange.
*
Ir--
I I
II
-
Display bar
FLICKER ADJUSTMENT
Procedure:
1. Input the lo-step black and white wave step wave of
the pattern generator (75
Q
and 1 Vp-p) to the A/V
IN jack
(J301).
2.
Adjust RV307 (BRIGHT control) to display all the steps
with good balance.
3. Watch the black level of the screen from the front.
When RV304 (common signal voltage) is turned, monitor
changes from white+black-, white. Adjust RV304 to the
point where balance is good (minimum flicker).
L-r
Black level
3-2. RADIO SECTION
AM RF signal
generator
put the lead-wire
antenna close to
the set.
30
% amplitude
modulation by
400Hz signal
Output level : as low as possible
FM RF signal
generator
TP7 (RF
iN)
t
22.5kHz
frequency diviation
by
400Hz
signal
Output level :
as low as posible

32
Q
headphones jack
l Repeat the procedures in each adjustment several timers,
and the tracking adjustments should be finally the
trimmer capacitors.
F
1AM IF ADJUSTMENT
I
I
Adjust for a maximum reading on VTVM.
I
TlO
I
455
kHz
l Start the FREQUENCY COVERAGE ADJUSTMENT from
the FREQUENCY MAX.
1AM FREQUENCY COVERAGE ADJUSTMENT 1
FM MPX VCO ADJUSTMENT
Setting:
47/
10v
\I+
COUNTER
‘REQUENCY
Adjust for a maximum reading on VTVM.
CT1 L13
1750
t
1OkHz
520
zk
2kHz
Procedure:
1. Connect to between TP7 (RF IN) and TP8
(GND)
for
0.01 fiF (1- 162-306-00).
AM TRACKING ADJUSTMENT
Adjust for a maximum reading on VTVM.
CT2 LlO
1,400kHz
6OOkHz
2. Connect to between TP5 (DET OUT) and
TP2
(GND) for
47 pF/
1OV
(1- 124-236-00).
3. Tune the set to frequency min or max (detuned).
4. Adjust
RVlO
for 76kHz rt
200Hz
reading on the frequency
II
counter.
I
FM FREQUENCY COVERAGE ADJUSTMENT
Adjust for a maximum reading on VTVM.
I
CT3
I
Ll2
I
I
109.5MHz
I
86.5MHz
I
I
FM TRACKING ADJUSTMENT
I
Adjust for a maximum reading on VTVM.
I-
CT4
1
Lll-1
I
109.5MHz
I
86.5MHz
I
9
-
-


Adjustment Parts Location
[R BOARD]
-
CONDUCTOR SIDE
-
[R BOARD]
-
COMPONENT SIDE
-
LlO (AM TRACKING)
COVERAGE) CT3 (FM FREQUENCY COVERAGE) (FM FREQUENCY
COVERAGE)
[A BOARD]
-
CONDUCTOR SIDE
-
RV201 (AGC)
.
RVI
04 (TUNING U-POS)
IRVI
03 (TUNING V-POS)
RV102-
(TUNING
‘U-AREA)
\
(
\
I
I
I+309 (WHITE
BALANCE
SUB CONT B)
/Lx
LV801
(HORIZONT,
\&I
\I
v,
Al AFr.1
/
h
I
RV602
I
I
\
l\/nl
Td
I
\
I
I
/ /
/
/
a
\VWLIr
i
\I
I/
I
\
I
/
/
/
I
1
m
RV304
0
IC601
(COMMON SIGNAL
VOLTAGE )
RV301 (CONTRAST)
I
I
\
CT201
(‘IF)
RVjOj
h/308
CT202 (AFT) (WHITE BALANCE SUB CONT R)
(TUNING V-AREA)
10
-
.-


4-
6. IC DESCRIPTION
a
IC301
IR3P90B
(A BOARD)
No.
Pin Name
I/O
Description
1
SW
I
This pin switches between the signal from the tuner block (INT), video, and signal
from EXT R.G.B input pin (EXT). L : INT, H : open or EXT.
2CONT
I
The contrast of the primary color output can be adjusted by the DC voltage input
to this pin.
3
EXT IN B
I
No signal.
4
EXT IN G
I
VHF tuning display bay signal input.
5
EXT IN R
I
UHF tuning display bay signal input.
6
VCCl
Positive polarity power supply connection.
7
VEE
Negative polarity power supply connection.
8N.C. Not used.
-
9ACC FILTER
I
The ACC detection filter is connected.
10 VIDEO IN
I
The video signal is input.
11
COLOR
I
Color is adjusted by the DC voltage input at this pin.
12
F ADJ
I
The frequency characteristics of the filter can be adjusted by the resistance value
which is connected between this pin and GND.
13 AGC OUT
0
Not used.
14 AGC FILTER
I
The AGC detection filter of the video block is connected.
15 TRAP OUT
0The 3.58 MHz trap is connected.
16
CLAMP
I
The capacitance which clamps the pedestal of the Y- signal is connected.
17 APL
I
The filter which detects the APL (Average Picture Level) of the Y-signal is connected.
18
H FILTER OUT 0The video signal which separates the sync signal is output.
19 SYNC SEP
I
Sync signal separation circuit input. The video signal is input.
This pin outputs the sync signal which is separated at the sync circuit. The output
20 SYNC OUT
0type is the open collector type. Therefore, it is possible to connect this pin to the
controller powered by another supply. The output signal is H when it is sync, and
L when it is not sync.
The L pulse
(*
OV)
is input when the sync signal is locked, and H pulse
(*
3V) is
21
H. PULSE IN
I
input when. the sync signal is not locked. The sync signal which is input, and the sync
signal which is separated at the sync separation circuit are OR and input to the pulse
generator circuit.
22 TIME CONST
I
The gate pulse width is set with the CR time constant.
23 PICTURE
I
The frequency characteristics of the video block can be adjusted by the DC voltage
which is input to this pin.
24
KILLER FILTER IThe killer detection filter is connected.
25 TINT
I
The color phase can be adjusted by the DC voltage which is input at this pin.
26
vco
The crystal oscillator is connected.
27
APC F
I
The APC detection filter is connected.
28 COM AMP
I
The COMMON output amplitude can be adjusted by the DC voltage which is input
at this pin.
29 GND GND
30 COM OUT
0This pin outputs the pulse which drives the common electrode of the LCD.
31 VEE Negative polarity power supply pin.
32
R OUT 0The inverted primary color signal is output according to the inversion signal.
33
vcc2
Positive polarity power supply connection
34
G OUT 0The inverted primary color signal is output according to the inversion signal.
-23-
Table of contents
Other Sony Tuner manuals

Sony
Sony ST-SA50ES - Am/fm Tuner User manual

Sony
Sony ST-SA5ES User manual

Sony
Sony ST-H3600 User manual

Sony
Sony WRR-801A User manual

Sony
Sony WRU-801A User manual

Sony
Sony WRR-805A User manual

Sony
Sony ST-S770ES User manual

Sony
Sony FD-525 User manual

Sony
Sony WRR-855A User manual

Sony
Sony WRR-802A User manual
Popular Tuner manuals by other brands

Harman Kardon
Harman Kardon FM-100 owner's manual

Scott
Scott 370B operating manual

Creek Audio
Creek Audio EVOLUTION RDS AM instruction manual

Elekta Neuromag
Elekta Neuromag NM21283A user guide

AstroMeta
AstroMeta AstroMeta Digital TV Dongle manual

XM Satellite Radio
XM Satellite Radio CNP2000 installation guide