Splicecom PCS 5 Instruction Manual

12
SpliceCom PCS 5
Operating Instructions & User Guide

Figure One

2

3
The SpliceCom PCS 5 telephone has been designed for use with the
SpliceCom maximiser business telephone system.
Telephone Features
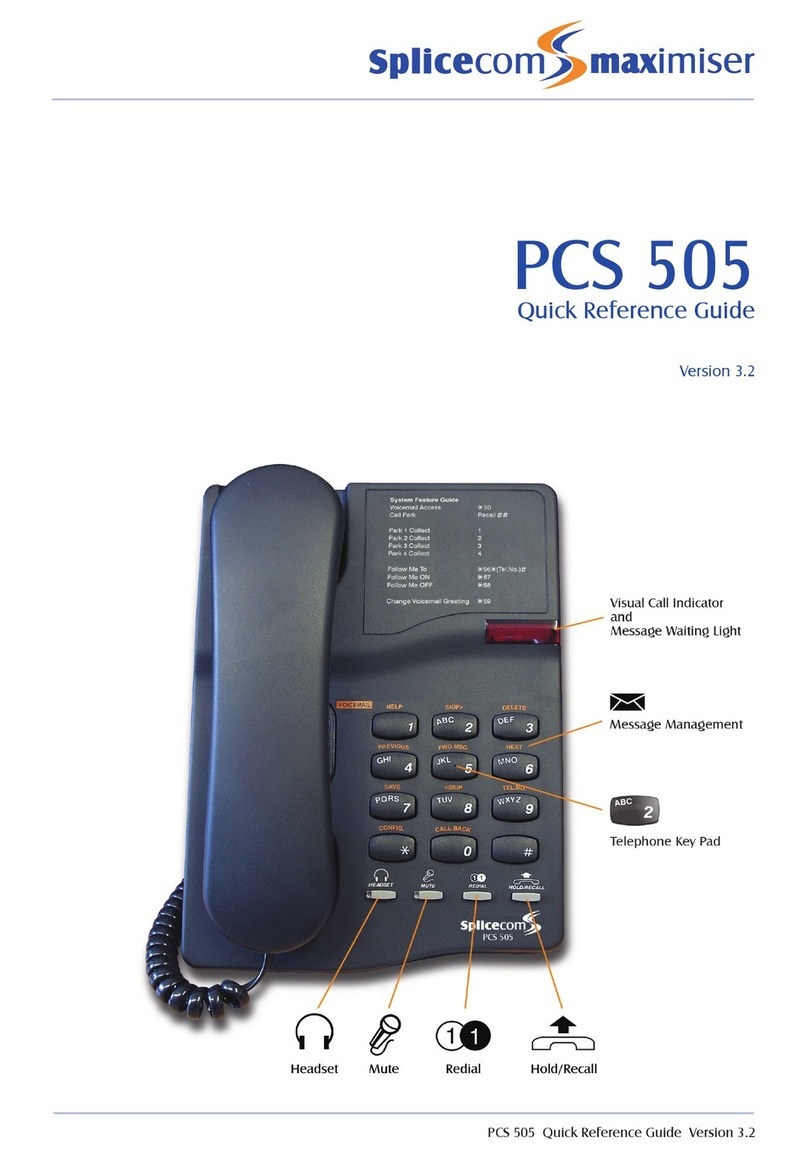
Please refer to Figure One at the front of this user guide.
1
2
3
4
5
6
7
8
Wall mounting –Using the template supplied, position where you want
to fix your telephone.Drill two holes and fix roundhead screws, slide the
telephone into place. Remove the handset retainer by pushing up out of
the slot. Turn the retainer through 180°and place back in its slot.
The handset cord plugs in here.
With headset connected to headset port, press this Headset key, wait
for the dial tone and then dial in the number required.
This key mutes the microphone so the other person on the call cannot
hear you.Ared lamp indicates the mute is on. Pressing it a second time
releases the mute and returns you to normal conversation.
Press this key to redial the last number you dialled from the keypad or
insert a pause.
Press this key during a call to place it on hold. This will enable you to
transfer the call to another party.
A standard telephone keypad with the number “5”having a raised dot
for visually impaired users.
Integrated Voicemail Management allows you to easily manage the
contents of your voicemail box.

4
Declaration of Conformity
SpliceCom declares that this product SpliceCom PCS 5 is in conformity
with the following harmonised standards:
Health Safety EN 60950 : 1992
Electromagnetic Compatibility EN 55022 : 1998 & EN 55024 : 1998
Telecom TBR21 : 1998 & TBR38 : 1998
Following the provisions of the Council Directive on radio and
telecommunications terminal equipment.
October 2004.
10
11
12
13
14
You’ll find a list of the access codes for the ten most commonly used
system features here.
A 3-position switch to control the volume of the ring tone. Select from
loud ring, quiet ring or ringer off.
This jack is used to connect a line cord to your telephone.
This jack is used to connect a Headset to your telephone.
To adjust Headset volume
9The red call indicator light flashes when your telephone rings.

5
Intended Use
The SpliceCom PCS 5 telephone supports Touch-Tone Dialling (DTMF) only. This
telephone also supports Timed-break recall, no special settings are needed to engage
these features.
The telephone has been designed for use with the SpliceCom maximiser business
telephone system.
Because the product is connected behind a PABX it must not be relied upon to contact
the emergency services during a power failure.
The following section explains how to use your SpliceCom PCS 5 with the SpliceCom
maximiser business telephone system.
Basics
To make a call (Handset/Headset operation): To dial a number, either lift the Handset
or press Headset button, wait for the dial tone and then dial in the number required
e.g. 02087654321 - there is no need to dial a 9 prefix but if you do, the call will still get
through. Both 999 and 9999 will call the emergency services.
The headset button has auto-detection function. When the headset is connected, the
handset function is disable. Unplug the headset to revert to handset mode (even
during a call).
Holding a call: Press the “recall”button (6) on the PCS 5. You will hear dial tone the
other end will hear a hold message/music (for external calls) or a comfort tone/beep
(for internal calls). The call will remain on hold until you press “recall”again, or hang
up.
Transferring a call: Answer the call, then press “recall”–you should hear the dial
tone. Dial the internal/external number required.
If you hear ringing you can then replace your handset and the caller will be immediately
connected to the destination –this is known as blind transfer.
OR –For an announced transfer.

6
You hear ringing and wait till the destination answers.
If the destination is willing to take the call –replace the handset to complete the
transfer.
If the destination is unwilling to take the call –press “recall”to clear that call and talk
to the caller again. You will be returned to the original caller if/when the destination
hangs up.
Call Waiting: During a call you hear a beep in your ear –this indicates you have
another call waiting. If you ignore it, the beep will repeat every few seconds for 20
seconds.
You can press “recall”to put the original caller on hold and talk to the new call. Once
you have finished, you can press “recall”to clear the call and return to the original call.
OR
Conclude the original call and put the handset down, the original call will clear and the
new one will ring.
System Feature Access Guide: The following maximiser system features can be
accessed by using the telephone keypad of your PCS 5.
•Voicemail Access –Dial “1571”
•Change your Voicemail Greeting –Dial “2”once you’ve accessed your
Voicemail box.
•Call Park –Dial “Recall ”to park a call. You will be notified which park
slot it has been placed in.
•Park 1 Collect –Dial “1”to collect a call parked in park slot 1
•Park 2 Collect –Dial “2”to collect a call parked in park slot 2
•Park 3 Collect –Dial “3”to collect a call parked in park slot 3
•Park 4 Collect –Dial “4”to collect a call parked in park slot 4
•Follow Me To....... –Dial “21 02081234567 ”to use 02081234567 as
the number to forward your calls to.

7
•Follow Me ON –Dial “211”to enable your calls to be forwarded to the
telephone number you’ve set in Follow Me To.
•Follow Me OFF –Dial “210”to turn off the Follow Me feature.
Voicemail: SpliceCom’s maximiser business telephone system features integrated
voicemail, which is available to answer your telephone when you are busy or
unavailable.Typically your voicemail will answer any call that has rung for 20 seconds.
Using Voicemail: To check or listen to your messages dial 1571 –messages are
then played in the order recorded. Messages are stored until you listen to them. Once
you have listened to a message it is automatically deleted after 3 days, unless you
choose to save it. While listening to a message you can press “3”to delete it. A
message is marked as heard once you have listened to the first 10 seconds. The
integrated Voicemail ManagementGuide 8 will enable you to manage your Voicemail
messages effectively.
Leaving a message for a colleague: Afterdiallingtheirextensionandbeingtransferred
to voicemail, press to cut the greeting and start recording. Press 0 during the
greeting/recording to be transferred to reception or a nominated departmental/personal
alternative (if configured).
Collecting a message: Messages can be collected by; dialling 1571 from your
PCS 5, dialling a general number configured by your administrator, dialling the external
DDI number for the Voicemail, or dialling your extension number, then pressing
during the greeting. Dependent on your system configuration, you may be prompted
for an account (extension) number and/or access code (pin/password). The voicemail
will then automatically play your new messages in time order and then any old
messages.

8
Navigation: You can navigate you way through messages if required by pressing
buttons on the PCS keypad. It is probably easier to remember them by referring to the
chart below which is also provided on the PCS 5 keypad:
5 - Forwarding options:
1 –Copy to another voicemail user with a message from you
2 –Copy to another mailbox
3 –Copy to your email address
0 –Abandon
- Configuration options:
1 –Play help
2 –Record a new greeting
1 –Options
2 –Record a new greeting
3 –Delete any new recording or restore default greeting
7 –Save new greeting (hanging up will do the same)
0 –Abandon

9
3 –Set forwarding
1 –Options
2 –Cancel forwarding
3 –Forward personal/direct calls to home number
4 –Forward personal/direct calls to mobile number
5 –Forward personal/direct calls to spare1 number
6 –Forward personal/direct calls to spare2 number
7 –Forward personal/direct calls to your current number
0 –Abandon
4 –Add a voice tag/name to number (which will then be played immediately
before messages)
1 –Options
2 –Record new tag
3 –Delete tag
7 –Save tag
0 –Abandon
PCS 50 and PCS 5: Even greater personal productivity can be realised when you
partner your PCS 5 phone with SpliceCom’s PCS 50 application. This desktop
productivity application delivers all of the functionality associated with the top of the
range PCS 400 and is available for Windows, Mac OS X and Linux PCs and laptops.
Some of the extra features you can gain access to when using the PCS 50 in
conjunction with the PCS 5 include;
•Caller Display
•Access to company wide, Contact, User andDepartmental directories
•APersonal Favourite/SpeedDials/Direct Station Select/Busy Lamp Field area
•Last Number Redial and Incoming/Missed Call Lists
•Visual Call Pickup

10
•Visual Message Box Management
•Visual Park Slots
•Conference Calls
•Personal Call Recording
•Integrating your PCS 5 with the company Intranet or Web-enabled applica-
tions
For further details on installing the PCS 50 and how to use it in conjunction with your
PCS 5 please see SpliceCom’s User Guide for the PCS 400, PCS 200 & PCS 50.
Warranty Terms & Service/Returns Procedure
This product is guaranteed for six years from the date of manufacture in the UK only
and for 18 months in all other territories. You will find the manufacturing date on a
label affixed to the underside of the phone in the format; MFG: DD/MM/YY.
Awarranty is designed to cover either manufacturing faults or component defects. It is
not designed to cover fair wear and tear –the Handset Cord and Line Cord are NOT
covered by this guarantee. The warranty is no exception.
We look to you, our customer, to be reasonable and sensible over the warranty. We
will endeavour to repair any telephone returned within the warranty period, but we
reserve the right to charge for items that we consider replaceable under wear and
tear. The Handset Cord and Line Cord are not covered by this guarantee, if a Handset
Cord splits within a few months it will be replaced. If a phone is returned after, say,
four years of heavy use with a similar problem we may take a different view and wish
to charge.

11
If you have a genuine warranty problem and provided that the warranty seal has not
been broken, your phone will be repaired, or, at our sole discretion, replaced, with a
similar telephone. In the event that a model may have been discontinued, any
replacement will have similar or enhanced features.
In the event that you have to return a faulty unit, please contact the Accredited
SpliceCom reseller you purchased your PCS 5 from.
This warranty is in addition to any statutory rights.

13
3C9330011RSP
This telephone is approved to EEC directive 1999/5/EC
SpliceCom Limited
The Hall Business Centre, Berry Lane
Chorleywood, Hertfordshire, WD3 5EX
Tel:01923 287700
Fax:01923 287722
Email:[email protected]
Website:www.splicecom.com
Table of contents
Other Splicecom Telephone manuals
Splicecom
Splicecom PCS 560 User manual
Splicecom
Splicecom PCS 570 User manual
Splicecom
Splicecom PCS 505 Instruction Manual
Splicecom
Splicecom PCS 573G User manual
Splicecom
Splicecom PCS 552 User manual
Splicecom
Splicecom Yealink VP59 User manual

Splicecom
Splicecom PCS 542 User manual

Splicecom
Splicecom Yealink T3 Series User manual
Splicecom
Splicecom PCS 542 User manual
Splicecom
Splicecom PCS 560 User manual
