Splicecom PCS 560 User manual

PCS 560 User Manual
Version 1.1
July 2008 Part No. DOC-MN-PCS560-00


PCS 560 User Manual
5 Series/V3.2/0708/1 i Contents
PCS 560 User Manual
Contents
Introduction...................................................................................................................................... 1
About this manual ............................................................................................................................................................... 1
How your PCS 560 will operate........................................................................................................................................... 1
Feature Highlights................................................................................................................................................................ 2
The PCS range ...................................................................................................................................................................... 3
Basic Call Handling........................................................................................................................... 4
Make a call............................................................................................................................................................................ 4
Answer a call ........................................................................................................................................................................ 4
View a note........................................................................................................................................................................... 5
End a call............................................................................................................................................................................... 6
Dial Ahead ............................................................................................................................................................................ 6
Pause a call........................................................................................................................................................................... 7
Place a call on hold.............................................................................................................................................................. 7
Transfer a call ....................................................................................................................................................................... 7
Parking a call ........................................................................................................................................................................ 8
Conference Call .................................................................................................................................................................10
Call Waiting......................................................................................................................................................................... 11
Switch to Hands Free......................................................................................................................................................... 12
Mute a call ..........................................................................................................................................................................12
Changing the volume........................................................................................................................................................13
Calls History .................................................................................................................................... 14
View the contents of your Calls History ........................................................................................................................... 14
Identifying the type of call ................................................................................................................................................14
Missed Calls........................................................................................................................................................................15
Details of a call................................................................................................................................................................... 15
Redial a number................................................................................................................................................................. 16
Ring back a caller ...............................................................................................................................................................16
Select an alternative number to dial ................................................................................................................................ 16
Delete a call........................................................................................................................................................................ 17
Configuring Calls History...................................................................................................................................................17
Contacts Directory .......................................................................................................................... 19
View the Directory .............................................................................................................................................................19
Make a call via the Directory.............................................................................................................................................21
Transfer a call via the Directory......................................................................................................................................... 21
Departments................................................................................................................................... 23
Working as a member of a Department.......................................................................................................................... 23
Receiving a Department call............................................................................................................................................. 23
Make a call to a Department ............................................................................................................................................ 23
Transfer a call to a Department ........................................................................................................................................24
Calls History ........................................................................................................................................................................25
User Settings................................................................................................................................... 26
Favourites (Speed Dials)....................................................................................................................................................26
Telephone Numbers .........................................................................................................................................................31
Defaults...............................................................................................................................................................................32
Call Divert/Follow Me ........................................................................................................................................................34
Out of Office Message......................................................................................................................................................36

PCS 560 User Manual
5 Series/V3.2/0708/1 ii Contents
PCS 560 User Manual
Group Log In ......................................................................................................................................................................36
Do Not Disturb ...................................................................................................................................................................37
Voicemail ........................................................................................................................................ 39
Receiving a message......................................................................................................................................................... 39
Listen to a message........................................................................................................................................................... 39
Message Handling.............................................................................................................................................................40
Delete a message..............................................................................................................................................................40
Ring back a caller ...............................................................................................................................................................41
Ring back the caller on an Alternative number .............................................................................................................. 41
Leave a message for a caller ............................................................................................................................................ 42
Record a Greeting..............................................................................................................................................................42
Using an Assistant telephone number ............................................................................................................................ 43
Send a message to email.................................................................................................................................................. 44
Listen to a message while on a call ................................................................................................................................. 45
Leave a message for a colleague..................................................................................................................................... 45
Transfer a call to a colleague’s voicemail ........................................................................................................................ 46
Record a call .......................................................................................................................................................................47
Record a Memo ................................................................................................................................................................. 47
Voicemail for Departments............................................................................................................................................... 48
PCS 560 Administration .................................................................................................................. 51
Hot Desking/Log In............................................................................................................................................................51
Phone Information ............................................................................................................................................................52
Handset buttons in brief ...................................................................................................................................................53
Partnering your PCS 560 with your PC or laptop ............................................................................................................. 54
Index ............................................................................................................................................... 56

PCS 560 User Manual
5 Series/V3.2/0708/1 1 Introduction
PCS 560 User Manual
Introduction
About this manual
This manual contains all that you need to know to operate your PCS 560 connected to a
SpliceCom maximiser system using version 3.2 software. This manual assumes that the
PCS 560 telephone has been connected and configured by your System Administrator, and is
ready for use. If this is not the case please refer to your System Administrator for further
assistance.
How your PCS 560 will operate
Your User Account
You are a “User” of the SpliceCom maximiser telephone system and as such you have a User
account on the system. Your User name will be used to identify you as you make, receive
and transfer calls. Each of your colleagues will also have a User account and will be identified
in the same way, by their User name. A list of the Users of your telephone system can be
viewed via the Directory as explained from page 19.
Logging On
In most implementations the PCS 560 will be your permanent desktop phone and such it will
have been automatically allocated to you by your System Administrator therefore there will be
no need for you to log in or log out. However, if you are a Hot Desk User, in other words a
User who has been given the ability to log in to any phone on the system because, for
example, you need to move around the building or you are rarely in the office and do not
need a permanent telephone please refer to page 51 for further information.
Idle Page
The default display on your telephone when idle will display the SpliceCom logo together
with your User Name, extension number and the current date and time. If you wish to
change your idle page please refer to page 32.
Headset Operation
When a headset is connected to the PCS 560 the telephone will operate in hands free mode.
Please refer to page 12 for further details.

PCS 560 User Manual
5 Series/V3.2/0708/1 2 Introduction
PCS 560 User Manual
Feature Highlights
Access to the System Database
Your PCS 560 gives you access to a database of information stored on your maximiser system
that provides directories of telephone numbers to help you to quickly and easily make and
transfer calls.
Parking a Call
All calls received can be put on hold and the call remains in your control. However another
way to place a call on hold is to park the call into one of the system areas that allow your
colleagues to easily pick up the call and in the meantime you are able to continue with other
calls.
Favourites
As well as access to a directory of telephone numbers stored on the telephone system’s
database you can also have your own list of “favourite” numbers that you regularly call or
transfer calls to. Your Favourites will also act as Busy Lamp Fields indicating when internal
extensions are engaged or receiving calls and allow you to pick up a call ringing on a
colleague’s extension.
Call Recording
Your PCS 560 gives you the ability to manually instigate personal call recording allowing you
to record your calls as and when required. Each call recording can be saved as a voicemail
message and therefore easily accessed or saved in a centralised file.
Voicemail
The SpliceCom maximiser system provides standard voicemail functionality allowing your
callers to leave a message and your PCS 560 allows you to easily manage these messages.
Viewing Notes during a call
During the process of a call you can view notes related to that call or to the contact the call
was made to or received from. The note might have been added when the call was originally
received by, for example, the receptionist before transferring the call to you and may give
details of the nature of the call helping you to deal with the call proficiently. If the call is
received from or made to an external number stored on the central database you can view
the notes previously saved with this contact.
Hot Desking
If you share your PCS 560 with other colleagues you can log in using your own extension
number and access code so that you can use your own settings and be identified with your
name when you make and receive calls.
PCS 560 User Manual
5 Series/V3.2/0708/1 3 Introduction
PCS 560 User Manual
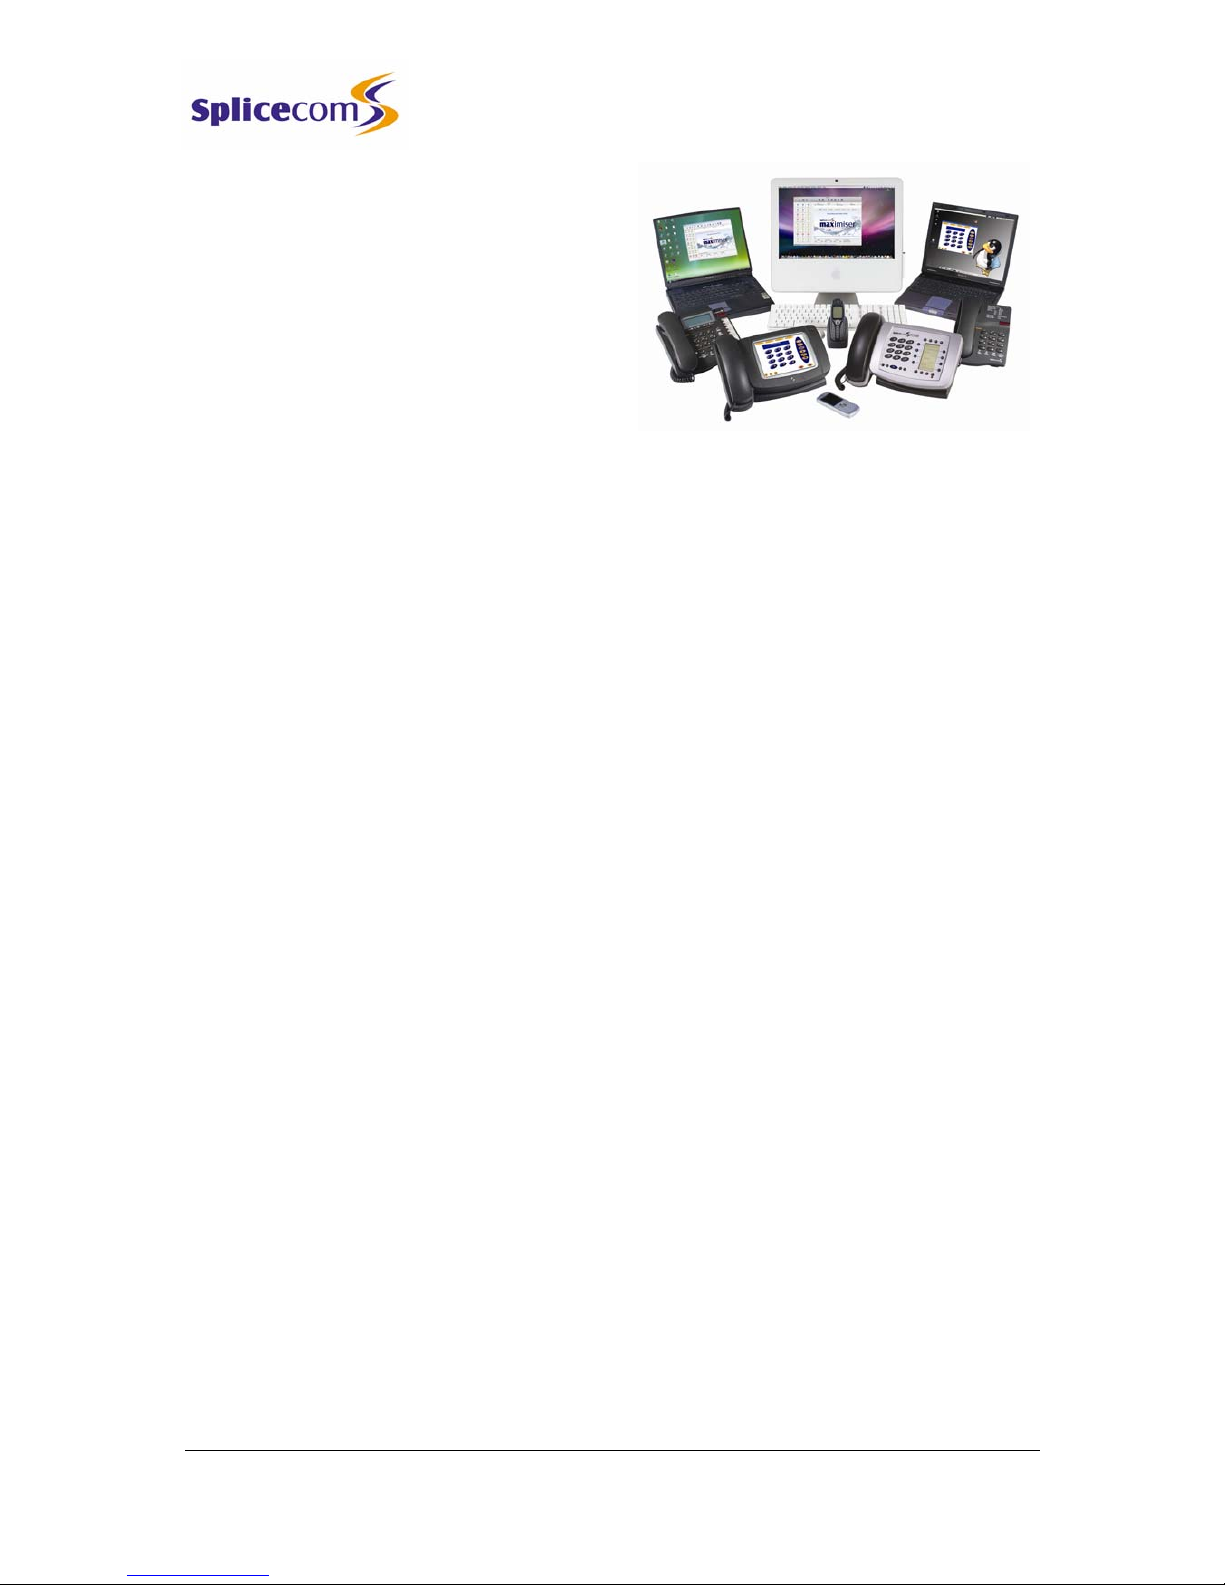
The PCS range
SpliceCom’s wide range of Proactive
Communication Stations (PCS) delivers the
ultimate in service to the desktop for those
seeking the real business benefits that can be
gained from the deployment of IP Telephony.
Designed to complement other market leading and stylish, high-end IT equipment on your
desktop, SpliceCom’s PCS 560 & PCS 570 IP Phones combine looks, intelligence and
desirability in equal measure. The world’s thinnest desktop IP phones provide easy access to
the benefits delivered by maximiser, SpliceCom’s range of innovative and award-winning
Unified Communications platforms. The wide range of productivity enhancing applications
and services are accessed via nine or eighteen, intuitive, multi-functional, context sensitive
keys grouped around a large full colour graphics display.
When used in conjunction with SpliceCom’s maximiser Unified Communications system, the
full colour, touch screen based PCS 410 delivers converged voice, video, IP TV and web
enabled applications at the desktop. This allows the relevant information from your core
business IT applications to be “pushed” to the desktops of those who need it in a timely and
controlled manner.
The PCS 100 is an IP system phone, providing all the facilities traditionally associated with a
top of the range digital phone for making and receiving calls. An LCD display, combined with
eight context sensitive keys and six further buttons for the most-frequently used functions,
delivers easy-to-use operation for every day telephony tasks.
SpliceCom’s PCS 10 and PCS 5 are both attractively priced, fully featured business telephones
for use with maximiser. PCS 10 provides a large, clear display, ten pre- programmed keys for
the most commonly used system functions and integrated voicemail management. The
entry-level PCS 5 also provides integrated voicemail management and a system feature
access guide.
Supplied as standard with every maximiser system, the PCS 60 application for Windows, and
Mac OS X PCs delivers ALL of the benefits associated with SpliceCom’s top of the range PCS
410 desktop station. Typically deployed as an IP Softphone or as a “partner” to the PCS 10, PCS
5, existing analogue telephones, or GSM/mobile phones, the PCS 60 application can also be
used in conjunction with PCS 560, PCS 570 & PCS 100. This allows an alternative way to handle
calls quickly and efficiently for those who prefer to “drive” their telephone through their
desktop or laptop computer, in addition to providing a cost-effective method of converging
voice with the company intranet and web-enabled applications. A similar application for Linux
PCs, PCS 50, is also available.

PCS 560 User Manual
5 Series/V3.2/0708/1 4 Basic Call Handling
PCS 560 User Manual
Basic Call Handling
Make a call
1 Lift the handset or press the Speaker button. You will hear the dial tone.
2 Dial the number (internal or external) required using the key pad
3 Call Status will display your name and the details of the number you are
ringing.
Alternatively,
1 Dial the number (internal or external) required using the key pad
2 Press the context sensitive key beside the Dial icon or lift your handset
3 Call Status will display the details of the call
Call Status
Call Status will display the name of the person you have called (if
known by the system), the number you have dialled, your name
and number, and length of time of the call.
If you have started to make a call, have changed your mind and wish to stop the call
press the context sensitive key beside the Hang Up icon or replace your handset.
If you are required to enter further digits once the call has been made, for example, when
presented with an auto attendant use the alpha- numeric key pad to enter the digits.
Answer a call
On receiving a call your handset will ring and Call Status will display the details of the call:

PCS 560 User Manual
5 Series/V3.2/0708/1 5 Basic Call Handling
PCS 560 User Manual
Internal call External call
•the caller’s name (if recognised by the
system) and the caller’s number
•who the call is for. This will either be
your name, the name of the colleague
who has diverted their calls to you or a
Department name.
This information enables you to answer the call in the required manner.
To answer the call lift your handset or press the Speaker button
Reject a call
If you do not wish to answer the call press the context sensitive key beside the Reject
icon
The call will be cancelled or passed to your Forward on Busy number (if set) or passed to
voicemail (if enabled). (Please refer to your System Administrator for further information on
your Forward on Busy number.)
View a note
During the process of a call you can view notes related to that call or to the contact the call
was made to or received from. The note might have been added when the call was
originally received by, for example, the receptionist before transferred the call to you and
may give details of the nature of the call helping you to deal with the call proficiently. If the
call is received from or made to an external number stored on the central database you can
view the notes previously saved with this contact.
To view any notes press the context sensitive key beside the Notes icon
Please note:
•If the originator of the note has added the note to the call only this text will disappear
once the call has ended.
•If the call is from or to an external number stored on the central database and the
originator of the note has saved the text to the database this information will always
be available when a call is made to or received from this number in the future.

PCS 560 User Manual
5 Series/V3.2/0708/1 6 Basic Call Handling
PCS 560 User Manual
End a call
Replace your handset or press the Speaker button
Please note:
•The Speaker button will only end the call if used in hands free mode otherwise this
button will switch from handset to hands free mode.
•If a call is made or answered using the handset, when the distant end clears the call Call
Status will remain allowing you to pick up a parked call (see page 8 for further details).
Replace your handset if this is not required.
Dial Ahead
You can check the status of your colleague’s extension ahead of ringing their phone by
dialling the number required on the keypad before lifting the handset or pressing the
Speaker button. The following options are then available:
The busy icon will be displayed if the extension is busy; otherwise your colleague’s
extension is free.
The blue DND icon will be displayed if the extension has Do Not Disturb set and is
permanently busy.
Press the context sensitive key beside the Backspace icon to edit the number entered
on the keypad
Press the context sensitive key beside the Hang Up icon to cancel the Dial Ahead
Press the context sensitive key beside the Leave Message icon to connect directly to
your colleague’s voicemail. (Please refer to page 39 for further information on
voicemail.)
Press the context sensitive key beside the Dial icon to dial your colleague’s extension
Display the list of numbers stored for this user, and dial your colleague’s mobile
number, for example.
If you enter an external number on the keypad that is recognised by the system, in other
words stored on the telephone system’s database, the contact’s name will be displayed and
the Backspace, Hang Up, Dial and Choose icons will be available. For further information on
the Contacts Directory please refer to page 19.
Please note that if the Overlap Dial feature has been disabled Dial Ahead will be the only
method of making a call. Please refer to page 33 for further details.
PCS 560 User Manual
5 Series/V3.2/0708/1 7 Basic Call Handling
PCS 560 User Manual
Pause a call
You may wish to Pause a call when you need to look up information for the caller, for
example, and the caller will be place on hold and played the hold music (if configured).
(Please note that this feature can not used to make a new call when transferring a call or
creating a conference, for example.)
1 Press the context sensitive key beside the Pause icon
2 Pause icon now has a red circle to indicate that the call is on Pause
3 External callers will be played “music on hold” if configured. (Please refer to your
System Administrator for further details.)
4 To retrieve the call press the context sensitive key beside the Pause icon
Place a call on hold
1 Press the Recall button
2 External callers will be played “music on hold” if configured. (Please refer to your
System Administrator for further details.)
3 To retrieve the call press the Recall button
Transfer a call
Announced Transfer
1 Place the call on hold by pressing the Recall button
2 Enter the number to be dialled (internal or external number).
3 Wait for the call to be answered and announce the caller
4 To transfer the call replace your handset or press the Speaker button. You will no
longer have control of the call.
Alternatively,
4 To clear the call that you are currently connected to and return to the original call
press the Recall button, or wait for the other end to hang up.
PCS 560 User Manual
5 Series/V3.2/0708/1 8 Basic Call Handling
PCS 560 User Manual
Alternatively,
4 To return to the original call and place the second call on hold, press the context
sensitive key beside the Switch icon.
5 Use the context sensitive key beside the Switch icon to toggle between the two
calls.
6 Finally, to connect the two calls (regardless of which call you are currently
connected to) replace your handset or press the Speaker button.
Alternatively,
6 To clear the call you are currently connected to and return to the other call press
the Recall button or wait for the other end to hang up.
Unannounced Transfer (Blind Transfer)
1 Place the call on hold by pressing the Recall button
2 Enter the number to be dialled (internal or external number).
3 Once the ringing tone is heard replace your handset or press the Speaker button.
You will no longer have control of the call.
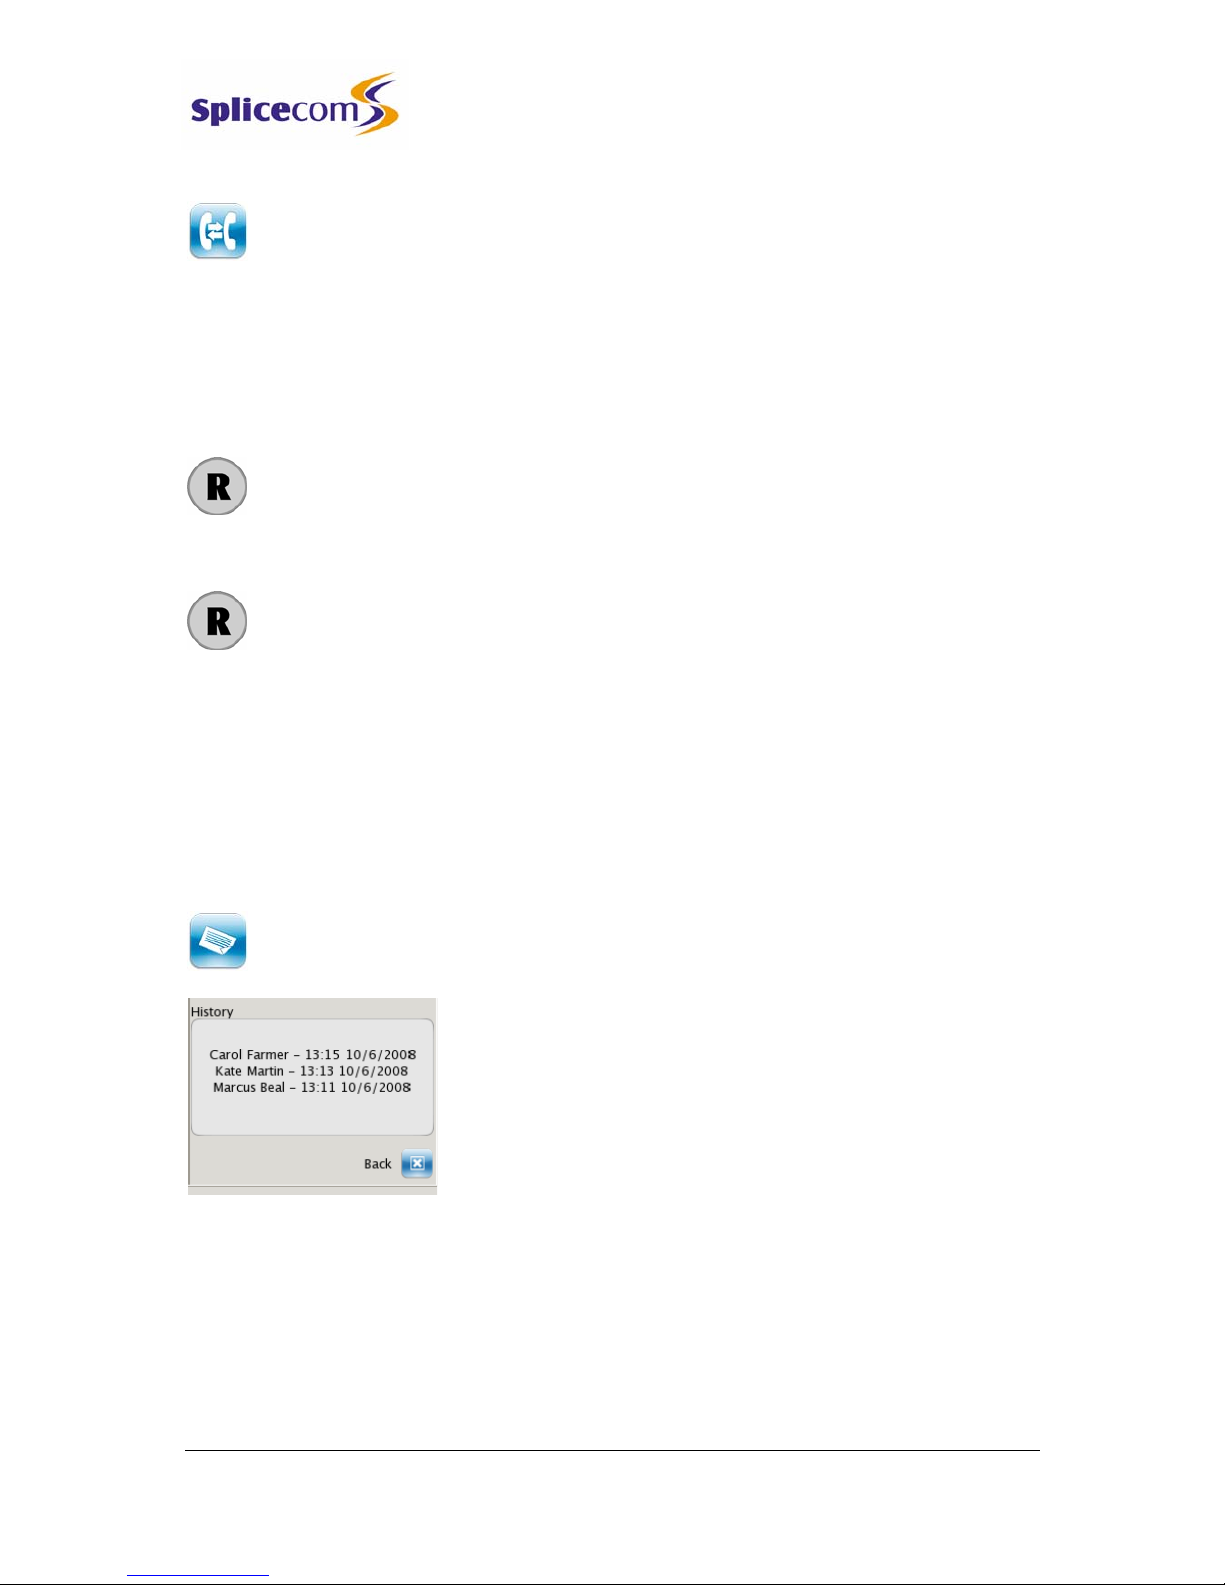
Receiving a Transferred Call
When you have received a transferred call the route of the call can be viewed in the History
pane.
Press the context sensitive key beside the Notes icon
The History pane will display each User that has handled the call
together with the date and time of the call.
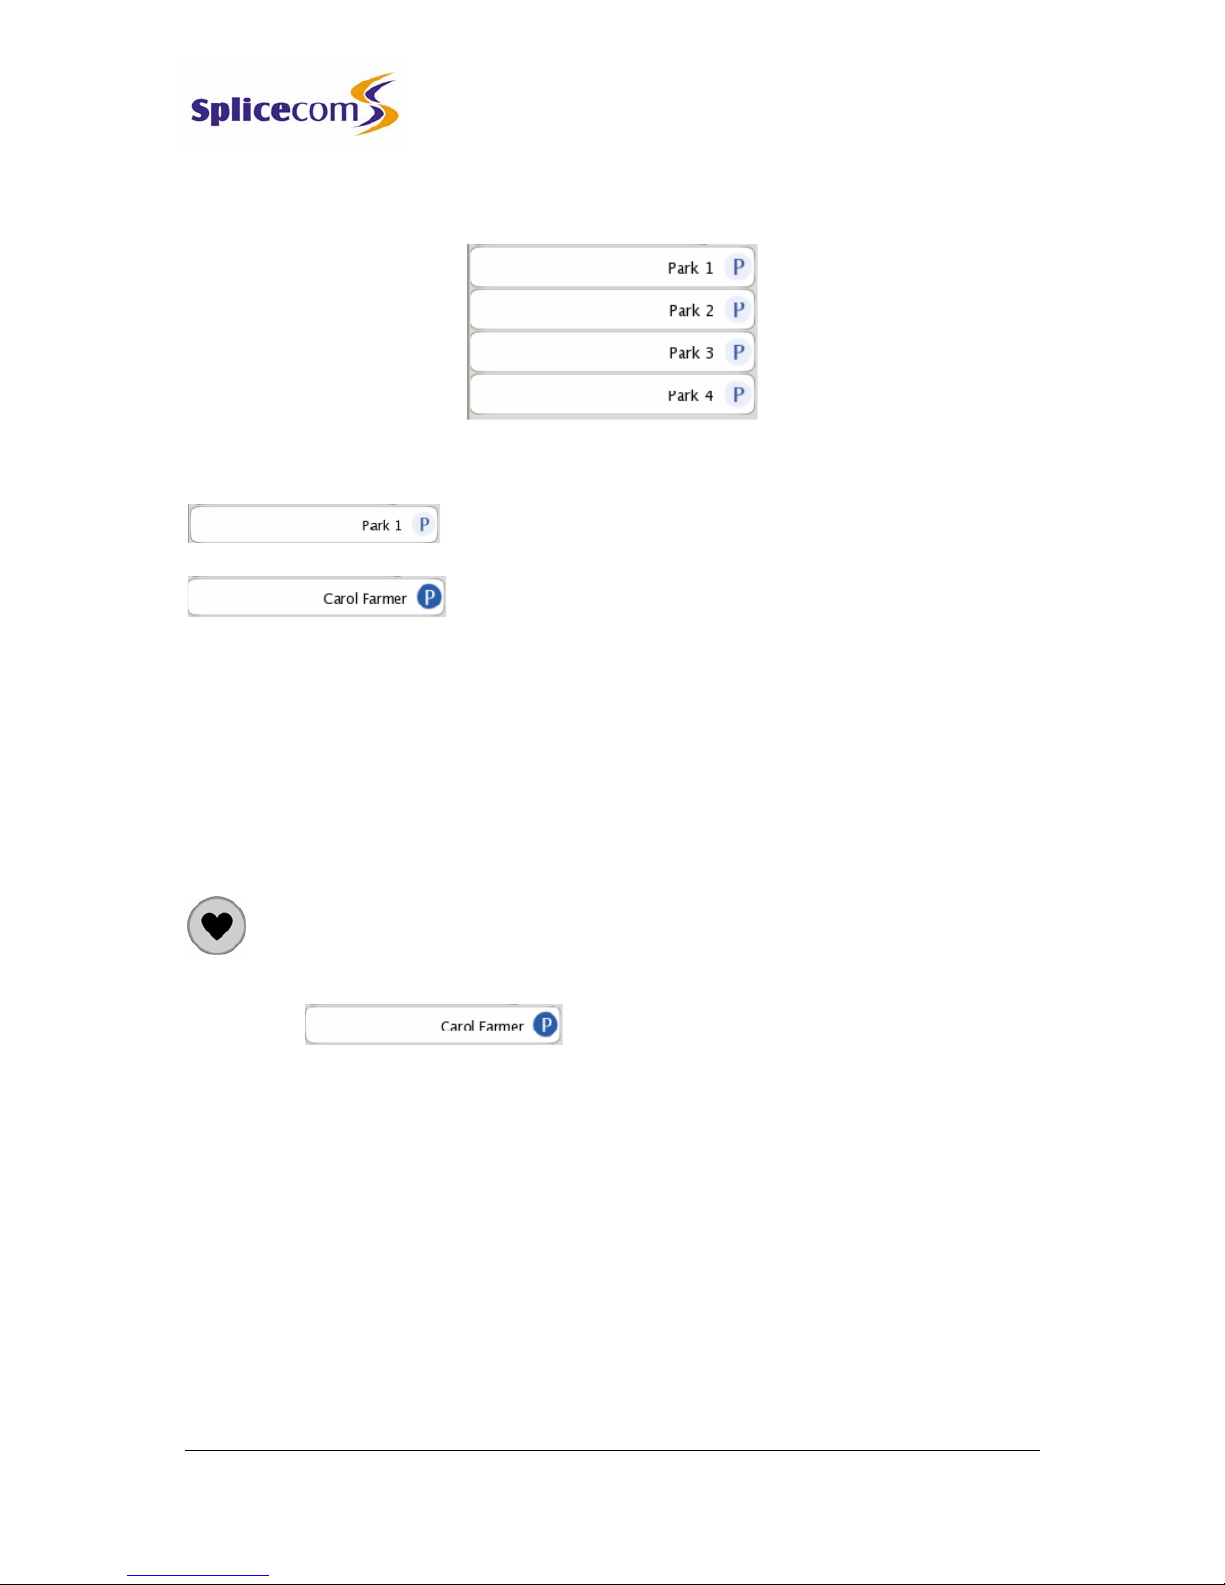
Parking a call
The Park facility allows calls to be put on hold in a system area so that the call can be picked
up from any other extension on the system. The PCS 560 provides four Park icons to access
Park slots 1, 2, 3 and 4. If a call is parked via one of these Park icons all users of a PCS 570,
PCS 560 User Manual
5 Series/V3.2/0708/1 9 Basic Call Handling
PCS 560 User Manual
560 and 410, PCS 100, PCS 60 and PCS 50 will see the call parked and can retrieve the call if
required.
Park a call
Press the context sensitive keys beside the park slot required
The details of the caller will be displayed against the relevant
Park slot.
Please note:
•if the original call was made or answered using the handset, when the call is parked
Call Status will remain allowing you to pick up another parked call. Replace your
handset if this is not required.
•if the call was made or received in handsfree mode you will return to the idle page and
the park slots will not be displayed
Pick up a parked call
1 Press the Favourites button
2 The details of the caller will be displayed against the relevant Park slot.
3 Press the context sensitive key beside the Park slot required
Please note:
•If you pick up a parked call while in the progress of another call, this call will be
automatically parked in the next available slot.
•To pick up a parked call via an analogue handset please refer to your System
Administrator for the relevant short code.
•If you are unable to pick up a call parked by a colleague you may be operating within a
different “Company” to your colleague. Please refer to your System Administrator for
further details.
•If you belong to a “Company” this Company may be configured with a Park Timeout.
This means that when you park a call it will be represented to you after the time

PCS 560 User Manual
5 Series/V3.2/0708/1 10 Basic Call Handling
PCS 560 User Manual
configured. By default, this is set to 5 minutes. A represented call can be answered in
the normal way. Please refer to your System Administrator for further details.
•By default the four Park icons displayed are configured to access Park slots 1, 2, 3 and 4.
However if you wish the icons to access alternative Park slots in order to create either
group or “private” park slots please refer to your System Administrator for further
assistance.
Conference Call
The conferencing facility allows you to create a 3-way conversation between yourself and two
internal and/or external calls. (Please note that this feature must be enabled on your
telephone system. Please refer to your System Administrator if this feature is not available.)
Create a conference call
1 Make a call to the first number required (internal or external)
2 Once the call has been answered, place the call on hold by pressing the Recall
button
3 Make a call to the second number required (internal or external)
4 Once the call has been answered press the context sensitive key beside the
Conference icon
5 The Conference icon will now contain a red circle and you are in a 3-way
conference with your two calls.
End a conference call
Replace your handset or press the Speaker button to end the conference.
All calls will be cleared.
Please note that pressing the Speaker button will only end the conference if the PCS 560 is
used in hands free mode otherwise this button will switch from handset to hands free mode.
Cancel a conference call
You may wish to cancel the conference and return to a 2-way conversation with your calls as
follows.
1 Press the context sensitive key beside the Conference icon
2 The call you are currently connected to will be displayed in the Call Status
Use the context sensitive key beside the Switch icon to toggle between the two calls.
The call you are currently connected to will be displayed in Call Status. Each call can

PCS 560 User Manual
5 Series/V3.2/0708/1 11 Basic Call Handling
PCS 560 User Manual
be transferred or ended in the normal way.
You can return to a conference with your two calls at any time by pressing the
context sensitive key beside the Conference icon
Call Waiting
Call Waiting is a facility which allows you to receive a second call while still connected to
another call. The use of this feature is controlled by your System Administrator who will
inform you whether this facility has been enabled on your extension.
Handling a waiting call
1 When a second call is received you will hear an intermittent beep in your handset
and the call waiting message will appear on your screen.
2 If you do not wish to answer the call press the context sensitive key beside the
Reject icon. The call will be cancelled or passed to your Forward on Busy number
(if set) or passed to voicemail (if enabled). (Please refer to your System
Administrator for further information on your Forward on Busy number.)
Alternatively,
2 Press the context sensitive key beside the Answer icon. Your original call will be
put on hold.
Alternatively,
2 The call waiting message will disappear after approximately 5 seconds and call
status will return to the screen with the details of your current call displayed
3 Press the context sensitive key beside the Switch icon to view the details of the
new caller. Your original call will be put on hold.
4 Press the Recall button to answer the call,

PCS 560 User Manual
5 Series/V3.2/0708/1 12 Basic Call Handling
PCS 560 User Manual
To return to the original call and place the second call on hold, press the context
sensitive key beside the Switch icon. Use the context sensitive key beside the Switch
icon to toggle between the two calls.
To clear the call that you are currently connected to and return to the original call
press the Recall button, or wait for the other end to hang up.
Alternatively,
4 If you do not wish to answer the call press the context sensitive key beside the
Reject icon. The call will be cancelled or passed to your Forward on Busy number
(if set) or passed to voicemail (if enabled). (Please refer to your System
Administrator for further information on your Forward on Busy number.)
Please note that if you replace your handset while both calls are active you will connect the
two calls together.
Switch to Hands Free
You may wish to switch between hands free and handset operation without interrupting the
call.
From handset to hands free – press the Speaker button and replace the
handset.
From hands free to handset – lift the handset.
Please note that if you press the Speaker button while in hands free mode you will end the
call.
Mute a call
The Mute facility will allow you to prevent a caller from hearing, for example, your
conversation with another colleague.
1 Press the Mute button to mute your call.
2 The Muted message will appear in the centre of Call Status
3 Press the Mute button again to turn this feature off.

PCS 560 User Manual
5 Series/V3.2/0708/1 13 Basic Call Handling
PCS 560 User Manual
Changing the volume
You can change the ringing volume and conversation volume at any time during or before a
call.
Changing the Volume before a call
1 Press the Speaker button.
2 Press the Volume Up or Down buttons as required.
3 Press the Speaker button when finished.
Changing the Volume during a ringing call
While an incoming call is ringing, press the Volume Up or Down buttons
as required. The ringing volume will increase or decrease.
Changing the Volume during a call
1 Answer the call in the normal manner.
2 Press the Volume Up or Down buttons as required. The volume of
your handset will increase or decrease appropriately.
PCS 560 User Manual
5 Series/V3.2/0708/1 14 Calls History
PCS 560 User Manual
Calls History
The Messages button allows you to view and manage a historical list of your outgoing and
incoming calls - internal & external, answered & missed – and voicemail. (For further
information on voicemail please refer to page 23.)
View the contents of your Calls History
Press the Messages button.
•A list of historical calls and voicemail will be displayed.
•Entries are listed in date and time order with the newest at the top.
•There is no limit to the number of completed calls and voicemails that can be listed.
However, only the last 10 missed calls are recorded.
Each entry will display the number or name (if recognised by the system) of the caller or the
number or name (if recognised by the system) you called. The recipient of the call will be
displayed in brackets; this will either be your name, the name of the colleague who has
diverted their calls to you or a Department name so that you can identify your calls from
Department calls, for example.
Use the Page Down and Page Up buttons to display the entry required.
Press the Page Up button to go to the bottom of the list.
Press the Messages button to return to your idle page.
Identifying the type of call
Signifies an answered incoming call
Signifies an unanswered (or missed) incoming call
Signifies an answered outgoing call
PCS 560 User Manual
5 Series/V3.2/0708/1 15 Calls History
PCS 560 User Manual
Signifies an unanswered outgoing call
Signifies a new or unread voicemail message
Signifies an old or read voicemail message
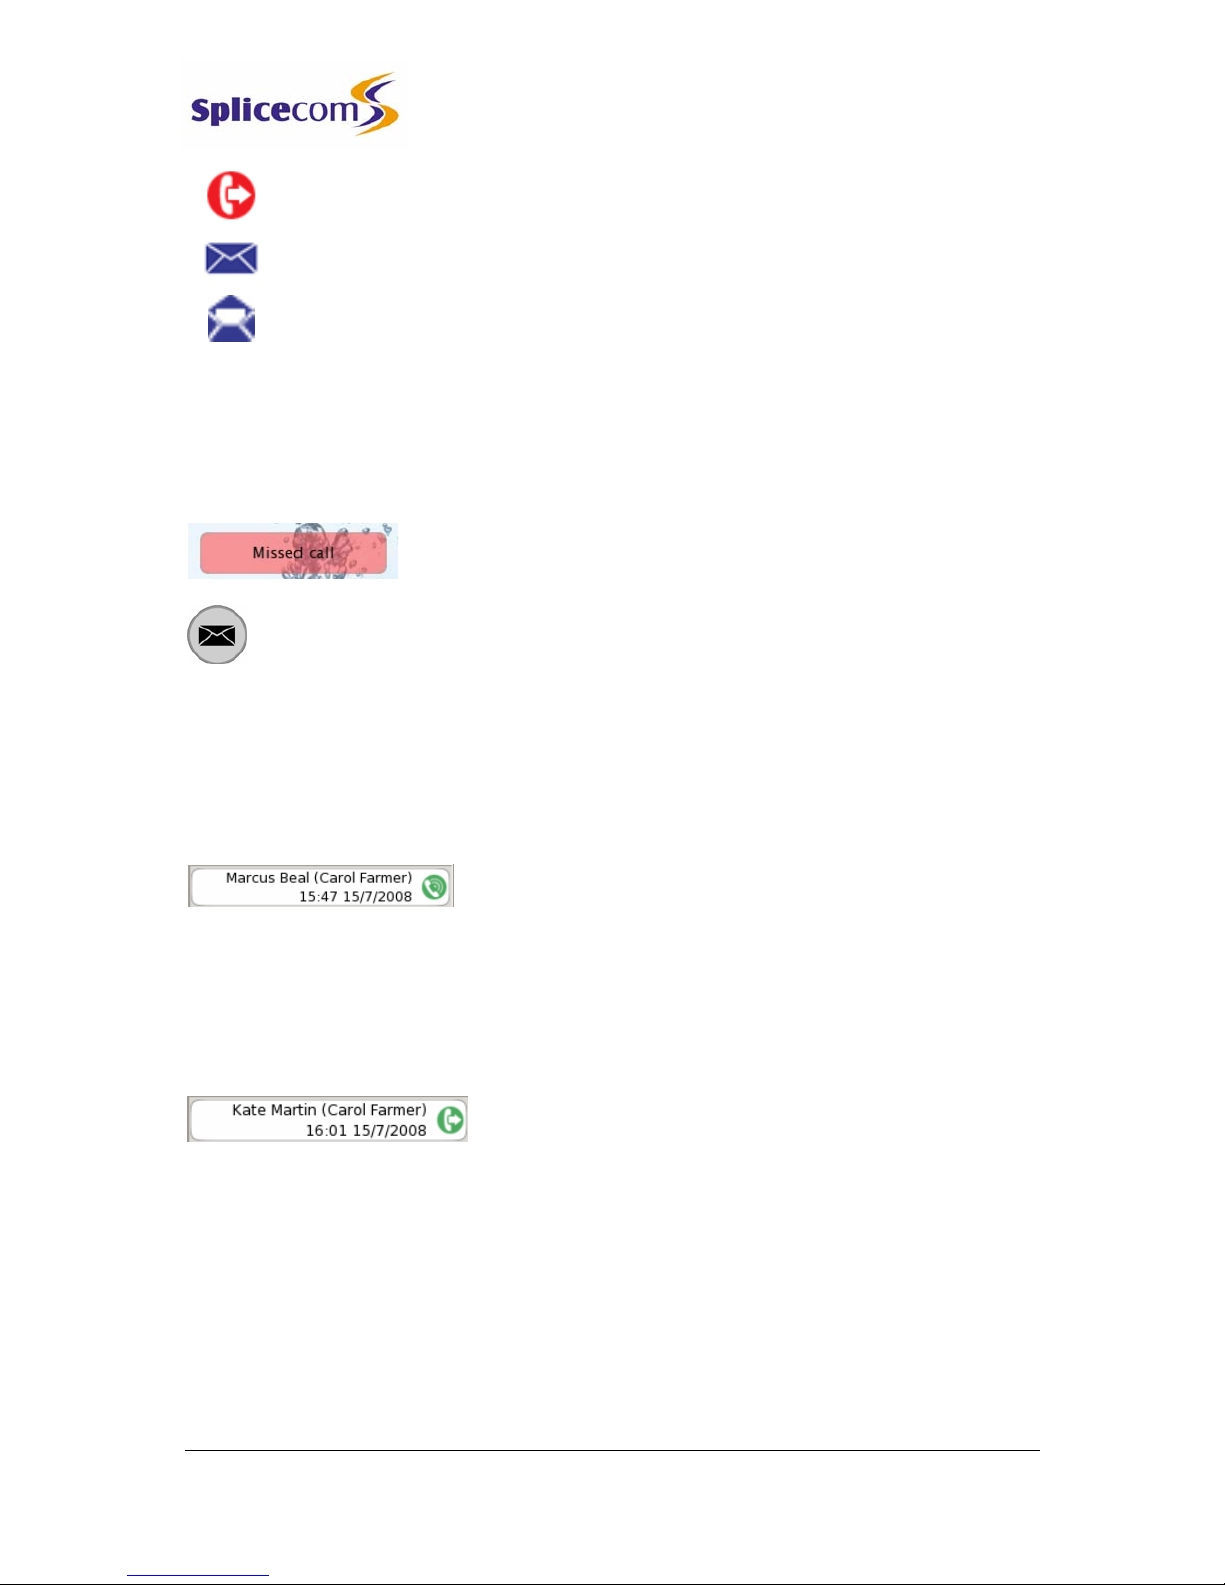
Missed Calls
An incoming call received by your phone that is not answered either by yourself or by
voicemail will be registered as a missed call in your Calls History.
The Missed Call message will appear within the default idle page
and the SpliceCom LED on the phone will flash.
Press the Messages button to view this call.
When you return to the idle page the Missed Call message will no longer be displayed.
Details of a call
Each call will display the following information:
Incoming Call:
•The name of the caller (if known by the system).
•In the brackets, your user name or the name of the colleague who has diverted their calls
to you or the name of the Department called
•The time and date of the call.
Outgoing call
•The name of the contact that you called (if known by the system).
•In the brackets, your user name
•The time and date of the call.

PCS 560 User Manual
5 Series/V3.2/0708/1 16 Calls History
PCS 560 User Manual
Redial a number
You may wish to redial a number previous dialled, this can be done by selecting the original
call from the Calls History.
1 Press the Messages button
2 From the Calls History press the context sensitive key beside the outgoing call
required.
3 Press the context sensitive key beside the Choose icon
4 The number that you dialled will be displayed in bold at the top of the list. If
you wish to dial this number press the context sensitive key beside this entry.
5 The call will be made
Ring back a caller
You may wish to call the number of a previous caller; this can be done by selecting the call
from the Calls History.
1 Press the Messages button
2 From the Calls History press the context sensitive key beside the outgoing call
required.
3 Press the context sensitive key beside the Choose icon
3 The number that the caller rang from is displayed in bold at the top of the list. If
you wish to dial this number press the context sensitive key beside this entry.
4 The call will be made
Please note that if the caller’s number has been withheld or not received by the system this
facility will not be available.
Select an alternative number to dial
If a call has been made to or received from a number recognised by the system alternative
numbers stored against this contact can be accessed via the call details.
1 Press the Messages button
Other manuals for PCS 560
2
Table of contents
Other Splicecom Telephone manuals

Splicecom
Splicecom PCS 5 Instruction Manual

Splicecom
Splicecom PCS 552 User manual

Splicecom
Splicecom Yealink T56A User manual

Splicecom
Splicecom PCS 505 Instruction Manual

Splicecom
Splicecom PCS 542 User manual

Splicecom
Splicecom PCS 573G User manual

Splicecom
Splicecom PCS 100 User manual

Splicecom
Splicecom Yealink VP59 User manual

Splicecom
Splicecom PCS 560 User manual

Splicecom
Splicecom PCS 570 User manual


