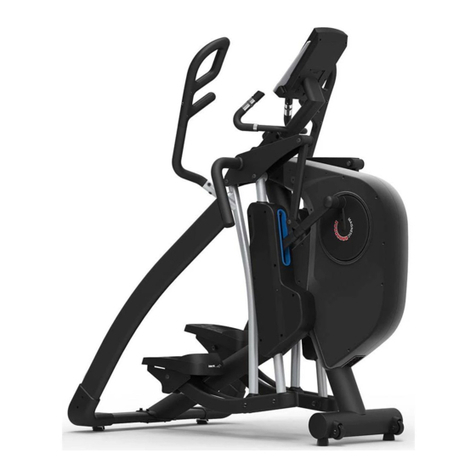
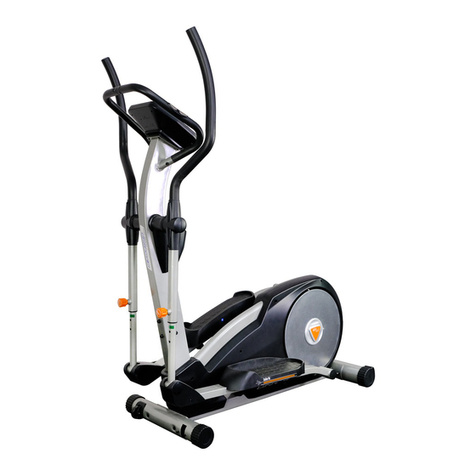
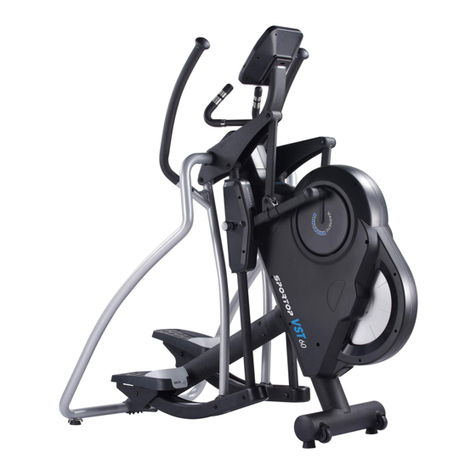
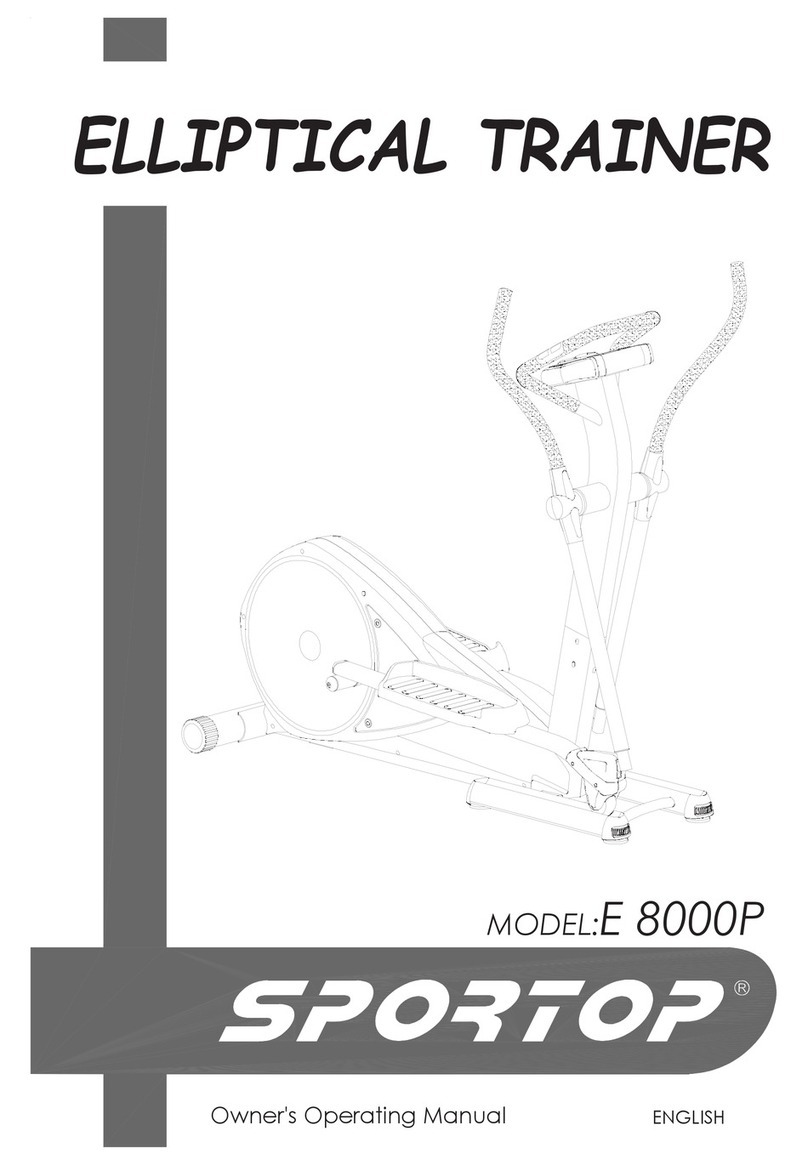
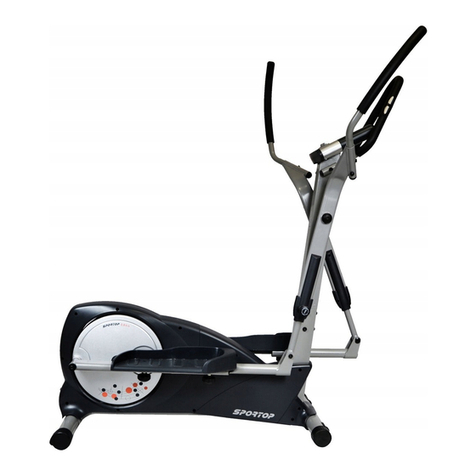
Sportop E 7000P Operation manual

Owner’s Operating Manual

1

2

3

4

5

6

7

8
Programmable Training Computer
FUNCTION BUTTON
START/STOP
To start or stop monitor counting.
MODE
To enter all functions, age, and training programs
UP/DOWN
To adjust and set all functions, personal data, and training programs
RESET
To have the monitor jump to initial display for training mode selection. If you hold on
pressing the button for 2 seconds, the monitor will reset previous training and jump to
user code selection.
FUNCTIONS
RPM
To display current training rotations per minute.
SPEED
To display current training speed.
TIME
Count up - To accumulate training time from 0:00 to 99:59 with one second increment when the training starts.(No preset
target)
Count down - The monitor will start to count from preset time down to 0:00 with one second decrement when the training
starts. As soon as the preset time is achieved, the monitor starts to alarm, and TIME will start to count
up immediately from 0:00.
DISTANCE
Count up - To accumulate training distance from 0.00 to 999.9 with 0.01 km (ml) increment when the training starts. (No
preset target)
Count down - The monitor will start to count from preset distance down to 0.00 with 0.01 km (or ml) decrement when the
training starts. As soon as the preset distance is achieved, the monitor starts to alarm, and DISTANCE
will start to count up immediately from 0.00.
CALORIE
Count up - To accumulate calorie consumption from 0 to 9999 cal with one cal increment when the training starts. (No preset
target)
Count down - The monitor starts to count from preset calories down to 0 with 1 cal decrement
when the training starts. As soon as the preset calories are achieved, the monitor starts to alarm, and
CALORIES will start to count up immediately from 0.
WATT
To display the workout effort in figures.
PULSE
The monitor will display your current heart rate figures in a few seconds after you hold two hands on handle bar grip sensors.
To have more precise heart rate readout and detection, please always hold two hands instead of one hand only.
NOTE

9
1. When you stop training and do not press any button for 4 minutes, the monitor will shut off automatically. All previous training data (Time,
Distance and Calories) will be stored. You may press any button or start training again to wake up the monitor display.
2. You may have the monitor reset all function data by pressing the RESET button for 4 seconds.
3. The monitor requires power supply with AC adaptor input. (Out put 500mA, 6V)
MONITOR INSTRUCTION MANUAL
1. Plug in the power supply (AC adaptor).
2. The monitor displays all segments for 2 seconds. [If you press RESET button for over 2 seconds, the monitor will display all segment for 2
seconds for a new start.]
3. Press UP or DOWN to select training mode in MANUAL, PROGRAM (P1~P12), USER, TARGET.H.R.,
and press MODE to confirm setting.
4. Different training modes:
MANUAL
1. Once you select MANUAL training mode, the LED bar below the monitor display will light up to show
your current level position. You may increase or decrease training level by pressing UP or DOWN.
2. Press START/STOP to start training in Manual mode. (STOP symbol will disappear from the monitor)
3. Press UP/DOWN/MODE to set target function data of Time, Distance, Calories, Watt, and Pulse.
Each preset function (except Watt and Pulse) will count down from preset target as soon as training
starts.
4. You may adjust training resistance level (1~16) by pressing UP/DOWN during training. (Except the
Watt data has been preset)
[Preset Watt data for training] - If you have preset Watt data, the training resistance level will
be adjusted automatically according to the training speed and RPM. If you see the symbol ▼on the
monitor, it means your training speed is slow that the resistance level will be increased automatically
to maintain the preset watt. If you see the symbol ▲on the monitor, it means the speed is fast that
the resistance will be decreased automatically to maintain the preset watt. If you see the symbol ▼on the monitor, it means your current
speed is too slow and the resistance has been achieved to
the maximum level. At that moment, the monitor alarms "bi-b-bi" per second to remind you to increase training speed. If you maintain the same
training speed for 1 minute, the monitor will alarm "bi-bi-bi-bi-bi-bi" (per second) for 30 seconds and stop the system automatically [ The
resistance level will be dropped to level 1 at that moment] as a protections implement. If you see the symbol --- and ▲on the monitor, it
means your current speed is too fast and the resistance has been dropped to the minimum level. At the moment, the monitor alarms "bi-b-bi"
per second to remind you to decrease training speed. If you maintain same training speed for 1 minute, the monitor will alarm
"bi-bi-bi-bi-bi-bi" (per second) for 30 seconds and stop the system automatically [ The resistance level will be dropped to level 1 at that
moment] as a protections implement.
5. The monitor will alarm "bi-bi-bi" to remind you and stop as soon as one of each preset function target has counted down to zero.
PROGRAM
1. Once you select Program training mode, the LED bar below the monitor display will light up to show your current level position. You may
increase or decrease training level by pressing UP/DOWN.
2. Press START/STOP to start training in Program mode. (STOP symbol will disappear from the monitor)
3. Press UP/DOWN/MODE to select preferred training program profiles from P1 to P12.
4. Press UP/DOWN to adjust resistance level of the profile from level 1 to level 16. (You may adjust
training resistance level by pressing UP/DOWN buttons during training)
5. Press UP/DOWN/MODE to set target function data of Time, Distance, Calories, and Pulse. Each
preset function will count down when the training starts.(Except Pulse)

10
6. Press START/STOP to start your training with PROGRAM mode.
7. The monitor will alarm "bi-bi-bi" to remind you and stop as soon as one of each preset function target has counted down to zero.(Except Pulse)
USER
1. Once you select User training mode, the LED bar below monitor display will light up to show your
current level position. You may increase or decrease training level by pressing UP/DOWN.
2. Press UP/DOWN/MODE to preset your own Profiles for training. You may quit profile setting mode
by pressing MODE button for over 2 seconds.
3. Press UP/DOWN/MODE to set target function data of Time, Distance, Calories, and Pulse. Each
preset function will count down when the training starts. (Except Pulse)
4. Press START/STOP to start your training with USER mode.
5. During training, you may press UP/DOWN to adjust resistance level.
6. The monitor will alarm "bi-bi-bi" to remind you and stop as soon as one of each preset function target has counted down to zero.(Except Pulse)
TARGET H.R.
1. When you select User training mode, the LED bar below monitor display will light up to show your
current level position. You may increase or decrease training level by pressing UP/DOWN.
2. Once you select TARGET H.R. for training, the monitor requests that you to input your AGE. Press UP/
DOWN/MODE to set age. This data is the key point for the proper target heart rate data calculation
by the monitor.
3. Press UP/DOWN/MODE to select different percentages of target heart rate figures you would like to
achieve for training. There are 55%, 75%, 90% for selection, or you may input manually a target heart
heart rate figure for training.
3-1 The training resistance level is not available to be adjusted by button operation if you are training
in TARGET H.R. mode.
3-2 The resistance level will be auto adjusted by the monitor according to your actual heart rate
figure. If your current heart rate figure is under preset, the resistance level will be increased
1 level per 30 seconds until level 16 or the target heart rate figure is achieved. If your current
heart rate figure is exceeding the preset target figure, the resistance level will be decreased
on level immediately. The resistance level will keeping decreased by one level per 15 seconds
until level one. If your current heart rate figure is still exceeding the target when the resistance
level is dropped to level one for 30 seconds, the monitor will stop and alarm to remind you.
4. Press UP/DOWN/MODE to set target function data of Time, Distance, Calories. Each preset function
will count down when the training starts.
5. Press START/STOP to start your training with TARGET H.R. mode.

11
P/N
DESCRIPTION
Q’TY
P/N
DESCRIPTION
Q’TY
A1
MAIN FRAME
1
B1
CENTRAL SUPPORT TUBE
1
A2
MAGNETIC FLYWHEEL
1
B3
WATER BOT TLE
1
A3
FLAT WASHER
2
B5
SENSOR WIRE
1
A4
NUT
2
B6
HAND PULSE SENSOR WIRE
1
A5
TENSION PULLEY
1
B7
BOLT
2
A6
PIPE
3
B8
BUSHING
2
A7
FLAT WASHER
3
B9
SHAFT
1
A8
SCREW
3
B10
BEARING
4
A9
BEARING
4
B11
BUSHING
4
A10
E CLIP
3
B12
CONNECT TUBE
2

12
A11
MAGNETIC HOUSING
1
B13
FLAT WASHER
6
A12
NUT
1
B14
SPRING WASHER
8
A13
SCREW
1
B15
SCREW
2
A14
SPRING
1
B16
BOTTLE HOUSING
1
A15
TENSION CABLE
1
B17
SCREW
1
A16
SPRING WASHER
2
B18-B19
DECORATION BOTTLE HOUSING
2
A17
SPRING FIXING HOUSING
1
B20
SCREW
4
A18
SCREW
1
B21
SCREW
6
A19
FIXING HOUSING
1
B22
FLAT WASHER
2
A20
SCREW
2
A21
SPRING
1
C1
REAR STABILIZER
1
A22
BELT
1
C2
END CAP
2
A23
BELT PULLEY
1
C3
END CAP COVER
2
A24
PULLEY AXLE
1
C4-D7
BOLT
4
A25
SCREW
4
C5-D8
FLAT WASHER
4
A26
PLANE
1
C6-D9
SPRING WASHER
4
A27
NUT
5
C7-D10
NUT
4
A28
MAGNET
1
A29
TURNING PLATE
2
D1
FRONT S TABILIZER
1
A30
SCREW
2
D2
END CAP
2
A31
DECORATION COVER
2
D3
END CAP COVER
2
A32
PIPE
2
D4
TRANSPORT WHEEL HOUSING
2
A33
BEARING
4
D5
SCREW
4
A34
FLAT WASHER
2
D6
TRANSPORTATION WHEEL
2
A35
SCREW COVER
2
A36
SCREW
2
E1
MONITOR
1
A37
PEDAL TUBE(RIGHT)
1
E2
SCREW
2
A38
PEDAL TUBE(LEFT)
2
E3
ADAPTOR
1
A39
SCREW
2
F1
FRONT HANDLEBAR(L&R)
2
A40
FLAT WASHER
2
F2
HANDLEBAR CLIP
1
A41
FLAT WASHER
2
F3
SCREW
2
A42
SCREW
2
F4
FOAM GRIP
2
A43
CONNECT PIPE
2
F5
SENSOR
2
A44
SCREW
1
F6
SCREW
2
A45
SENSOR WIRE
1
A46
FIXING HOUSING
1
G1
SIDE HANDLE BAR
2
A47
RIGHT COVER
1
G2
FOAM GRIP
2
A48
DECORATION COVER
1
G3
END CAP
2
A49
LEFT COVER
1
G4
SCREW
4
A50
DECORATION COVER
1
A51
SCREW COVER
8
H1-H2
DECORATION COVER
1
A52
SCREW
8
H3-H4
PEDAL JOINT COVER
1

13
A53
SCREW
3
H5-H6
PEDAL
1
A54
TAPPING SCREW
6
A55
POWER CORD SENSOR
1
J1
BOLT
2
A56
SCREW
4
J2
SCREW
4
A57
TENSION CABLE
1
J3
SCREW
4
A58
FIXING HOUSING
1
J4
BOLT
4
A59
SCREW
2
J5
SPRING WASHER
4
J6
FLAT WASHER
4
J7
KNOB
4
Table of contents
Other Sportop Elliptical Trainer manuals

Sportop
Sportop E7000P PLUS Operation manual

Sportop
Sportop E80 Operation manual

Sportop
Sportop VST60 Operation manual

Sportop
Sportop E7000P PLUS Operation manual

Sportop
Sportop E770 User manual

Sportop
Sportop E 8000P Operation manual

Sportop
Sportop E450 Operation manual

Sportop
Sportop E-860P Operation manual

Sportop
Sportop RO 700 User manual

Sportop
Sportop E160 Operation manual