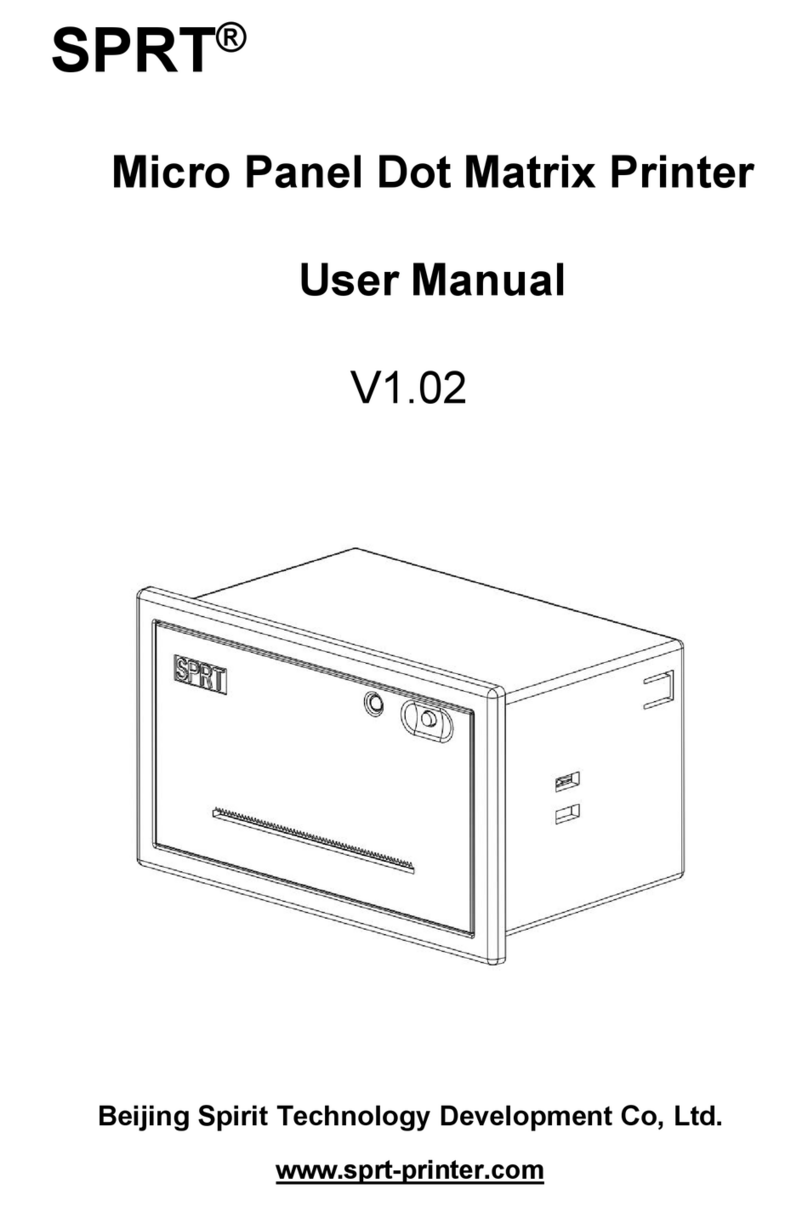
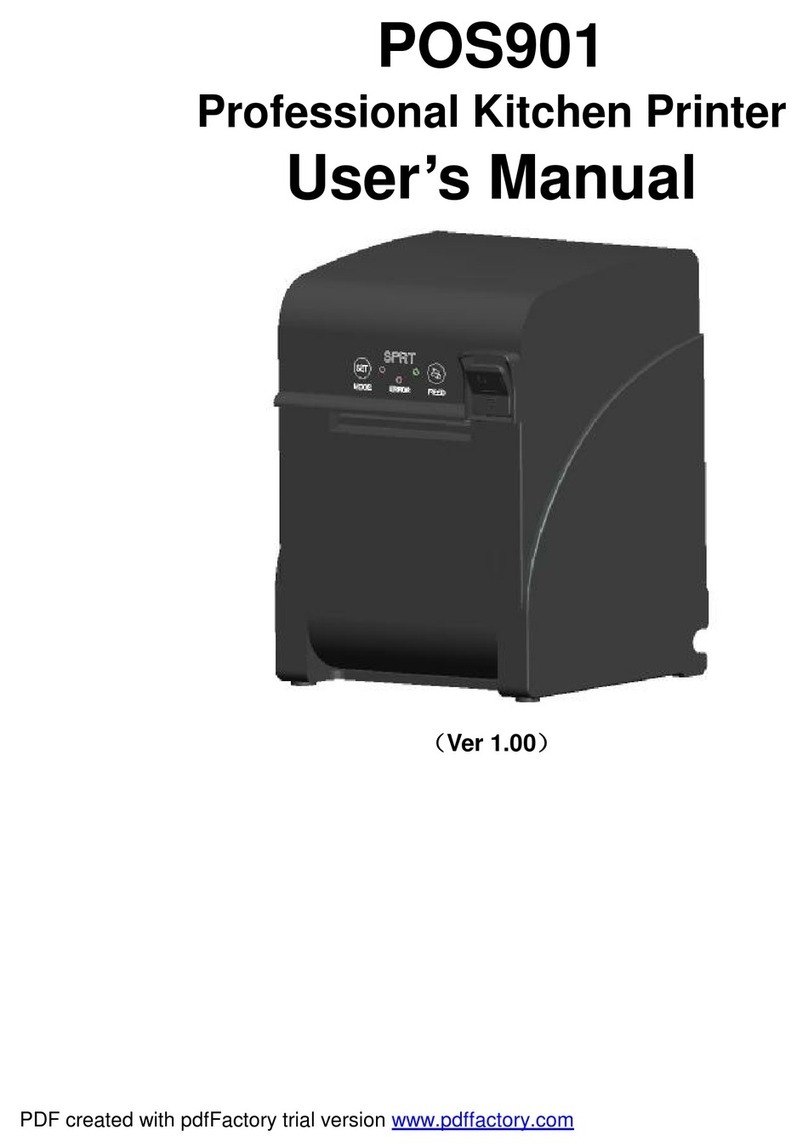
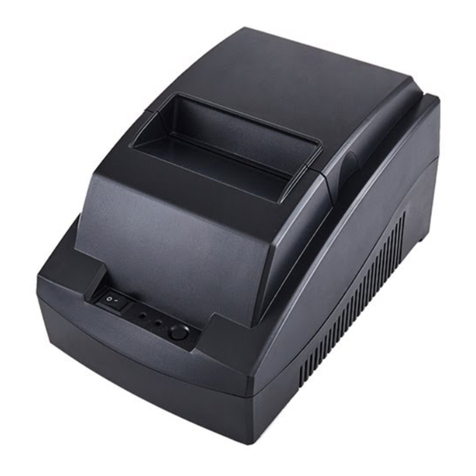
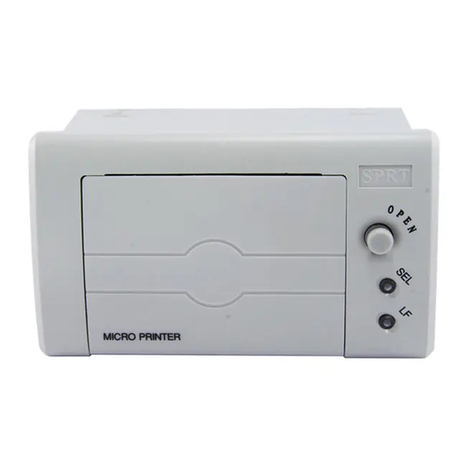
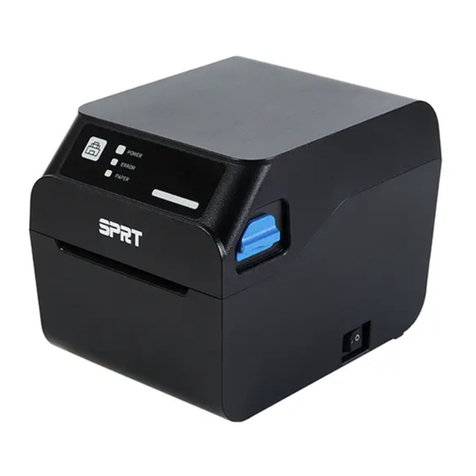
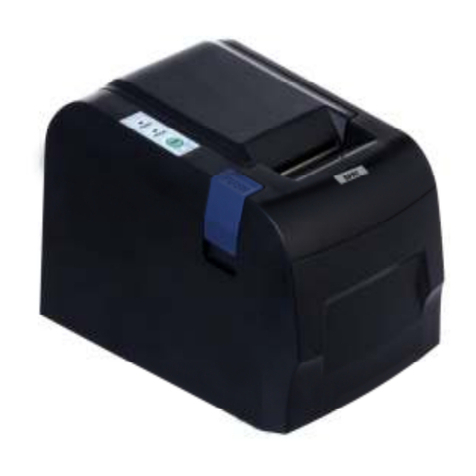
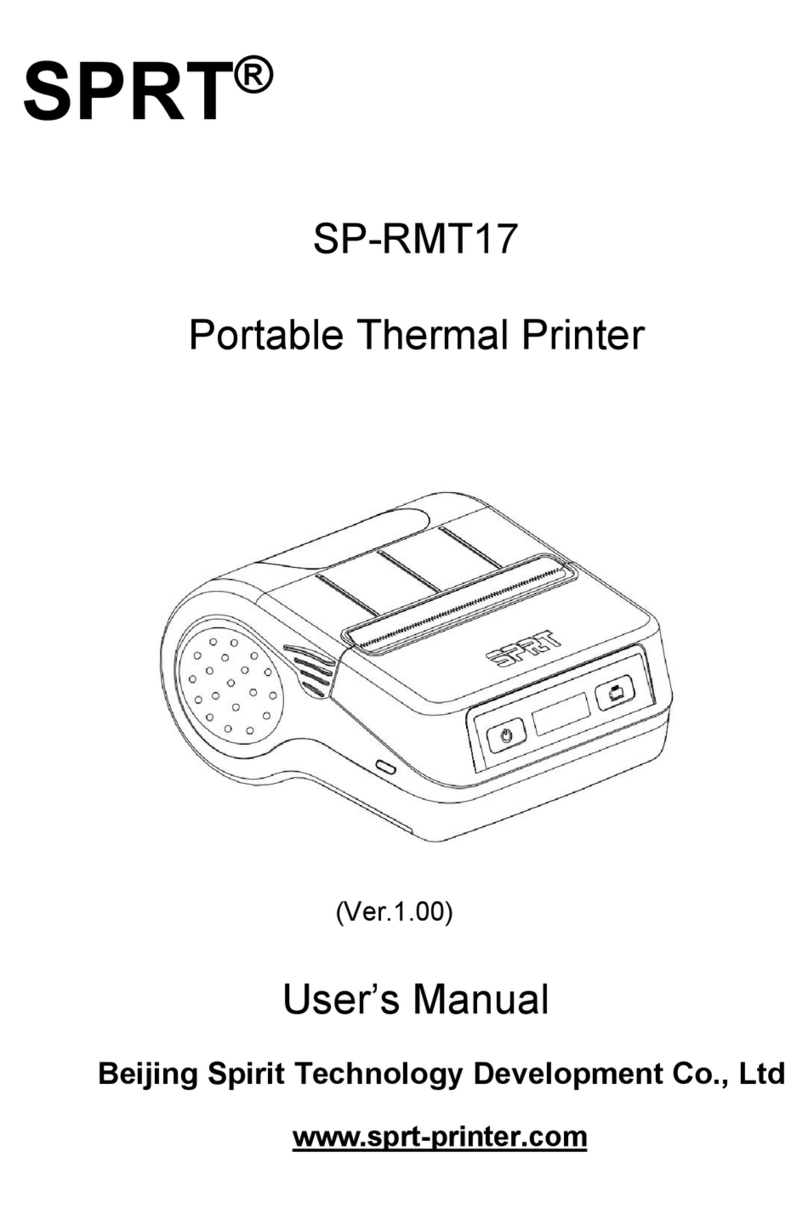
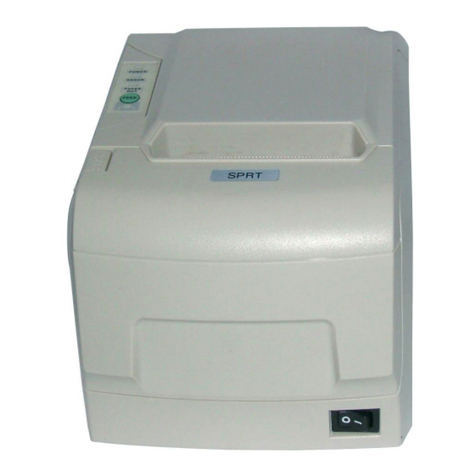
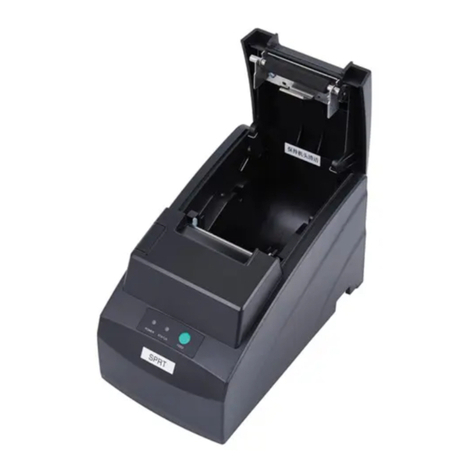
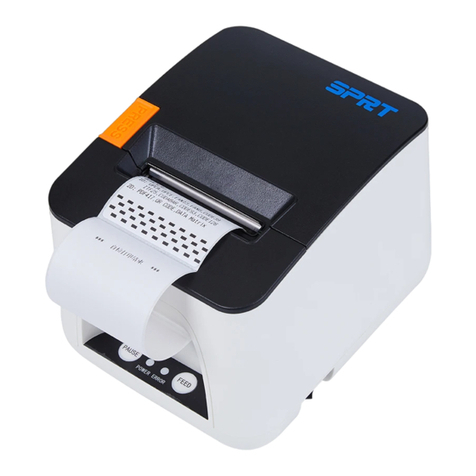
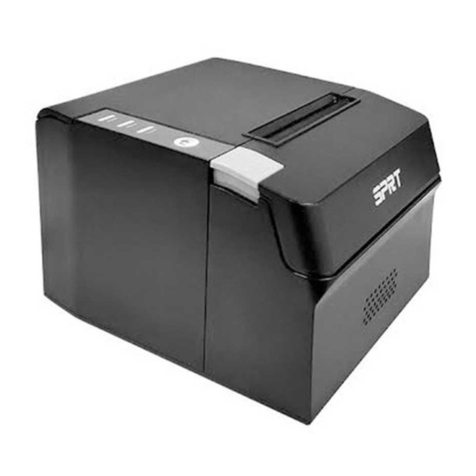
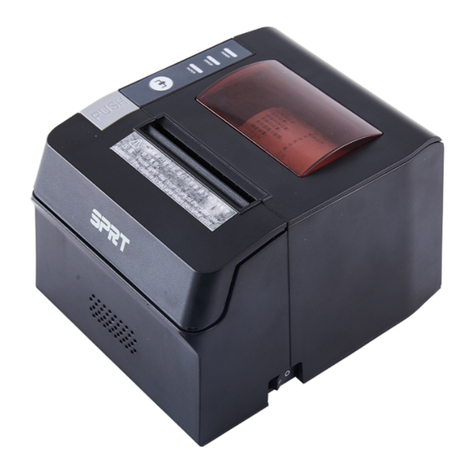
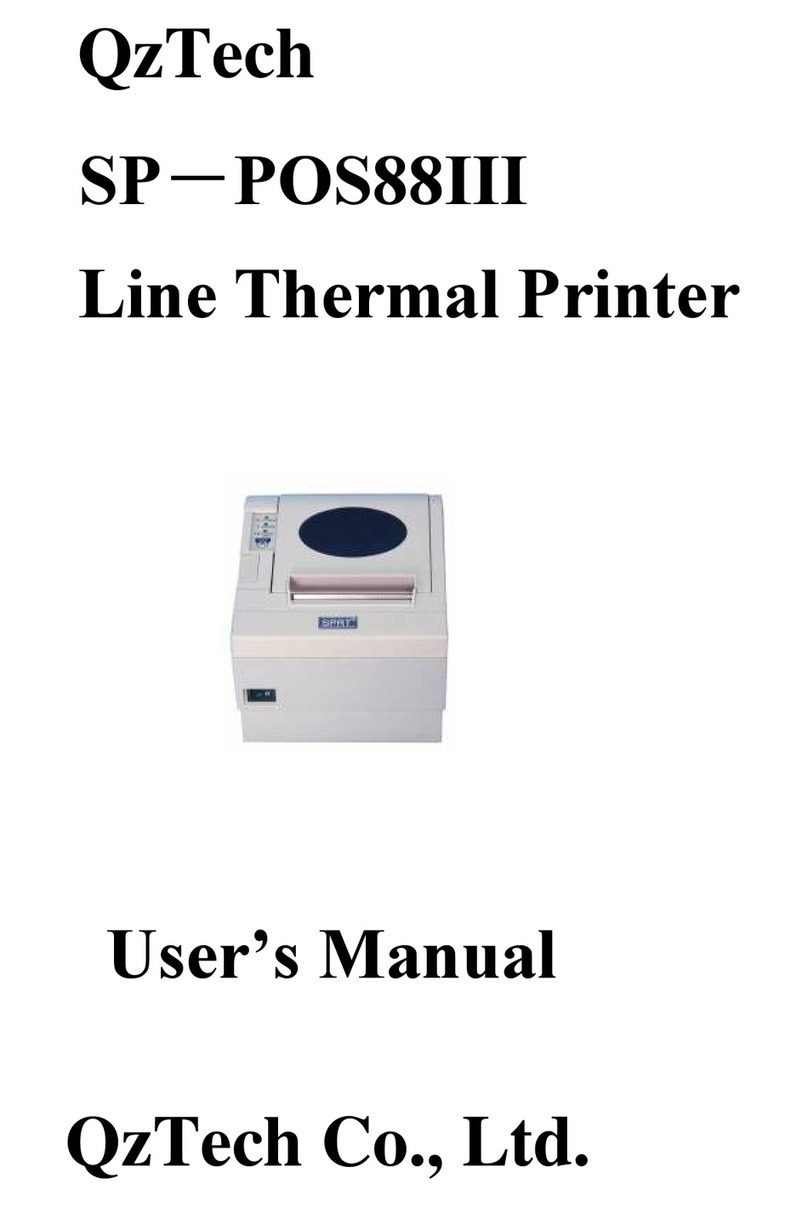
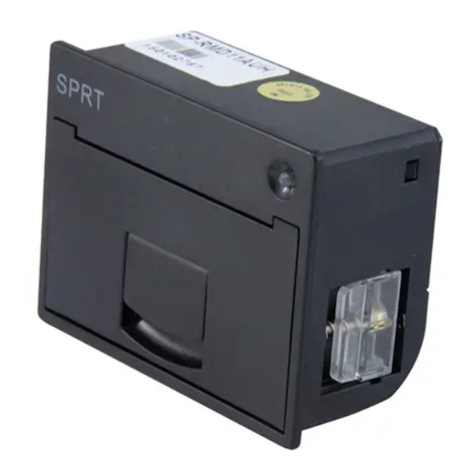
SPRT SP-EU804 User manual

SPRT®
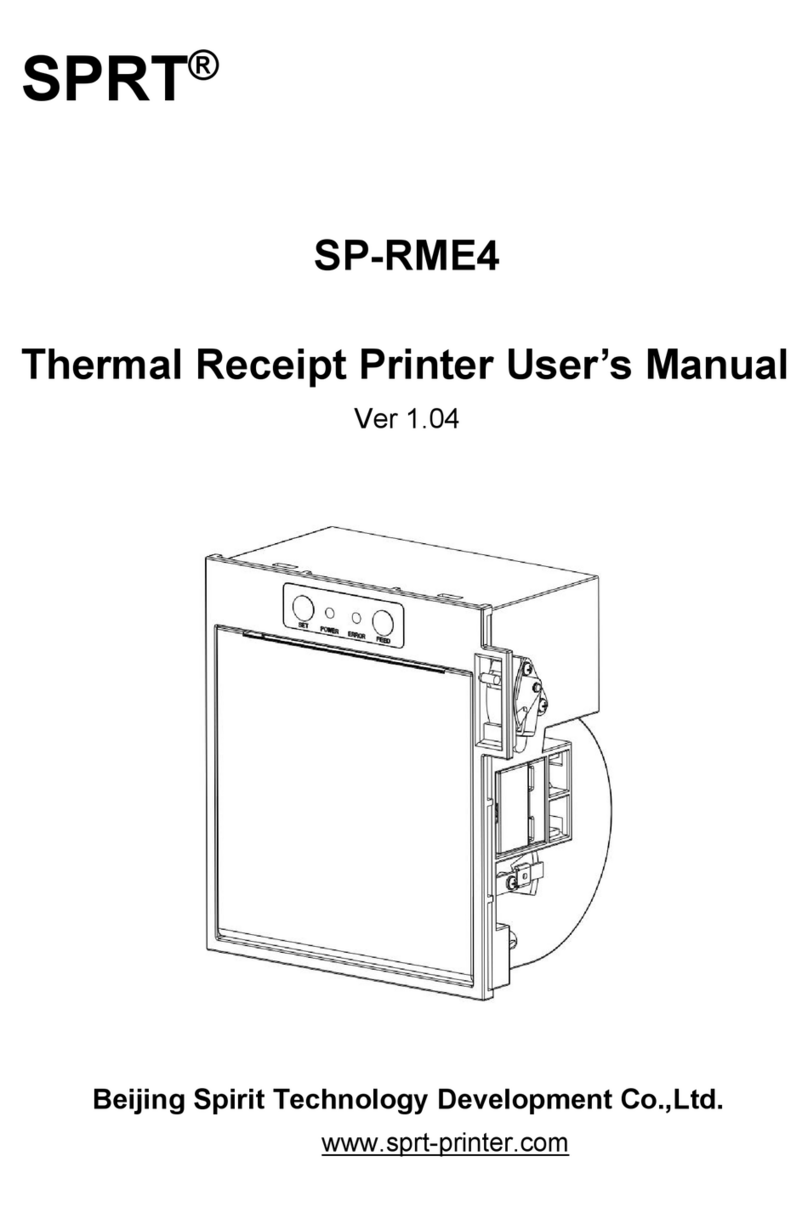
SP-EU804/EU805 PRINTING UNIT
USER’S MANUAL
(Ver 1.02)
Beijing Spirit Technology Development Co.,Ltd
Craft Data Limited
Tel: 01296 332000
Email: [email protected]
Homepage: www.craftdata.co.uk

Safety Instruction
Safety warming
1)The print head is heating parts, during printing and end printing, do not touch the print head and
surrounding parts.
2)Do not touch the surface of the print head and connection socket, avoid the electrostatic
damage the print head.
Notice
1) Printing units should be installed in a flat, stable place;
2) Keeping enough space around the printing units to be convenient for operation and
maintenance;
3) Far away from water for all printing units;
4) Do not use and store printing units in high temperature, damp and polluted places. Avoid
sunlight, strong light and heat direct sources;
5) Avoid the printing units in the vibration and impact;
6) Avoid the damp air condensation on the surface of the printing units. If condensation has been
formed, do not open the power of the printing units before the dew disappear;
7) Keep the printing units power adapter connected to a properly grounded outlet; avoid using the
same socket with large motor or other devices which can lead to the power supply voltage
fluctuation;
8) If long time will not use the printing units, please disconnect the power of the power adapter;
9) To avoid water or conductive material into the printing units interior, once occurred, should
immediately shut off the power;
10)Printing units shall not be print under the conditions of no paper,otherwise will seriously
damage the printing roller and the thermal print head;
11)In order to guarantee the print quality and the product life,suggest to use same quality paper
as recommended;
12)In the case of print effect meets the requirement, suggest users to set lower level
concentration of print as much as possible, to avoid affect the life of the print head;
13)The user shall not be removed printing units for maintenance.

Content
Brief Introduction............................................................................................................................................1
Chapter 1 Characteristics and performance.............................................................................................2
1.1 Print performance........................................................................................................................... 2
1.2 Print paper........................................................................................................................................2
1.3 Character set................................................................................................................................... 2
1.4 Interface............................................................................................................................................2
1.5 Printing control command............................................................................................................. 3
1.6 Power supply................................................................................................................................... 3
1.7 Dimension and installation instructions.......................................................................................3
1.8 Dam-board Function.................................................................................................................... 10
1.9 Work Environment........................................................................................................................ 10
Chapter 2 Operating instructions.............................................................................................................. 11
2.1 Printing Unit components............................................................................................................ 11
2.2 Instructions for paper install........................................................................................................14
2.2.1 Paper Loading....................................................................................................................14
2.2.2 Solution for paper jam of cutter.......................................................................................14
2.2.3 Anti-jamming and Anti-pulling function.......................................................................... 15
2.3 Interface connection.....................................................................................................................15
2.3.1 Serial interface connection.............................................................................................. 15
2.3.2 USB Interface.....................................................................................................................17
2.3.3 Power supply connection.................................................................................................17
2.4 Lights and buttons operation...................................................................................................... 17
2.5 Normal working mode.................................................................................................................. 19
2.6 Self-test.......................................................................................................................................... 19
2.7 HEX Printing mode.......................................................................................................................19
2.8 The printer parameters setting................................................................................................... 20
2.9 Printer upgrade.................................................................................................................................20
3.0 Installation and use notes........................................................................................................... 21
Appendix A: Parameters setting................................................................................................................22

1
Brief Introduction
SP-EU804/EU805 printer is a new thermal line panel printer, with drop-in paper easy
loading,auto cutter,Black label detection,faster and more reliable.
SP-EU804/EU805 printer easy operation,applications widely, especially to queue
machine,POS for bank and the business of all kinds of needed docs to print.
Statement
This product is belong to class A. In the living environment, this product may
cause radio Interference. In that case, the user need to take practical measures
to interference
Model Classification
Model
Interface
Have bracket
or not
Anti-jamming and
Anti-pulling
SP-EU804U
USB
/
/
SP-EU804UMF
USB
/
Support
SP- EU805U
USB
have
/
SP- EU805UMF
USB
have
Support
SP-EU804SU
USB+RS232
/
/
SP-EU804SUMF
USB+RS232
/
Support
SP- EU805SU
USB+RS232
have
/
SP- EU805SUMF
USB+RS232
have
Support

2
Chapter 1 Characteristics and performance
1.1 Print performance
● Printing method:direct line thermal;
● Printing paper width:79.5±0.5mm, 82±0.5mm。
● Resolution:8dot/mm,576dot/line
● Printing speed:150mm/s(max)
● MCBF: (1) Printing head life:100km
Operating conditions:
* Print font 12 × 24 ASCII,printing 50 lines per time,Intermittent reprint.
* Thermal paper
(2) Auto cutter life:1,000,000 cuts.
● Effective printing width:72mm
1.2 Print paper
● The mode of thermal paper:TF50KS-E(Japan paper co.ltd)
AF50KS-E(JUJO THERMAL)
● Thermal paper roll: width ---------- 79.5±0.5mm, 82±0.5mm
thickness ----------0.06-0.08mm
Paper roll straight-------When the paper roll diameter exceeds 80mm, the
paper core needs to be matched with the paper axis to avoid the paper core from being too large
and the paper roll is shaken, which affects the printing effect.
1.3 Character set
● ANK character set:
12×24dot ,1.5(width)×3.00(high)mm
8×16 dot,1.0(width)×2.00(high)mm
9×17dot,1.0(width)×2.00(high)mm
● Chinese:
24×24dot,3.00(width)×3.00(high)mm
16×16dot,2.00(width)×2.00(high)mm
1.4 Interface
● RS232 serial port:

3
PDK-5PIN socket(pin point),support XON/XOFF and DTR/DSR.
Baud rate:1200,2400,4800,9600,19200,38400,57600,115200bps adjustable.
Data structure:One start bit +(7 or 8)data +one stop bit.
Verify:No validation or odd and even check is optional.
●USB port:
Standard USB port.
1.5 Printing control command
● Characters print command:support the double width and height printing of ANK
characters,self-defined characters and Chinese; characters lines spacing can be adjusted.
● Bitmap print command:Support printing bitmaps with different density and downloaded
graphics.
● GS bar code print command :support
UPC-A,UPC-E,EAN-13,EAN-8,CODE39,ITF25,CODABAR, CODE93,CODE128,PDF417,QR
Code,DATA Matrix bar code print.
1.6 Power supply
● DC24V±10%,2A,VH3.96-2PIN power socket
1.7 Dimension and installation instructions
●EU804U:95mm×120mm×95mm(L×W×H)
●EU804UMF:118mm×120mm×95mm(L×W×H)
●EU805:252mm×109mm×110mm(L×W×H)
●EU805UMF:275mm×109mm×110mm(L×W×H)

4
SP-EU804U、SP-EU804SU
(Standard model)

5
SP-EU804U、SP-EU804SU
(Optional positioning port )

6
SP-EU804UMF、SP-EU804SUMF
(Standard model)

7
SP-EU804UMF、SP-EU804SUMF
(Optional positioning port )

8
SP- EU805U、SP-EU805SU

9
SP- EU805UMF、SP-EU805SUMF

10
1.8 Dam-board Function
1.9 Work Environment
● Working stability: 0 ~ 50℃Operating Relative Humidity: 10% ~ 80%
● Storage stability: -20 ~ 60℃Storage relative humidity: 10% ~ 90%
When using the
dam-board, lift
the buffer shaft
first, and then
insert it into the
hole.

11
Chapter 2 Operating instructions
2.1 Printing Unit components
SP-EU804U、SP-EU804SU
SP-EU804UMF、SP-EU804SUMF

12
SP- EU805U、SP-EU805SU

13
SP- EU805UMF、SP-EU805SUMF

14
2.2 Instructions for paper install
2.2.1 Paper Loading
Thermal paper installed as below:
In the state of power-on, pull out a little from the paper roll, then put the paper into the mouth
of printing mechanism, the printer will auto paper feeding .
Note: make sure the paper is cut flat when loading.
2.2.2 Solution for paper jam of cutter
If the cutter is jammed, turn off the power and turn on the printer again, the cutter will recover.
If the paper is jammed, please open the rubber roll and take out the paper. If the cutter does not
recover after reset, you can move the plastic gears on the cutter to recover the cutter.

15
If you want to keep the data when the cutter is jammed, please do not turn off the power and
use the manual method to recover the cutter. Then open the rubber roll and take out the jammed
paper, now turn off the rubber roll. The printer will recover from the paper cutting errors.
2.2.3 Anti-jamming and Anti-pulling function
During printer work, the user tears paper, pull the paper and jams the paper. This type of
operation triggers the printer's Anti-jamming and Anti-pulling function, as follows:
(1) The user tears paper, pull the paper will triggers the printer's Anti-jamming and
Anti-pulling function, the printer will automatically cut paper to avoid other abnormal phenomena
such as paper dislocation caused by tear paper and pull paper. After the cutter is finished, it will
automatically resume the normal printing state.
(2) Artificial jam will triggers the printer's Anti-jamming and Anti-pulling function, The printer
will stop printing until there is no paper jam, the printer automatically returns to the normal printing
state.
(3) If the printer configured with the function of no taking the paper: after the completion of
cutting , if not taking the paper, the anti-jamming and Anti-pulling module will give a light alarm,
and it will automatically return to the normal printing state after taking the paper with normal data.
Note: it is necessary to confirm whether the no taking the paper function is supported. If so,
when designing products, we need to consider a single get application scenario to avoid not
taking the paper then leads to not printing.
2.3 Interface connection
2.3.1 Serial interface connection
SP-EU804/EU805 printer serial interface is compatible with RS-232C,support DTR/DSR and
XON/XOFF handshaking protocol. Its interface is PH-5PIN pin type socket outlet. The pin number
of serial interface socket as shown in figure 2-1:

16
Each pin signal is defined as below:
Pin No.
Signal
name
Signal
direction
Source
Explain
1
RTS
output
printer
Same as pin 4 :DTR
2
TXD
output
printer
Printer send control code XON/XOFF and data to
computer.
3
RXD
input
host
Printer receive data from computer
4
DTR
output
printer
When the signal show "MARK", it is means the
printer is busy and can not receive data, when the
signal show " SPACE", it is mean the printer get
ready and can receive data.
5
GND
----
----
Signal ground
Mark: ①"Source"means the place of the signal from
②Signal logic level for EIA
The baud rate and data structure have been set as 9600bps/8 data bits/no calibration and 1
stop bit under connected as serial. SP-EU804/SP-EU805 printer’s serial interface can be
connected to the standard of RS-232C interface.The correct wiring method is as shown in Figure
2-2.
Figure 2-2.

17
2.3.2 USB Interface
USB interface : PH-4A interface :
Fig 2-4 Definition of USB socket and pin
2.3.3 Power supply connection
SP-EU805 printer is externally connected to 24V±10%, 2A power supply, and the socket is
VH3.96-2PIN type. The shape and pin definition are shown in Figure 2-9.
Fig 2-6 Definition of power socket and pin
2.4 Lights and buttons operation
SP-EU805 printer has one button and three lights.
【FEED 】is paper feeding button, available to print commands allow or prohibit button switch
function, in the condition of allow button control, press 【FEED 】button printer feeding paper,
loosen【FEED】button,stop feeding paper.
Green power indicator light is for power light. POWER indicator lighting means printer has
been switched on .
Red light for PAPER OUT indicator is paper status indicator. When it is light, it means the
printer is out of paper.
Red light for the ERROR is Error status indicator, When the print working with normally, the
Pin
Function
Remark
1
V BUS
Power 5V
2
Data-
Data-
3
Data+
Data+
4
GND
GND
Pin No.
Signal
1
+24VDC
2
GND
This manual suits for next models
1
Table of contents
Other SPRT Printer manuals