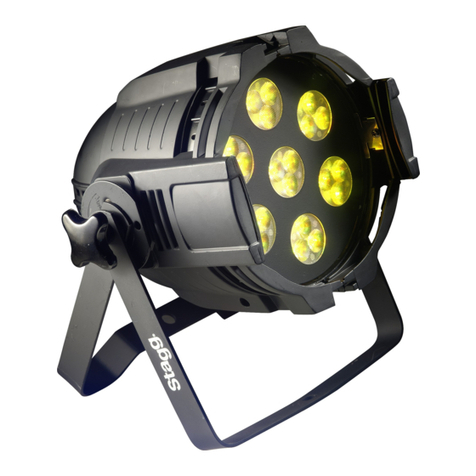
Stagg TRITON SDJ-TRITON User manual

!
User Manual
TRITON
SDJ-TRITON

!
Table of Contents
1.BEFORE USAGE
This package contains
Unpacking
Introduction
Specifications
Features
2.INSTALLATION
Installation Requirements
Maintenance
Power Connection
DMX 512 Connection
3. OPERATION
Menu Map
Operating Instructions
DMX 512 Control
DMX Channels

!

!
1. BEFORE USE
This package contains
•1x Triton
•1x Power Cable
•1x User Manual
Unpacking
•Thank you for purchasing this product, it has been thoroughly tested
and has been shipped in perfect operating condition.
•Carefully check the packaging for damage that may have occurred during
shipping.
•If the packaging appears to be damaged, carefully inspect your fixture
for any damage and be sure all equipment necessary to operate the unit has
arrived intact.
•If damage has been found or parts are missing, please contact your vendor
or our customer support number for further instructions.
Introduction
•This fixture can operate in four different operating modes: DMX control,
sound active, automatic programs or in a Master/Slave configuration.
•This product comes with several built-in programs that can be used while
operating as a single unit or with multiple units linked in a master/slave
configuration.
•For best results use fog or special effects smoke to enhance
the beam projection.
•Warning! To prevent or reduce the risk of electrical shock or fire, do not
expose this unit to rain or moisture.
•Warning! This product may cause severe eye damage. Avoid looking directly
into the light source at all times!

!
Specifications
•Light source: 20W RGBW LED
•Strobe: 0~20HZ
•Input Voltage:AC100V~240V, 50-60HZ
•Max Power Consumption: 25W
•Packing Dimensions: 370x320x270mm
•Net Weight 3,00 kg
•Gross weight: 3,26 kg
Features
•3PIN XLR DMX in and out
•IEC Power Input
•4control modes: DMX512,automatic programs, sound control, mast/slave
Please Note: Specifications and improvements in the design of this unit and this
manual are subject to change without any prior written notice.
2. INSTALLATION
Installation requirements
•The product can be hung or placed on a solid surface
with the double mounting brackets
•If you install the light in a hanging position, always use a suitable mounting
position and a clamp or screw that is strong enough to hold the product
without stress. Always use a safety wire to secure the light.
•Always keep a distance of minimum 0.5m to all objects or persons
•Installation should always be done by a trained professional.
•Make sure the light always has good ventilation
•It is recommended to always use 110 Ohm DMX cable to prevent data
corruption of your DMX control signal

!
Maintenance
This product shoud be freed regularly from dust, other deposits and
contamination. Before cleaning, always disconnect the product from the mains.
Maintenance should be performed on a regular basis.
•Always make sure the product has completely cooled down
•Check all screws, they should be properly tightened and free from any
corrosion.
•The housing, lenses, mounting supports and the installation location should
not be deformed, modified or tampered with.
•Mechanically moving parts must not show signs of wear & tear or blockage or
rubbing.
•Any cables should not show any form of damage or wear.
•Clean the outside lens with glass cleaner and a soft cloth, dry carefully after
cleaning.
•Clean the outside of the product with a damp soft cloth. Only use water
without any detergents. Never immerse the device in any liquid. Dry carefully
after cleaning.
•Remove dust from the inside by blowing compressed air through the
ventilation holes to expel
Power connection
The equipment has an auto-switching power supply that can accommodate a
wide range of input voltages. The only thing necessary to do before powering on
the unit is to make sure the line voltage you are applying is within the range of
accepted voltages.This equipment will accommodate between 100V and 240v
AC 50-60HZ.
Color
Connection
PIN
Brown
AC live wire
1
Blue
AC zero curve
2
Green/Yellow
AC ground wire
3

!
DMX 512 Connection
1. Connect the male 3pin DMX input of the first fixture to the female 3pin DMX
output of the lighting controller using 110 Ohm DMX cable, for example a Stagg
Commandor 10 (skip this step when not using a controller)
2. Connect the output of the first fixture to the input of the next fixture using 110
Ohm DMX cable. Repeat this process until you reach your last fixture. Here it is
recommended to connect a DMX terminator to the output of the last fixture in the
chain.
Always use proper 110Ohm DMX cable, such as the Stagg NDX series. Using
regular 600 Ohm microphone cable can cause data corruption and unwanted or
bizarre response from your lights.
It is also recommended to place a DMX terminator on the last light in your DMX
chain, such as the Stagg NDXTERMINR-3.

!
Menu Map
Operating Instructions
Button
Function
MENU/ESC
Exits from the current menu or function
ENTER
Enters the currently displayed menu or confirms the
currently selected value
UP
Navigates upwards through the menu list or increases the
value when in a function
DOWN
Navigates downwards through the menu list or reduces the
value when in a function
AFTER CHANGING ANY VALUE IN THE LIGHT, WAIT UNTIL THE DISPLAY TURNS OFF. AT
THIS POINT THE CHANGES WILL BE SAVED INTO THE MEMORY AND WILL BE
REMEMBERED WHEN POWER IS TURNED OFF AND BACK ON.
A001 A512 DMX Adress
Red Automatic Program
Green Automatic Program
Blue Automatic Program
White Automatic Program
RGBW Automatic Program
Seven Colors Automatic Program
Rainbow (all colors gradually)
Strobing Automatic Program
Sound Controlled Strobing
Sound Controlled Color Change
AX X A1 X
A2 X
A3 X
A4 X
A5 X
A6 X
A7 X
A8 X
S1 X
S2 X

!
DMX Address Setup
•Press MENU until "A001" to "A512" is displayed
•Change the DMX address by pressing UP or DOWN
•Press ENTER to save the DMX address
Automatic Program Setup
•Press MENU until "AX X" is displayed
•Choose your program of preference (see menu map) by pressing MENU
repeatedly
•Adjust the speed of the program by pressing UP or DOWN
Sound Control Setup
•Press MENU until "SX X" is displayed
•Choose your program of preference (see menu map) by pressing MENU
repeatedly
•Adjust the speed of the program by pressing UP or DOWN
Master/Slave Setup
•Set the Master Light to your automatic program or sound control program
of choice
•Set all Slave Lights to DMX Address 001 and daisy chain them to the
DMX out of the Master Light
DMX 512 Control
This function allows you to use a universal DMX-512 controller such as the
Stagg COMMANDOR 10 to control the TRITON, a DMX controller allows you to
create unique programs tailored to your individual needs. The TRITON uses 7
DMX channels, this will allow you to create custom lightshows. Follow the
instruction on the following DMX address charts.

!
DMX Channels
7 Channel Mode
7 Channels Table
channel
Value
Function
CH1
0
No Strobe Effect
1-255
Strobe, Speed from slow to fast
CH2
0-255
Red Dimmer 0-100%
CH3
0-255
Green Dimmer 0-100%
CH4
0-255
Blue Dimmer 0-100%
CH5
0-255
White Dimmer 0-100%
CH6
0-127
Motor Position
128-191
Clockwise rotation, speed from fast to slow
192-255
Counterclockwise rotation, speed from fast to slow
CH7
0-255
Automatic Programs

!

!
!
IMPORTANT SAFETY INSTRUCTIONS
READ AND KEEP THESE INSTRUCTIONS. HEED ALL WARNINGS.
• If, after you have followed the instructions outlined above, this device fails to function, please
contact your dealer. Under no circumstances should this device be opened. Leave all servicing to
qualified personnel.
•Electrical appliances must never be used in conditions of high humidity or heat. To prevent any risk
of fire or electric shock, never spill or splash liquids on this device. Should this happen, unplug the
power cable from the mains outlet and switch off the mixer immediately.
MARKING & CONFORMITY
1. The CE mark on this product means it conforms to the EMC Directive (2004/108/CE), CE marking
Directive (93/68/EEC) and Low Voltage Directive (2006/95/EC).
2. The «Crossed-out Wheeled Bin» is to draw your attention to the WEEE (Waste Electric &
Electronic Equipment) Directive (2002/96/EC). It means this apparatus must be collected separately
for recycling.
3. «RoHS compliant» means this device conforms to the Directive (2002/95EC) on the restriction of
the use of certain hazardous substances in electrical and electronic equipments, such as: Mercury,
Lead, Cadmium, Hexavalent Chromium, Polybrominated Buphenyl (PBB) and Polybrominated
Diphenyl Ethers (PBDE).
12/11/13
Table of contents
Other Stagg Lighting Equipment manuals

Stagg
Stagg HEADBANGERXT SLI MHW HBXT User manual
Stagg
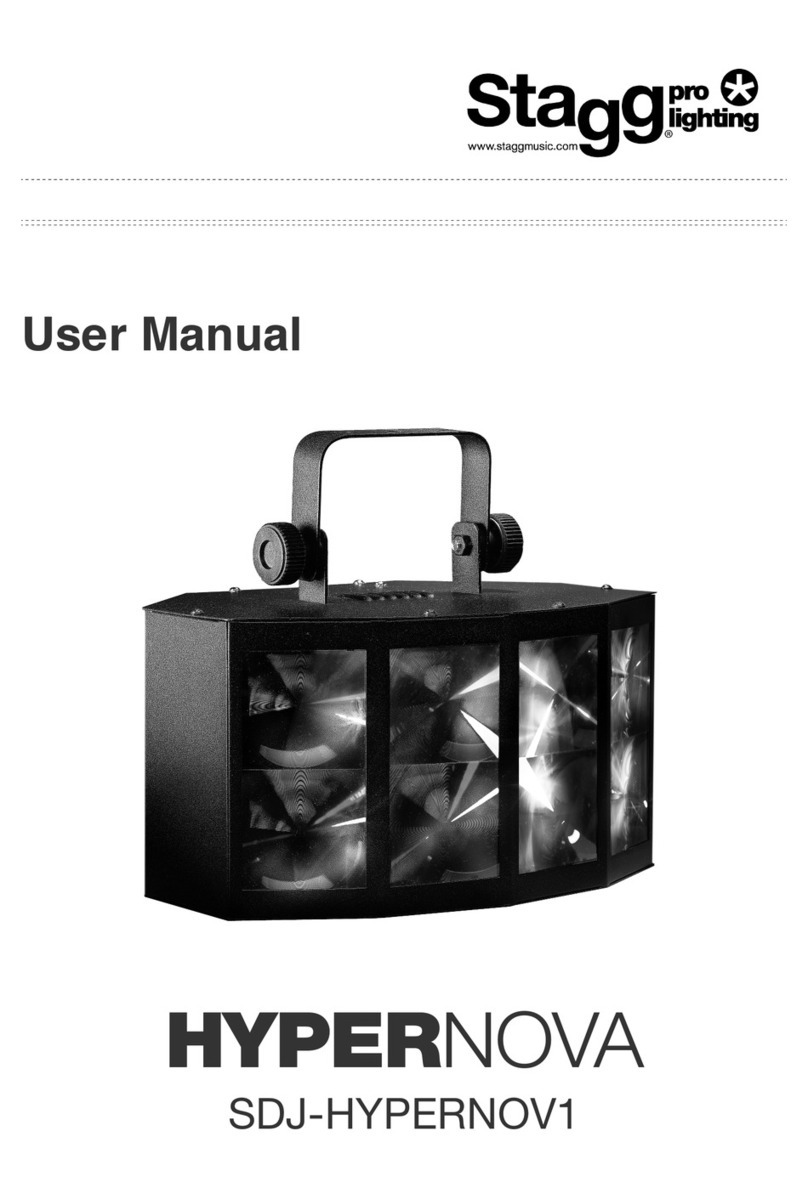
Stagg HYPERNOVA SDJ-HYPERNOV1 User manual

Stagg
Stagg SLI-MHBHH10 User manual

Stagg
Stagg TAGGER 30 User manual

Stagg
Stagg HEADBANGER10 MK3 User manual
Stagg
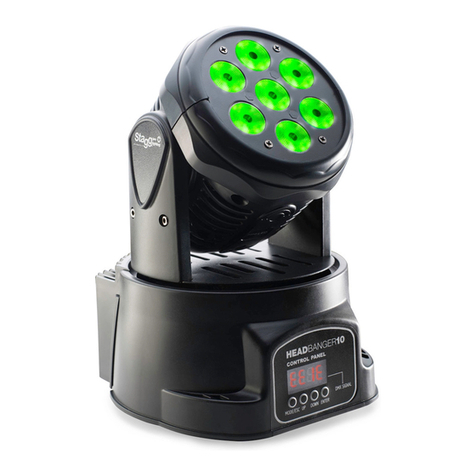
Stagg HEAD BANGER 10 SLI MHW HB10 User manual

Stagg
Stagg Truss34 User manual
Stagg
Stagg KINGPAR 1 User manual

Stagg
Stagg Hyperion 5R User manual

Stagg
Stagg HeadHunter10 SLI-MHBHH10 User manual
