manuals.online logo
Brands
  1. Home
  2. •
  3. Brands
  4. •
  5. Starkey
  6. •
  7. Hearing Aid
  8. •
  9. Starkey Livio AI User manual

Starkey Livio AI User manual

Other manuals for Livio AI

1

This manual suits for next models

1

Other Starkey Hearing Aid manuals

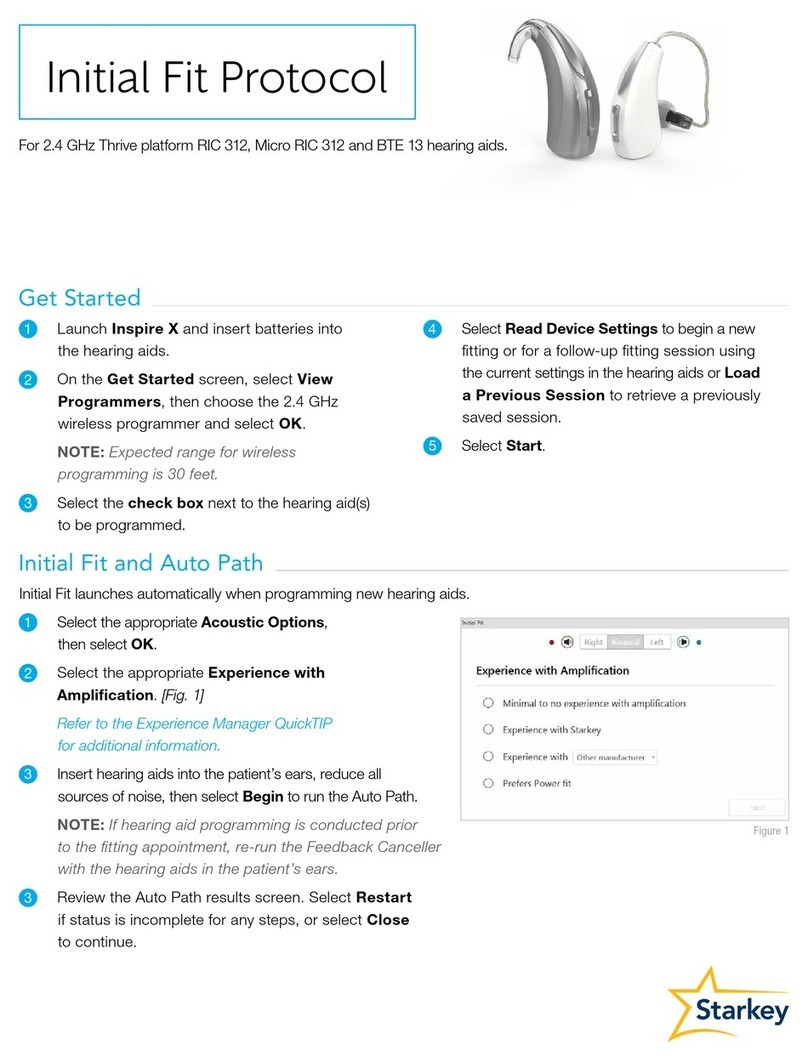
Starkey RIC 312 User manual

Starkey

Starkey RIC 312 User manual

Starkey Genesis AI User manual

Starkey

Starkey Genesis AI User manual

Starkey Wi Series User manual

Starkey

Starkey Wi Series User manual

Starkey RIC 10 User manual

Starkey

Starkey RIC 10 User manual

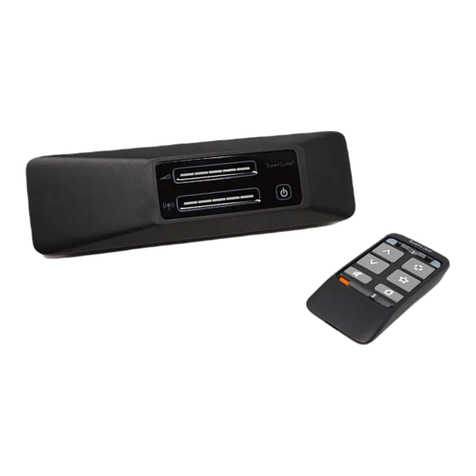
Starkey SurfLink Assembly instructions

Starkey

Starkey SurfLink Assembly instructions

Starkey SoundGear User manual

Starkey

Starkey SoundGear User manual

Starkey Livio User manual

Starkey

Starkey Livio User manual

Starkey Destiny 1600 User manual

Starkey

Starkey Destiny 1600 User manual

Starkey ITE R User manual

Starkey

Starkey ITE R User manual

Starkey RIC 312 User manual

Starkey

Starkey RIC 312 User manual

Starkey Livio Behind-the-Ear Rechargeable User manual

Starkey

Starkey Livio Behind-the-Ear Rechargeable User manual

Starkey Livio RIC R User manual

Starkey

Starkey Livio RIC R User manual

Starkey Muse iQR User manual

Starkey

Starkey Muse iQR User manual

Starkey ITE (In-The-Ear) User manual

Starkey

Starkey ITE (In-The-Ear) User manual

Starkey Muse iQR User manual

Starkey

Starkey Muse iQR User manual

Starkey S Series iQ User manual

Starkey

Starkey S Series iQ User manual

Starkey AMP User manual

Starkey

Starkey AMP User manual

Starkey Axent ITE User manual

Starkey

Starkey Axent ITE User manual

Starkey DaVinci PsP User manual

Starkey

Starkey DaVinci PsP User manual

Starkey BTE R User manual

Starkey

Starkey BTE R User manual

Starkey Livio User manual

Starkey

Starkey Livio User manual

Starkey Livio R User manual

Starkey

Starkey Livio R User manual

Starkey SurfLink User manual

Starkey

Starkey SurfLink User manual

Starkey RIC 10 User manual

Starkey

Starkey RIC 10 User manual

Popular Hearing Aid manuals by other brands

BTE Alta2 Pro Ti Instructions for use

BTE

BTE Alta2 Pro Ti Instructions for use

Sonic Bliss miniBTE user guide

Sonic

Sonic Bliss miniBTE user guide

Lexie B1 Replacement guide

Lexie

Lexie B1 Replacement guide

Camplicomms HC-200 user guide

Camplicomms

Camplicomms HC-200 user guide

Siemens MUSIC Pro Pro IT user guide

Siemens

Siemens MUSIC Pro Pro IT user guide

Phonak Q90 user guide

Phonak

Phonak Q90 user guide

Williams Sound SoundPlus WIR 237 Manual and user guide

Williams Sound

Williams Sound SoundPlus WIR 237 Manual and user guide

Panasonic WH-216KZ Quick tips

Panasonic

Panasonic WH-216KZ Quick tips

Oticon Medical Ponto SoundConnector Instructions for use

Oticon Medical

Oticon Medical Ponto SoundConnector Instructions for use

Siemens Life micon user guide

Siemens

Siemens Life micon user guide

Audicus The Icon instruction manual

Audicus

Audicus The Icon instruction manual

Advanced Bionics Slim HP Standard Instructions for use

Advanced Bionics

Advanced Bionics Slim HP Standard Instructions for use

Widex DREAM440 THE DREAM SERIES User instructions

Widex

Widex DREAM440 THE DREAM SERIES User instructions

Phonak myPilot user guide

Phonak

Phonak myPilot user guide

NIKEN NK-401 instruction manual

NIKEN

NIKEN NK-401 instruction manual

ON Semiconductor Ezairo 7111 Pre Suite Getting started guide

ON Semiconductor

ON Semiconductor Ezairo 7111 Pre Suite Getting started guide

Sonetik GOHEAR user guide

Sonetik

Sonetik GOHEAR user guide

Widex FL-9 User instructions

Widex

Widex FL-9 User instructions

manuals.online logo
manuals.online logoBrands
  • About & Mission
  • Contact us
  • Privacy Policy
  • Terms and Conditions

Copyright 2025 Manuals.Online. All Rights Reserved.

Get Started
Initial Fit and Auto Path
Select the appropriate Acoustic Options, then select OK.
Select the appropriate Experience with Amplification.
[Fig 1] Refer to the Experience Manager QuickTIP for
additional information.
Insert hearing aids into the patient’s ears, reduce all
sources of noise, then select Begin to run the Auto Path.
NOTE: If hearing aid programming is conducted prior
to the fitting appointment, re-run the Feedback Canceller
with the hearing aids in the patient’s ears.
Review the Auto Path results screen. Select Restart if Status
is Incomplete for any steps, or select Close to continue.
Initial Fit launches automatically when programming new hearing aids.
1
1
4
4
5
2
2
3
3
Livio AI and Livio
Initial Fit Protocol
Figure 1
Turn Bluetooth®OFF on Apple®or Android™device.
Launch Inspire®X and insert a battery into
the hearing aids.
On the Get Started screen, select View
Programmers, then choose the 2.4 GHz
wireless programmer and select OK.
NOTE: Expected range for wireless
programming is 30 feet.
Select the check box next to the hearing aid(s)
to be programmed.
Select Read Device Settings to begin
a new fitting or for a follow-up fitting session
using the current settings in the hearing aids.
Load a Previous Session to retrieve a previously
saved session. Select Start.
User Controls
QuickFit and Fine Tuning
Drag any user control you wish to enable from
the left and drop it on a gesture on the right.
User control options include: Hearing Aid Volume,
Memory, Tinnitus Level, Mute, Accessory Start/Stop
and Accessory Volume. Gesture options include:
Short Press, Push & Hold and Double Tap. [Fig 2]
NOTE: Double Tap for Accessory Start/Stop audio
stream is only available for Livio AI products.
NOTE: An alert icon will appear if the tinnitus user
control is enabled but the tinnitus stimulus is disabled.
Click on VC Range and Step Size. Select Pins to
adjust VC Range. Select Step Size of 2dB or 4dB.
NOTE: Inspire software will not allow for adjustments
to VC Range and Step Size if volume control is not
enabled in User Control Settings.
Select QuickFit on the left navigation bar to make
global fitting adjustments (Occlusion, Gain, Low Hz,
High Hz, Output). [Fig 3]
Select the Memory drop-down arrows on the
memory bar to program memories.
Select Fine Tuning on the left navigation bar
or from the bottom of the QuickFit screen.
Select Tables or Sliders to choose desired view
for adjustments.
Select +to expand Low, Mid, High and/or Ultra
channel groups.
Select channels and input levels to adjust, then select
up and/or down arrows to make adjustments.
The User Control Configuration demo box will appear upon initial programming. Select Show Demo for demonstration
of user control configuration options, or select Don’t show again and Close.
Additional Adjustments
Refer to the QuickTIP library for information on various features, such as Sound Manager, Tinnitus, and Frequency Lowering.
1
1
2
2
3
4
5
6Figure 3
Figure 2
Memories and Speech Indicators
Select drop-down arrows to extend the Memories
menu, then select the desired memories to program.
If configuring a Music Memory, refer to the Music
Memory QuickTIP.
The memory bar will default to a display of the
selected environment (for example, “Outdoors”).
Select the speech bubble to change the display
to the speech indicator that has been configured (for
example, the Outdoors memory will display as “Golf”).
Select Memories on left navigation bar or select Memories from the middle of all fitting screens.
Select Indicators on the left navigation bar.
Accessories
Indicators
Select Accessories on the left navigation bar to
configure the new Starkey Hearing Technologies
accessories. Click on the information icon
for specific paring instructions for any of the
accessories. Once paired adjust the Hearing Aid
Mic While Streaming for the Streaming Accessories
(Starkey Hearing Technologies TV or Starkey Hearing
Technologies Remote Mic +) and the Favorite
Button Configuration for the Remote. [Fig 5]
1
2
3
1 3
2
Figure 5
Figure 4
Select or de-select check boxes to enable
or disable indicators.
NOTE: Volume indicators may be enabled or
disabled on an individual basis.
Select Adjust All Indicators to increase or decrease
volume level for all Tone or Speech/Chimes indicators
in 5dB increments, or to change the voice language.
Select the Individual Indicator names to adjust
the volume level and stimulus type for individual
indicators. Select the Hearing Aid icon to play
indicator directly through the devices or the
Computer icon to play an indicator through the
loudspeaker for demonstration purposes.
Livio AI and Thrive are compatible with iPhone X, iPhone 8 Plus, iPhone 8, iPhone 7 Plus, iPhone 7, iPhone SE, iPhone 6s Plus, iPhone 6s, iPhone 6 Plus, iPhone 6, iPhone 5s, iPhone 5c, iPhone 5, iPad Pro, iPad Air 2, iPad Air, iPad
(4th generation), iPad mini 4, iPad mini 3, iPad mini with Retina display, iPad mini, iPod touch (5th generation) and Apple Watch. Use of Apple Watch requires iPhone 5 or later.
Apple, the Apple logo, iPhone, iPod touch, Apple Watch, App Store and Siri are trademarks of Apple, Inc., registered in the U.S. and other countries.
Google Play and Android are trademarks of Google Inc.
© 2018 Starkey. All Rights Reserved. 8/18 FLYR3477-00-EE-ST
Fitting Summary
Select details to change the status of features,
if necessary. Details are hyperlinks and will navigate to
the Feature Names adjustment screens.
Select Remote Programming under Status to enable
remote programming. You will click the Check Box
next to Remote Programming. Then click Accept after
reviewing the disclosure notice with your patient. Next
click the code generator icon to generate a unique
code for your patient to enter into their Thrive Hearing
App to allow access for Remote Programming. [Fig 7]
Select Print to generate a Fitting Report, a Data Log
report, or a personalized Device Guide that displays the
volume adjustments, memories, and speech indicators
that have been enabled. The Device Guide can be
translated into several languages from the Print screen.
Select Fitting Summary on the left navigation bar. [Fig 6]
Pairing to Apple and Android Devices
1 3
2
Figure 6
Figure 7
After programming is complete, exit Inspire X.
Turn Bluetooth ON on Apple or Android devices.
Refer to the Livio AI/Livio Setup QuickTIPs
for additional information.