manuals.online logo
Brands
  1. Home
  2. •
  3. Brands
  4. •
  5. StarTech.com
  6. •
  7. Switch
  8. •
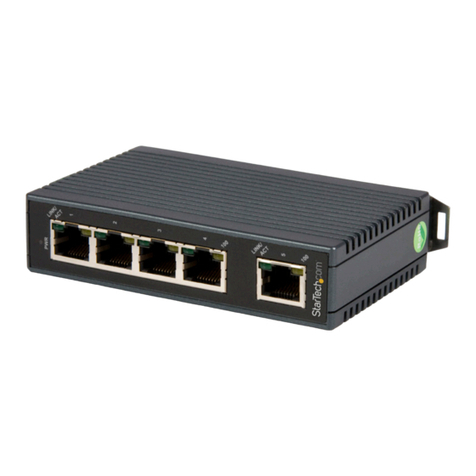
  9. StarTech.com HB20A4AME User manual

StarTech.com HB20A4AME User manual

This manual suits for next models

1

Other StarTech.com Switch manuals

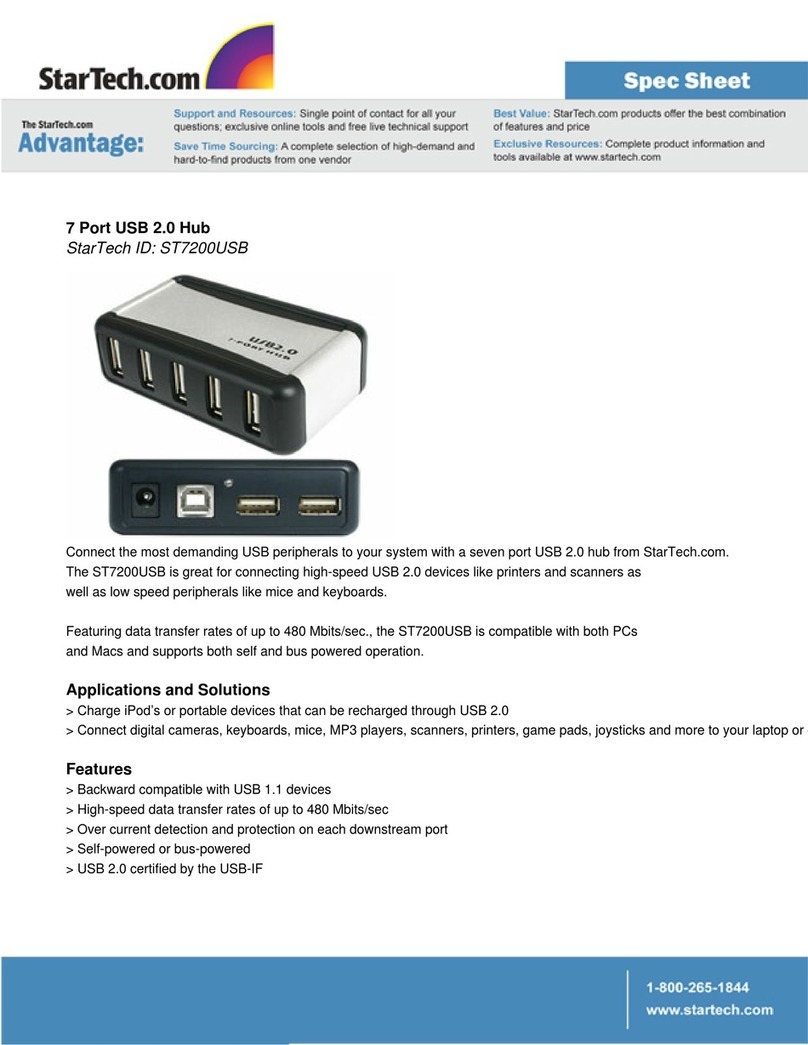
StarTech.com SV431HDU3A2 User manual

StarTech.com

StarTech.com SV431HDU3A2 User manual

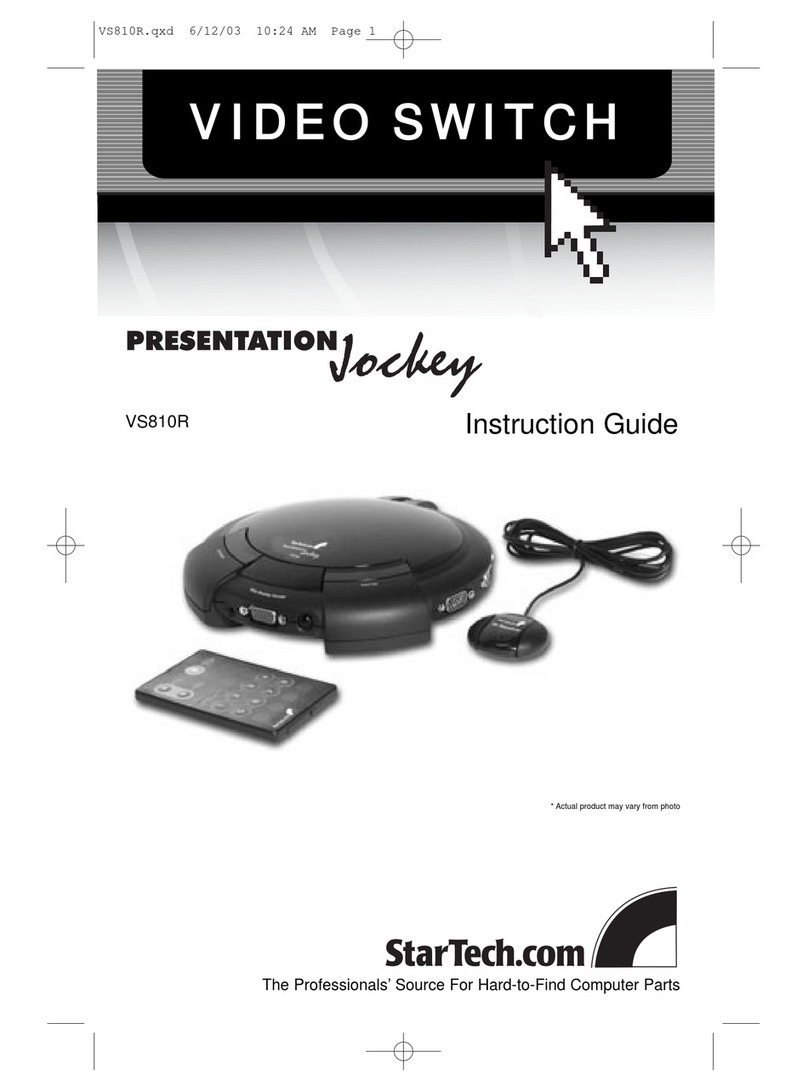
StarTech.com STARVIEW SV431DVIUAHR User manual

StarTech.com

StarTech.com STARVIEW SV431DVIUAHR User manual

StarTech.com VS221HD4KA User manual

StarTech.com

StarTech.com VS221HD4KA User manual

StarTech.com SV841DUSBI User manual

StarTech.com

StarTech.com SV841DUSBI User manual

StarTech.com ST122VGAU User manual

StarTech.com

StarTech.com ST122VGAU User manual

StarTech.com SV231USBA User manual

StarTech.com

StarTech.com SV231USBA User manual

StarTech.com DuraView RACKCONS1708 User manual

StarTech.com

StarTech.com DuraView RACKCONS1708 User manual

StarTech.com VS421HD4KA User manual

StarTech.com

StarTech.com VS421HD4KA User manual

StarTech.com USB2HDCAPS User manual

StarTech.com

StarTech.com USB2HDCAPS User manual

StarTech.com SV163DI Manual

StarTech.com

StarTech.com SV163DI Manual

StarTech.com StarView SV431H User manual

StarTech.com

StarTech.com StarView SV431H User manual

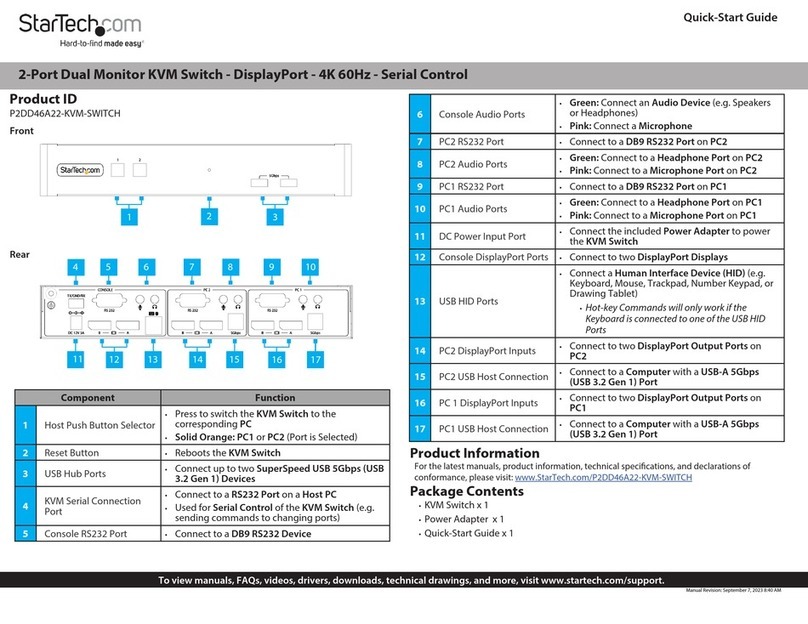
StarTech.com P2DD46A22-KVM-SWITCH User manual

StarTech.com

StarTech.com P2DD46A22-KVM-SWITCH User manual

StarTech.com MSTDP123HD User manual

StarTech.com

StarTech.com MSTDP123HD User manual

StarTech.com DS16105 System manual

StarTech.com

StarTech.com DS16105 System manual

StarTech.com VS221VGA2HD User manual

StarTech.com

StarTech.com VS221VGA2HD User manual

StarTech.com SV231DVIDDU User manual

StarTech.com

StarTech.com SV231DVIDDU User manual

StarTech.com MSTDP124DP User manual

StarTech.com

StarTech.com MSTDP124DP User manual

StarTech.com SV431DVIUA User manual

StarTech.com

StarTech.com SV431DVIUA User manual

StarTech.com C2-H46-UC2-PD-KVM User manual

StarTech.com

StarTech.com C2-H46-UC2-PD-KVM User manual

StarTech.com SV231DPU34K User manual

StarTech.com

StarTech.com SV231DPU34K User manual

StarTech.com 8STST7300USBME User manual

StarTech.com

StarTech.com 8STST7300USBME User manual

StarTech.com SV431DPUA User manual

StarTech.com

StarTech.com SV431DPUA User manual

StarTech.com POEEXT2GAT User manual

StarTech.com

StarTech.com POEEXT2GAT User manual

StarTech.com ICUSB2328 User manual

StarTech.com

StarTech.com ICUSB2328 User manual

Popular Switch manuals by other brands

SMC Networks SMC6224M Technical specifications

SMC Networks

SMC Networks SMC6224M Technical specifications

Aeotec ZWA003-S operating manual

Aeotec

Aeotec ZWA003-S operating manual

TRENDnet TK-209i Quick installation guide

TRENDnet

TRENDnet TK-209i Quick installation guide

Planet FGSW-2022VHP user manual

Planet

Planet FGSW-2022VHP user manual

Avocent AutoView 2000  AV2000BC AV2000BC Installer/user guide

Avocent

Avocent AutoView 2000 AV2000BC AV2000BC Installer/user guide

Moxa Technologies PT-7728 Series user manual

Moxa Technologies

Moxa Technologies PT-7728 Series user manual

Intos Electronic inLine 35392I operating instructions

Intos Electronic

Intos Electronic inLine 35392I operating instructions

Cisco Catalyst 3560-X-24T Technical specifications

Cisco

Cisco Catalyst 3560-X-24T Technical specifications

Asante IntraCore IC3648 Specifications

Asante

Asante IntraCore IC3648 Specifications

Siemens SIRIUS 3SE7310-1AE Series Original operating instructions

Siemens

Siemens SIRIUS 3SE7310-1AE Series Original operating instructions

Edge-Core DCS520 quick start guide

Edge-Core

Edge-Core DCS520 quick start guide

RGBLE S00203 user manual

RGBLE

RGBLE S00203 user manual

Thrustmaster FLIGHT SIMULATOR X quick guide

Thrustmaster

Thrustmaster FLIGHT SIMULATOR X quick guide

Southwire SURGE GUARD 41390 RVC troubleshooting guide

Southwire

Southwire SURGE GUARD 41390 RVC troubleshooting guide

Buhler Nivotemp NT 61 Brief instructions

Buhler

Buhler Nivotemp NT 61 Brief instructions

Kramer VS-41HDCP user manual

Kramer

Kramer VS-41HDCP user manual

Techly IDATA AU-270 user manual

Techly

Techly IDATA AU-270 user manual

Belkin F1U109 user manual

Belkin

Belkin F1U109 user manual

manuals.online logo
manuals.online logoBrands
  • About & Mission
  • Contact us
  • Privacy Policy
  • Terms and Conditions

Copyright 2025 Manuals.Online. All Rights Reserved.

Instruction manual
FR: Guide de l’utilisateur - fr.startech.com
DE: Bedienungsanleitung - de.startech.com
ES: Guía del usuario - es.startech.com
NL: Gebruiksaanwijzing - nl.startech.com
PT: Guia do usuário - pt.startech.com
IT: Guida per l’uso - it.startech.com
JP: 取扱説明書 - jp.startech.com
Manual Revision: 03/01/2018
For the latest information, technical specications, and support for
this product, please visit www.startech.com/HB20A4ME.
Package contents
• 1 x USB 2.0 hub
• 1 x USB-A to USB-B cable
• 1 x DIN rail kit
• 1 x instruction manual
Requirements
• A USB equipped computer
• Up to four peripheral devices with cabling
• A Phillips type screwdriver (optional for DIN mounting)
Operating system requirements are subject to change. For the latest
requirements, please visit www.startech.com/HB20A4AME.
HB20A4AME
4-Port USB 2.0 Hub - Industrial-Grade - ESD and Surge Protection
*actual product may vary from photos
Product diagram
Front view
Back view
Power terminal
USB 2.0 host port
Port activity
LEDs
USB 2.0 ports
Power LED
DIN rail mounting
holes
Mounting the USB hub
1. Attach the DIN rail clips to the USB hub, using the DIN rail screws
(provided) and a Phillips type screwdriver (sold separately).
2. Slide the DIN rail clips into the DIN rail on your rack.
FCC Compliance Statement
This equipment has been tested and found to comply with the limits for a Class B digital device, pursuant to part 15 of the FCC Rules. These limits are designed to provide reasonable protection against
harmful interference in a residential installation. This equipment generates, uses and can radiate radio frequency energy and, if not installed and used in accordance with the instructions, may cause
harmful interference to radio communications. However, there is no guarantee that interference will not occur in a particular installation. If this equipment does cause harmful interference to radio or
television reception, which can be determined by turning the equipment o and on, the user is encouraged to try to correct the interference by one or more of the following measures:
• Reorient or relocate the receiving antenna.
• Increase the separation between the equipment and receiver.
• Connect the equipment into an outlet on a circuit dierent from that to which the receiver is connected.
• Consult the dealer or an experienced radio/TV technician for help
This device complies with part 15 of the FCC Rules. Operation is subject to the following two conditions: (1) This device may not cause harmful interference, and (2) this device must accept any
interference received, including interference that may cause undesired operation. Changes or modications not expressly approved by StarTech.com could void the user’s authority to operate the
equipment.
Industry Canada Statement
This Class B digital apparatus complies with Canadian ICES-003.
Cet appareil numérique de la classe [B] est conforme à la norme NMB-003 du Canada.
CAN ICES-3 (B)/NMB-3(B)
Use of Trademarks, Registered Trademarks, and other Protected Names and Symbols
This manual may make reference to trademarks, registered trademarks, and other protected names and/or symbols of third-party companies not related in any way to
StarTech.com. Where they occur these references are for illustrative purposes only and do not represent an endorsement of a product or service by StarTech.com, or an endorsement of the product(s)
to which this manual applies by the third-party company in question. Regardless of any direct acknowledgement elsewhere in the body of this document, StarTech.com hereby acknowledges that all
trademarks, registered trademarks, service marks, and other protected names and/or symbols contained in this manual and related documents are the property of their respective holders. Phillips is a
trademark of Phillips Screw Company.
Technical Support
StarTech.com’s lifetime technical support is an integral part of our commitment to provide industry-leading solutions. If you ever need help with your product, visit www.startech.com/support and
access our comprehensive selection of online tools, documentation, and downloads.
For the latest drivers/software, please visit www.startech.com/downloads
Warranty Information
This product is backed by a two-year warranty.
StarTech.com warrants its products against defects in materials and workmanship for the periods noted, following the initial date of purchase. During this period, the products may be returned for
repair, or replacement with equivalent products at our discretion. The warranty covers parts and labor costs only. StarTech.com does not warrant its products from defects or damages arising from
misuse, abuse, alteration, or normal wear and tear.
Limitation of Liability
In no event shall the liability of StarTech.com Ltd. and StarTech.com USA LLP (or their ocers, directors, employees or agents) for any damages (whether direct or indirect, special, punitive, incidental,
consequential, or otherwise), loss of prots, loss of business, or any pecuniary loss, arising out of or related to the use of the product exceed the actual price paid for the product. Some states do not
allow the exclusion or limitation of incidental or consequential damages. If such laws apply, the limitations or exclusions contained in this statement may not apply to you.
About the LED indicators
The USB hub features LEDs that indicate the hub’s operating status:
LED indicator Behavior Signicance
Power LED Illuminated The USB hub is powered
on.
Port activity LEDs Illuminated A USB device is connected
to the port.
Installation
1. Connect the USB 2.0 host port (PORT 0) on the hub to a USB port
on your computer, using the included USB-A to USB-B cable.
2. Connect your USB peripherals to the USB 2.0 ports on the USB
hub.
3. (Recommended) If you’re using an external power source, connect
the positive and negative power pins on your power source
cabling to the corresponding sockets on the power terminal,
along with the grounding wire.
Power requirements
Minimum voltage 7 V
Maximum voltage 48 V
Minimum recommended amperage 2 A (at the minimum 7 V)
Minimum recommended wattage 14 W