- 36 - - 37 -
Notera:
Efter varje gång som lampan har släckts, avbryts
rörelsebevakningen i ca 1 sekund. Först efter att
denna tid har löpt ut, kan armaturen tända ljuset
igen vid en ny rörelse.
För inställningen av bevakningsområdet och för
funktionstestet, rekommenderas den kortaste tiden.
Nattljus (bild 6�2/F)
Nattljusfunktionen möjliggör en belysning med ca
15% av ljuseekten när det inställda ljusnivåvärdet
har uppnåtts.
Önskat nattljus för armaturen kan ställas in i fyra
lägen:
– FRÅN
– 10 minuter efter att inställd tid har löpt ut
– 30 minuter efter att inställd tid har löpt ut
– hela natten
Nattljuset släcks en gång i timmen för att mäta
omgivningens ljusnivå. Efter en kort stund tänds
nattljuset igen.
Permanentljus
Om en strömställare monteras i på nätanslutningen
(matningen), finns möjlighet till följande funktioner
förutom att bara tända och släcka:
Permanent ljus (bild 6.3)
1) Tillkoppla det fasta skenet:
Strömbrytare 2×FRÅN och TILL. Lampan ställs in
på fast sken under 4 timmar. Därefter övergår den
automatiskt i sensordrift igen.
2) Frånkoppla det fasta skenet:
Brytare 1×FRÅN och TILL. Armaturen slocknar
resp. går över i sensordrift.
Viktigt:
Kopplingarna måste genomföras inom 0,2 till 1 sekund.
Inställning av räckvidd
Räckvidden kan ställas in steglöst från 2 till 8 m via
fyra ställskruvar på fyra axlar oberoende av varan-
dra. Med ställskruvarna (bild 6�4) ställs räckvidden
för bevakningen in.
Bevakningsdiagram (bild6�5)
De streckade zonerna visar de områden som kan
utelämnas genom en individuell inställning av räck-
vidden. (bild 6�6)
5� Montage
• Kontrollera samtliga delar med avseende på
skador.
• Produkten får inte tas i drift om den är skadad.
• Välj en lämplig montageplats med hänsyn till
räckvidden och rörelsedetekteringen.
• Sensorarmaturen måste monteras vibrationsfritt
när den monteras i taket.
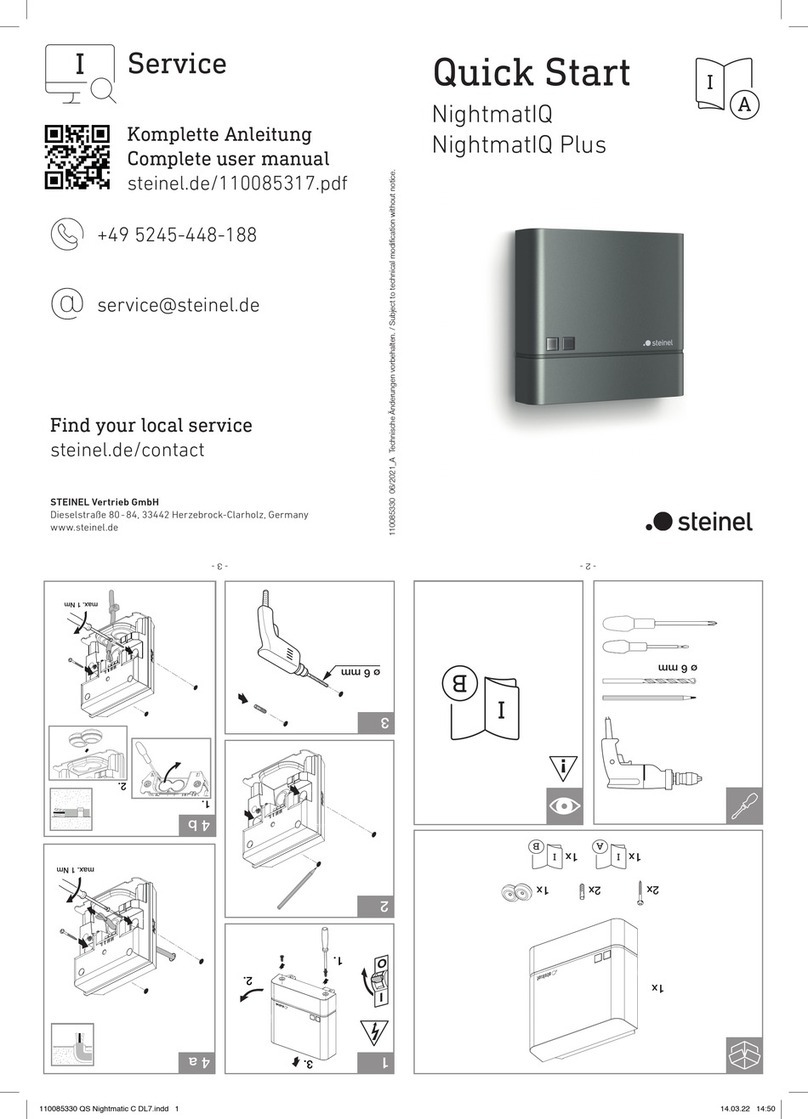
Montagesteg
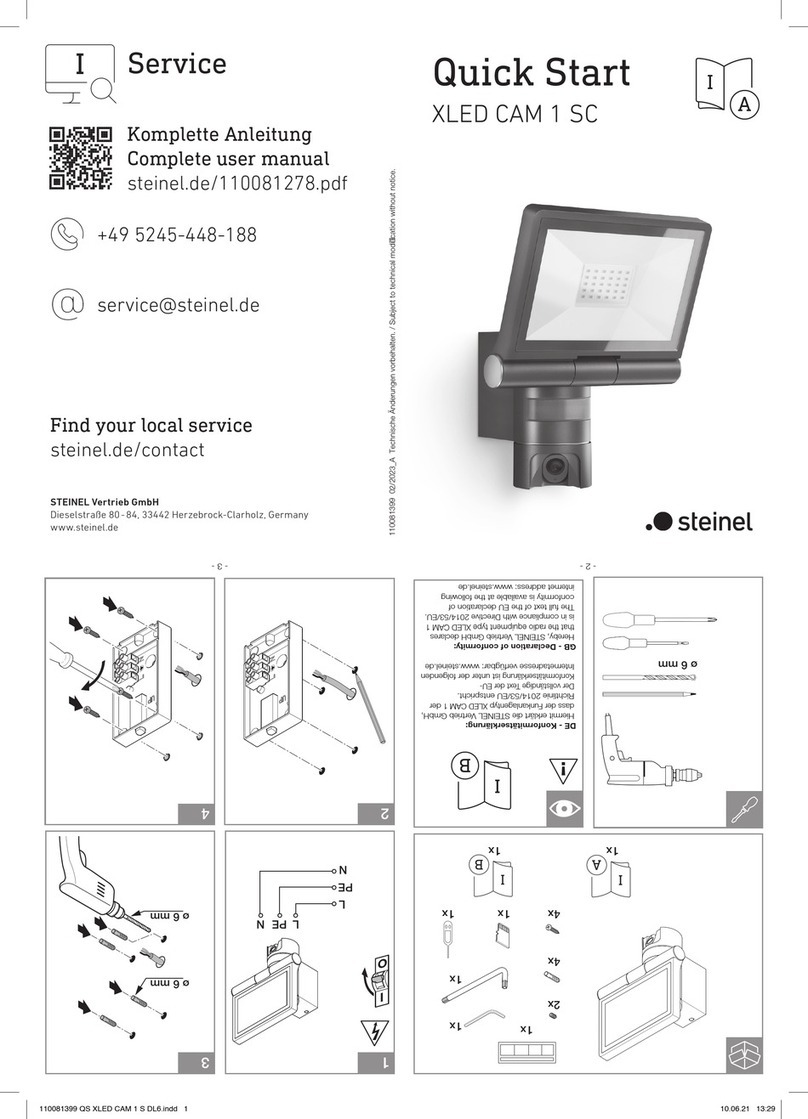
• Bryt spänningen (bild 4�1)
• Markera borrhålen (bild 5�1)
• Borra hål och sätt i pluggar (bild 5�2)
• Kabel infällt montage (bild5�3)
• Utanpåliggande kabel (bild5�4)
• Anslut nätkabeln (bild 5�5)
• Företa inställningarna ➔"6�Funktion"
• Haka i säkerhetsbandet (bild 5�6)
• Anslut anslutningsplintarna (bild 5�7)
• Sätt på armaturen (bild 5�8 )
• Slå till spänningen (bild5�8)
6� Funktion
Fabriksinställningar:
Skymningsinställning: 1000 lux
Efterlystid: 5 sekunder
Nattljus: FRÅN
Efter lampkupans montage och nätanslutningens
installation, är sensorarmaturen klar att användas.
Om armaturen tänds manuellt med strömbrytare,
släcks den efter ca 30 sekunder för kalibrering och
är därefter aktiv i sensordrift. Strömbrytaren behö-
ver inte manövreras igen.
Funktioner ställskruvar (bild 6�1)
Skymningsnivå (aktiveringsnivå) (bild 6�2/D)
Armaturens aktiveringsnivå kan steglöst ställas in
mellan ca 2 till 1000 lux.
– Ställskruven på = drift i dagsljus ( oberoende
av ljusstyrka)
– Ställskruven på = aktivering vid skymning
(ca 2 lux)
För inställningen av bevakningsområdet och för funk-
tionstestet i dagsljus, måste ställskruven stå på .
Efterlystid (bild 6�2/E )
Önskad efterlystid för armaturen kan ställas in
steglöst från ca 5sek. till max. 30min. Varje rörelse
som detekteras innan denna tid har löpt ut, startar
om frånkopplingsfördröjningens efterlystid.
Tabell räckvidd för bevakningen
Inställning Montagehöjd 2,5 m
radiell tangentiell
12,4 m×2,4 m 4 m×4 m
23,2 m×3,2 m 6 m×6 m
33,6 m×3,6 m 7,3 m×7,3 m
44 m×4 m 8,6 m×8,6 m
54,4 m×4,4 m 10,2 m×10,2 m
65 m×5 m 12,6 m×12,6 m
76 m×6 m 15,7 m×15,7 m
86 m×6 m 16 m×16 m
Inställning Montagehöjd 2,8 m
radiell tangentiell
13 m×3 m 5,4 m×5,4 m
23,4 m×3,4 m 6,4 m×6,4 m
33,8 m×3,8 m 7,5 m×7,5 m
44,4 m×4,4 m 8,8 m×8,8 m
55,4 m×5,4 m 10,4 m×10,4 m
65,6 m×5,6 m 13,1 m×13,1 m
76 m×6 m 17 m×17 m
86 m×6 m 17,3 m×17,3 m
Inställning Montagehöjd 3,0 m
radiell tangentiell
13,4 m×3,4 m 6,2 m×6,2 m
23,6 m×3,6 m 6,6 m×6,6 m
34 m×4 m 7,7 m×7,7 m
44,8 m×4,8 m 9 m×9 m
56 m×6 m 10,6 m×10,6 m
66 m×6 m 13,4 m×13,4 m
76 m×6 m 17,9 m×17,9 m
86 m×6 m 18,1 m×18,1 m
Inställning Montagehöjd 6,0 m
radiell tangentiell
15,7 m×5,7 m 11 m×11 m
26 m×6 m 11,7 m×11,7 m
36,7 m×6,7 m 13,6 m×13,6 m
48 m×8 m 16 m×16 m
510 m×10 m 18,7 m×18,7 m
610 m×10 m 23,8 m×23,8 m
710 m×10 m 31,7 m×31,7 m
810 m×10 m 32 m×32 m
7� Skötsel
Armaturen kan rengöras med en fuktig trasa (utan
rengöringsmedel) när den är smutsig.
8� Avfallshantering
Elapparater, tillbehör och förpackning måste läm-
nas in till miljövänlig återvinning.
Kasta inte elapparater i hushållssoporna!
Gäller endast EU-länder:
Enligt det gällande europeiska direktivet om uttjänta
elektriska och elektroniska apparater och dess
omsättning i nationell lagstiftning, måste uttjänta
elapparater lämnas in till miljövänlig återvinning.
9� Tillverkargaranti
Denna Steinel-produkt är tillverkad med störs-
ta noggrannhet. Den är funktions- och säkerhets-
testad enligt gällande föreskrifter och har därefter
genomgått en stickprovskontroll. Steinel garante-
rar felfritt tillstånd och felfri funktion. Garantin gäller
i 36 månader från inköpsdagen. Vi åtgärdar brist-
fälligheter orsakade av material- eller tillverkningsfel.
Garantin uppfylls genom reparation eller utbyte av
bristfälliga delar efter vårt val. Garantin omfattar inte
slitage och skador orsakade av felaktigt hanterande
eller bristande underhåll och skötsel av produkten.
Följdskador på främmande föremål ersätts ej.
Garantin gäller endast då produkten, som inte får
vara demonterad, sändes väl förpackad med kort
beskrivning av felet och fakturakopia eller kvitto
(inköpsdatum och stämpel) till vår representant
eller lämnas till inköpsstället.
Reparationsservice:
Kontakta nästa serviceställe för reparationer efter
garantitidens utgång eller vid bristfälligheter som
inte omfattas av garantin.
TILLVERKAR
ÅRS
GARANTI TILLVERKAR
ÅRS
GARANTI
SE
