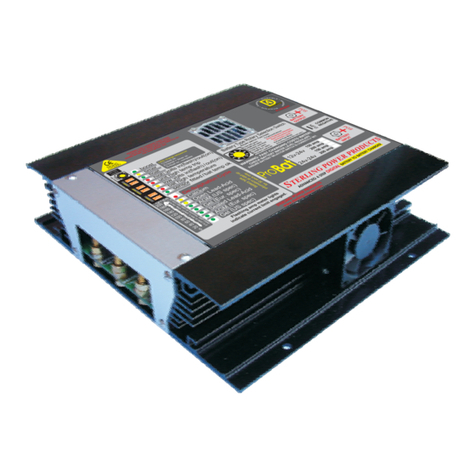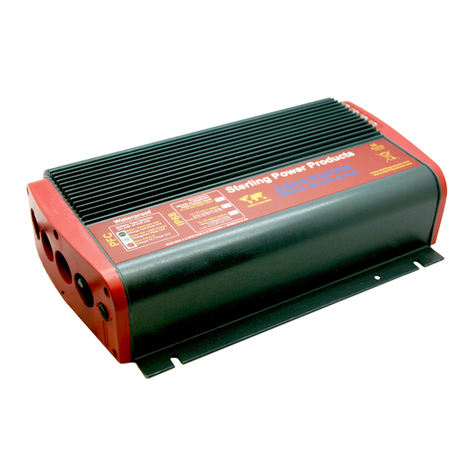
Sterling Power Products
Copyright
and the 230V /110V AC isolated, then, connect the input
positive cable first, then the output positive cable, then
the negative.
Remote sense, because the unit can compensate for
voltage drop (if required and fitted) it is best to
fit the unit as close as possible to the battery charger.
in the cable
Setting the Main Battery charger ( not the module ).
The main a/c mulatable output battery charger must be
set to the lowest battery type setting , ie if you want to
charge a gel( 14.4 ) and a open lead acid battery ( 14.8 )
then the main charger must be set at the lowest voltage (
14.4 ) the battery module can only increase the voltage
above the main charger it cannot decrease the main
charger voltage. Failure to do this will prevent the Battery
chemistry unit from working correctly
Battery type selection -
Battery temperature sensor:
Battery temp trip
This program is, as per the
recommendation of Exide, set at a voltage of 14.4V for
about 10-12 hrs. The unit then drops to float.
This is set to a maximum
charging voltage of 14.4V with a software program to
match most of these battery types. Some AGM batteries
only want 14.1V, if so, set the unit to the American gel
setting. If in doubt ask the battery supplier.
, should only be used with a Battery
Management System for the batteries to balance and
protect them.
this is simple to do, simply
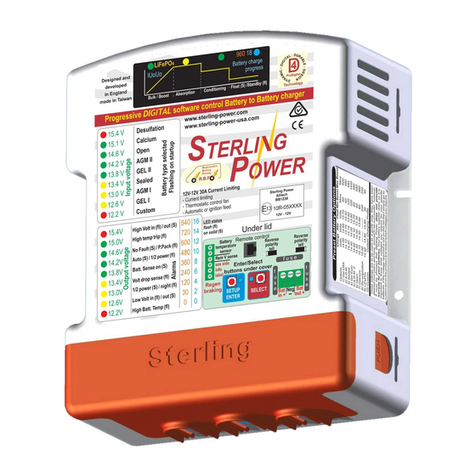
remove the lid exposing the rotary switch (number 16 on
Fig 1). Look closely for the small arrow to indicate what
position it is pointing at. On start up the top blue (number
7 on fig 1) LED will flash xnumber of times to indicate the
setting. E.g. 4 flashes when unit fires up every time =
position 4 on the switch. If this is not the correct setting
then simply rotate the knob to correct the position. Then
switch the battery charger off ( wait a few minutes ) then
back on again and the flashes will change. Ensure you
have the correct number of flashes for your battery type
(note: the incorrect battery setting for a few minutes will
not cause any damage to your batteries).
The battery type voltages are on the front label of the
product and on the table over leaf.
After selecting the battery type, make sure the voltages
fall into the battery companies range for their battery
requirements. It may be necessary to use a different
o
battery type to obtain the correct voltages you need for
your battery. Remember, it's the voltages which are more
important than our battery types - we have simply tried to
decipher a quagmire of different companies’
requirements and group them in some sort of order for
the general public to make what sense of them they can.
The voltage requirements of the battery company will
override our recommendations as it is them who are
supporting the battery warranty etc. Adjust to suit their
requirements.
o
Some basic battery type information
o
Gel / Exide spec.
Gel U.S.A. spec.
Sealed lead acid / A.G.M.
Lithium LiFePO4
Flooded
For some reason known to someone,
but not to us, the American gel manufactures want a
different charging regime than the European ones. Don't
ask us why, if in doubt, ask the battery supplier, this
setting has a max charging voltage of 14.1V.
Fit the unit, as close as possible (taking into account the
above requirements) to the battery charger.
If you must fit it in an enclosed engine room (i.e. a small
yacht, where the engine room is fully enclosed with
sound proofing all over the place) then fit any equipment
as low as possible. It is best to fit it outside the engine
room near the battery box.
Simply connect one of
the enclosed temperature sensor to a battery terminal
post (negative) and to the 2 x small terminals marked
battery temperature sensor. Simply insert one wire into
each side, there is no polarity on these wires. Make sure
you do not crush the temp sensor which is a small device
inside the yellow ring terminal, as this will destroy the
processor chip. The output voltage will be reduced in
accordance with manufacturer’s battery charging
temperature curves. In the event of the battery
temperature increasing due to battery failure, if the
batteries exceeds 55 C, the unit would trip.
( daisy chain ) or BMS trip. This unit
has a circuit which, if opened circuited, the unit will stop
working (connector 1 on the information drawing). The
product comes with a link wire across the two terminals
to neutralise this trip, if you wish to use this circuit to
daisy chain or allow a BMS to trip the unit then remove
the link and add the devices. This can be used to daisy
chain high temp trips (the blue ones). These are
normally 60 C temperature trips, as such, they can be
linked in series to any number of batteries. If a battery
or open lead acid batteries, where you can reaches over 60 C the link is broken - the product trips.
unscrew the lid of the battery and are able to top it up with Or, this can be linked to a BMS ( Battery Management
water, these are by far the best types for fast charging System) for lithium this can break the circuit to trip the
and long life (max voltage 14.8V). high charged side of the unit.
WHAT CABLE TO USE (mm sq)
A charger or inverter up to cable run distance 0-1.5m 1.5m - 4m
0-25 amps 6 mm sq 10 mm sq
25-45 amps 16 mm sq 25 mm sq
45-85 amps 25 mm sq 35 mm sq
85-125 amps 35 mm sq 50 mm sq
Please note that if there is a problem obtaining for example 90 mm sq cable, simply
Use 2 x 50 mm sq , or 3 x 35 mm sq , the cable is simply copper, and all you require
Is the copper. It does not matter if it is one cable or 10 cables as long as the square
area adds up. Performance of any product can be improved by thicker cable, so, if in doubt round up.


