14 15
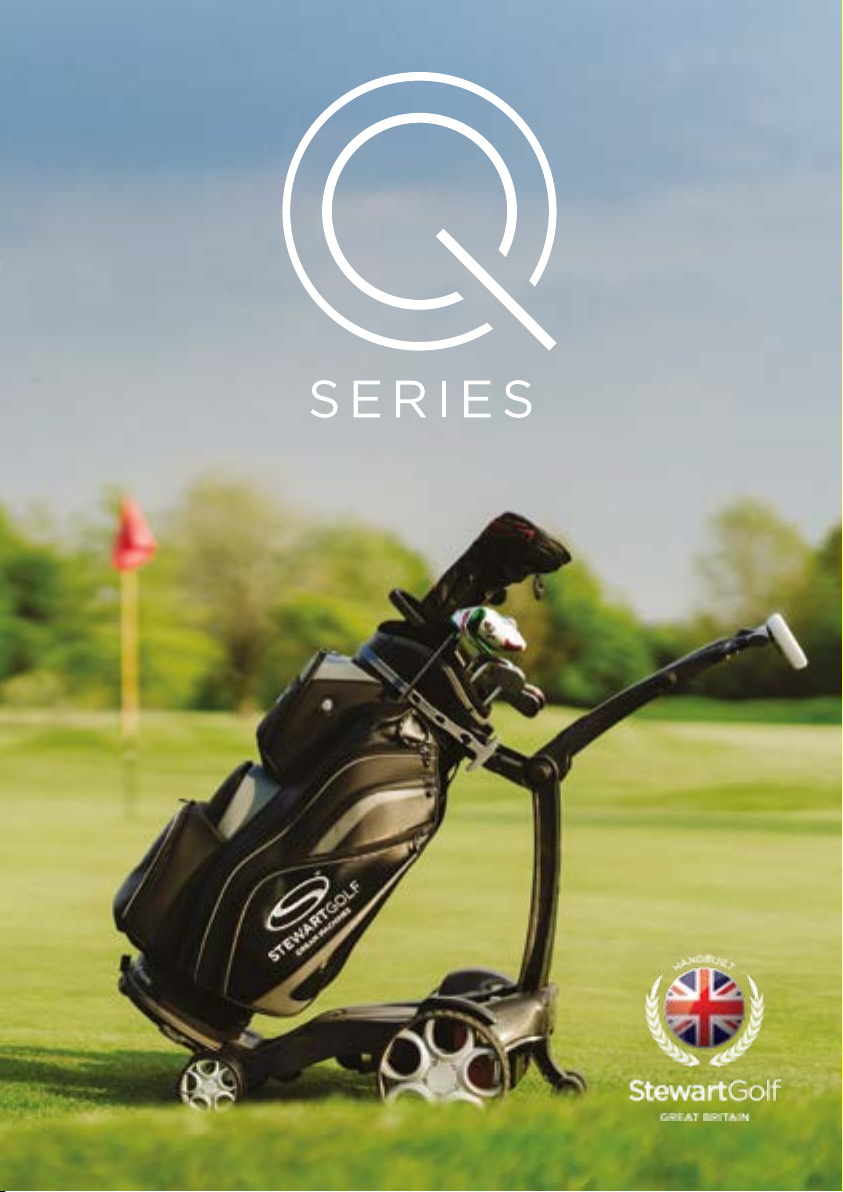
3. FOLLOW
Good for: Open, flat fairways.
Not for: Car parks, paths, bridges, steep hills, around greens, lakes, streams or any other
obstacles.
The open fairway is the perfect environment for Follow, and is where you should use this
feature most.
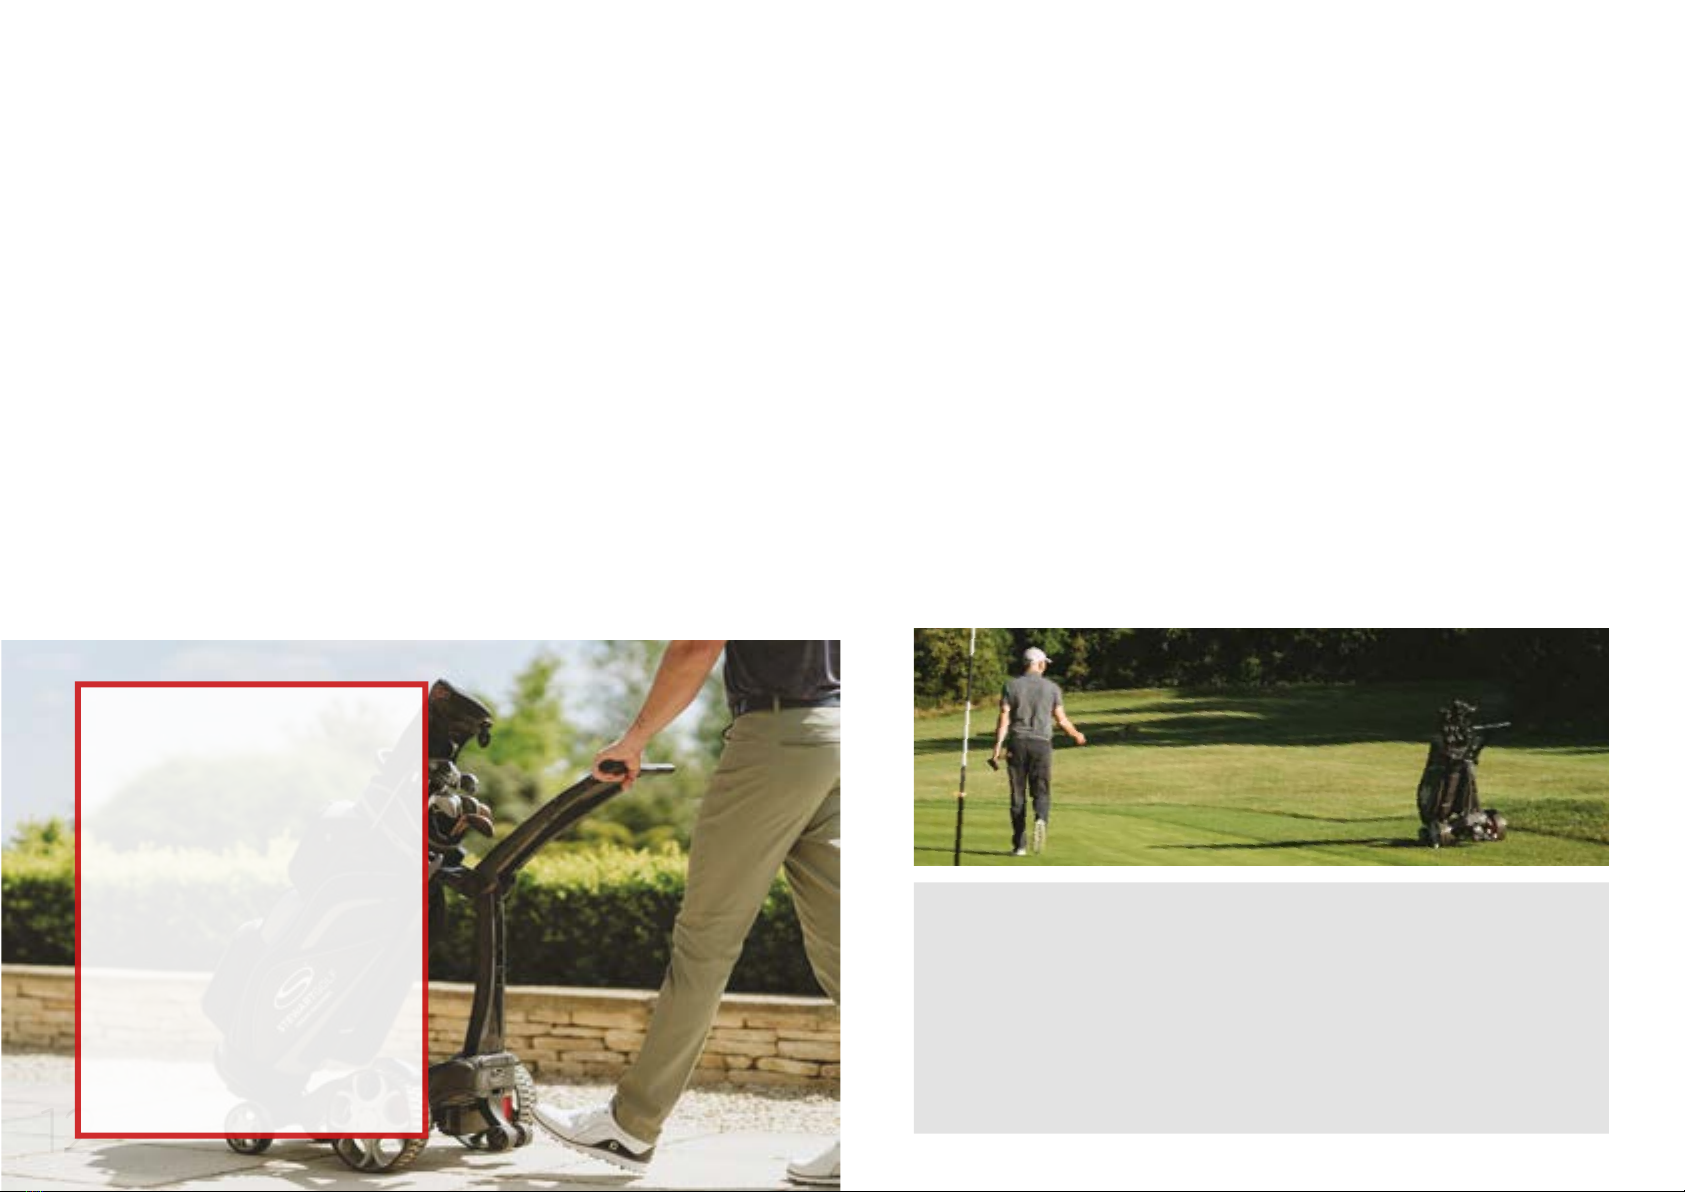
To use Follow:
• Press the ‘Follow’ button with the handset within 50cm/20” and directly in front of
the machine.
• Then slowly walk away in the direction that the machine is facing with the handset
on your belt or back pocket. As you enter the Active Zone, the Follow system will
react to your speed and movements.
• If you walk away too quickly or at an angle, the Q Follow may not be able to react
quickly enough and could lose connection.
• When you reach your ball and stop, the Q Follow will also stop.
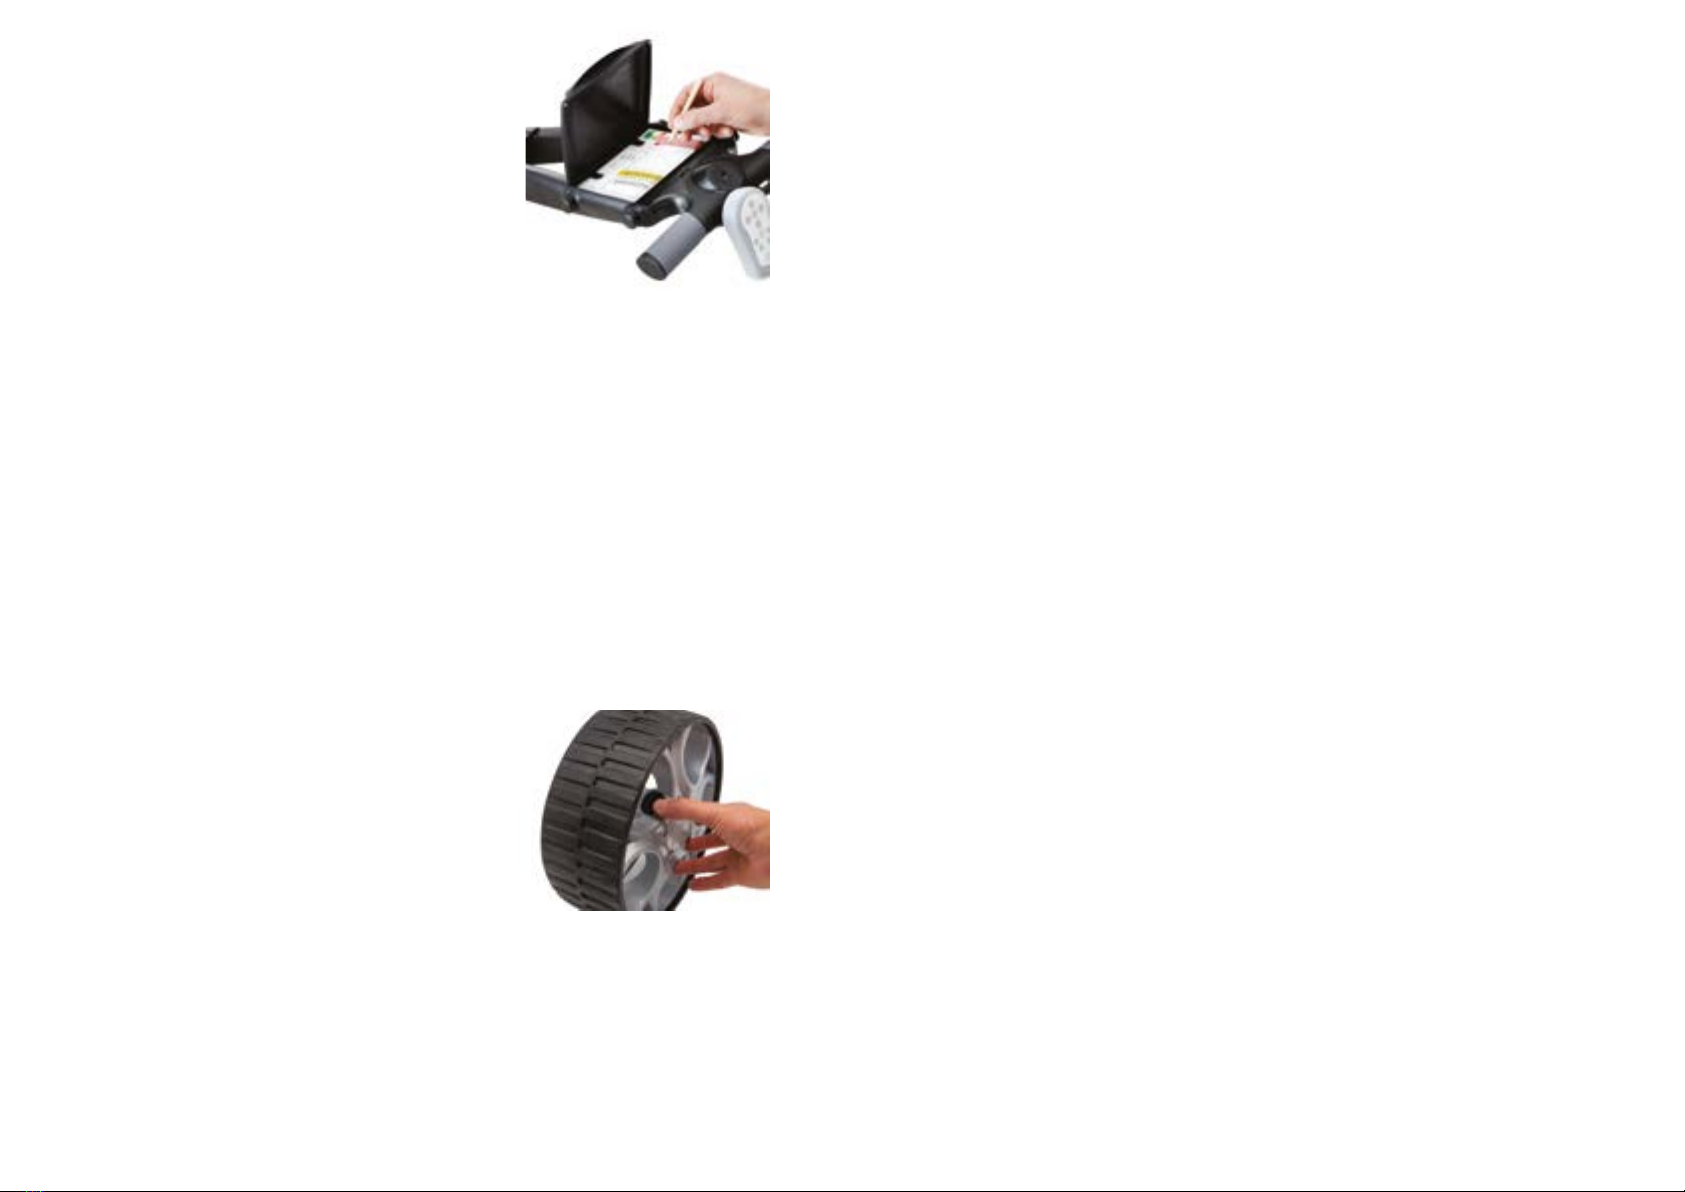
• Put the handset on the cradle (don’t press any buttons). Because the handset is
inside the Neutral Zone, the trolley won’t move. Select your club and take your shot.
• Replace your club, put the handset back on your back pocket/belt and resume
walking in the direction the trolley is facing. The Q Follow will again pick up
your pace.
• If you stop for any reason (such as to let another player take a shot), the Q Follow
will stop behind you. Take half a step back towards the machine to ensure you are
fully in the Neutral Zone. When you are ready, just start walking again and the Q
Follow will start again automatically as you enter the Active Zone.
• To turn follow mode o, press the STOP button.
BEST PRACTICE:
• Use the Follow function when on a clear,
relatively flat fairway.
• If you walk/run faster than the top speed
of the machine, you will eventually leave
the Active Zone and the Q Follow will
stop as a safety precaution.
• Always place the handset on a back
pocket or belt when using Follow to allow
for smooth operation. The Q Follow’s
control system follows the handset, not
the golfer. Do not carry the handset
in your hand, as its natural back and
forth motion may cause the Q Follow to
accelerate and brake accordingly.
• If you are playing golf with someone
else who has a Stewart Golf Follow (any
model), then make sure you operate
Follow at least 5m/5.5yds from the other
machine. Within this range the ‘active
zones’ may interfere.
• At any time you can switch from Follow to
remote mode by simply using any of the
forward buttons. To resume Follow mode,
stop the machine and start the Follow
process as usual.
• The Q Follow has a ‘follow’ system, not a
‘find’ system. Only activate Follow from
inside the Neutral Zone and walk in the
direction the machine is facing.
• Think of the Follow feature like cruise
control on a car: it’s perfect for motorway
driving, but not for town or car parks. The
follow feature is designed for the fairway
primarily, remote and manual steering
modes for other scenarios. It is up to you
as the ‘driver’ to select the correct mode
for the circumstance.
DO NOT USE FOLLOW:
• In car parks.
• In rough terrain.
• On steep hills.
• Anywhere the Q Follow could collide with any object or person.
• When you are looking for your ball. Walking in tight circles will increase the risk of losing the
connection, but you will also waste battery power and risk blowing the fuse. In this scenario
you are better to leave the machine stationary on the fairway, then use Remote to drive it
towards you once you have found your ball.
IMPORTANT INFORMATION
FUSE:
The 40A fuse fitted to the Q Follow is designed to protect the electronics from accidental
damage in normal use. However, extreme strain caused by failure to use the machine as advised
can blow this fuse: in such cases, replacement of the fuse will NOT be covered by warranty.
SPEED:
The Q Follow can travel at speeds of upto 6mph but performing delicate manoeuvres, such as
negotiating bridges or steering between obstacles, should not be performed at top speed and
any damage caused will NOT be covered by warranty. The machine will perform best when being
driven at walking speed and this is what is strongly recommended.
STOPPING WHEN ON FOLLOW:
When the handset is inside the Neutral Zone and ‘Regular’ steering is in use, the Q Follow will
apply the brake automatically.
If you have chosen to engage ‘Glide Steering’ and then engaged ‘Follow’, the braking function
will default to the ‘Glide Stop’ so the trolley will take longer to stop and may collide with you.
Glide steering will also be engaged. It is recomended that you use ‘Regular Steering’ when
using Follow.
In any case, it is vital that you always allow the Q Follow time to react to your movements &
behaviour. For example, if you are walking down a steep slope and come to a sudden stop, the
machine may not be able react quickly enough and could collide with you. Likewise if the ground
is damp or loose, the Q Follow may skid.
14