manuals.online logo
Brands
  1. Home
  2. •
  3. Brands
  4. •
  5. Stihl
  6. •
  7. Power Tools
  8. •
  9. Stihl 4144 Series User manual

Stihl 4144 Series User manual

Other manuals for 4144 Series

1

This manual suits for next models

8

Other Stihl Power Tools manuals

Stihl KM 111 R User manual

Stihl

Stihl KM 111 R User manual

Stihl 4910-500-1800 User manual

Stihl

Stihl 4910-500-1800 User manual

Stihl KMA 130 R User manual

Stihl

Stihl KMA 130 R User manual

Stihl HT75 User manual

Stihl

Stihl HT75 User manual

Stihl MM 56 User manual

Stihl

Stihl MM 56 User manual

Stihl FC-MM User manual

Stihl

Stihl FC-MM User manual

Stihl KombiSystem HT-KM User manual

Stihl

Stihl KombiSystem HT-KM User manual

Stihl HSA 25 User manual

Stihl

Stihl HSA 25 User manual

Stihl BT 130 User manual

Stihl

Stihl BT 130 User manual

Stihl KM 130 R User manual

Stihl

Stihl KM 130 R User manual

Stihl ASA 85 User manual

Stihl

Stihl ASA 85 User manual

Stihl KMA 130 R User manual

Stihl

Stihl KMA 130 R User manual

Stihl HSA 25 User manual

Stihl

Stihl HSA 25 User manual

Stihl KM 94 R User manual

Stihl

Stihl KM 94 R User manual

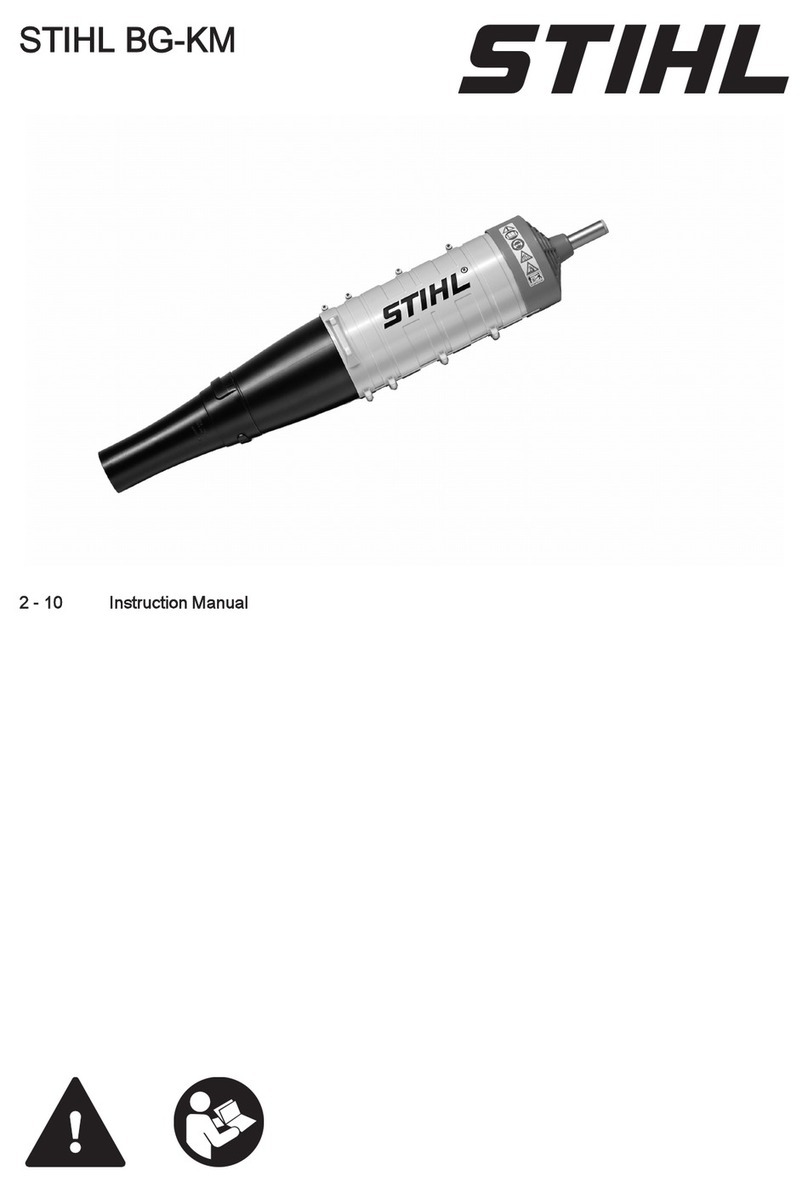
Stihl BG-KM User manual

Stihl

Stihl BG-KM User manual

Stihl HSA 26 User manual

Stihl

Stihl HSA 26 User manual

Stihl MS 461 Rescue User manual

Stihl

Stihl MS 461 Rescue User manual

Stihl SP-KM User manual

Stihl

Stihl SP-KM User manual

Stihl BT 130 User manual

Stihl

Stihl BT 130 User manual

Stihl KM 55 R User manual

Stihl

Stihl KM 55 R User manual

Stihl FS 460 C-M User manual

Stihl

Stihl FS 460 C-M User manual

Stihl HSA 26 User manual

Stihl

Stihl HSA 26 User manual

Stihl KM 94 R User manual

Stihl

Stihl KM 94 R User manual

Stihl HSA 25 User manual

Stihl

Stihl HSA 25 User manual

Popular Power Tools manuals by other brands

ISLAND HOPPER Power Egg HT-309 operating instructions

ISLAND HOPPER

ISLAND HOPPER Power Egg HT-309 operating instructions

Sioux Tools SSR6P25 Instructions-parts list

Sioux Tools

Sioux Tools SSR6P25 Instructions-parts list

Makita HM1317C technical information

Makita

Makita HM1317C technical information

ABB Smart Tool + quick start guide

ABB

ABB Smart Tool + quick start guide

Baumr-AG BMJK-24S user manual

Baumr-AG

Baumr-AG BMJK-24S user manual

Bosch Professional GST 18 V-LI S Original instructions

Bosch

Bosch Professional GST 18 V-LI S Original instructions

Ronix RA-2702 quick start guide

Ronix

Ronix RA-2702 quick start guide

Nordson ProBlue user guide

Nordson

Nordson ProBlue user guide

aoyue int6028 instruction manual

aoyue

aoyue int6028 instruction manual

Hitachi CJ 65VA2 Instruction manual and safety instructions

Hitachi

Hitachi CJ 65VA2 Instruction manual and safety instructions

Makita HM1304 instruction manual

Makita

Makita HM1304 instruction manual

Kurtz Ersa Ersa X-TOOL VARIO operating instructions

Kurtz Ersa

Kurtz Ersa Ersa X-TOOL VARIO operating instructions

SCHUNK KSO 65 Installation and operating instruction

SCHUNK

SCHUNK KSO 65 Installation and operating instruction

Harken LokHead 500 user manual

Harken

Harken LokHead 500 user manual

Senco DuraSpin ExTPro installation instructions

Senco

Senco DuraSpin ExTPro installation instructions

Ferm JSM1020 Original instructions

Ferm

Ferm JSM1020 Original instructions

Milwaukee M12 FUEL 2559-20 Operator's manual

Milwaukee

Milwaukee M12 FUEL 2559-20 Operator's manual

EINHELL BT-CD 12/2 operating instructions

EINHELL

EINHELL BT-CD 12/2 operating instructions

manuals.online logo
manuals.online logoBrands
  • About & Mission
  • Contact us
  • Privacy Policy
  • Terms and Conditions

Copyright 2025 Manuals.Online. All Rights Reserved.

STIH)
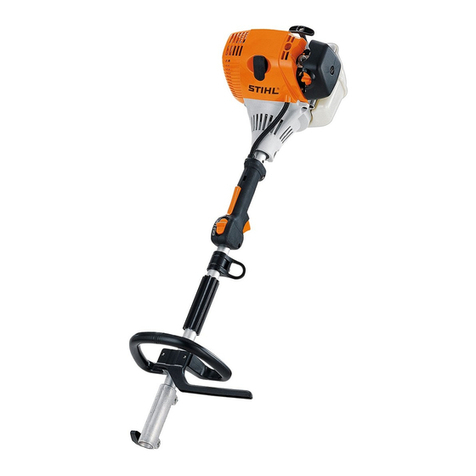
STIHL Series 4144 Components
FC, FS, KM 2008-02
FS 40, FS 50, FS 56
FC 56
KM 56
1Series 4144 Components FC, FS, KM
q
© ANDREAS STIHL AG & Co. KG, 2008
RA_545_01_01_01
1. Introduction 2
2. Safety Precautions 3
3. Specifications 4
3.1 Engine 4
3.2 Fuel System 4
3.3 Ignition System 4
3.4 Tightening Torquese 5
4. Troubleshooting 7
4.1 Clutch 7
4.2 Rewind Starter 8
4.3 Ignition System 9
4.4 Carburetor 11
4.5 Engine 14
5. Engine 15
5.1 Removing and
Installing 15
5.2 Leakage test 16
5.3 Oil seals 16
5.4 Ignition Module /
Spark Plug Boot 16
5.5 Clutch 16
5.6 Flywheel 16
5.7 Motor 16
5.8 Muffler / Spark
Arresting Screen 19
5.9 Short Circuit Wire 20
5.9.1 Testing 20
5.9.2 Removing and
Installing
(Loop Handle Version) 20
5.9.3 Removing and
Installing
(Bike Handle Version) 23
5.9.4 Ground Wire 26
5.10 Ignition System
Troubleshooting 27
6. Rewind Starter 30
6.1 General 30
6.2 Removing and
Installing 30
6.3 Pawls 30
6.3.1 Carrier 31
6.4 Rope Rotor 32
6.5 Starter Rope / Grip 33
6.6 Tensioning the
Rewind Spring 35
6.7 Replacing the
Rewind Spring 36
6.8 ErgoStart 36
7. Control Levers 37
7.1 Switch Shaft /
Control Lever 37
7.2 Switch Positions 37
7.3 Interlock Lever
(Loop Handle) 37
7.3.1 Throttle Trigger 38
7.4 Throttle Trigger/
Interlock Lever
(Bike Handle) 40
7.5 Handlebar
(Bike Handle) 43
8. Fuel System 44
8.1 Air Filter 44
8.1.1 Baffle 44
8.1.2 Filter housing 44
8.2 Removing and
Installing
the Carburetor 45
8.3 Leakage Test 47
8.4 Servicing
the Carburetor 47
8.4.1 Metering Diaphragm /
Manual Fuel Pump 47
8.4.2 Inlet Needle 49
8.4.3 Pump Diaphragm 49
8.4.4 Throttle Lever /
Rotary Knob 51
8.4.5 Adjusting Screws 52
8.5 Adjusting
the Carburetor 54
8.5.1 Basic Setting 54
8.5.2 Standard Setting 55
8.6 Removing and
Installing Throttle Cable
(Loop Handle) 56
8.6.1 Removing and
Installing Throttle Cable
(Bike Handle) 58
8.6.2 Adjusting the
Throttle Cable 58
8.7 Removing and
Installing the Spacer
Flange 59
8.8 Tank Vent 60
8.8.1 Testing 60
8.8.2 Removing and
Installing 61
8.9 Fuel Intake 61
8.9.1 Pickup Body 61
8.9.2 Fuel Hoses 62
8.9.3 Fuel Tank Cap 63
8.10 Removing and
Installing the Engine
Housing 64
9. Drive Tube 65
9.1 Removing and
Installing 65
9.1.1 Disassembling
(KM 56) 66
9.1.2 Disassembling
(FC 56) 68
9.1.3 Disassembling
(FS 56) 69
9.1.4 Disassembling
(FS 40, 50) 70
9.1.5 Removing and
Installing the
Bearing Housing 71
9.1.6 Loop Handle 72
9.1.7 Loop Handle with
Barrier Bar 73
9.2 Add-On Components 74
9.2.1 Deflector for Machines
without Gearbox 74
9.2.2 Deflector for Machines
with Gearbox 74
9.2.3 One-part
Carrying Ring 75
9.2.4 Retainer 75
9.3 Gearbox 75
10. Special
Servicing Tools 76
11. Servicing Aids 77
Contents
2Series 4144 Components FC, FS, KM
1. Introduction
This service manual contains
detaileddescriptions of alltherepair
andservicingproceduresspecific to
this power tool.
You should make use of the
illustrated parts lists while carrying
out repair work. They show the
installed positions of the individual
components and assemblies.
Refer to the latest edition of the
relevant parts list to check the part
numbers of any replacement parts.
A fault on the machine may have
several causes. To help locate the
fault, consult the troubleshooting
charts for all assemblies and
systems in this manual and the
"STIHL Service Training System".
Refer to the “Technical Information”
bulletins for engineering changes
which have been introduced since
publication of this service manual.
Technical information bulletins also
supplement the parts list until a
revised edition is issued.
The special tools mentioned in the
descriptionsarelistedinthechapter
on "Special Servicing Tools" in this
manual. Use the part numbers to
identify the tools in the
"STIHL Special Tools" manual. The
manual lists all special servicing
tools currently available from
STIHL.
Symbolsareincludedinthetextand
pictures for greater clarity.
The meanings are as follows:
In the descriptions:
:= Action to be taken as
showninthe illustration above
the text
– = Action to be taken that is
not shown in the illustration
above
the text
In the illustrations:
APointer
aDirection of movement
@4.2 = Reference to another
chapter, i.e. chapter 4.2
in this example
Service manuals and all technical
information bulletins are intended
exclusively for the use of properly
equipped repair shops. They must
not be passed to third parties.
Always use original STIHL
replacement parts.
They can be identified by the STIHL
part number,
the {
logo and the
STIHL parts symbol K
This symbol may appear alone on
small parts.
Storing and disposing of oils and
fuels
Collect fuel or lubricating oil in a
clean container and dispose of it
properly in accordance with local
environmental regulations.
3Series 4144 Components FC, FS, KM
2. Safety Precautions
If the engine is started up in the
course of repairs or maintenance
work, observe all local and country-
specific safety regulations as well
as the safety precautions and
warnings in the instruction manual.
Gasolineisanextremelyflammable
fuel and can be explosive in certain
conditions.
Always wear suitable protective
gloves for operations in which
components are heated for
assembly or disassembly.
Improper handling may result in
burns or other serious injuries.
Do not smoke or bring any fire,
flame or other source of heat near
the fuel. All work with fuel must be
performed outdoors only. Spilled
fuel must be wiped away
immediately.
Always perform leakage test after
working on the fuel system and the
engine.
4Series 4144 Components FC, FS, KM
3. Specifications
3.1 Engine
FS 40 FS 50, 56, FC 56, KM 56
Displacement: 27.2 cm327.2 cm3
Bore: 34 mm 34 mm
Stroke: 30 mm 30 mm
Engine power to ISO 8893: 0.7 kW (1.0 bhp)
at 8,500 rpm 0.8 kW (1.1 bhp)
at 8,500 rpm
Max. permissible speed
(with cutting attachment): 10,000 rpm 10,000 rpm
Idle speed: 2,800 rpm 2,800 rpm
Clutch: Centrifugal clutch without
linings Centrifugal clutch without
linings
Clutch engages at: 4,200 rpm 4,200 rpm
Crankcase leakage test
at gauge pressure: 0.5 bar
under vacuum: 0.5 bar
3.2 Fuel System
Carburetor leakage test at
gauge pressure: 0.3 bar
Operation of tank vent at
gauge pressure: 0.5 bar
Fuel: as specified in instruction
manual
3.3 Ignition System
Air gap between ignition
module and fanwheel: 0.30 mm
Spark plug (suppressed): NGK CMR6H
NGK 6H
Bosch WSR 6 F
Electrode gap: 0.5 mm
5Series 4144 Components FC, FS, KM
3.4 Tightening Torquese
DG and P (Plastoform) screws are used in polymer and light metal components. These screws form a
permanent thread when they are installed for the first time. They can be removed and installed as often as
necessary without impairing the strength of the screwed assembly, providing the specified tightening torque is
observed.
For this reason it is essential to use a torque wrench.
Fastener Thread size For component Torque
Nm
Remarks
Screw P 6x14 Line limiting blade/deflector 2.5
Screw M 5x30 Control handle/handle/nut with washer 2.0
Screw P 5x14 Filter cover/filter housing 3.0
Nut M 5 Filter housing/carburetor/spacer flange 3.5
Screw P 4x12 Throttle cable/engine housing 1.5
Screw D 6x28 Gearbox/drive tube clamp (FS 56) 12.0
Screw D 5x20 Shroud/cylinder 6.0
Screw M 6x35 Clamp/clamp block/clamp 4.5
Screw M 6x25 Clamp/loop handle 4.5
Screw P 5x20 Engine housing/shroud 4.0
Screw M 5x20 Engine housing/crankcase 7.0
Screw P 5x20 Engine housing torsion lock/drive tube 4.0
Screw M 5x14 Deflector/gearbox (FS 56) 4.5
Screw M 6x30 Deflector/drive tube/nut /FS 40,50) 5.0
Screw M 6x14 Clamp/drive tube/harness ring 4.5
Screw D 5x20 Starter cover/crankcase 6.0
Screw D 5x20 Starter cover/engine pan 6.0
Screw M 4x9 End cover/carburetor 2.0
6Series 4144 Components FC, FS, KM
Remarks:
1) Loctite 242 or 243, medium strength
2) Loctite 270, high strength
3) Loctite 649, high strength
4) Loctite 272, high strength up to 250°C
5) Degrease crankshaft/flywheel and mount oil-free
Use the following procedure when refitting a DG or P screw in an existing thread:
Place the screw in the hole and rotate it counterclockwise until it drops down slightly.
Tighten the screw clockwise to the specified torque.
This procedure ensures that the screw engages properly in the existing thread and does not form a new thread
and weaken the assembly.
Coat micro-encapsulated screws with medium strength Loctite 242 or 243 before reinstalling.
Power screwdriver setting for polymer: DG and P screws max. 500 rpm
Do not use an impact wrench for releasing or tightening screws.
Do not mix up screws with and without binding heads.
7Series 4144 Components FC, FS, KM
4. Troubleshooting
4.1 Clutch
Condition Cause Remedy
Cutting attachment stops under
load at full throttle Clutch shoes badly worn Install new clutch
Clutch drum badly worn Install new clutch drum
Cutting attachment runs at idle
speed Engine idle speed too high Readjust idle speed screw LA
Clutch springs stretched or fatigued Replace the clutch springs or install
new clutch
Clutch spring hooks broken Replace the clutch springs
Loud noises Clutch springs stretched or fatigued Replace all clutch springs
Clutch shoe retainer broken Install new clutch
Clutch shoes and carrier worn Install new clutch
Condition Cause Remedy
8Series 4144 Components FC, FS, KM
4.2 Rewind Starter
Condition Cause Remedy
Starter rope broken Rope pulled out too vigorously as
far as stop or over edge, i.e. not
vertically
Fit new starter rope
Normal wear Fit new starter rope
Starter rope does not rewind Very dirty or corroded Clean rewind spring or replace rope
rotor
Insufficient spring tension Check rewind spring and increase
tension
Rewind spring broken Install new rope rotor
Starter rope cannot be pulled out
far enough Spring overtensioned Check rewind spring and reduce
tension
Starter rope can be pulled out
almost without resistance
(crankshaft does not turn)
Guide pegs on pawls or pawls
themselves are worn Fit new pawls
Spring clip on pawl fatigued Fit new spring clip
Starter rope is difficult to pull or
rewinds very slowly Starter mechanism is very dirty Thoroughly clean complete starter
mechanism
Lubricating oil on rewind spring
becomes viscous at very low
outside temperatures (spring
windings stick together)
Coat rewind spring with a little
standardsolvent-based degreasant
(containing no chlorinated or
halogenated hydrocarbons), then
pull rope carefully several times
until normal action is restored
9Series 4144 Components FC, FS, KM
4.3 Ignition System
Exercise extreme caution while
carrying out maintenance and
repair work on the ignition system.
The high voltages which occur can
cause serious or fatal accidents.
Condition Cause Remedy
Engine runs roughly, misfires,
temporary loss of power Spark plug boot is loose Press boot firmly onto spark plug
and fit new spring if necessary
Spark plug sooted, smeared with oil Clean the spark plug or replace if
necessary.
If sooting keeps recurring, check air
filter
Fuel/oil mixture
– too much oil Use correct mixture of fuel and oil
Incorrect air gap between ignition
module and flywheel Set air gap correctly
Flywheel cracked or has other
damage or pole shoes have turned
blue
Install new flywheel
Ignition timing wrong, flywheel out
of adjustment, key on crankshaft
has sheared off
Locate flywheel properly or install
new flywheel
Weak magnetization in flywheel Install new flywheel
Irregular spark Check operation of switch shaft/
contact springs and ignition
module.
Faulty insulation or break in ignition
lead or short circuit wire. Check
ignition lead/ignition module and
replace ignition module if
necessary.
Check operation of spark plug.
Clean the spark plug or replace if
necessary.
Crankcase damaged (cracks) Install new crankcase