manuals.online logo
Brands
  1. Home
  2. •
  3. Brands
  4. •
  5. Stratco
  6. •
  7. Lawn And Garden Equipment
  8. •
  9. Stratco Elevated Garden Bed User manual

Stratco Elevated Garden Bed User manual

ELEVATED GARDEN BED ®
JARDINIÈRE SURÉLEVÉE ®
48” X 20” WOOD-PLASTIC COMPOSITE
GARDEN BED
JARDINIÈRE EN COMPOSITE BOIS-
PLASTIQUE DE 122 CM x 51 CM
INSTALL GUIDE
GUIDE D'INSTALLATION
BEFORE YOU START
AVANT DE COMMENCER
PRIOR TO ASSEMBY
AVANT L'ASSEMBLAGE
Carefully read this installation guide to
familiarise yourself with all the steps
involved before beginning installation. To
ensure that the installation of your Stratco
Elevated Garden Bed™ proceeds smoothly
you should confirm that all the components
and materials listed in this installation guide
have been supplied. Carefully read this
installation guide to familiarise yourself
with all the steps involved and ensure that
you have the correct tools and equipment
for the job.
Lisez attentivement ce guide d’installation
pour vous familiariser avec toutes les étapes
à suivre avant de commencer l’installation.
Pour que l'installation de votre jardinière
surélevée Stratco™ se déroule sans
encombre, vérifiez que tous les composants
et matériaux répertoriés dans ce guide
d'installation sont bien présents. Lisez
attentivement ce guide d'installation pour
vous familiariser avec toutes les étapes et
vous assurer que vous disposez des outils et
du matériel adéquats.
LOCATION SELECTION
CHOIX DE L'EMPLACEMENT
Choose a suitable location for the garden
bed’s installation. Measure the area to
ensure there is at least 48” x 20” of space.
Make sure the location is on flat and level
ground. Please ensure the ground is firm.
Choisissez un emplacement approprié pour
l'installation de la jardinière. Mesurez la
surface afin de vérifier que vous disposez
d'un espace d'au moins 122 cm sur 51 cm.
Assurez-vous que l'emplacement est situé
sur un terrain plat et à niveau. Vérifiez que
le sol est bien ferme.
IMPORTANT NOTES
REMARQUES IMPORTANTES
1. The garden bed will be difficult to move
after assembly. Please choose your location
carefully before beginning assembly.
2. Installation will be easier with two
people.
1. La jardinière sera difficile à déplacer
après l'assemblage. Choisissez votre
emplacement avec soin avant de commencer
l'assemblage.
2. L'installation sera plus facile à deux
personnes.
TOOLS REQUIRED
OUTILS NÉCESSAIRES
Mallet
Maillet
Tape Measure
Ruban à mesurer
COMPONENTS
COMPOSANTS
Short Plank x 4
Planche courte x 4
Post Cap x 4
Capuchon de poteau x 4
Dowel Pin x 4
Goujon x 4
Garden Bed Liner (With Drainage Pipe) x 1
Revêtement de jardinière (avec tuyau de
drainage) x 1
Long Plank x 2
Long Support Plank x 2
Planche longue x 2
Planche de soutien longue x 2
Corner Post x 4
Poteau d'angle x 4
Floor Plank (Type A) x 1
Planche de fond (type A) x 1
Floor Plank (Standard) x 5
Planche de fond (standard) x 5
Floor Plank (Type B) x 1
Planche de fond (type B) x 1
ASSEMBLY
ASSEMBLAGE
Begin by ensuring that the posts are in the
correct orientation. Take note of the metal
brackets and holes on the inside of the posts.
Ensure the posts are orientated to have the
hole and support bracket at the top (Figure
1.1). During the installation process, make
sure that the support brackets are orientated
in-line with the wall planks (Figure 1.2).
Commencez en vous assurant que les
poteaux sont bien orientés. Prenez note des
supports en métal et des trous à l'intérieur
des poteaux. Assurez-vous que les poteaux
sont orientés de manière à ce que les trous et
supports soient en haut (Figure 1.1).
Pendant l'installation, vérifiez que les
supports sont dans l'alignement des
planches latérales (Figure 1.2).
Top
Haut
Hole
Trou
Support Bracket
Support
Support Brackets
Supports
Figure 1.1
Figure 1.1
Figure 1.2
Figure 1.2
Slide the short planks into the corner posts
to form one end of the garden bed as shown
below (Figure 2).
Faites glisser les planches courtes dans les
poteaux d'angle pour former une extrémité
de la jardinière, comme indiqué ci-dessous
(Figure 2).
Short Planks
Planches courtes
Support Brackets
Supports
Figure 2
Figure 2
Slide the long support planks into the corner
posts as show below (Figure 3) Ensure the
planks are resting on the metal brackets
attached to the post. Also make sure to
Faites glisser les planches de soutien
longues dans les poteaux d'angle comme
indiqué ci-dessous (Figure 3). Assurez-vous
que les planches reposent sur les supports
orient the slots on the support planks toward
the inside.
métalliques fixés aux poteaux. Veillez
également à orienter les fentes des planches
de soutien vers l'intérieur.
Long Support Planks
Planches de soutien longues
Support Brackets
Supports
Figure 3
Figure 3
Slide the Long Planks on top of the Support
planks into the corner posts as show below
(Figure 3)
Faites glisser dans les poteaux d'angle les
planches longues jusqu'aux planches de
soutien, comme indiqué ci-dessous (Figure
3).
Long Planks
Planches longues
Figure 4
Figure 4
Flip the garden bed onto to its end as
shown. Slide the floor planks into the slots
of the support planks. Make sure to start
with Floor Plank Type A (look for the
notches cut on the corner).
Retournez la jardinière sur son extrémité, tel
qu'indiqué sur le schéma. Faites glisser les
planches de fond dans les fentes des
planches de soutien. Assurez-vous de
commencer par la planche de type A
(identifiez les entailles dans les coins).
Floor Plank (Type A)
Planche de fond (type A)
Figure 5
Figure 5
Slide the 5 standard floor planks into the
slots of the support planks. The two support
planks may tend to spread apart during this
step, a second person will be able to help by
holding these together.
Faites glisser les 5 planches de fond
standards dans les fentes des planches de
soutien. Les deux planches de soutien
peuvent avoir tendance à s'écarter au cours
de cette étape, une seconde personne pourra
vous aider en les maintenant ensemble.
Floor Plank (Standard)
Planche de fond (standard)
Figure 6
Figure 6
Slide the final floor plank (Type B) into
place as shown below
Faites glisser la dernière planche de fond
(type B) à sa place comme indiqué ci-
dessous.
Floor Plank (Type B)
Planche de fond (type B)
Figure 7
Figure 7
Slide the final two corner posts into place.
Make sure to orient them correctly, with the
hole toward the top of the garden bed, and
the metal brackets facing inward so they
support the wall planks.
Faites glisser les deux derniers poteaux de
coin à leur place. Assurez-vous que les
poteaux sont orientés correctement, avec les
trous placés en haut de la jardinière et les
supports en métal orientés vers l'intérieur,
de manière à soutenir les planches latérales.
Figure 8
Figure 8
Slide the final wall planks into place as
shown below
Faites glisser les dernières planches latérales
à leur place comme indiqué ci-dessous.
Short Planks
Planches courtes
Figure 9
Figure 9
Insert the four dowel pins through the holes
in the posts as shown below. A mallet may
be necessary to hammer the pins into place
correctly.
Insérez les quatre goujons dans les trous des
poteaux, comme indiqué ci-dessous. Un
maillet peut être nécessaire pour enfoncer
correctement les goujons.
Figure 10
Figure 10
Flip the garden bed so that it stands on its
legs (This step may require two people).
Place the four post caps in the ends of the
posts as shown below.
Retournez la jardinière de sorte qu'elle
repose sur ses pieds (cette étape peut
nécessiter deux personnes). Placez les
quatre capuchons de poteaux aux
extrémités des poteaux, comme indiqué ci-
dessous.
Figure 11
Figure 11
Unfold the garden bed liner and orientate it
as shown below with the outlet aligning
with the hole in the floor planks. Push the
corners into place to make sure the bottom
section of the garden bed is covered.
Dépliez le revêtement de jardinière et
orientez-le comme indiqué ci-dessous, en
alignant l'orifice de sortie avec le trou des
planches de fond. Poussez au niveau des
coins pour vous assurer que la partie
inférieure de la jardinière est couverte.
Figure 12
Figure 12
If you need to move the garden bed, do it
before filling with soil. Please take note of
where the drainage pipe is located, and
place this in an appropriate location, where
water dripping onto the ground will not be
an issue. The garden bed will hold
approximately 4.5 cu. ft. of soil.
Si vous devez déplacer la jardinière, faites-
le avant de la remplir de terre. Notez
l'emplacement du tuyau de drainage de
manière à le placer à un endroit approprié,
où l'évacuation de l'eau ne sera pas un
problème. La jardinière peut
contenir jusqu'à environ 127 litres de terre.
Figure 13
Figure 13
Ph: (407) 235-2243
stratcouse.com
Tél. : +1 (407) 235-2243
stratcouse.com
FORM: GB-2589
FILE CREATED 21/05/2018
© 2018
MODÈLE : GB-2589
FICHIER CRÉÉ le 21/05/2018
© 2018

Other Stratco Lawn And Garden Equipment manuals
Stratco Handi-Mate Shed HMLOHMLME User manual

Stratco

Stratco Handi-Mate Shed HMLOHMLME User manual

Stratco Metal Elevated Garden Bed User manual
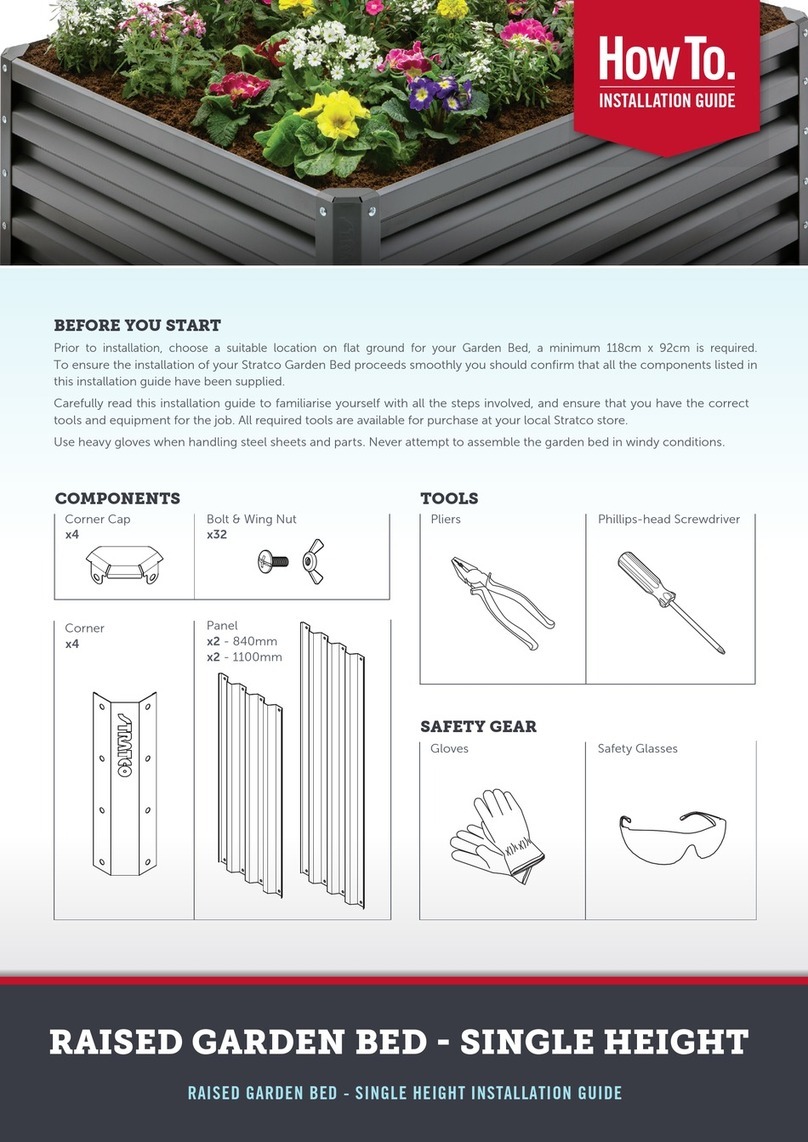
Stratco

Stratco Metal Elevated Garden Bed User manual

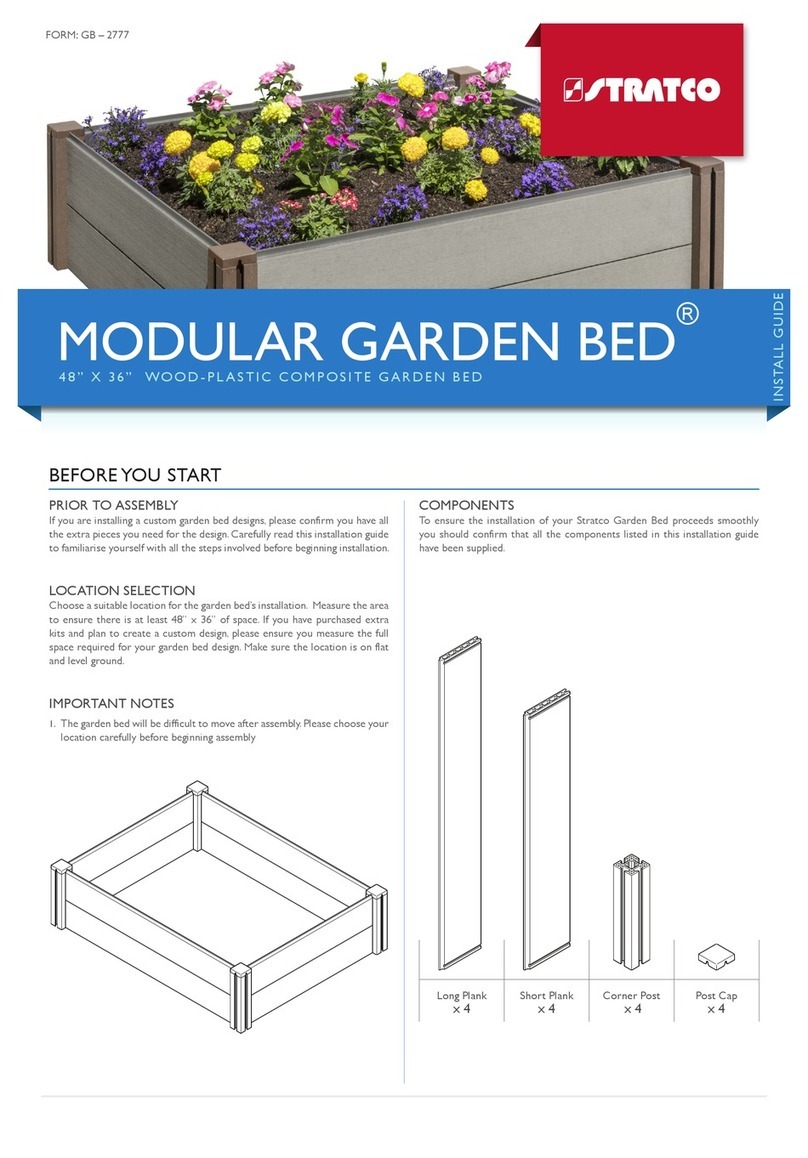
Stratco MODULAR GARDEN BED LG-34498 User manual

Stratco

Stratco MODULAR GARDEN BED LG-34498 User manual

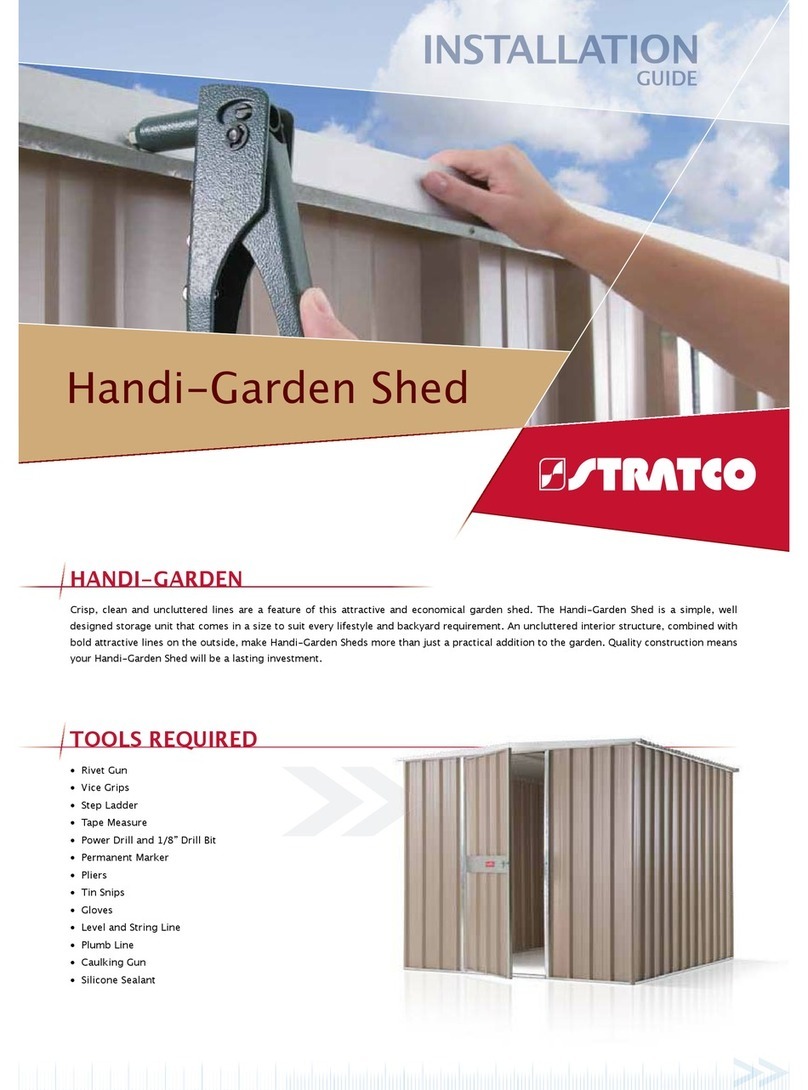
Stratco Handi-Garden Shed User manual

Stratco

Stratco Handi-Garden Shed User manual

Stratco Flat Roof Homesheds User manual

Stratco

Stratco Flat Roof Homesheds User manual

Stratco LG-40803 User manual

Stratco

Stratco LG-40803 User manual

Stratco Gable Homesheds User manual

Stratco

Stratco Gable Homesheds User manual

Stratco Handi-Mate HMGSHM4AZ User manual

Stratco

Stratco Handi-Mate HMGSHM4AZ User manual

Stratco LG-41301 User manual

Stratco

Stratco LG-41301 User manual
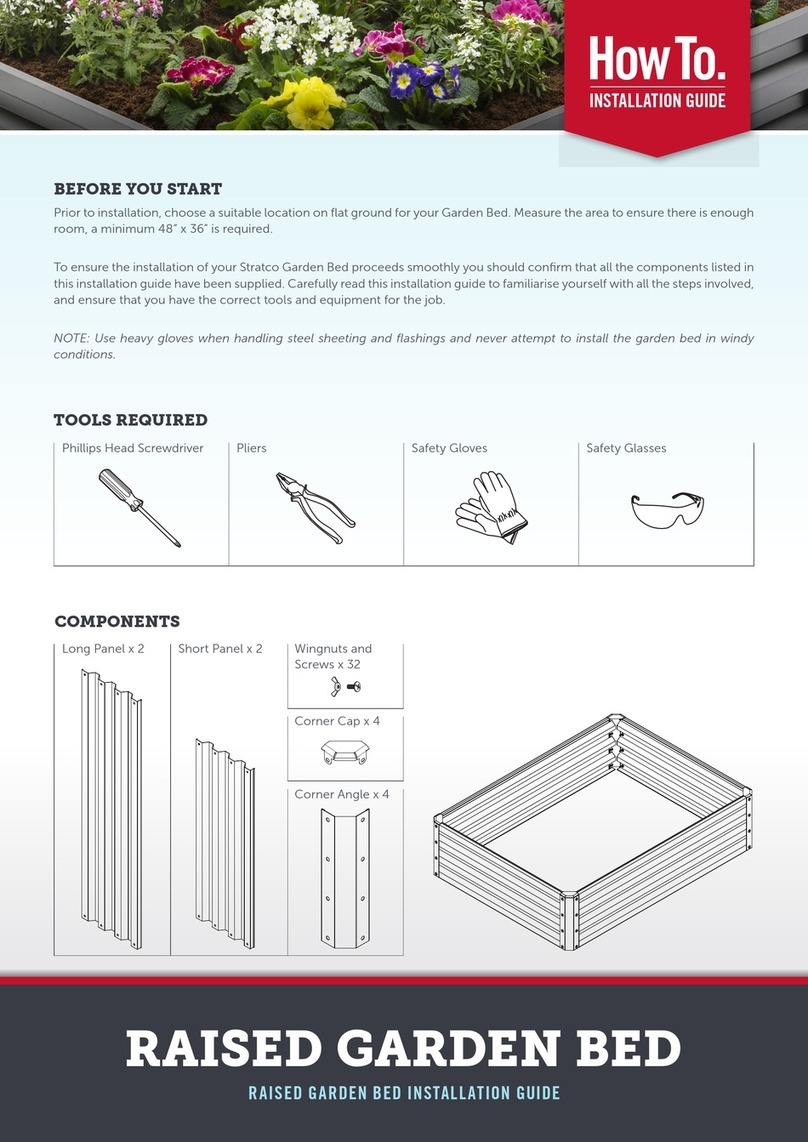
Stratco CORRUGATED GARDEN BED KIT User manual

Stratco

Stratco CORRUGATED GARDEN BED KIT User manual

Stratco LG-18294 User manual

Stratco

Stratco LG-18294 User manual
Stratco Handi-Locker Shed User manual

Stratco

Stratco Handi-Locker Shed User manual

Stratco HOMESHEDS User manual

Stratco

Stratco HOMESHEDS User manual

Stratco Handi-Mate HMGSHM3AZ User manual
Stratco

Stratco Handi-Mate HMGSHM3AZ User manual

Popular Lawn And Garden Equipment manuals by other brands

Stihl MF-MM instruction manual

Stihl

Stihl MF-MM instruction manual

Power Fist 8880932 manual

Power Fist

Power Fist 8880932 manual

Craftsman 358.796370 instruction manual

Craftsman

Craftsman 358.796370 instruction manual

FERRANTI LARGE Assembly manual

FERRANTI

FERRANTI LARGE Assembly manual

Sunforce 80001 manual 

Sunforce

Sunforce 80001 manual 

NATURE'S INSTRUMENTS NI-PG-301-01 quick start guide

NATURE'S INSTRUMENTS

NATURE'S INSTRUMENTS NI-PG-301-01 quick start guide

Bird Control Group Agrilaser Lite user manual

Bird Control Group

Bird Control Group Agrilaser Lite user manual

Argo Basettino operating instructions

Argo

Argo Basettino operating instructions

Terra TerraCity TRI SET Assembly instructions

Terra

Terra TerraCity TRI SET Assembly instructions

Vitavia Curve 401 Assembly instructions

Vitavia

Vitavia Curve 401 Assembly instructions

Makita BUB360Z2C Parts Breakdown

Makita

Makita BUB360Z2C Parts Breakdown

Wolf Garten LI-ION POWER FINESSE 30 R Original operating instructions

Wolf Garten

Wolf Garten LI-ION POWER FINESSE 30 R Original operating instructions

Autopot AQUAvalve 48Pot manual

Autopot

Autopot AQUAvalve 48Pot manual

Rain Bird R-VAN1318 installation guide

Rain Bird

Rain Bird R-VAN1318 installation guide

Vari Hurricane F-600 Instructions for use

Vari

Vari Hurricane F-600 Instructions for use

Connected Essentials CEP-30 user manual

Connected Essentials

Connected Essentials CEP-30 user manual

Alton Victorian Smallwood Assembly instructions

Alton

Alton Victorian Smallwood Assembly instructions

Holman dial ezy 4 instruction manual

Holman

Holman dial ezy 4 instruction manual

manuals.online logo
manuals.online logoBrands
  • About & Mission
  • Contact us
  • Privacy Policy
  • Terms and Conditions

Copyright 2025 Manuals.Online. All Rights Reserved.