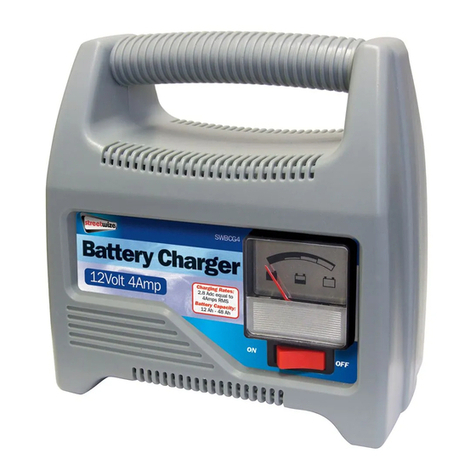
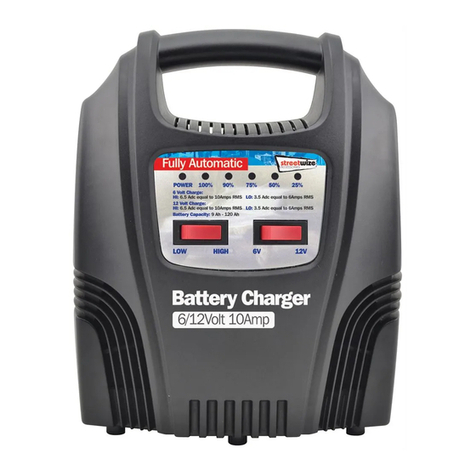
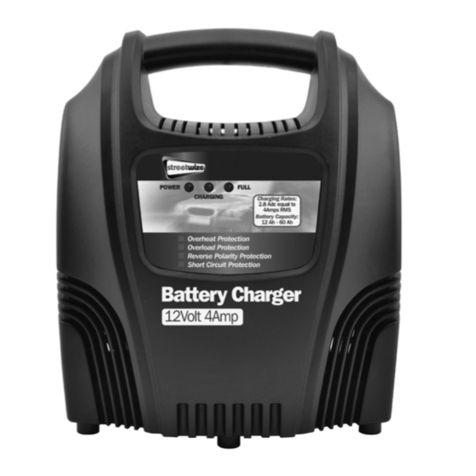
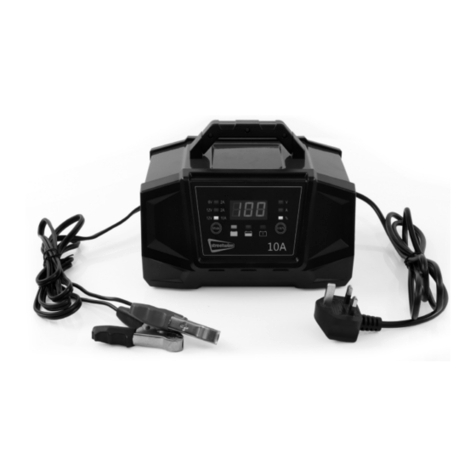
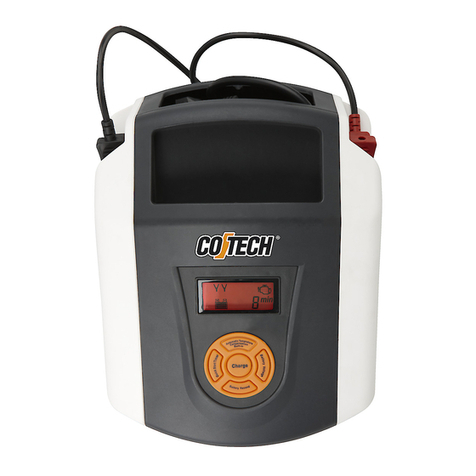
Battery Maintenance:
Please check your battery regularly throughout the year and especially in the winter.
Faulty cells can cause problems with your battery, check the cells with a hydrometer, if
any cell is reading lower than the others it can indicate a faulty cell. if this is the case
have your battery checked, as you may need a new battery. It is possible that a battery
may appear flat when it could simply be a loose connection of the battery terminals.
Check the terminals and tighten if necessary then check the battery again.
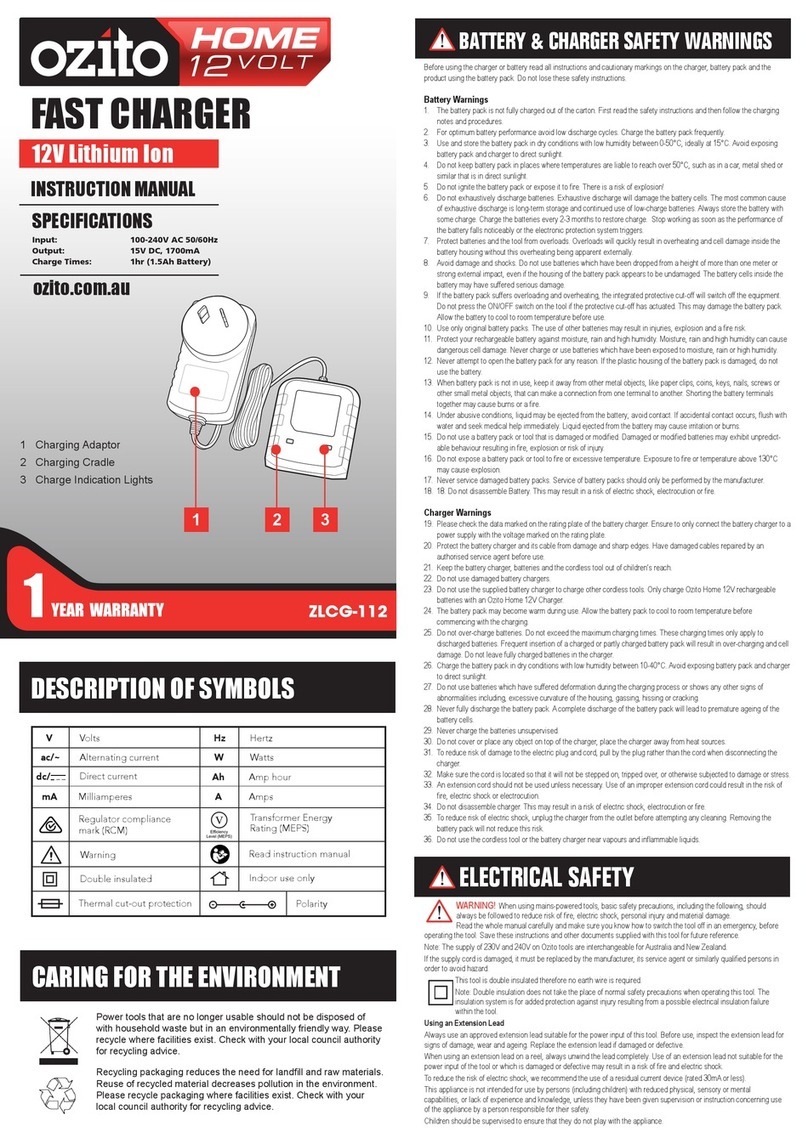
To enable safe operation of this battery charger, make sure you follow basic safety
principles to reduce a risk of personal injury, electric shock and fire.
Always ensure the battery charger is kept in a dry place to avoid damage, and store out
of the reach of children. Do not use the charger in damp or wet areas as moisture will
damage the transformer.
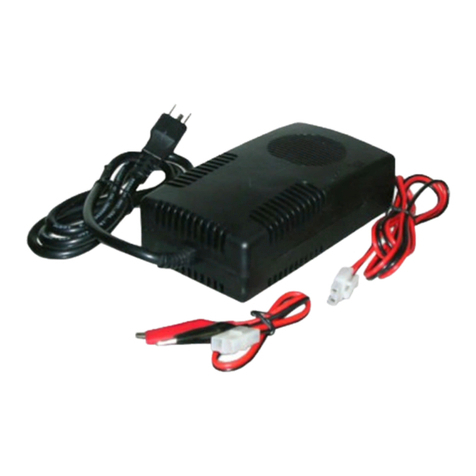
Always check the battery chargers plug, cables and crocodile clips before use. Do not
open the charger, there are no serviceable parts.
When charging, the liquid in the battery may bubble causing a release of gas, this is
flammable so always operate the charger in a well ventilated place and away from
naked flames and sparks.
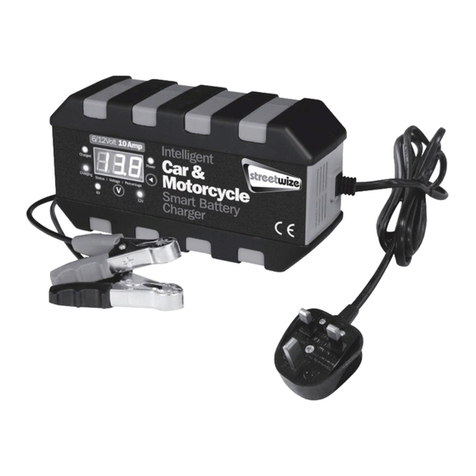
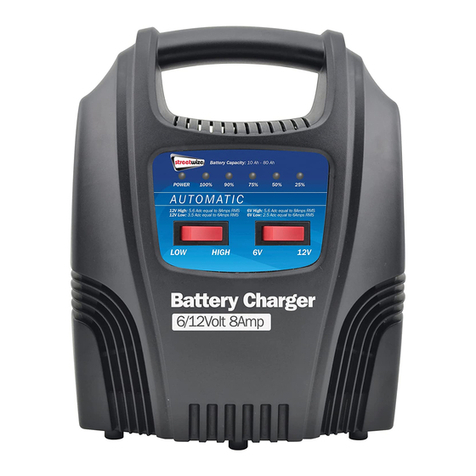
This charger is ONLY suitable for use with 12 Volt Lead-Acid batteries and
should not be used to recharge NICAD or any other type of battery.
DANGER: Avoid getting battery acid (electrolyte) on your skin or clothing, as it
may cause burns. If this occurs rinse immediately with cold water and if
necessary seek medical advice.
The charger contains a temperature-sensitive switch that automatically cuts off
when the charger is overloaded or becomes excessively hot. The charger will
switch back on after the unit has cooled.
Operating Instructions:
Please read the information on the front of these instructions for the maximum battery
capacity recommended for use with this charger. Using with batteries smaller than this
capacity may lead to damage to your battery.
1. Disconnect the Battery from the vehicle to avoid damage to the alternator. It is
advisable were possible to remove the battery from the vehicle as spillage from the
battery can cause damage.
Safety Instructions:
FOR INDOOR USE ONLY.
2. If you have a maintenance free/sealed battery it is not necessary to carry out the
following checks. Carefully remove all the caps from each battery cell, and ensure
the liquid is at the recommended level. Top up with distilled or de-ionised water if
required (ALWAYS wear protective gloves as this liquid is corrosive). Tap water
should NOT be used under any circumstances, allow time for any gases to escape
before replacing the caps. Warning: if your battery is the AUTOFIL type,
manufactured by Dagenite or Exide, the glass balls and the long filler cap MUST be
left in place during charging.
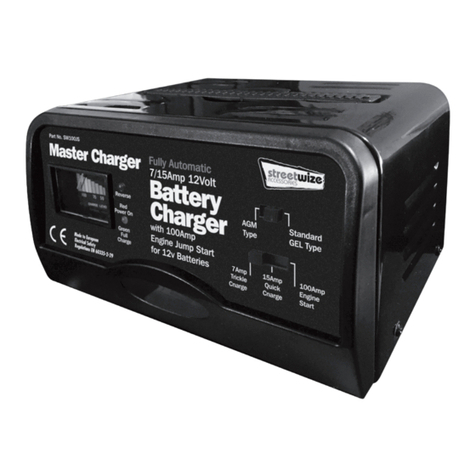
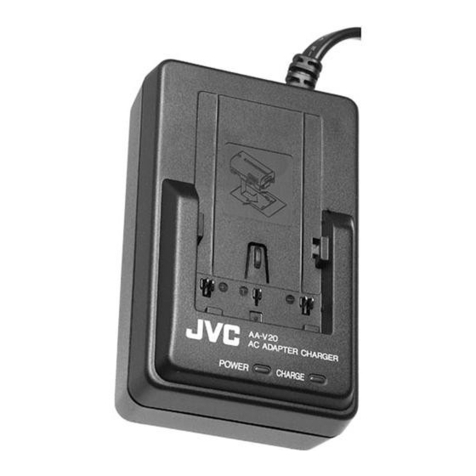
3. Use the “top” switch to select the correct battery type AGM or Standard Gel. Then
us the “bottom” switch to select the desired charging mode - trickle, quick charge
or engine start. DO NOT plug the charger in until you have connected the crocodile
clips correctly.
4. Connect the crocodile clips in the following order.
a) Connect the positive (+ Red) charging lead to the positive (+ Red) terminal.
b) Connect the negative (- Black) charging lead to the negative (- Black) terminal.
It is important that the crocodile clips make good contact with the battery terminals.
5. To Charge: Plug the Charger in using a fused AC mains plug socket and turn the
“power” switch to charge
. When a battery is first connected, the “current meter”
will show the approximate charging current. The “charge indicator” LED’s will light to
indicate approximate amount of charge in the battery. When the “FULL” LED
illuminates charging is complete. The Battery Charger has Reverse Polarity &
Overload Protection. If the leads are incorrectly connected the REVERSE LED will
light (RED), IMMEDIATELY unplug the charger from the mains and reverse the
connection. If the OVERLOAD LED lights (RED) IMMEDIATELY unplug the charger, it
cannot charge this battery. When the charger has finished charging the CONDITION
LED will light (Green) to indicate the charging is complete. At this point the
battery can remain connected, the automatic charge control will maintain
the battery in a fully charged condition indefinitely.
6. Engine Starting: Charge the battery for 10-15 minutes according to steps 1-5 as
in the charging operation section above. Turn off the mains power, turn the switch to
75Amp engine start, turn on the mains power and then turn the vehicle over
immediately. When the amp switch is in the “engine start” position the charger is
able to operate for a brief period in an over-current mode of operation. Warning: Do
not crank engine for more than 5 seconds at a time. Wait approximately 4 minutes
between starting attempts. Do not attempt to start more than three times. If
three attempts fail, the vehicle’s battery should be recharged fully.
7. To disconnect the battery when charged, or after starting the engine. Unplug the
mains supply. Caution: Because of risk of explosive gas, only disconnect the
crocodile clips when the mains are disconnected. Check the fluid levels and top up
if necessary and wipe the battery clean. If the battery has been removed, replace in
the vehicle and re-connect.
SW75JS Manual AW 2016_Layout 1 06/06/2016 17:24 Page 3

