3. CONNECTION
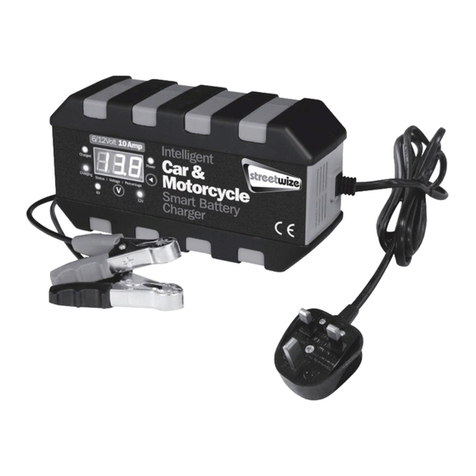
Connect the crocodile clips to the battery in the following order:
A) Connect the positive charging lead (RED) to the positive terminal
post of the battery (marked P or +).
B) Connect the negative lead (BLACK) to the negative post of the
battery (marked N or -).
It is important to ensure that both crocodile clips are making good
contact with their respective terminal posts.
4. CHARGING
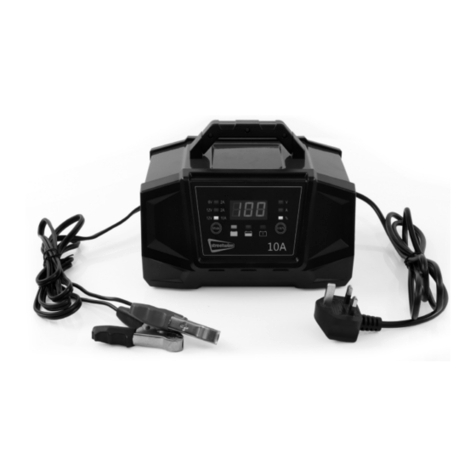
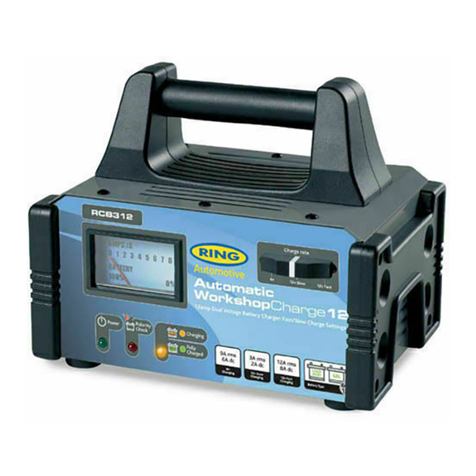
Insert the 13Amp plug into the mains supply (230 Volts AC only). Your
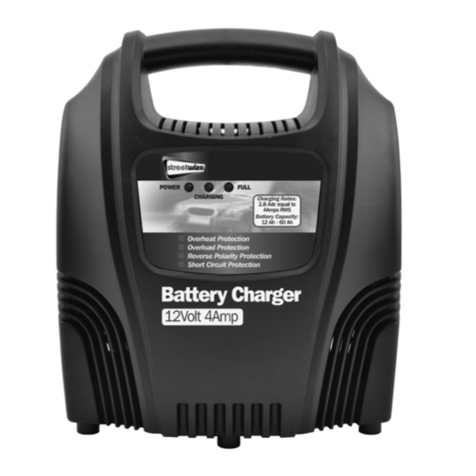
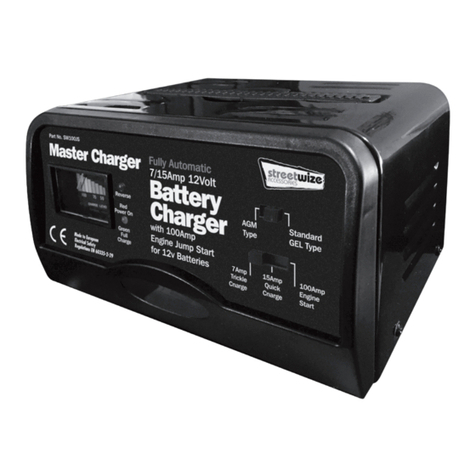
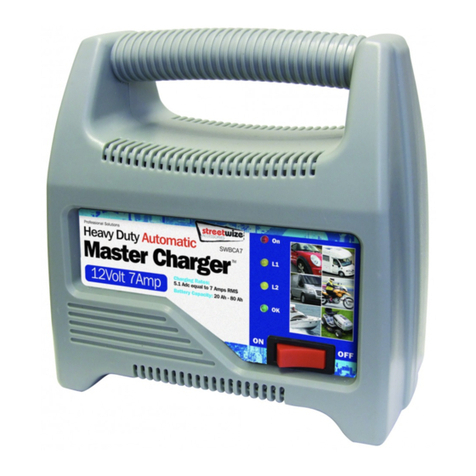
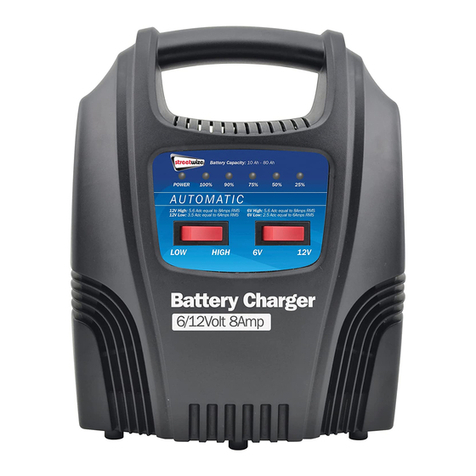
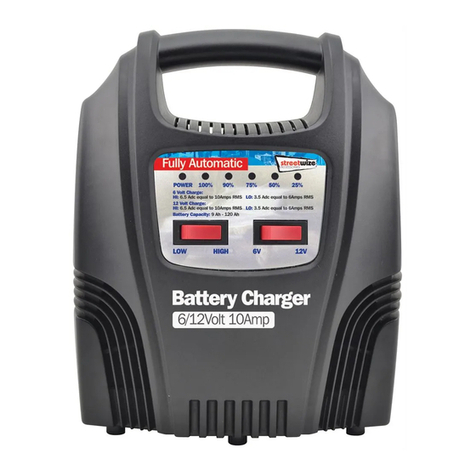
Battery Charger should now be charging and the power LED (Red) and
the charging LED (Yellow) on the front of the charger will be lit.
When a flat battery is initially connected to the Battery Charger the full
lamp should not be lit. When the battery is fully charged the full LED
(Green) will be lit.
N.B. If you have not connected the crocodile clips to the battery when
you turn on the mains power the ‘full’ lamp will light up. Similarly, if you
disconnect the clips form the battery, without switching off the mains
power, the lamp will stay lit. THIS IS NOT A FAULT. If you now connect
the clips to a battery the ‘full’ lamp will go out, unless the battery is fully
charged. PLEASE NOTE HOWEVER FOR REASONS OF SAFETY YOU
SHOULD ALWAYS CONNECT AND DISCONNECT THE CROCODILE
CLIPS TO THE BATTERY WITH THE MAINS POWER OFF.
5. ELECTROLYTE
Regularly check the specific gravity of the liquid, using a hydrometer,
until a reading of “FULLY CHARGED” or 1.250 is reached. A charging
time of no more than 10 hours is recommended for batteries of 34-45
ampere hour’s capacity.
6. WHEN THE CHARGING IS COMPLETE
Switch off the mains supply, unplug the charger, and disconnect the
leads from the battery posts. Inspect the liquid levels in each cell and
top up if necessary, using the correct fluid. Now replace the caps. Any
surplus fluid around the cell tops should be wiped off (this should be
done with extreme care as it may be acidic).
If the battery has been removed for charging, replace it and reconnect
the cables.


