manuals.online logo
Brands
  1. Home
  2. •
  3. Brands
  4. •
  5. Subaru
  6. •
  7. Automobile Electronic
  8. •
  9. Subaru H6210FG000 User manual

Subaru H6210FG000 User manual

IMPREZA-3A-5089
AUX TERMINAL INPUT CABLE
Installation Manual
Genuine part No. H6210FG000
Applicable model Impreza 08MY and later models
Keep the installation manual at the dealer.
Component
Caution
Tools for use
To prevent an accident, be sure to place the vehicle on a
level surface before installation. Apply the parking brake
firmly and make sure that the vehicle is stable.
Remove the negative terminal of the battery.
Screwdrivers (Philips screwdriver, flathead screwdriver),
panel remover, wrench, hexagonal wrench, vinyl tape,
protective cloth, etc.
Safety precautions
Before installation and use, please read this "Safety precautions" carefully for the correct procedures.
Precautions described here are intended to ensure safe and appropriate use of this product and to prevent any hazard or
damage to yourself or other people.
To identify the degree of hazard or damage and it's the level of imminence, the risks, which may occur due to incorrect
operation, are classified into two categories in the precautions: "Warning" and "Caution". Be sure to observe them
because they are important safety items.
Warning Caution
•Make connections in accordance with this
installation manual.
Otherwise, a fire or an accident may occur.
(Mandatory)
•Do not route cables in high temperature areas.
The melting of the cable sheath may cause an
accident or a fire.
(Mandatory)
•Bundle cables in accordance with the installation
method so that operation may not be disturbed.
Winding it around the shift lever or the parking brake
may result in an accident.
(Mandatory)
•Do not put the cable with movable parts such as
vehicle body, seat rail, etc.
Otherwise, an accident, an electric shock or a fire
may occur due to disconnection or short-circuit.
(Prohibited)
•Do not modify or disassemble this product.
Otherwise, fire, injury or failure may occur.
(Disassembly
prohibited)
•This product is designed only for the DC12V
negative ground vehicle. Do not install this on the
DC24V vehicle.
Otherwise, a fire may occur.
(Prohibited)
•If a fuse of this product or vehicle is blown, be sure
to replace it with a new fuse of the specified
capacity.
A fuse beyond the specified capacity may cause a
fire.
(Mandatory)
•This product is designed for vehicles only. Do not
use it for other purposes. Otherwise, a fire or an
electric shock may occur.
(Prohibited)
Removing the Panels
1. Removing the center console and box
1. Unscrew the 2 screws inside the center console box using
either a Philips screwdriver or a hexagonal wrench.
2. There is a screw in the part that connects the center
console box to the panel around the shift knob. Unscrew
the screw using a Philips screwdriver and then remove the
panel around the shift knob.
3. The shift knob is a screw-in type, so remove the knob by
unscrewing it. After removing the shift knob, protect the
threaded part by wrapping it in a cloth or other protective
material (to avoid scratching the audio panel).
Screws in 2 places
Center console box
Audio panel
Panel
remover
Turn
A
irflow
opening
Panel
remover
2. Removing the audio panel
1. Remove the audio panel by inserting panel removers in
the 2 grooves under the airflow opening.
2. Using a Philips screwdriver, unscrew the left and right
screws at the bottom of the removed audio panel and take
out the audio panel.
3. Remove the ventilation panel using a panel remover.
Wrap with
protective cloth
or the like
Screws in
2 places Panel
remover
IMPREZA-3A-5089
Wiring - I
1. Wiring connections on back of audio unit
1. Connect the AUX cable 4-pin connector to the connection
point shown in Figure 1.
2. Connect the ground cable to the connection point shown in
Figure 2.
3. Route the AUX cable under the shift lever (passenger seat
side). Put the audio unit back in its original place and
screw it in.
Route cable under shift lever (passenger seat side)
Figure 2 Figure 1
Wiring - II
1. Hooking up the AUX terminal
1. An AUX terminal is provided on the back of the center
console box.
2. Hook up the AUX cable to the terminal.
Back of center console bo
x
A
UX cable hook-up point
2. Wiring the center console box
1. Take the slack out of the AUX cable routed under the
shift lever (passenger seat side).
2. Tie the AUX cable and the existing vehicle cables
together near the two points shown in the figure at
right.
3. Re-install all the panels in their original place.
Tie cables together
near this point
Existing vehicle
c
ables
Tie cables together
near this point
AUX cable
Connect to
AUX terminal

Other Subaru Automobile Electronic manuals

Subaru SPN0001105 User manual

Subaru

Subaru SPN0001105 User manual

Subaru H621SSC200 User manual

Subaru

Subaru H621SSC200 User manual

Subaru Consumer Electronics/ Bluetooth & Audio Technology... User manual

Subaru

Subaru Consumer Electronics/ Bluetooth & Audio Technology... User manual

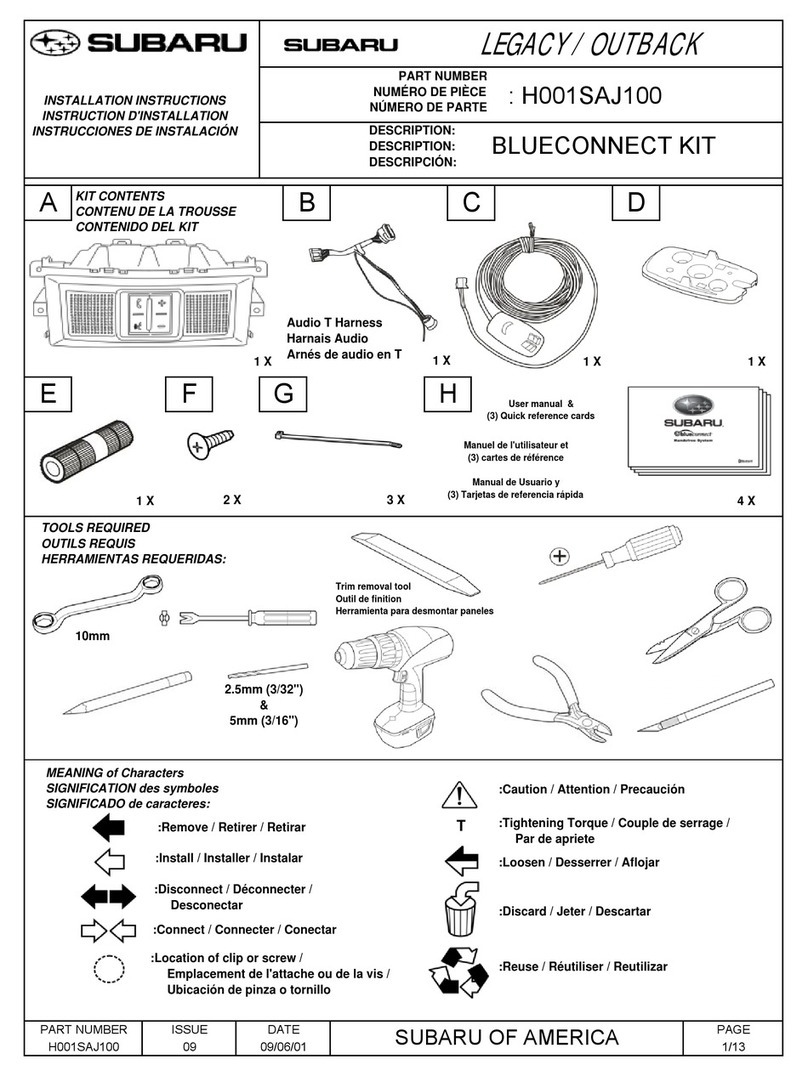
Subaru H001SAJ100 User manual

Subaru

Subaru H001SAJ100 User manual

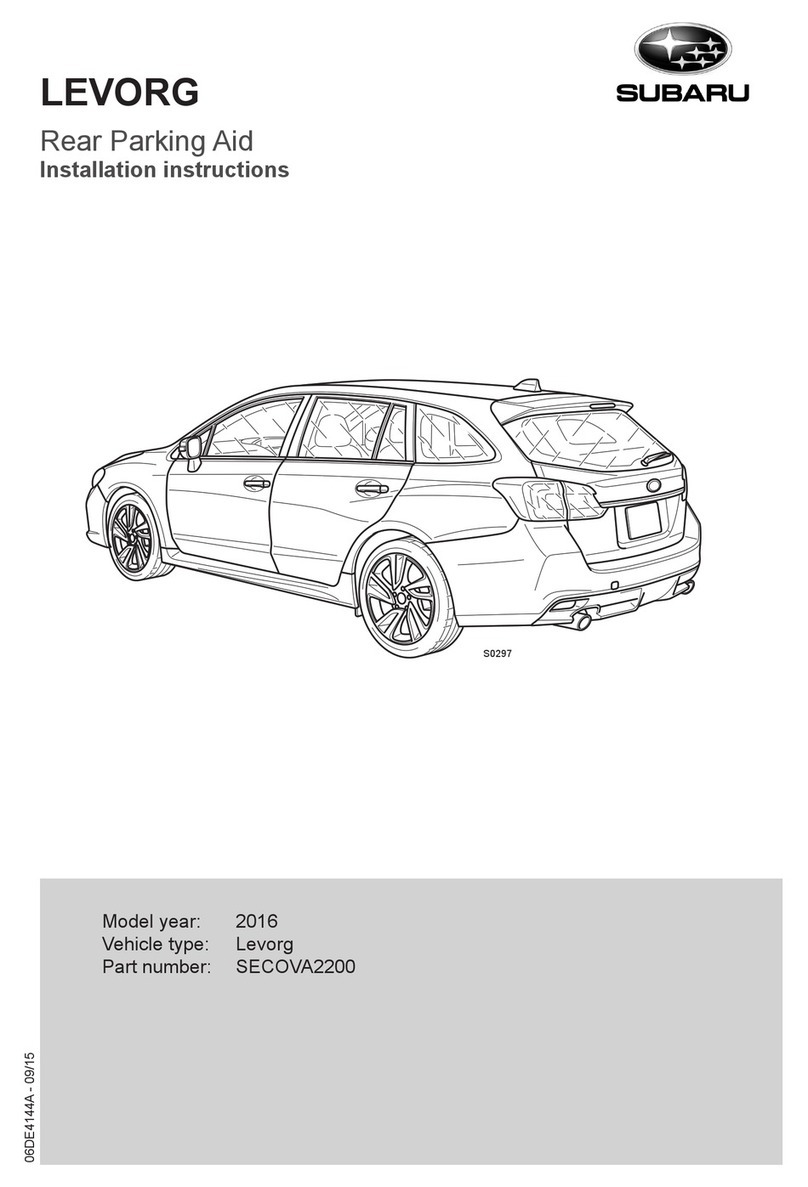
Subaru SECOVA2200 User manual

Subaru

Subaru SECOVA2200 User manual

Subaru H001SAJ200 User manual

Subaru

Subaru H001SAJ200 User manual

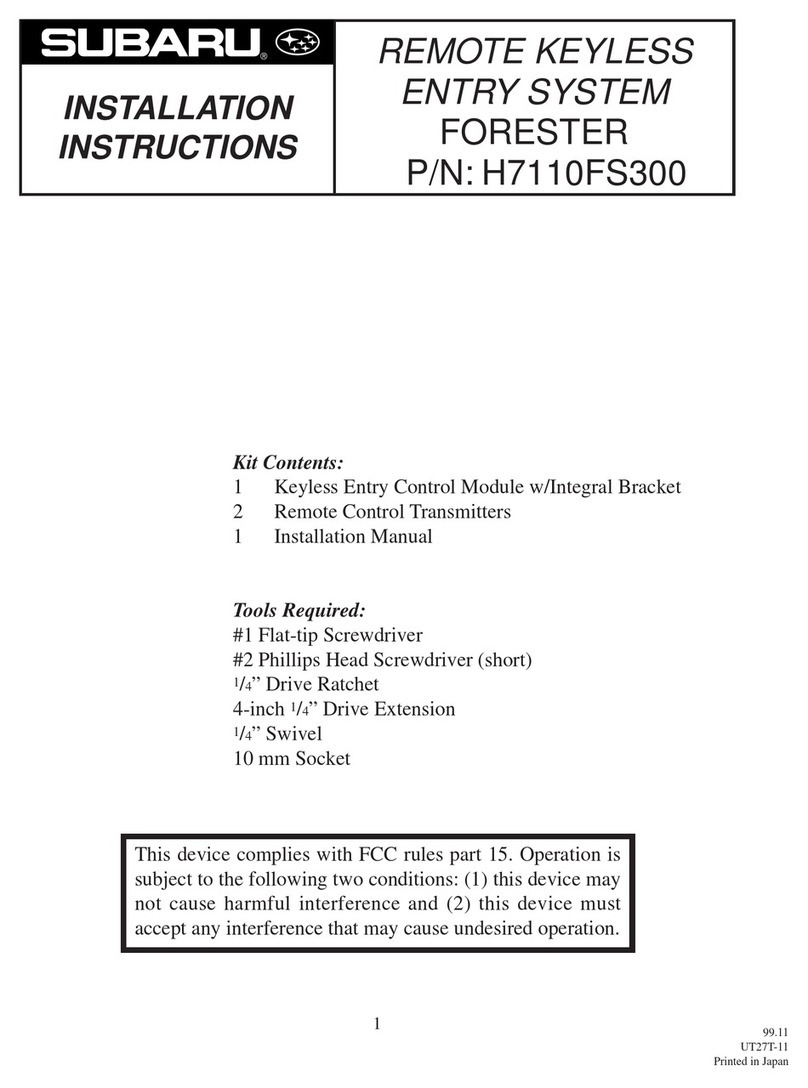
Subaru H7110FS300 User manual

Subaru

Subaru H7110FS300 User manual

Subaru EyeSight User manual

Subaru

Subaru EyeSight User manual

Popular Automobile Electronic manuals by other brands

DRG LC 120 installation instructions

DRG

DRG LC 120 installation instructions

Blue Ox BX8848 installation instructions

Blue Ox

Blue Ox BX8848 installation instructions

Dometic MAGICWATCH MWE890K Installation and operating manual

Dometic

Dometic MAGICWATCH MWE890K Installation and operating manual

Honeywell Thor VM3A user guide

Honeywell

Honeywell Thor VM3A user guide

Waeco MagicWatch MWE250 Installation and operating manual

Waeco

Waeco MagicWatch MWE250 Installation and operating manual

GoldCruise GC90Ci installation manual

GoldCruise

GoldCruise GC90Ci installation manual

Rydeen BKM091 user manual

Rydeen

Rydeen BKM091 user manual

Skoda 5E0 054 630 Fitting instructions

Skoda

Skoda 5E0 054 630 Fitting instructions

VDO SENDER UNIT 2159-0 datasheet

VDO

VDO SENDER UNIT 2159-0 datasheet

iDataLink maestro Rr install guide

iDataLink

iDataLink maestro Rr install guide

Audiovox PRO-PDA15 installation guide

Audiovox

Audiovox PRO-PDA15 installation guide

Movon MDAS-3LFFHD user manual

Movon

Movon MDAS-3LFFHD user manual

Pioneer Comfort adapter CA-D-PI.150 quick start guide

Pioneer

Pioneer Comfort adapter CA-D-PI.150 quick start guide

Dietz 1110 instruction manual

Dietz

Dietz 1110 instruction manual

Perfect Power SMT8-T5 Technical manual

Perfect Power

Perfect Power SMT8-T5 Technical manual

Crux RVCFD-79 manual

Crux

Crux RVCFD-79 manual

Nonda ZUS user manual

Nonda

Nonda ZUS user manual

Adaptiv Mini installation guide

Adaptiv

Adaptiv Mini installation guide

manuals.online logo
manuals.online logoBrands
  • About & Mission
  • Contact us
  • Privacy Policy
  • Terms and Conditions

Copyright 2025 Manuals.Online. All Rights Reserved.