manuals.online logo
Brands
  1. Home
  2. •
  3. Brands
  4. •
  5. Sune Technology
  6. •
  7. Car Video System
  8. •
  9. Sune Technology NCM16 User manual

Sune Technology NCM16 User manual

Installation Manual
Multimedia Interface for VW TIGUAN 2016
Compatibility: VW TIGUAN 2016~
Components: Interface Main*1
Sub Board*1
Interface Input / Output specification :
Input: LCD INPUT(CAR SYSTEM)*1
LVDS IN(NAVIGATION, CARPLAY)*1
CVBS(Front Camera)*1
CVBS(Rear Camera)*1
Output:LCD OUTPUT(CAR SYSTEM)*1
Power Spec:
Input Power: 8VDC ~ 18VDC
Consumption: 3.5WATT
Switch input mode:
1. External video sources skip function: Able to control input videos on and off
via Dip switches
2. Able to switch videos via the remote, button switch and original OEM button
3. Able to detect the rear view camera by CAN or rear lamp cable
2
3
Main Board
QCPASS1411
LVDS Cable
HLVDSC0069
Power Cable
HPOWER0247
UART T/S OUT Cable
HTOUCH0015
Button Cable
HARETC0001
Remote Controller
REMOTE0001
IR Cable
HIRCAB0002
Sub Board
QCPASS1411
NCM16 Touch Cable
HTOUCH0051
Support Bracket
PRESET0351
FPC Cable
FPCABL0017
QLI J BY J cable
HPOWER0248
ON: DOWN / OFF: UP
* Please make sure to disconnect the power cable
of interface and reconnect to apply dip switch
setting whenever changing DIP switch.
4
8POL DIP SWITCH SETTING
DIP S/W
STATUS
DESCRIPTION
DIP1
OFF
LVDS Navigation Mode
ON
LVDS Navigation Mode Skip
DIP2
OFF
Ext. Front Camera Mode
ON
Ext. Front Camera Mode Skip
DIP3
OFF
No Use
ON
DIP4
OFF
No Use
ON
DIP5
OFF
No Use
ON
DIP6
OFF
No Use
ON
DIP7
OFF
OEM Rear Camera Mode
ON
Ext. Rear Camera Mode
DIP8
OFF
No Use
ON
5
Key
FUNCTION
POWER & PIP N/C
MENU Activating OSD menu
OK Making a selection, changing image display
▲Moving upward
▼Moving downward
◀
Moving leftward
(If you press this button 2 seconds long, you can access the
factory mode)
▶
Moving rightward
(If you press this button 2 seconds long, you can reset all the
data about user environment)
6
IMAGE
H-POSITION/V-POSITION Setting
IMAGE
PARK
UTIL1
UTIL2
INFO
H-POSITION
V-POSITION
Menu of FACTORY
MENU to Return SEL to Select/Save
IMAGE
PARK
UTIL1
UTIL2
INFO
PAS TYPE
PAS SETUP
REAR TYPE
RADAR ENABLE
AUTO FCAM TIME
Menu of FACTORY
MENU to Return SEL to Select/Save
PARK
PAS TYPE: Select parking line type.
NOT USED: Do not use parking line
PAS ON: Use Flexible Parking Lines
PAS OFF: Use fixed parking line
PAS SETUP:
You can move the position of parking line.
REAR TYPE: Choose rear camera recognition.
CAN: Detecting the rear view camera by CAN signal. (Installer must connect
“CAN” cable of the power cable to the “CAN” cable of the car)
LAMP: Detecting the rear view camera via “Grey Rear” wire. (Installer must
connect “Rear-C” cable of the power cable to the rear lamp of the car)
RADAR ENABLE:
Setting up parking distance alarm sensor. (ON/OFF)
AUTO FCAM TIME :
Time setting for the front camera display. (OFF, 3s, 5s, 10s, 15s)
7
UTIL1
LVDS MODEL: Android, car-play, navigation model
setting
CAR MODEL: Select the car model
UTIL2
HANDLE BUTTON: Select the usage of handle button
FACTORY RESET: Factory mode reset (YES/NO)
INFO
System version information
IMAGE
PARK
UTIL1
UTIL2
INFO
LVDS MODEL
CAR MODEL
Menu of FACTORY
MENU to Return SEL to Select/Save
IMAGE
PARK
UTIL1
UTIL2
INFO
HANDLE BUTTON
FACTORY RESET
Menu of FACTORY
MENU to Return SEL to Select/Save
IMAGE
PARK
UTIL1
UTIL2
INFO
<SYSTEM VERSION>
- MAIN : 191226
Menu of FACTORY
MENU to Return SEL to Select/Save
8
* Press high lighted OEM button for 3 seconds long to mode switch. Other
button short press for return to OEM mode.
TIGUAN
TIGUAN
Handle button
9
CARPLAY
BOX
* Please refer to next page
for power/CAN connection
Power/CAN in/out
Rear camera input *1
Front camera input *1
UART Touch Cable
Pin assignment
RX
TX
GND
supplied LVDS cable
* Please refer to next page for
sub-board, touch cable and
LVDS cable connection
1. Please find this bunch of connector behind the HU.
2. Disassemble the OEM Grey connector from the
above connector. And connect it to QDIS J by J
cable.
3. Please plug QDIS J by J cable to OEM Harness.
10
QLI J BY J cable
HPOWER0248
Supplied Power Cable
HPOWER0247
❶
❷
❸
Connect the other side of provided FPC cable to
where the original FPC cable disconnected
Solder above two points for the sake of using
OEM touch screen in external mode
①②
③④
⑤⑥
⑦⑧
Disassemble the monitor Disconnect marked original FPC cable at the
back side of monitor and connect original FPC to
the “TO LCD” of supplied FPC cable
11
Install provided support bracket and sub-board
as above and connect the other side of FPC
cable, supplied LVDS cable and touch cable to
sub-board
Take out the LVDS cable through the hole as
above and re-assemble monitor
1. Solder green wire as above
2. Remove the marked resistance
3. Solder red wire on where resistance removed
After soldering, take out the provided touch
cable and the other side of FPC cable through
the side hole of bracket
Remove
❶❷
❶
❷❸
❸
12
Q. I cannot change mode
A. Check connection of Ground cable and IR Cable. Check LED lamp is on, if not
check connection of POWER cable.
Q. All I got on the screen is black.
A. Check second LED lamp of the interface is on, if not, check A/V sources
connected are working well. (Second lamp indicates AV sources connected works
well) Check interface connection has been done well.
Q. Displayed image color is not proper (too dark or unsuitable color)
A. Press
▶
button on the remote control for 2 seconds and check how it goes, if it
does not work, inform to manufacturer.
Q. I cannot watch the rear camera on the screen
A. Set the DIP switch #7 as state “ON”.
Q. Set mode not appear
A. Check DIP Switch.
Q. OEM image is not displayed.
A. Check interface’s LCD In/Out cable connection. If the status keeps on, inform to
manufacturer.
Q. Screen only displays white color.
A. Check LCD out cable is connected well, if this status keeps, inform to
manufacturer.
Q. If no image is shown on screen after connecting CAN wire with Park gear.
A. Go on the “FACTORY MODE”, check “UTIL-Rear Select”. If “LAMP”, change the
setting as “CAN” with the remote control. (* when connecting Rear-C wire of LAMP
power cable to Backup lights, Setting should be like this / CAN : if controlling rear
camera with CAN wire)
13
Copyright ⓒ2019 by SUNE TECHNOLOGY
SUNE TECHNOLOGY CO.,LTD
No.9,Lane 606,Anping Rd,Tainan City 70849,TAIWAN TEL:+88662292246 FAX:
+88662288104
Http://www.sune-tech.com
Shop http://www.carnavi-tech.com
SKYPE:sune_tech or hsin_han99

Other Sune Technology Car Video System manuals

Sune Technology QHI-PCM5.0 User manual

Sune Technology

Sune Technology QHI-PCM5.0 User manual

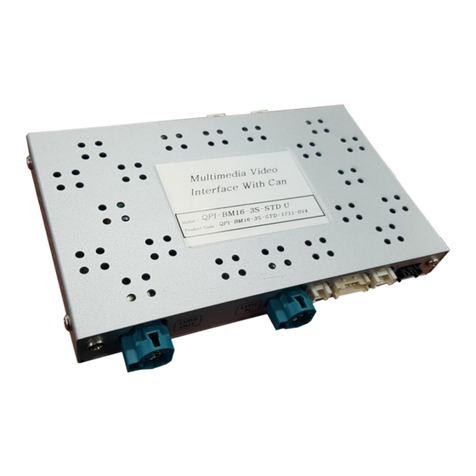
Sune Technology QPI BM16 3S User manual

Sune Technology

Sune Technology QPI BM16 3S User manual

Sune Technology PCM3.1 User manual

Sune Technology

Sune Technology PCM3.1 User manual

Sune Technology SUNE10 PLUS-LC200/20RX User manual

Sune Technology

Sune Technology SUNE10 PLUS-LC200/20RX User manual

Sune Technology Q-Roi BM12 User manual

Sune Technology

Sune Technology Q-Roi BM12 User manual

Sune Technology NTG5.0 User manual

Sune Technology

Sune Technology NTG5.0 User manual

Sune Technology AUDI09 User manual

Sune Technology

Sune Technology AUDI09 User manual

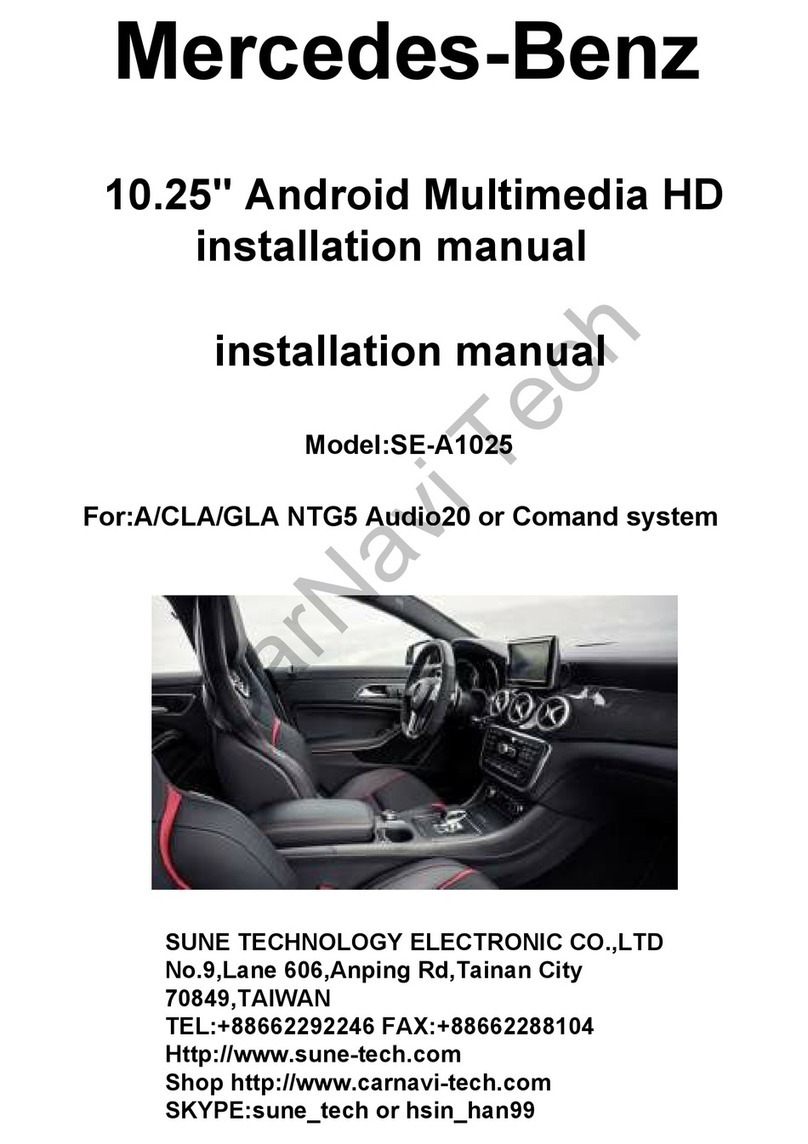
Sune Technology SE-A1025 User manual

Sune Technology

Sune Technology SE-A1025 User manual

Sune Technology QHI-LVTX-W222 User manual

Sune Technology

Sune Technology QHI-LVTX-W222 User manual

Sune Technology QNAVI2-STD-AUDI-A3 User guide

Sune Technology

Sune Technology QNAVI2-STD-AUDI-A3 User guide

Sune Technology QVI-LVTX-1CH-V7 User manual

Sune Technology

Sune Technology QVI-LVTX-1CH-V7 User manual

Sune Technology QVI-Juke 2013 Manual

Sune Technology

Sune Technology QVI-Juke 2013 Manual

Sune Technology Q-ROI-AUDI A3 User manual

Sune Technology

Sune Technology Q-ROI-AUDI A3 User manual

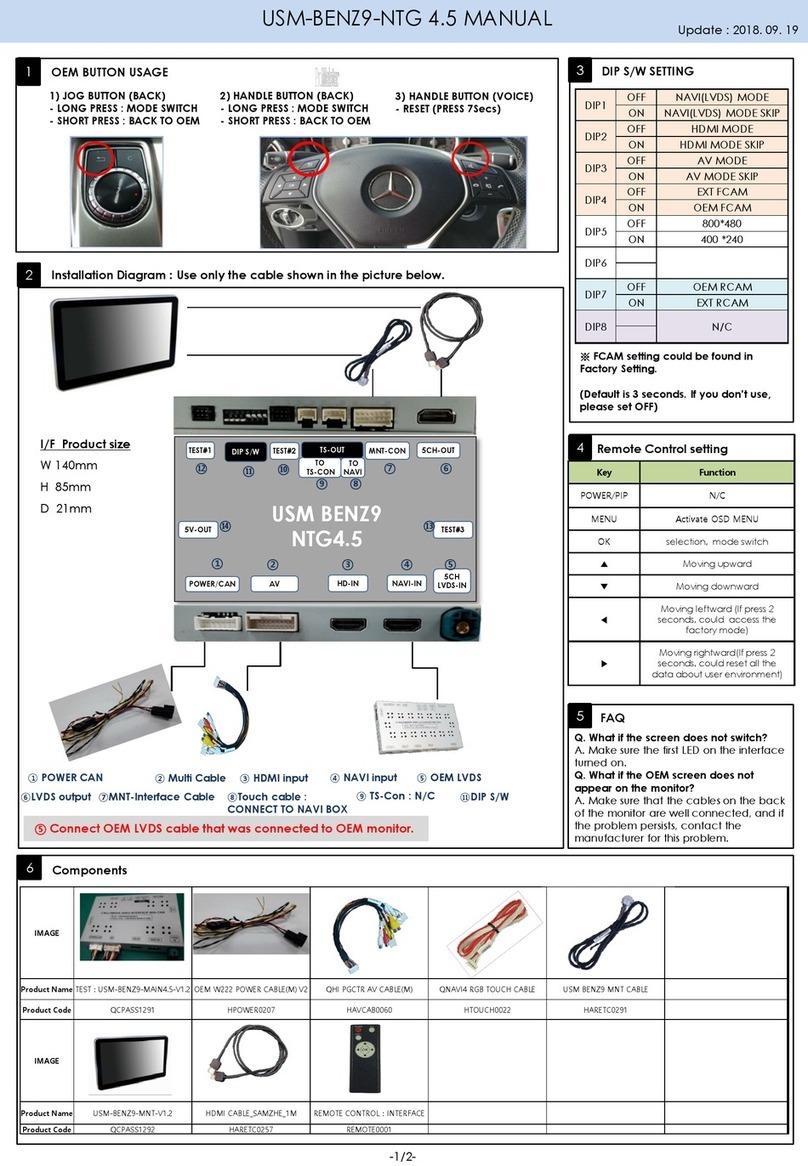
Sune Technology USM-BENZ9-NTG 4.5 User manual

Sune Technology

Sune Technology USM-BENZ9-NTG 4.5 User manual

Sune Technology ALFAROMEO-IF User manual

Sune Technology

Sune Technology ALFAROMEO-IF User manual

Sune Technology SUNE10 PLUS-20ALPHARD/20 LM300h User manual

Sune Technology

Sune Technology SUNE10 PLUS-20ALPHARD/20 LM300h User manual

Sune Technology PIP-BMW V4 User manual

Sune Technology

Sune Technology PIP-BMW V4 User manual

Sune Technology QPI-Volvo-Main-V1.1 Manual

Sune Technology

Sune Technology QPI-Volvo-Main-V1.1 Manual

Sune Technology MB10 User manual

Sune Technology

Sune Technology MB10 User manual

Sune Technology QHI-LVTX-ES300H User manual
Sune Technology

Sune Technology QHI-LVTX-ES300H User manual

Sune Technology Q-ROI-PCM3.1 User manual
Sune Technology

Sune Technology Q-ROI-PCM3.1 User manual

Popular Car Video System manuals by other brands

Audiovox Mobile Video VOD128 Operation manual

Audiovox

Audiovox Mobile Video VOD128 Operation manual

Delta-Opti ATE-NTFT10-T3 user manual

Delta-Opti

Delta-Opti ATE-NTFT10-T3 user manual

Boss Audio Systems 14.1 FLIP Service manual

Boss Audio Systems

Boss Audio Systems 14.1 FLIP Service manual

Kenwood KOS-L702 instruction manual

Kenwood

Kenwood KOS-L702 instruction manual

Legacy LDVD35 owner's manual

Legacy

Legacy LDVD35 owner's manual

PowerAcoustik PHAD-7 owner's manual

PowerAcoustik

PowerAcoustik PHAD-7 owner's manual

Kenwood TM-742 Service manual

Kenwood

Kenwood TM-742 Service manual

Farenheit MD-850CM owner's manual

Farenheit

Farenheit MD-850CM owner's manual

Panasonic CXDVP292U - CAR DVD PLAYER operating instructions

Panasonic

Panasonic CXDVP292U - CAR DVD PLAYER operating instructions

SecurView SecurView SV-6922.LM.II installation instructions

SecurView

SecurView SecurView SV-6922.LM.II installation instructions

Hyundai MTXW100TLFL user manual

Hyundai

Hyundai MTXW100TLFL user manual

Clarion VT1010E Owners manual & instruction guide

Clarion

Clarion VT1010E Owners manual & instruction guide

Farenheit T-8006 owner's manual

Farenheit

Farenheit T-8006 owner's manual

Intec Car Vision CVD650LCD-A user manual

Intec

Intec Car Vision CVD650LCD-A user manual

Crutchfield 000MVGUIDE installation guide

Crutchfield

Crutchfield 000MVGUIDE installation guide

RCA DRC97983 Manuel d'utilisation

RCA

RCA DRC97983 Manuel d'utilisation

Blaupunkt Los Angeles 500 operating instructions

Blaupunkt

Blaupunkt Los Angeles 500 operating instructions

Directed Video OHV1021 Owner's installation guide

Directed Video

Directed Video OHV1021 Owner's installation guide

manuals.online logo
manuals.online logoBrands
  • About & Mission
  • Contact us
  • Privacy Policy
  • Terms and Conditions

Copyright 2025 Manuals.Online. All Rights Reserved.