manuals.online logo
Brands
  1. Home
  2. •
  3. Brands
  4. •
  5. Sunlighten
  6. •
  7. Plumbing Product
  8. •
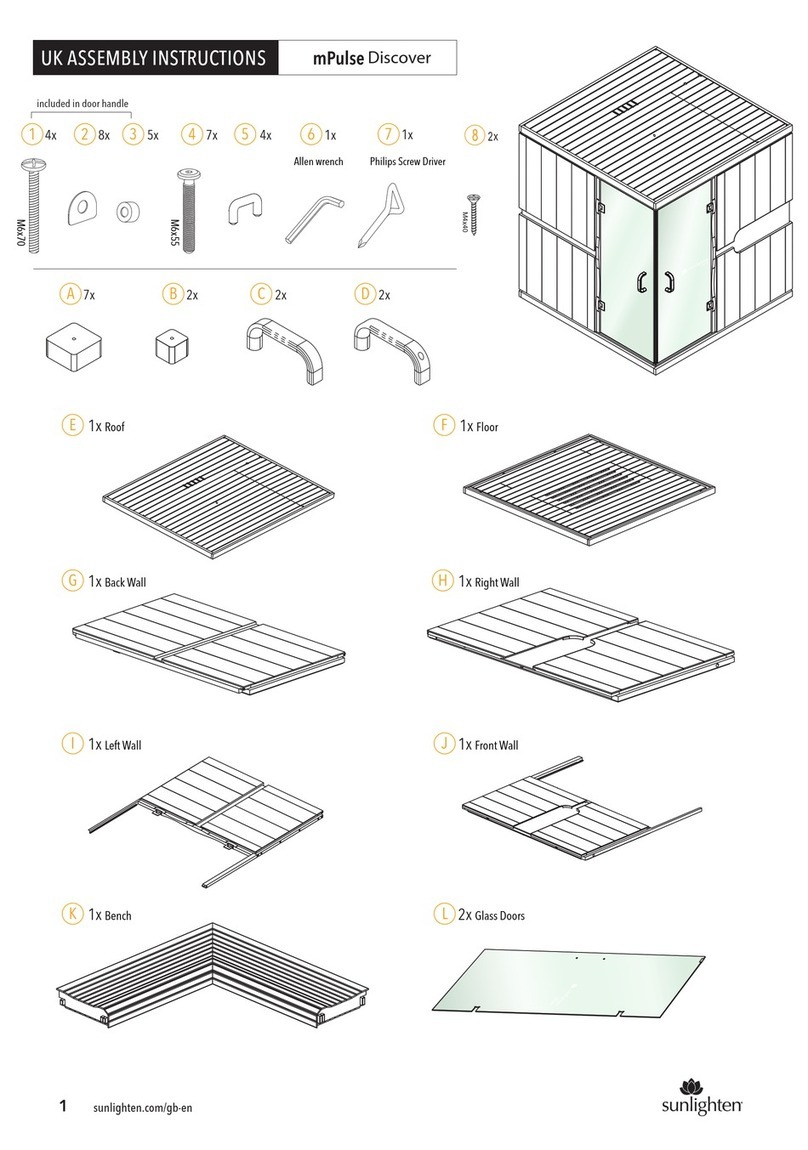
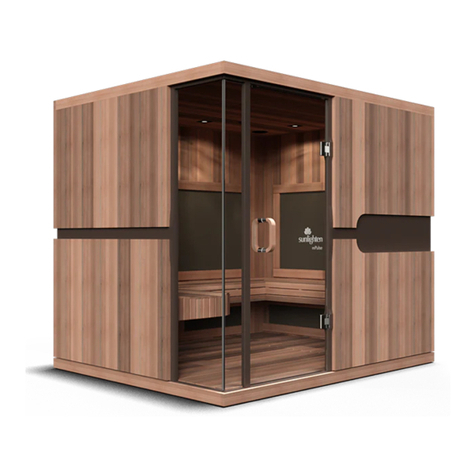
  9. Sunlighten mPulse Discover User manual

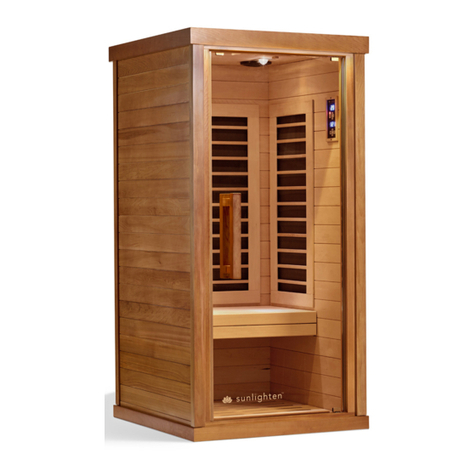
Sunlighten mPulse Discover User manual

ASSEMBLY INSTRUCTIONS
included in door handle
4x
5x 2x 2x 2x
1 2 3 5 6 7
8x 5x 4x 1x 1x
M6x70
Allen wrench Philips Screw Driver
47x
M6x55
A B C D
1x Roof
1x Back Wall
1x Left Wall
1x Bench
1x Right Wall
1x Front Wall
2x Glass Doors
E1x Floor
F
G
I
K
J
L
H
ASSEMBLY INSTRUCTIONS Discover
1sunlighten.com
1sunlighten.com
M 2x 11 in, 1x 3 1/2 ft.
F
A
4
7
B
G
F
The first step to installing your new sauna
will be to insert the legs underneath the
floor panel. The holes are already pre-drilled
so all you need are the bolts and the
Allen wrench . This is necessary to allow
air circulation to flow underneath and
maintain the integrity of the unit. After legs are
in place, please turn floor panel 180° so the back
of the sauna connects with the back wall
as shown below.
4
7
Unpack each wall segment from the shipping material.Stage each
wall segment in the room you will be assembling the unit.
Remove the internal wooden heater frames during unpacking
of the wall segments, set these aside for installation after
the sauna is assembled.
Remove the small wooden wire covers at the base of each vertical
wall segment, set aside for placement after the sauna is assembled.
STEP 1
Before you begin installing the walls, be sure you
have at least:
• 6.2 in between the back of the sauna and the
outlet wall.
•12 in gap from the top of the sauna to the ceiling.
•Place the sauna next to the wall power outlet to
ensure you have access to the wall power socket
outlet to cut the power to the unit if required.
Make sure the floor panel is placed on a surface that
is relatively smooth and perfectly level. Failure to do
so can cause the door to not close all the way in the
later steps.
In this step make sure one person is holding the wall
while the other helps balance it and press it in place.
STEP 2
PRE-STEPS
* Failure to do so will void your sauna's warranty
and customer will assume liability for any electrical
damages to the sauna itself or the residence/
business in which the sauna is installed.
See USER MANUAL
240V, 4500 watts. Dedicated 20A circuit* (not found
in common electrical setups - may need a transformer
to accommodate.) and 20A power socket with no GFCI
or similar fault protection installed in the meter box.
G
6sunlighten.com
2sunlighten.com
Back of sauna
180°
Back of sauna
180°
Back of sauna
Front of sauna
HI
STEP 3 STEP 4
The front wall will be the last to install.
There will be wire connections that need to be made
at the base of each wall panel. These can be accessed
by small hatches on the walls (floor hatch for the
front). If a cable gets stuck in the floor it can be
accessed by removing the wood piece that covers
the power box.
A diagram showing the connection locations
can be found on STEP 8.
NOTE: If you ever have trouble getting
a U-clip to slide in, this can be resolved by
tapping it with a hammer.
The following walls will be inserted the same way
as STEP 2. Make sure the wires coming out from
the bottom hatches don’t pinch when you mount
the walls.
STEP 5
After you place each wall segement, please
use the U-clips and insert them in each
upper corner to hold the walls together.
5
J
J
6sunlighten.com
3sunlighten.com
5
5
STEP 6
After all four U-clips are inserted
in the corners, the next step will be
to place the roof on top. The roof will also
reinforce the walls in position along with
the clips.
NOTE: The roof may require some slight
manipulation to fall into place on top of
the wall panels.
STEP 7
5
Lights, Speakers,
Antenna
After the roof is placed, remove the dust covers.
There should be the connections to the lights
and speakers at the top front. Connect those
so you can turn on the lights and listen to sound.
In addition there will be one metal-loop lead.
Those can be screwed into the radio antenna.
6sunlighten.com
4sunlighten.com
E
5
5
STEP 8
Front Wall Heaters,
Lights, Stereo,
Control Tablet
K
Right Wall Heaters
Back Wall Heaters
Left Wall Heaters
6sunlighten.com
5sunlighten.com
The dust cover should be replaced to protect
the lights and speakers from dust and other
floating residue. Place the heater frames in their
respective locations if you have not yet done so.
As mentioned in STEP 5, there are four
connections to be made in each bottom section of
the walls. If you have not yet done so,consult with
the diagram at the bottom of this page.
NOTE: Look at the back of the heater frames for
the “This Side Up” sticker for proper orientation.
After the four floor connections have been made,
please install the bench .KMakesurethe heater
frames are not mounted, otherwise they will
prevent the bench from resting on the supports.
The large portion of the bench will go in first, on
the back wall support. Last will be the small part
which rests on the cutout of the large bench piece,
as well as the support against the right wall.
There will be two screws to screw into the two
holes on the corner where the two door
thresholds meet.
6
STEP 9
After the bench is placed in the unit, the next step
will be inserting the left glass door . Please
ensure you have at least one other person to assist
with this step. Do not put the door handles on as that
will be done in a later step after the door has been
safely attached in this step.
The hinges can be secured following instructions
given in Step 10 below.
NOTE: You can use a paint stick to shim the glass
door at a desirable angle above the threshold as
you mount it.
STEP 10
L
Using the Allen wrench ,6you will tighten the
bolts into the hinges as the door is inserted.
L
Make surethe bolt is inserted firmly. Each hinge will
have four plastic gaskets. The door will be inserted
between the four gaskets.
Make surethe rough-texture side of the gasket is
against the glass door as your insert it. This will give
it the grip needed to hang it. Likewise,make sure
the gaskets touching the hinges also are doing so
by the rough side.
6
L
L
6sunlighten.com
6sunlighten.com
D
C
3
2
1
STEP 11
The gaskets, bolts and washers , and
will come with the handles. The washers need to be
inserted into the door holes first before the gaskets
go on and eventually the bolts. The rough side of the
gaskets must be facing the glass door. Be sure to
have a second person hold the handle in place while
the other inserts the bolt.
1 2 3
6sunlighten.com
7sunlighten.com
STEP 12
Installation Guidance for the INTERIOR DOOR SEAL
After the glass door installation is completed, ensure
the gap between the glass door and wooden frame
is at least 1/8 in.
Open the glass door to 90°.
Carefully remove the blue protection film.
Make sureto clean the inside edge of the glass
with a wet towel, then dry before applying the strips.
90°
CONGRATULATIONS, your sauna is now ready to enjoy!
If you have any questions, please call
Sunlighten Customer Support at 1-877-292-0020 x4
6sunlighten.com
8sunlighten.com
04062022
m1 m1
m2
m2
m1
L
M
STEP 12
2 strips x 11 in
m1
1 strip x 3 1/2 ft.
m2
Remove the backing layer of the 3M adhesive tape on the strip.
Adhere the shorter strip on the top and bottom section
to inside edge of glass door.
Adhere the longer strip on the middle section to inside
edge of the glass door.
Close the door slowly and check to make sure the strips don’t hit
the wooden frame which could cause the strips to peel off.
In case the strip hits the wooden frame, adjust the door hinge to
increase the gap between the door and the wooden frame.
m1
m2

Other manuals for mPulse Discover

1

Other Sunlighten Plumbing Product manuals
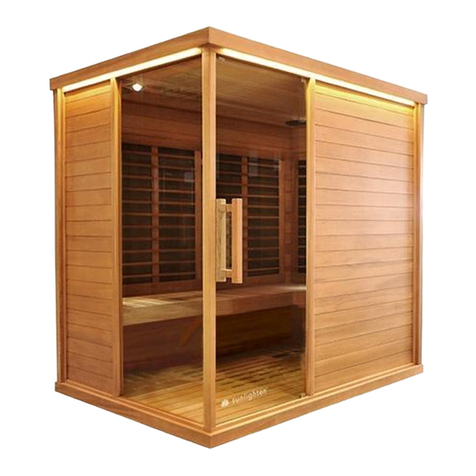
Sunlighten Signature I User manual

Sunlighten

Sunlighten Signature I User manual

Sunlighten mPulse 3-in-1 Series User manual

Sunlighten

Sunlighten mPulse 3-in-1 Series User manual

Sunlighten Signature IV User manual

Sunlighten

Sunlighten Signature IV User manual

Sunlighten Amplify III Configuration guide

Sunlighten

Sunlighten Amplify III Configuration guide

Sunlighten mPulse cONQUER User manual

Sunlighten

Sunlighten mPulse cONQUER User manual

Sunlighten Solo System User manual

Sunlighten

Sunlighten Solo System User manual

Sunlighten Amplify II User manual

Sunlighten

Sunlighten Amplify II User manual

Sunlighten mPulse Aspire User manual

Sunlighten

Sunlighten mPulse Aspire User manual

Sunlighten Signature I User manual

Sunlighten

Sunlighten Signature I User manual

Sunlighten Signature I User manual

Sunlighten

Sunlighten Signature I User manual

Sunlighten Solo System User manual

Sunlighten

Sunlighten Solo System User manual

Sunlighten Signature IV User manual

Sunlighten

Sunlighten Signature IV User manual

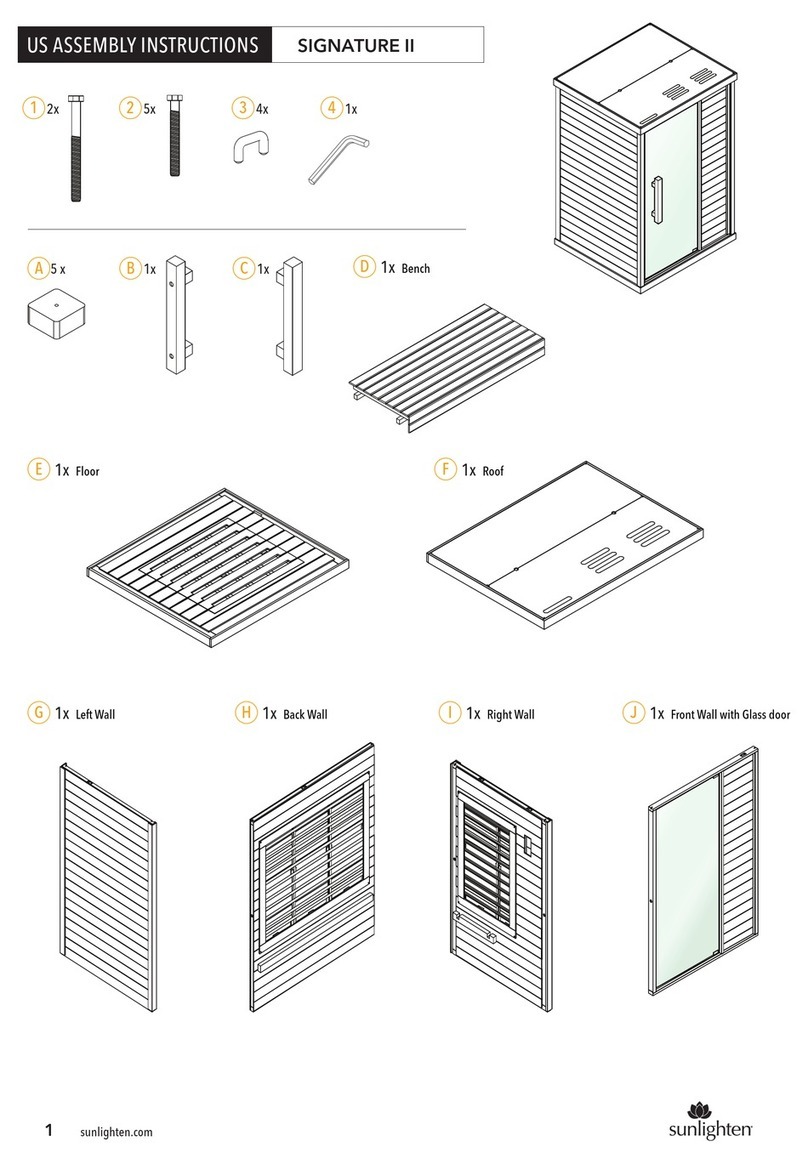
Sunlighten Signature II User manual

Sunlighten

Sunlighten Signature II User manual
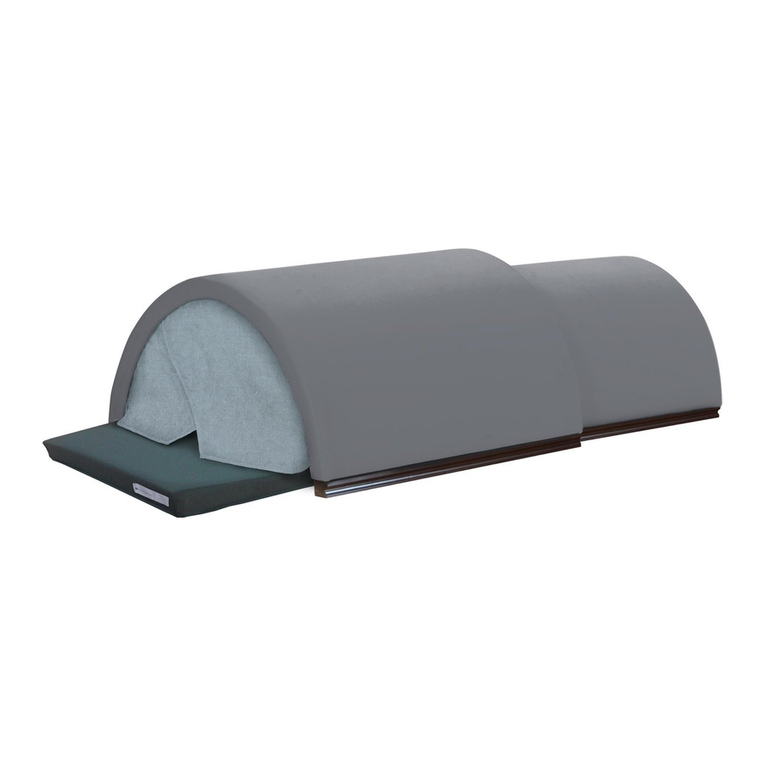
Sunlighten Signature IV User manual

Sunlighten

Sunlighten Signature IV User manual

Sunlighten mPulse Discover User manual

Sunlighten

Sunlighten mPulse Discover User manual

Sunlighten SoloCarbon FAR User manual

Sunlighten

Sunlighten SoloCarbon FAR User manual

Sunlighten mPulse Aspire User manual

Sunlighten

Sunlighten mPulse Aspire User manual

Sunlighten mPulse User manual

Sunlighten

Sunlighten mPulse User manual

Sunlighten Signature Series User manual

Sunlighten

Sunlighten Signature Series User manual

Sunlighten Signature II User manual

Sunlighten

Sunlighten Signature II User manual

Sunlighten Signature III User manual

Sunlighten

Sunlighten Signature III User manual

Sunlighten Solo System User manual

Sunlighten

Sunlighten Solo System User manual
Sunlighten Signature Power Box User manual

Sunlighten

Sunlighten Signature Power Box User manual

Sunlighten mPulse 3-in-1 Series User manual
Sunlighten

Sunlighten mPulse 3-in-1 Series User manual

Popular Plumbing Product manuals by other brands

Omnires Y1238/KROGL Installation and Maintenance

Omnires

Omnires Y1238/KROGL Installation and Maintenance

Sanela SLP 03NZ Instructions for use

Sanela

Sanela SLP 03NZ Instructions for use

Crosswater US-ARC953 installation instructions

Crosswater

Crosswater US-ARC953 installation instructions

Sanela SLUN 07EB Instructions for use

Sanela

Sanela SLUN 07EB Instructions for use

Elkay PSR Series Specifications

Elkay

Elkay PSR Series Specifications

baliv WT-600 manual

baliv

baliv WT-600 manual

Franke F3SM2004 Installation and operating instructions

Franke

Franke F3SM2004 Installation and operating instructions

Toto WASHLET A100 installation guide

Toto

Toto WASHLET A100 installation guide

SUMERAIN S6119CP installation guide

SUMERAIN

SUMERAIN S6119CP installation guide

Kraus Bolden KPF-1610 installation manual

Kraus

Kraus Bolden KPF-1610 installation manual

Spectrum Brands Pfister Pasadena F-049-PD Quick installation guide

Spectrum Brands

Spectrum Brands Pfister Pasadena F-049-PD Quick installation guide

Franke CRYSTAL SEMI-PRO FFPD4600 installation manual

Franke

Franke CRYSTAL SEMI-PRO FFPD4600 installation manual

Kalia BF1220 CITE installation instructions

Kalia

Kalia BF1220 CITE installation instructions

PEERLESS P299232 installation instructions

PEERLESS

PEERLESS P299232 installation instructions

newform X-LIGHT 64055 instructions

newform

newform X-LIGHT 64055 instructions

ENER-J BW1001 manual

ENER-J

ENER-J BW1001 manual

Abode Burford Monobloc AT2170 manual

Abode

Abode Burford Monobloc AT2170 manual

Zip HydroTap G5 BA60 user guide

Zip

Zip HydroTap G5 BA60 user guide

manuals.online logo
manuals.online logoBrands
  • About & Mission
  • Contact us
  • Privacy Policy
  • Terms and Conditions

Copyright 2025 Manuals.Online. All Rights Reserved.