manuals.online logo
Brands
  1. Home
  2. •
  3. Brands
  4. •
  5. Sunlighten
  6. •
  7. Plumbing Product
  8. •
  9. Sunlighten mPulse eMPOWER User manual

Sunlighten mPulse eMPOWER User manual

G H
I
K
M
L
N
O
J
M6x70
M4x25
Allen wrench Philips Screw
Driver
M6x55
M8x75
included in door handle
2x
1 2 3 6 8 9
4x 2x 4x 1x 1x
412x 52x 72x
10x 2x 1x 1x
A B D E 2x
F
2x
C
1x Floor
1x Back Wall
1x Roof
1x Right Wall
1x Front Wall1x Left Wall with glass panel
1x Bench 1x Glass Front Door 711x1750mm
1x Glass Front Panel 164x1781mm
P 2x 280m, 1x 1050m
ASSEMBLY INSTRUCTIONSASSEMBLY INSTRUCTIONS Empower
61sunlighten.com/gb-en
H
A
B
4
8
The first step to installing your new sauna
will be to insert the legs underneath the
floor panel. The holes are already pre-drilled
so all you need are the bolts and the
Allen wrench . This is necessary to allow
air circulation to flow underneath and
maintain the integrity of the unit. After legs are
in place, please turn floor panel 180° so the back
of the sauna connects with the back wall
as shown below.
4
7
Unpack each wall segment from the shipping material.Stage each
wall segment in the room you will be assembling the unit.
Remove the internal wooden heater frames during unpacking
of the wall segments, set these aside for installation after
the sauna is assembled.
Remove the small wooden wire covers at the base of each vertical
wall segment, set aside for placement after the sauna is assembled.
STEP 1
Before you begin installing the walls, be sure you
have at least:
• 5.9 in between the back of the sauna and the
outlet wall.
•12 in gap from the top of the sauna to the ceiling.
•Place the sauna next to the wall power outlet to
ensure you have access to the wall power socket
outlet to cut the power to the unit if required.
Make sure the floor panel is placed on a surface that
is relatively smooth and perfectly level. Failure to do
so can cause the door to not close all the way in the
later steps.
In this step make sure one person is holding the wall
while the other helps balance it and press it in place.
STEP 2
PRE-STEPS
I
H
* Failure to do so will void your sauna's warranty
and customer will assume liability for any electrical
damages to the sauna itself or the residence/business
in which the sauna is installed.
230V,4400 watts.
Requires hard-wired dedicated outlet.*
3m cord exits from back left of floor.
See USER MANUAL or spec sheet for additional specs.
I
Back of sauna
Front of sauna
180°
Back of saunaBack of sauna
62sunlighten.com/gb-en
6
STEP 3 STEP 4
The front wall will be the last to install.
There will be wire connections that need to be made
at the base of each wall panel. These can be accessed
by small hatches on the walls (floor hatch for the
front). If a cable gets stuck in the floor it can be
accessed by removing the wood piece that covers
the power box.
A diagram showing the connection locations
can be found on STEP 8.
NOTE: If you ever have trouble getting
a U-clip to slide in, this can be resolved by
tapping it with a hammer.
The following walls will be inserted the same way
as STEP 2. Make sure the wires coming out from
the bottom hatches don’t pinch when you mount
the walls.
STEP 5
After you place each wall segement, please
use the U-clips and insert them in each
upper corner to hold the walls together.
The left wall glass panel will need to be inserted
into the left wall panel before you insert it.
6
J
J
K
L
6
63sunlighten.com/gb-en
STEP 6
STEP 7
After all four U-clips ar
5 e inserted in
the corners, the next step will be
to place the roof on top. The roof will
also reinforce the walls in position
along with the clips.
NOTE: The roof may require some
slight manipulation to fall into place on
top of the wall panels.
Lights, Speakers,
Antenna
After the roof is placed, there should be the
connections to the lights and speakers at the top
front. Connect those so you can turn on the lights
and listen to sound. In addition there will be one
metal-loop lead. Those can be screwed into the
radio antenna.
A
6
6
64sunlighten.com/gb-en
M
STEP 8
Left Wall Heaters
Back Wall Heaters
The dust cover should be replaced to protect
the lights and speakers from dust and other
floating residue. Place the heater frames in their
respective locations if you have not yet done so.
As mentioned in STEP 5, there are four
connections to be made in each bottom section of
the walls. If you have not yet done so,consult with
the diagram at the bottom of this page.
NOTE: Look at the back of the heater frames for
the “This Side Up” sticker for proper orientation.
After the floor connections have been made,
please install the bench .MMakesurethe heater
frames are not mounted, otherwise they will
prevent the bench from resting on the supports.
The large portion of the bench will go in first, on
the back wall support. Last will be the left and
right small parts, which rest on the cutout of the
large bench piece. The triangle support willF
need to be inserted underneath the left wall to
support the left side of the bench.
Right Wall Heaters
Front Wall Heaters,
Lights, Stereo,
Control Tablet
[6 connections]
F5
8
65sunlighten.com/gb-en
C
5
STEP 9
After the bench is placed in the unit, the next step will be
inserting the left glass door and panel. Please ensure you
have at least one other person to assist with this step.The left
panel can be slid into the left, vertical frame on the front
of the sauna. Use parts to keep the panel in place. Do not
put the door handles on as that will be done in a later step
after the door has been safely attached in this step.
The hinges can be secured following instructions given in
Step 10.
NOTE: You can use a paint stick to shim the glass door at a
desirable angle above the threshold as you mount it.
STEP 10
O
Next will be the right glass door . Using the
Allen wrench, you will tighten the bolts into the
hinges as the door is inserted. Make sure the bolt
is inserted firmly. Each hinge will have four plastic
gaskets. The door will be inserted between the
four gaskets.
Make sure the rough-texture side of the gasket is
against the glass door as your insert it. This will
give it the grip needed to hang it. Likewise, make
sure the gaskets touching the hinges also are
doing so by the rough side.
N
8
C
O
66sunlighten.com/gb-en
D
C
3
2
1
STEP 11
The gaskets, bolts and washers , and
will come with the handles. The washers need to be
inserted into the door holes first before the gaskets
go on and eventually the bolts. The rough side of the
gaskets must be facing the glass door. Be sure to
have a second person hold the handle in place while
the other inserts the bolt.
1 2 3
STEP 12
Installation Guidance for the INTERIOR DOOR SEAL
After the glass door installation is completed, ensure
the gap between the glass door and wooden frame
is at least 3mm.
Open the glass door to 90°.
Carefully remove the blue protection film.
Make sure to clean the inside edge of the glass
with a wet towel, then dry before applying the strips.
90°
67sunlighten.com/gb-en
CONGRATULATIONS, your sauna is now ready to enjoy!
If you have any questions, please call
Sunlighten Customer Support at 0330.808.1203.
04062022
p1 p1
p2
p2
p1
L
P
STEP 12
2 strips x 11 in
p1
1 strip x 3 1/2 ft
p2
Remove the backing layer of the 3M adhesive tape on the strip.
Adhere the shorter strip on the top and bottom section
to inside edge of glass door.
Adhere the longer strip on the middle section to inside
edge of the glass door.
Close the door slowly and check to make sure the strips don’t hit
the wooden frame which could cause the strips to peel off.
In case the strip hits the wooden frame, adjust the door hinge to
increase the gap between the door and the wooden frame.
p1
p2
68sunlighten.com/gb-en

Other Sunlighten Plumbing Product manuals
Sunlighten ADA User manual

Sunlighten

Sunlighten ADA User manual

Sunlighten mPulse User manual

Sunlighten

Sunlighten mPulse User manual

Sunlighten mPulse 3-in-1 Series User manual
Sunlighten

Sunlighten mPulse 3-in-1 Series User manual

Sunlighten mPulse cONQUER User manual

Sunlighten

Sunlighten mPulse cONQUER User manual
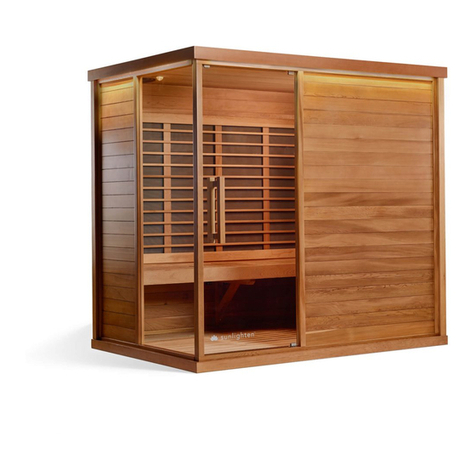
Sunlighten Signature I User manual

Sunlighten

Sunlighten Signature I User manual

Sunlighten Solo System User manual

Sunlighten

Sunlighten Solo System User manual

Sunlighten Signature III User manual

Sunlighten

Sunlighten Signature III User manual

Sunlighten mPulse Discover User manual

Sunlighten

Sunlighten mPulse Discover User manual

Sunlighten Signature II User manual

Sunlighten

Sunlighten Signature II User manual

Sunlighten Solo System User manual

Sunlighten

Sunlighten Solo System User manual

Sunlighten Amplify III Configuration guide

Sunlighten

Sunlighten Amplify III Configuration guide

Sunlighten Signature II User manual

Sunlighten

Sunlighten Signature II User manual

Sunlighten mPulse Aspire User manual

Sunlighten

Sunlighten mPulse Aspire User manual

Sunlighten Solo System User manual

Sunlighten

Sunlighten Solo System User manual

Sunlighten Signature III User manual

Sunlighten

Sunlighten Signature III User manual

Sunlighten Signature IV User manual

Sunlighten

Sunlighten Signature IV User manual
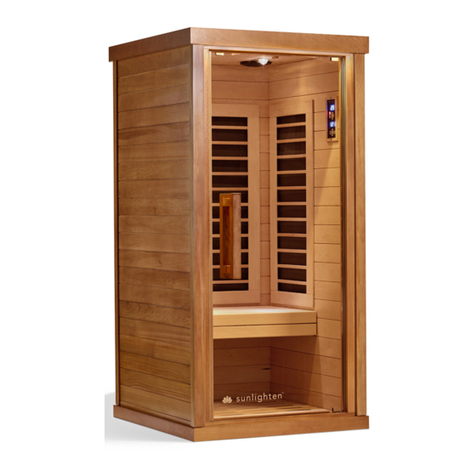
Sunlighten Signature IV User manual

Sunlighten

Sunlighten Signature IV User manual

Sunlighten Signature I User manual

Sunlighten

Sunlighten Signature I User manual
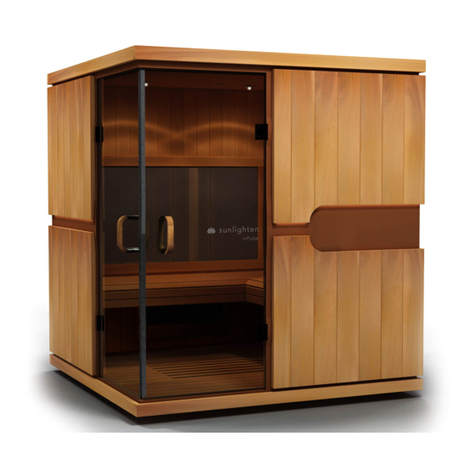
Sunlighten Signature Power Box User manual

Sunlighten

Sunlighten Signature Power Box User manual

Sunlighten Solo System User manual

Sunlighten

Sunlighten Solo System User manual

Sunlighten Amplify II User manual

Sunlighten

Sunlighten Amplify II User manual

Sunlighten Signature I User manual

Sunlighten

Sunlighten Signature I User manual
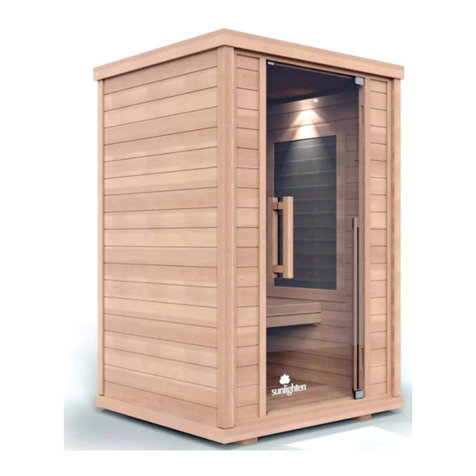
Sunlighten Signature III User manual

Sunlighten

Sunlighten Signature III User manual
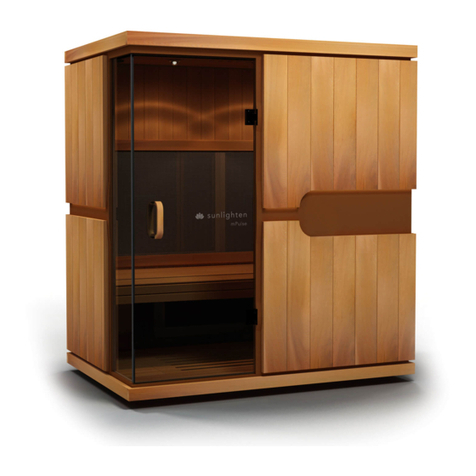
Sunlighten Signature IV User manual

Sunlighten

Sunlighten Signature IV User manual

Popular Plumbing Product manuals by other brands

Toto ETHOS Series Installation and owner's manual

Toto

Toto ETHOS Series Installation and owner's manual

Hans Grohe Cento XL Instructions for use/assembly instructions

Hans Grohe

Hans Grohe Cento XL Instructions for use/assembly instructions

Moen ONE-HANDLE KITCHEN FAUCET CA87520 user manual

Moen

Moen ONE-HANDLE KITCHEN FAUCET CA87520 user manual

Toto TTLA101 installation manual

Toto

Toto TTLA101 installation manual

Akw Luda Installation

Akw

Akw Luda Installation

Mira everclear Installation and user guide

Mira

Mira everclear Installation and user guide

Grohe Bridgeford 20 135 quick start guide

Grohe

Grohe Bridgeford 20 135 quick start guide

Brizo MultiChoice T75 Series installation instructions

Brizo

Brizo MultiChoice T75 Series installation instructions

Axor 10821 1 Series Installation

Axor

Axor 10821 1 Series Installation

Grohe Fresh 38 796 instructions

Grohe

Grohe Fresh 38 796 instructions

Hans Grohe Showerpipe 240 1jet P 27633000 Instructions for use/assembly instructions

Hans Grohe

Hans Grohe Showerpipe 240 1jet P 27633000 Instructions for use/assembly instructions

Teka HI317P Instruction for the installation

Teka

Teka HI317P Instruction for the installation

Hans Grohe MyFox 13165000 manual

Hans Grohe

Hans Grohe MyFox 13165000 manual

Hans Grohe Verso Centostat Set 27093000 manual

Hans Grohe

Hans Grohe Verso Centostat Set 27093000 manual

BATHSELECT BST-008-1ORB installation instructions

BATHSELECT

BATHSELECT BST-008-1ORB installation instructions

Englefield MILANO installation guide

Englefield

Englefield MILANO installation guide

Spectrum Brands Pfister Selia LF-042-SL Quick installation guide

Spectrum Brands

Spectrum Brands Pfister Selia LF-042-SL Quick installation guide

newform DELUXE PRESTIGE 68182C instructions

newform

newform DELUXE PRESTIGE 68182C instructions

manuals.online logo
manuals.online logoBrands
  • About & Mission
  • Contact us
  • Privacy Policy
  • Terms and Conditions

Copyright 2025 Manuals.Online. All Rights Reserved.