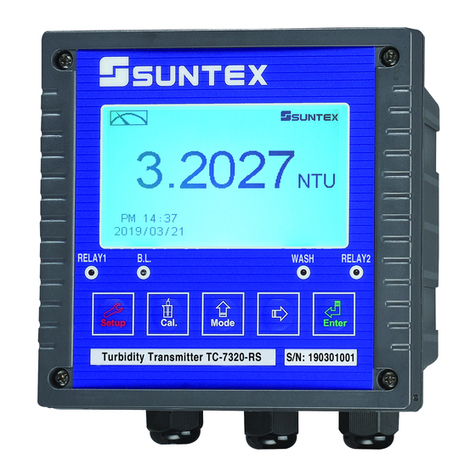
5.Operation
5.1 Measurement mode:
ʳʳʳAfter all electrical connections are finished and tested, connect the instrument to the power
supply and turn it on. The transmitter will automatically entering measurement mode with the
factory default settings or the last settings from user.
5.2 Set-up menu:
ʳʳʳPlease refer to the set-up instructions in Chapter 6. Press and simultaneously to
enter into set-up menu, and press toʳgo press to back to measurementʳmode.
5.3 Calibration menu:
ʳʳʳPlease refer to the calibration instructions in Chapter 7. Press and
simultaneously to enter into calibration menu, and press to go back to measurementʳmode.
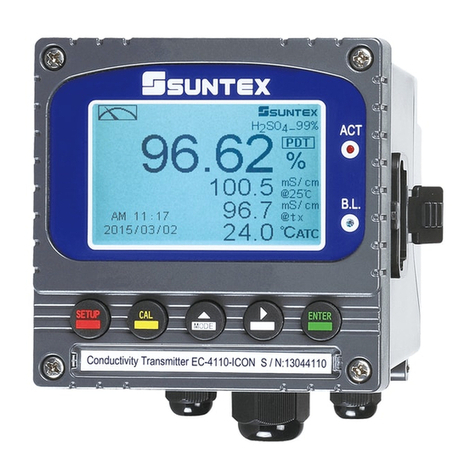
5.4 Shortcuts: In the measurement mode, if selecting MTC for temperature compensation mode, you
may press and to adjust MTC temperature value.
5.5 Reset:
5.5.1 Master reset:ʳʳʳʳʳʳʳʳʳʳʳʳʳʳʳʳʳʳʳʳʳʳʳʳʳʳʳʳʳʳʳʳʳʳʳʳ
Measurement mode: Conductivity, Auto-Range
Temperature compensation: MTC 25ć
Temperature Coefficient: Lin, 2.00%
Relay 1ΚHigh point alarm: AUTOʿʳSP1= 100.0mSΔDB=10.0mS
Relay 2ΚLow point alarm: AUTOʿʳSP2 =10.0 mSΔDB= 1.00 mS
Wash time: OFF
Analog 1 current output (Cond/Res)Κ420 mAΔ0.00199.9mS
Analog 2 current output (Temp)Κ(Temp)Κ420 mAΔ0100.0C
Display backlit:ʳOFF
Contrast: 0
Code: OFF
Date & TimeΚ2010/1/1 00:00:00
Auto back: Auto, 3 minutes
5.5.2 Calibration reset:
ʳʳʳ ʳʳʳʳʳʳʳʳʳʳʳʳʳʳʳʳʳʳʳʳʳ
CalTimeΚ2010/01/01
CalTypeΚNo Cal
CellConstantΚ0.5000
CalTemp.Κnone
Auto back: Auto, 3 minutes
Note: The factory default of calibration presetting is “No Cal”, and the cell constant setting is “0.5000”.
It means that the user has not calibrated the sensor with the transmitter yet. When selecting
standard solution to finish calibration, the display shows cell constant of the cell and the value of
the standard solution.
км