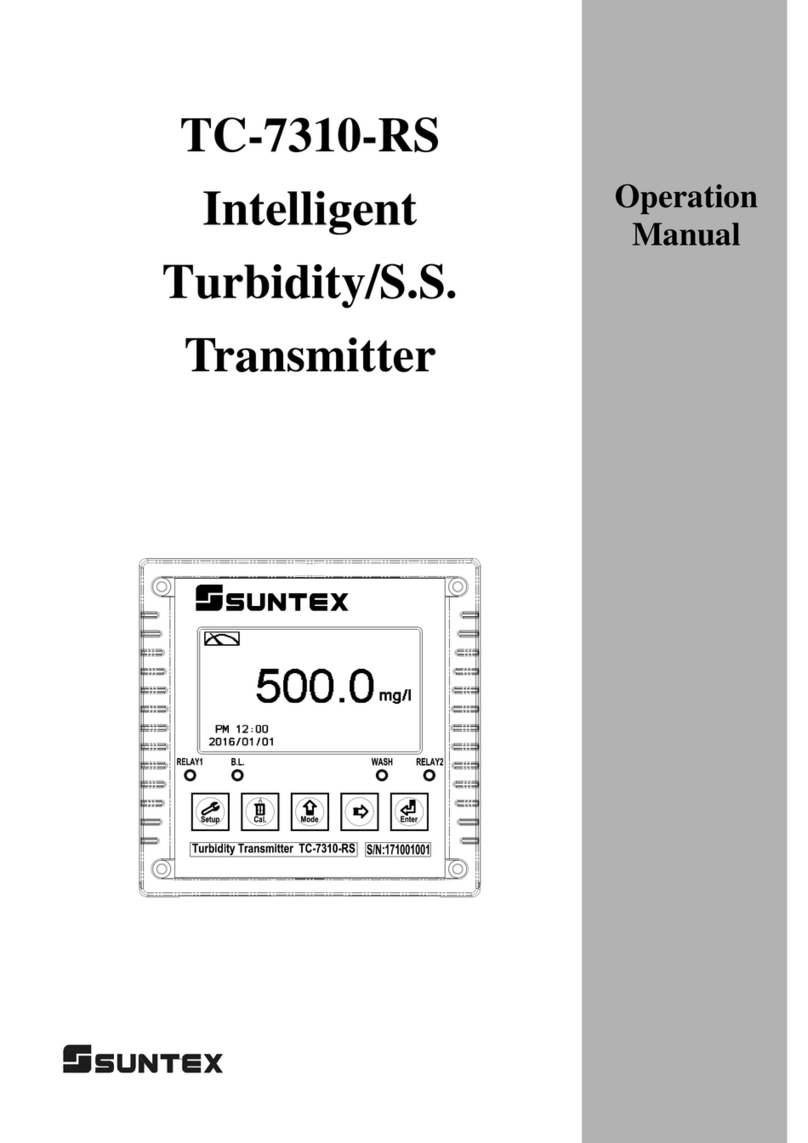
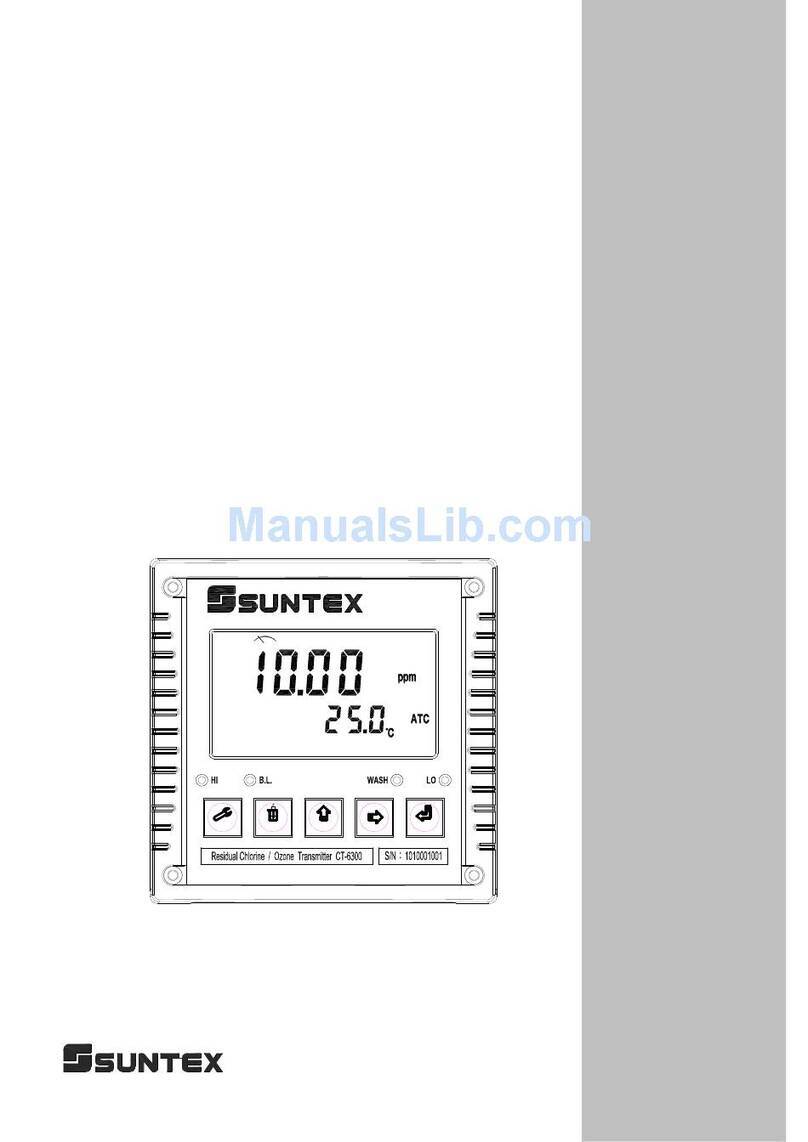
Suntex CT-6300 User manual

Setup Cal. Mode Enter
Operation
Manual
CT-6300
Microprocessor
Residual Chlorine/
Ozone
Transmitter

Brief Instruction 1
1. Specifications 2
2. Precautions for installation 3
3. Assembly and installation
3.1 Controller installation 3
3.2 Illustration of panel mounting 3
3.3 Illustration of wall mounting and pipe mounting 4
4. Overview of Residual Chlorine/Ozone Transmitter CT-6300
4.1 Illustration of rear panel 5
4.2 Illustration of terminal function 5
4.3 Description of terminal function 6
4.4 Illustration of cable wiring 6
4.5 Illustration of electrical connection 7
5. Configuration
5.1 Illustration of front panel 8
5.2 Keypad 8
5.3 LED indicators 9
5.4 Display 9
6. Operation
6.1 Measurement mode 10
6.2 Set-up mode 10
6.3 Calibration mode 10
7. Settings
Block diagram of settings 11
7.1 Entry of set-up mode 12
7.2 Security code of settings 12
7.3 Measurement parameter set-up 13
7.4 Temperature set-up 14
7.5 Auto return set-up 14
7.6 Hi point Setting 15
7.7 Lo point Setting 16
7.8 Wash time 17
7.9 Analog output 1 (Residual Chlorine/Ozone) 18
7.10 Analog output 2 (Temperature) 19
7.11 Averaged signal value set-up 20
7.12 Backlight LCD 21
CONTENTS

8. Calibration
Block diagram of Calibration 22
8.1 Security code of calibration 23
8.1.1 Authority of Security Code 23
8.1.2 Security Code Settings 23
8.2 Calibration principle 24
8.3 Current type sensor calibration mode 24
8.4 Voltage type sensor calibration mode 25
8.5 Attention of sensor usage 26
9. Error messages (Error code) 27
10. Maintenance 28

Brief Instruction
Settings of measurement parameters (see chapter 7)
If you like to use security code of settings, the original code is 1111.
Settings of Calibration (see chapter 8)
In the tP output function, please set analog output 2 with or
(
tem
p
erature
)
In the main measurement output function, please set analogoutputwith or
+
+
In measurement mode, pressing “Setup"and “Mode"simultaneously
allows you to access Set-up mode.
In the Code function, entering original code or user’s designated code allows you
to reset the code or shut down this function.
In the Configuration function, select Cl2or O3sensor according to the sensor’s model.
In the Temperature function, setup temperature or make temperature correction.
In the Relay 1 function, please select or to activate it or not.
In the Relay 2 function, please select or to activate it or not.
In the Clean function, please set wash time and stop duration.
In the Averaged measurement value function, please set measurement value
numbers for averaged measurement value to increase the stability of reading.
In the Back light function, please set brightness of display and sensitivity of
light-source sensor.
In measurement mode, pressing “Cal."and “Mode"simultaneously
allows you to access Calibration mode.
If you like to use security code of calibration, the original code is 1111.
In the Code function, entering original code or user’s designated code allows you to
reset the code or shut down this function.
In the Auto-return function, activate the auto-return to the measurement mode display if
not press any key in 3 minutes while in the setting mode or calibration mode. .
1

1.Specifications
Model CT-6300
Measuring modes Residual(Free) Chlorine / Ozone / Temperature
Cl20.00~100.00 ppm(mg/l), depends on which sensor
O30.00~20.00 ppm(mg/l) , depends on which sensor
Ranges
TEMP -10.0~110.0°C
Cl20.01 ppm(mg/l)
O30.01 ppm(mg/l)
Resolutions
TEMP 0.1°C
Cl2±0.5%±1Digit
O3±0.5%±1Digit
Accuracy
TEMP ±0.2°C±1Digit
Temperature
Compensation Automatic with PT-1000 / NTC-30K or manual adjustment
Ambient Temp. 0~50°C
Storage Temp. -10~70°C
Display LCD display with sensitization sensorfor
auto/manual illumination function
Analog output 1 Isolated DC 0/4~20mA corresponding to
residual chlorine/ ozone, max. load 500Ω
Analog output 2 Isolated DC 0/4~20mA corresponding to
temperature, max. load 500Ω
Contact 240VAC, 0.5A Max. (recommend)
Settings Activate Hi/Lo two limited programmable
Contact 240VAC, 0.5A Max. (recommend)
Wash Time ON: 0~9999 sec. / OFF: 0.0~999.9 hours
Voltage output DC±8V , 0.5W Max.
Power Supply 100V~240VAC±10%, 5W Max., 50/60Hz
Installation Wall or Pipe or Panel Mounting
Dimensions 144 mm ×144 mm ×115 mm (H×W×D)
Cut off Dimensions 138 mm ×138 mm (H×W)
Weight 0.82Kg
Certification IP 65 (NEMX 4X)
2

Wrong wiring will lead to breakdown or electrical shock of the instrument, please read this
operation manual clearly before installation.
zMake sure to remove AC power from the controller before wiring input, output connections,
and remove it before opening the controller housing.
zThe installation site of the controller should be good in ventilation and avoid direct sunshine.
zThe material of signal cable should be special coaxial cable. Strongly recommend using our
coaxial cable. Do not use normal wires instead.
zAvoid electrical surge when using power. Especially when using three-phase power, use
ground wire correctly.
zThe output terminals of the controller are designed for alarm and control function. Due to the
safety and protection concern, please be sure to connect current-sufficient relay to load with,
in order to ensure the operation safety of the instruments.(Please see chapter 3.6--Electrical
connection diagram)
3. Assemblyandinstallation
3.1 Controller installation: This controller can be installed through panel mounting, wall
mounting and pipe mounting.
Installation of panel mounting: First,prepare a square hole of 138 x 138mm on the panel box,
and then insert the controller directly into the panel box. Insert the accessorial mounting
bracket from the rear, and make it be fixed in to pickup groove.
3.2 Illustration of panel mounting:
2. Precautions for installation
138mm
138m
m
Hole size
+
+
+
+
42mm
42mm
Hole distances on the
p
anel box
Mounting bracket
Illustration of panel mounting,
fixed with mounting bracket
90mm
3

3.3 Illustration of Wall mounting and pipe mounting
Installation of pipe mounting
Fixed with U-shaped pipe clip
Order No.: 8-34
Installation of wall mounting
Fixed with 4 x M5 screws
Sun Shield (Pipe mounting)
Order No.: 8-35 and 8-35-1 Sun Shield (Wall mounting)
Order No.: 8-35 and 8-35-2
4

4. Overview of residual chlorine/ozone transmitter CT-6300
4.1 Illustration of rear panel
4.2 Illustration of terminal function
+
-
4/20m
A
S+
S-
GND
TP
T
HI LO WASH
POWER
AC
INPUT POWER +
-
±8V
+
-
4/20m
A
GND
Chlorine/O³
4 wire electrode (voltage type)
Chlorine/O³
2 wire electrode (current type)
L1
L2
5

4.3 Description of terminal function
1
2
3
4
5
6
7
8
9
10
11
12
13
14
15
16
17
18
19
20
4.4 Illustration of cable wiring
Chlorine /O3
L2
2 wire electrode
(
current t
yp
e
)
PT1000
N
TC30
K
T/P SG L1
12
Chlorine /O3
S+
4 wire electrode
(
volta
g
e t
yp
e
)
PT1000
N
TC30
K
T/P SG S-
br
w
g
bl
+8 -8
AC100~240V: Power supply terminal
WASH: External wash relay terminal
REL2: External relay terminal Low Point control
REL1: External relay terminal High Point control
4~20mA:Temperature current output terminal, for external recorder or
PLCcontrol
4~20mA:Master measurement current output terminal, for external
recorderorPLCcontrol
DC-8V:Connect to voltage type electrode (CLE2.2) terminal V-(brown wire)
NC: None contact
T/P: Connect to earth end of temperature probe
DC+8V/ L1:Connect to a voltage type electrode (CLE2.2)terminal V+(green wire),
or connect to a current type electrode(CLE3) terminal 1.
S-: Connect to black signal wire of the voltage type of electrode (CLE2.2)
L2: Connect to terminal 2 of the current type electrode (CLE3)
S+: Connect to white signal wire of the voltage type of electrode (CLE2.2)
g: green wire
br: brown wire
bl: black wire
w: white wire
Wiring of 4 wire electrode
(voltage type) Wiring of 2 wire electrode (current type),
leverage transmitter’s DC ±8V
14
15
6

4.5 Illustration of electrical connection:
Surge absorber
Surge absorber
Surge absorber
Surge absorber
Transmitter
Cleaning device
Dose feeder
Dose feeder
100 ~ 240VAC
Surge absorber
Surge absorber
External relay
External relay
External relay
7

5. Configuration:
5.1 Illustration of front panel:
5.2 Keypad:
In order to prevent inappropriate operation by others, before the parameter setting and
calibration, the operation applies multi-keys, and coding protection if necessary.
Description of the key functions is in the following:
In the parameter set-up mode, pressing this key allows you exit parameter set-up
mode and back to Measurement mode.
In the Calibration mode, pressing this key allows you exit Calibration mode and
back to Measurement mode.
In the parameter set-up mode and Calibration mode, pressing this key to
increase the value or to scroll to other function.
In the parameter set-up mode and Calibration mode, pressing this key to
decrease the value or to scroll to other function.
:Key for confirmation; pressing this key is essential when modifying data value
or selecting the parameter setting items in the window.
: In the Measurement mode, pressing these two keys simultaneously
allows you enter Calibration mode.
: In the Measurement mode, pressing these two keys simultaneously
allows you enter parameter set-up mode.
+
+
Setup Cal. Mode Enter
8

In the Measurement mode, press the two keys simultaneously for
five seconds, and then press until you see a clock signal appearing on the display;
then loose all keys to restore factory default settings.
In the Measurement mode, press the two keys simultaneously for
five seconds, and then press until you see a clock signal appearing on the display;
then loose all keys to restore factory default calibrations.
5.3 LED indicators:
WASH: Washing device operation indicator lamp; when the washing device is started up,
the Alarm indicator will light.
HI : Controlling operation indicator lamp; when the high setting point is reached, the
REL1 indicator will light.
LO : Controlling operation indicator lamp; when the low setting point is started up, the
REL2 indicator will light.
B.L. :Light sensor; in the automatic display backlit mode, the lamp will light or go out
as the change of environmental brightness.
5.4 Display:
(Master Reset)Restore factory default parameter’s settings
+
+
(Calibration Reset)Restore factory default calibration’s settings
Calibration
mode
Controlling
function
locked
Set-up
mode
Measurement
mode
Relay 1
alarm
activated
Relay 2
alarm
ac
t
ivated
Clean device
activated
Output
current
Over ran
g
e
Measurement
uni
t
Recovery
indicator
mA
mA : Measurement is over-range than the setting which is corresponding to output 20mA
: Measurement is over-range than the setting which is corresponding to output 0/4mA
Auto temp.
co
m
p
ensa
t
ion
9

6.Operation
6.1 Measurement mode:
After all electrical connections are finished and tested, connect the instrument to the power
supply and turn it on. The transmitter will automatically entering measurement mode with the
factory default settings or the last settings from user.
6.2 Set-up mode:
Please refer to the set-up instructions in Chapter 7, and press to back to measurement
mode.
6.3 Calibration mode:
Pleaserefertothecalibrationinstruction in chapter 8, and press to back to
measurement mode.
10

7. Settings
Block diagram of settings
11

7.1 Entry of set-up mode
In the measurement mode, pressing the two keys simultaneously allows
you enter the parameter set-up mode. You can back to the measurement mode at any
time by pressing the key . The original code is 1111.
7.2 Security code of settings
In the set-up mode, you can set up the code by pressing the key , and confirm by
pressing the key .
+
Enter parameter selection set-up
Press for confirmation
Press or
Press forconfirmation
When the first “0” of the digits 0000
sparkles, press upward key or rightward
key to input the code, and press ENTER
for confirmation. Then, continue
inputting the second digit, and by
analogy.
(If security code is
cancelled, you can enter
the set-up mode directly
without inputting the
password any more. You
can reset the security code
by pressing “Mode” key
by double pressing.)
Modify the code =>
If you input the wrong
code, the CODE will
sparkle 4 times, and
then the display will
back for another input.
12

7.3 Measurement parameter set-up
Please select” CL” for residual chlorine measurement. Then, please select “CLE2” for
4-wire (voltage type) electrode; select “CLE3” for 2-wire(current type) electrode. Then,
according to sensor model, select measuring limit “2.00ppm, “20.00ppm”, or “100.0ppm.”
Please select” O3” for ozone measurement. Then, please select “O3E2” for 4-wire
(voltage type) electrode; or select “O3E3” for 2-wire(current type) electrode.
to select O
3
o
r
CL
Enter “temperature” set-up
When select CLE3
When select O3E3, O3E2, CLE2
Press for confirmation
Press or
Press for confirmation Press for confirmation Press for confirmation
to select mg/l or ppm
Press or
to select 2.00, 20.00, or 100.0ppm
Press or
13

7.4 Temperature parameter
7.5 Auto return set-up
Enter setup of auto return mode (Return) to set the function that the instrument
automatically exit the setup menu after a period of time without pressing any key.
Enter “Auto return” set-up
Enter “High point alarm” set-up
If select auto, the display
automatically exit the setting or
calibration mode and back to
measurement mode after a period
of time without pressing any key.
Same as left procedure
Use standard thermometer to test
the actual temperature of the
solution, and press or
to input the correct temperature
value.
If necessary, compare with the
actual temperature value tested by
standard thermometer. Press
or to input the modified
value.
Press for confirmation
press
or
for selection
press
or
for
selection
Press for confirmation Press for confirmation
to select
Press or
If select on, it needs to exit
setting or calibration mode
manually Press for confirmation
14

7.6 Hi point
Set the TH (THRESHOLD) and DB (DEADBAND) of Hi (REL1). The range for TH is
0.00~20.00ppm(mg/l);while the range for DB is 0.00~3.00ppm(mg/l).
Enter “Low point alarm” set-up
Press or to
decide to activate REL1
or not.
Press or
to make REL1
terminal or lamp test
Choose “on”,
lamp “HI” will be
lighted up on for a
while
Press or to set an
appropriate hysteresis value
Press for confirmation
Press for
confirmation
Press for confirmation
Press or to set the
required alarm point
15

7.7 Lo point
Set the TH (THRESHOLD) and DB (DEADBAND) of Lo (REL2). The range for TH is
0.00~20.00ppm(mg/l);while the range for DB is 0.00~3.00ppm(mg/l).
Enter “Auto clean time” set-up
Press or to
decide to activate REL2
or not.
Press or
to make REL2
terminal or lamp test
Choose “on”,
lamp “Lo” will be
lighted up on for a
while
Press or to set an
appropriate hysteresis value
Press for confirmation
Press for
confirmation
Press for confirmation
Press or to set the
required alarm point
Press for confirmation
16

Press or
to make RELAY tes
t
Press or to set the current output
and relay hysteresis value ( unit: second)
7.8 Wash time
Set the automatic starting time and turn-off time of the washing function. If any value
is set to be 0, the instrument will automatically stop this function.
Enter “Analog output 1 (Chlorine/O3)” set-up
Press or tosettheturnoff
time of the washing function (unit: hour)
Choose “on”, lamp “WASH” will
be lighted up for a while
Press or tosetthestarting
of the washing function (unit: second)
Press for confirmation
Press or to
activate the auto clean
function or not
17
Table of contents
Other Suntex Transmitter manuals

Suntex
Suntex TC-7100 User manual

Suntex
Suntex IT-8100 User manual

Suntex
Suntex PC-3110-RS User manual

Suntex
Suntex PC-3310 Installation manual

Suntex
Suntex TC-7310-RS-M User manual

Suntex
Suntex EC-4110 User manual

Suntex
Suntex PC-3110-P User manual

Suntex
Suntex TC-7310-RS User manual

Suntex
Suntex EC-4110-I User manual

Suntex
Suntex PC-3310-RS User manual
Popular Transmitter manuals by other brands

BT Redcare
BT Redcare Secure Mk3 Installation, maintenance and operation manual

Novus
Novus RHT-WM-485-LCD instruction manual

SI
SI KJ16 manual

YOODA
YOODA MAGNETIC Deluxe 1Rw manual

PCB Piezotronics
PCB Piezotronics IMI SENSORS D653A01 Installation and operating manual

C2G
C2G RapidRun Optical 60130 quick start guide